

AXIST6112MKIIAudioandI/OInterface
Impactonwarranty
Impactonwarranty
ThisproductisapprovedforrepaintbyAxis,providedthatyoufollowtheinstructionsinthisdocumentandat
axis.com/warranty-implication-when-repainting.
Riskswithrepainting
ThereareseveralriskswhendisassemblingorassemblinganAxisproduct.Thereisalwaysacertainyieldlossduringassembly.Training
ofoperatorsandtheuseofcorrecttoolsmediatessomeoftheproblemsbuttheycanneverbefullyavoided.Someoftherisksinclude:
ESDDamage-AlwayshandletheproductinanESDsafeenvironment.EvenifprecautionsaretakenthereisalwaysariskofESD
damage.Thedamagecanremainundetectedandcauseproblemsduringthelifetimeoftheequipment.
Paintoverspray-Maskingthedifferentcomponentsoftheequipmentiscritical.Failuretomasksensitiveareascancauseproblems
withassemblingtheequipment.Anyareasthatarenotpaintedatfactoryorhaveadifferentsurfacetreatmentthantherestofthe
parts(threads,groundandelectricalcontactsurfaces)mustalsobemaskedtoensurefunction.
2
AXIST6112MKIIAudioandI/OInterface
Repainttheproduct
Repainttheproduct
Preparations
•Ifapplicable,disassemblethedeviceaccordingtotheinstructionsinthisdocument.
•Cleanallpartsthatwillberepaintedthoroughlytoremovegrease,dust,oroil.
•Toensurereassemblyandfunctionalityoftheproduct,maskanyopenings(forexampleforscrews,LEDindicators,
ormicrophones)beforeyoupaint.
Pretreatmentofparts
Dependingonthepartmaterialandtypeofpaintappliedatfactory,differentpretreatmentshouldbedoneforthenewpaintto
adhereaswellaspossible.Cleanthepartsproperlytoremoveoil,greaseanddust.
Powdercoatedparts-Useaprimer.Alternatively,removetheoriginalpowdercoatingdowntothebasematerial,usingne
sandpaper,andcleanthepartsbeforepainting.
Anodisedandchromatedparts-Useaprimer.
Uncoatedstainlesssteel-Nospecialpretreatmentisneeded,butmakesurethatthesurfaceiscleanbeforepainting.
Plastic-Useaprimer.
ThematerialusedintheproductisPC+ABSInnoGW-1041.
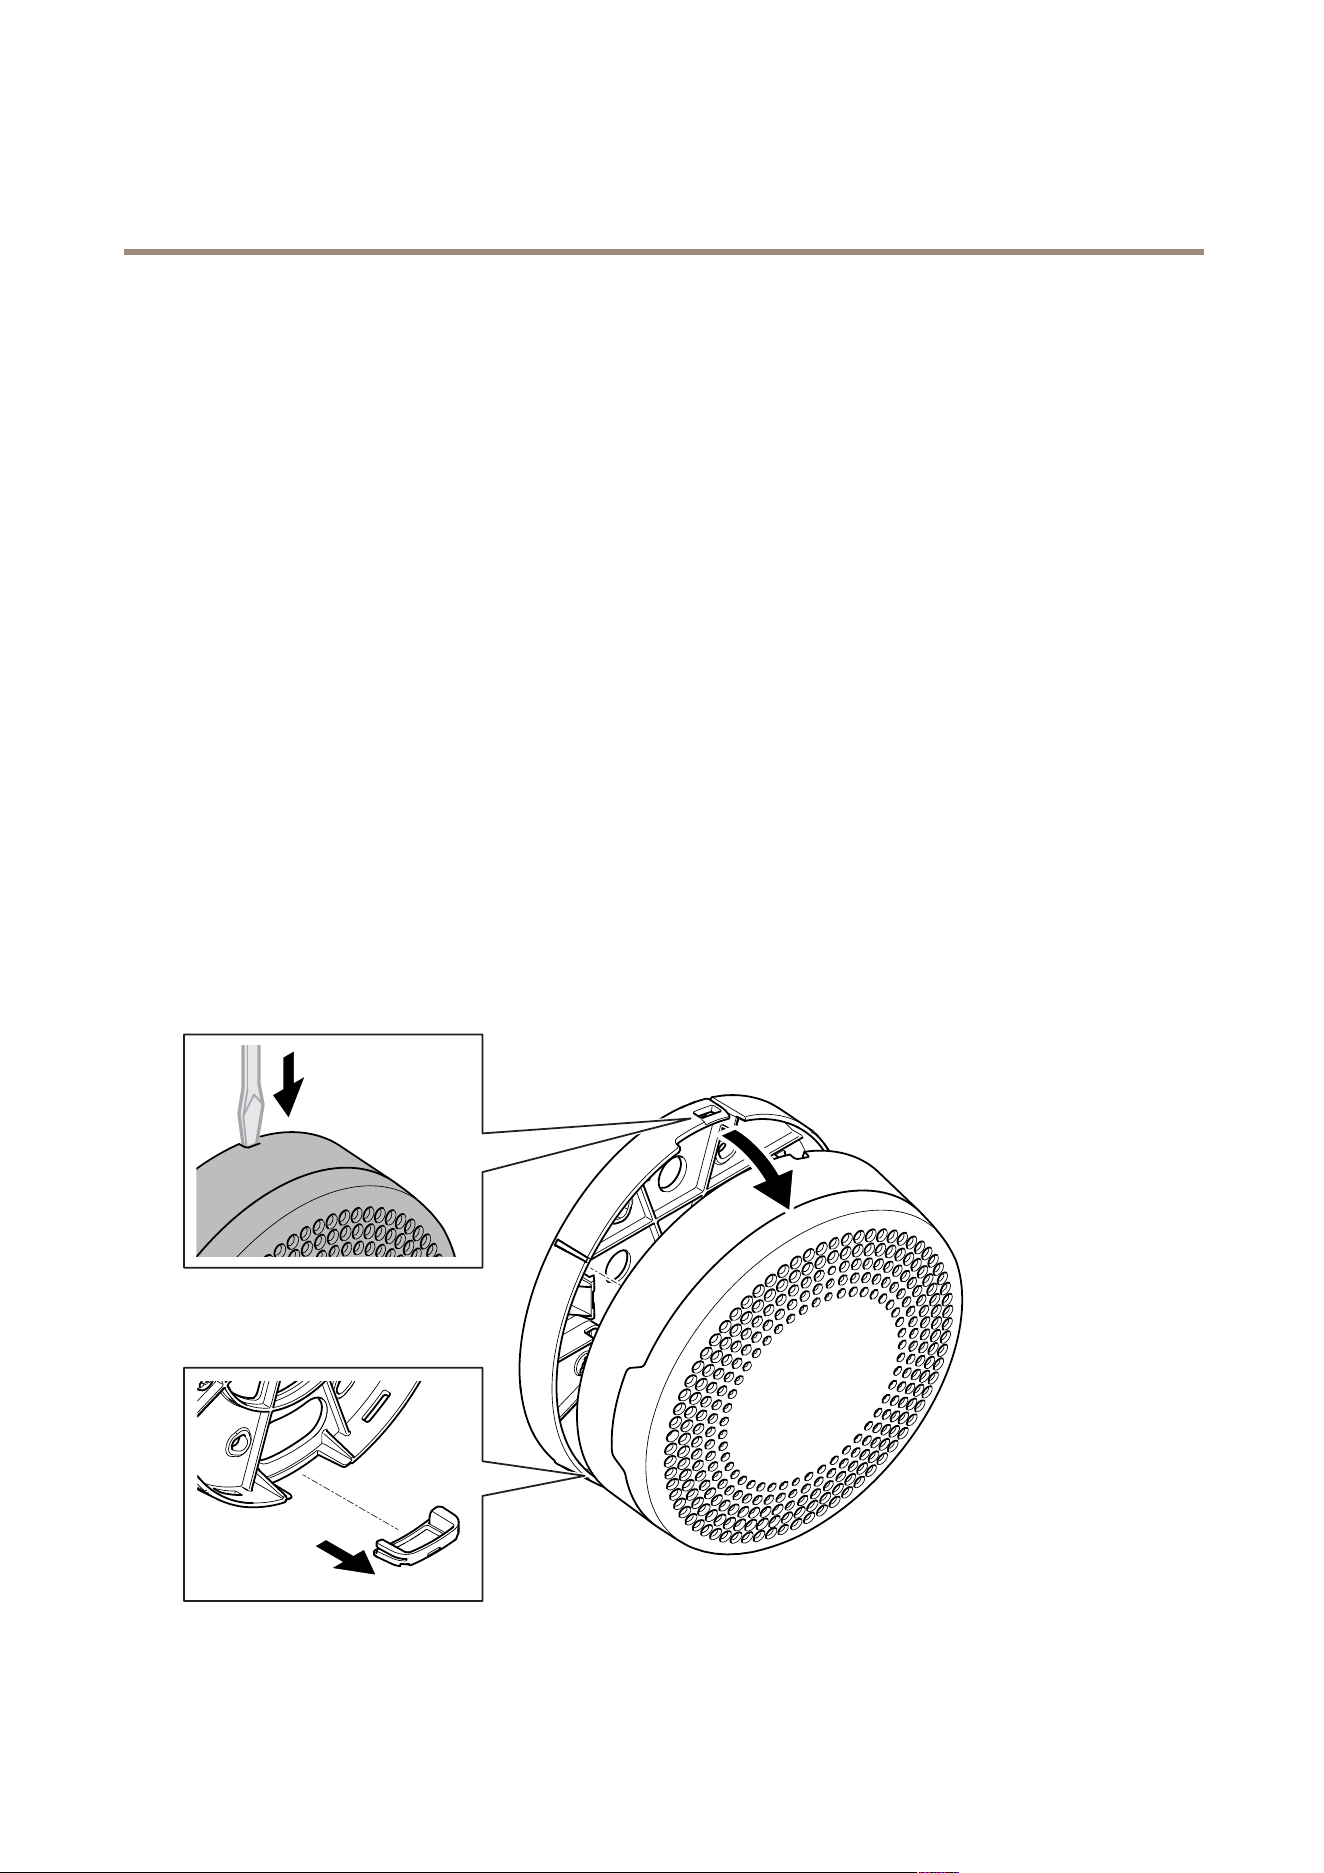
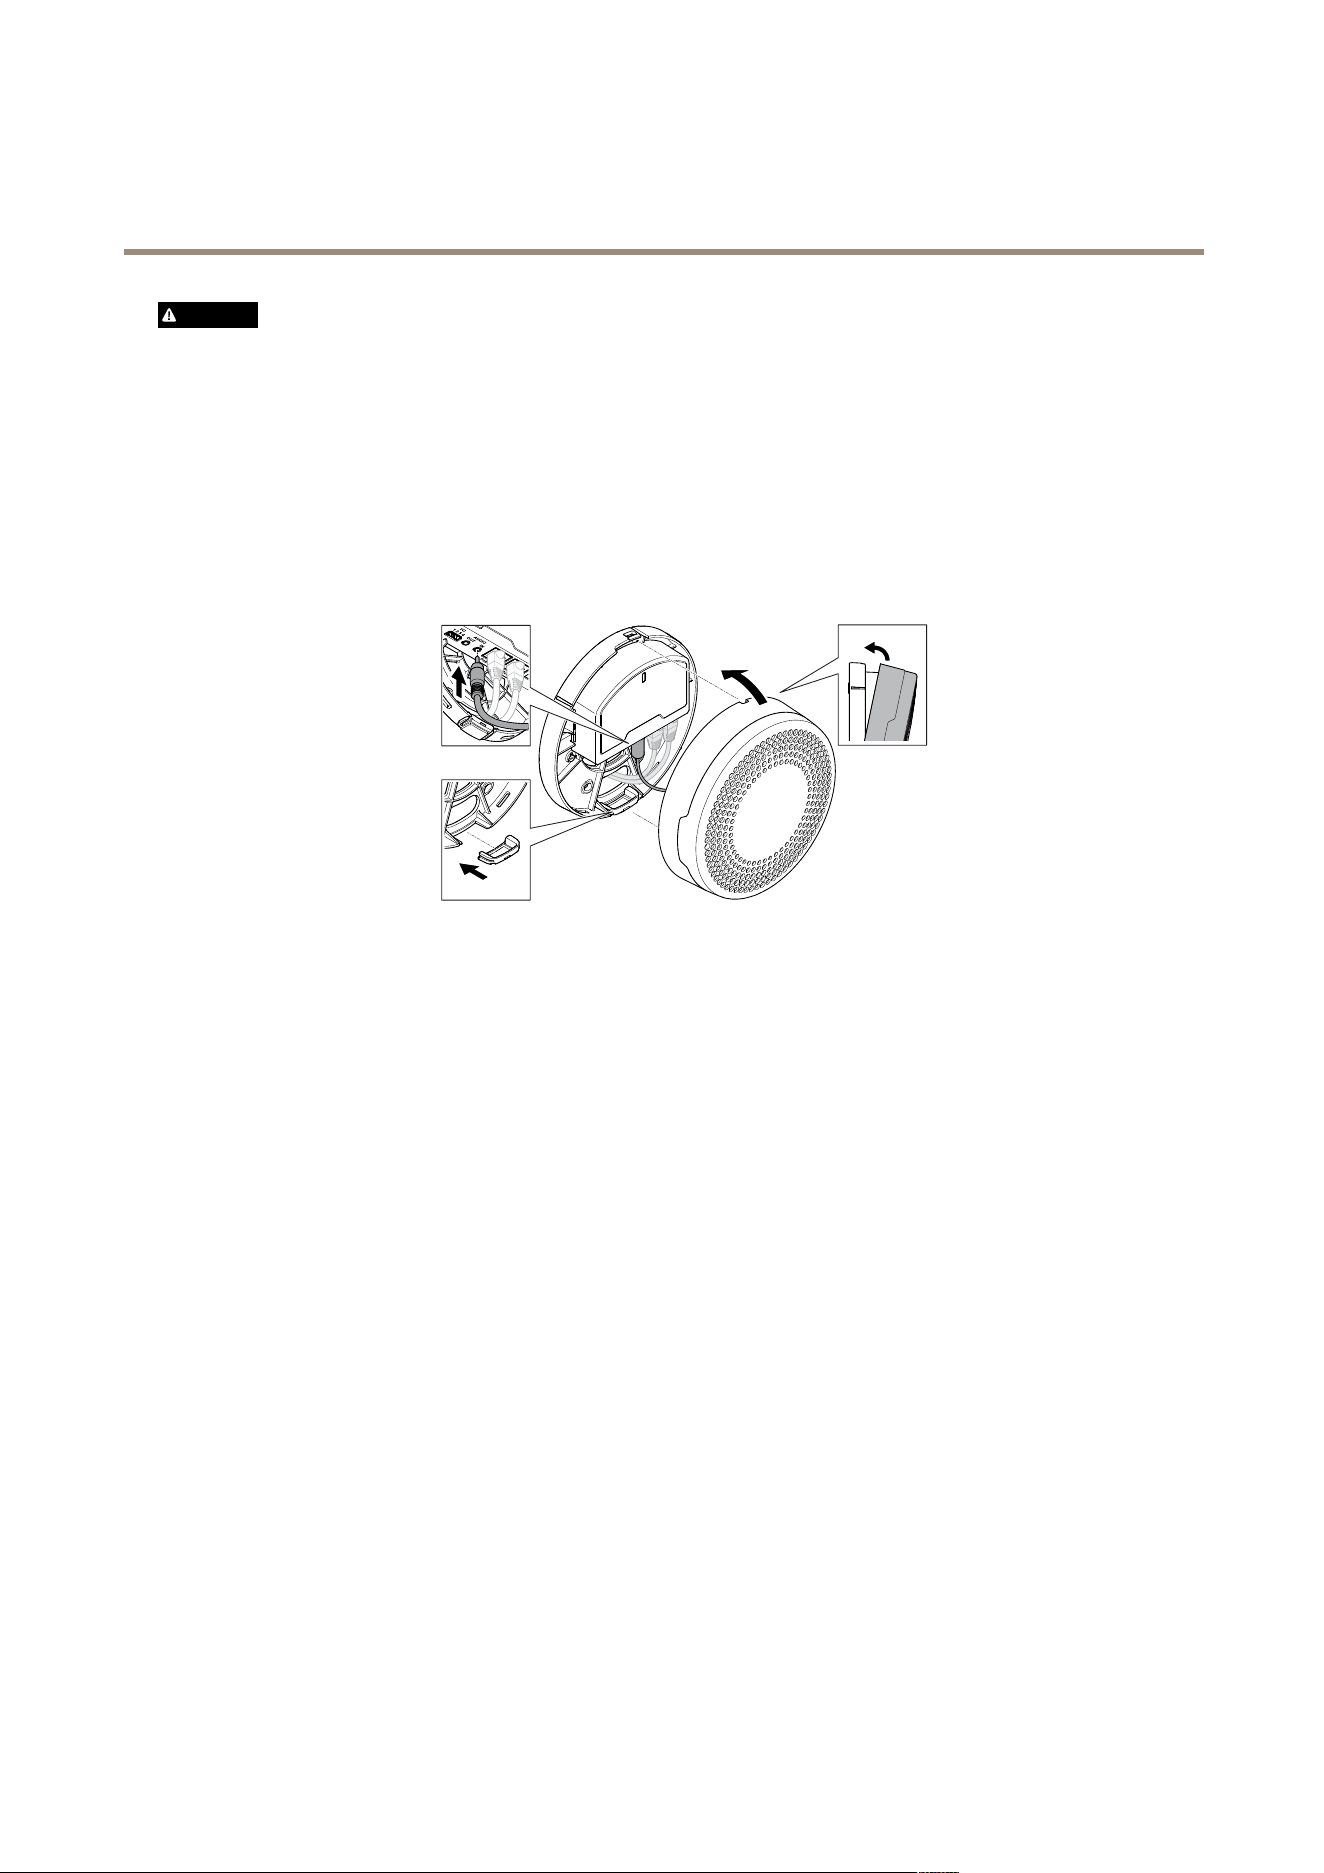
Disassembly
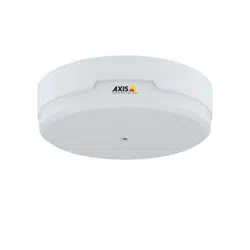
1.Useaat-headedscrewdrivertoremovethecover.
3
AXIST6112MKIIAudioandI/OInterface
Repainttheproduct
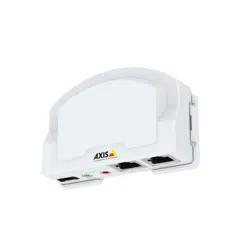
2.Removethesidelid(ifused).
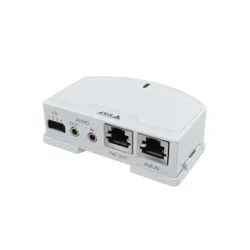
3.DisconnecttheAudioconnector.
Repainting
1.Makesureyouhavemadeallnecessarypreparationsofthepartstoberepainted.
2.Applyathinandevenlayerofspraypaintaccordingtotheinstructionsofthepaintmanufacturer.
4
AXIST6112MKIIAudioandI/OInterface
Repainttheproduct
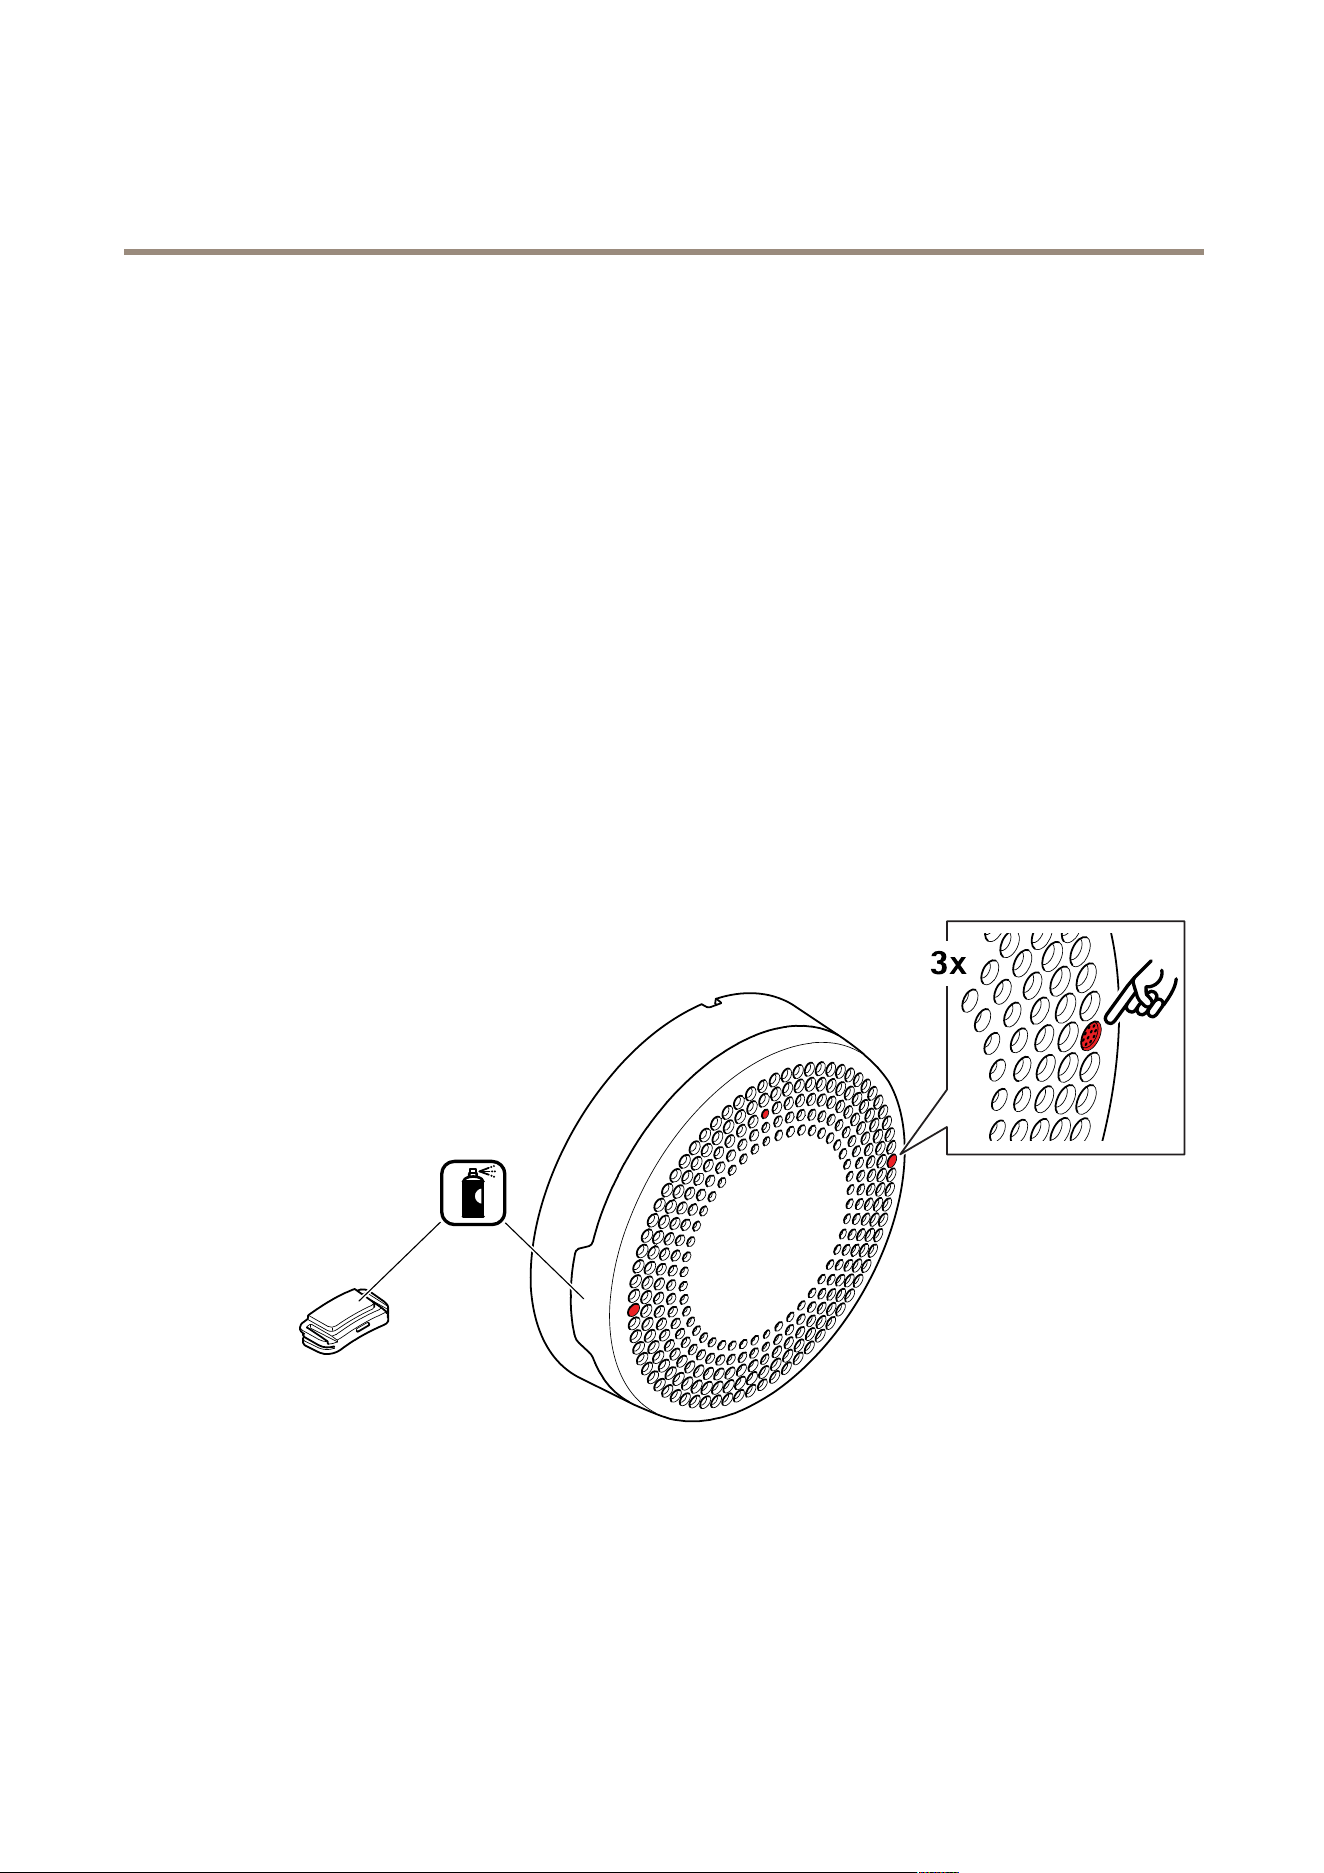
CAUTION
Makesurethepaintdoesn’tclogtheholesonthecover.Ifpaintclogsthethreemicandlightguideholesthemicrophone
willnotregisteranysound.
3.Letthepaintdryaccordingtothepaintmanufacturer’srecommendations.
4.Togetabettercoverageandclearercolor,applyasecondlayerofspraypaint.
5.Whenthepaintisdry,reassembletheproduct.
Reassembly
1.ConnectthemicrophonetotheAudioinconnector.
2.Attachthesidelid(ifused)tothebracketmount.
3.Attachthecovertothebracketmount.
5

RepaintinginstructionsVer.M1.6
AXIST6112MKIIAudioandI/OInterface
Date:March2023
©AxisCommunicationsAB,2022-2023
Partno.T10188534