

AXIST61AudioandI/OInterfaceSeries
TableofContents
Aboutthismanual..........................................3
Productoverview...........................................4
Solutionoverview...........................................5
Setup.....................................................6
Abouttheproduct...............................................6
Aboutthecamera'sbuilt-inhelp...................................6
Audio.........................................................6
Events........................................................7
Troubleshooting............................................9
Technicalissues,cluesandsolutions................................9
Specications..............................................10
LEDindicators..................................................10
Connectors....................................................10
2

AXIST61AudioandI/OInterfaceSeries
Aboutthismanual
Aboutthismanual
Thisusermanualdescribesmultipleproducts.Someoftheinstructionsmaynotberelevantforyourproduct.
3

AXIST61AudioandI/OInterfaceSeries
Productoverview
Productoverview
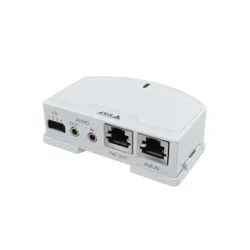
AXIST6101andAXIST61 12
1
LEDindicator
2
I/Oconnector
3
Audioout
4
Audioin
5
Networkconnector(PoEin)
6
Networkconnector(PoEout)
7
PoEswitch(class2or3)
AXIST61 12
1
Microphone
2
Cover
3
Sidelid
4
Bracketmount
4

AXIST61AudioandI/OInterfaceSeries
Solutionoverview
Solutionoverview
5
AXIST61AudioandI/OInterfaceSeries
Setup
Setup
Abouttheproduct
WhenyouconnectyourproducttoasupportedAxisnetworkcamerawiththelatestrmwareversion,settingsforaudioandI/O
willappearinthecamera'swebpage.
Youcandoallthesettingsdescribedinthismanualthroughthecamera'swebpage.
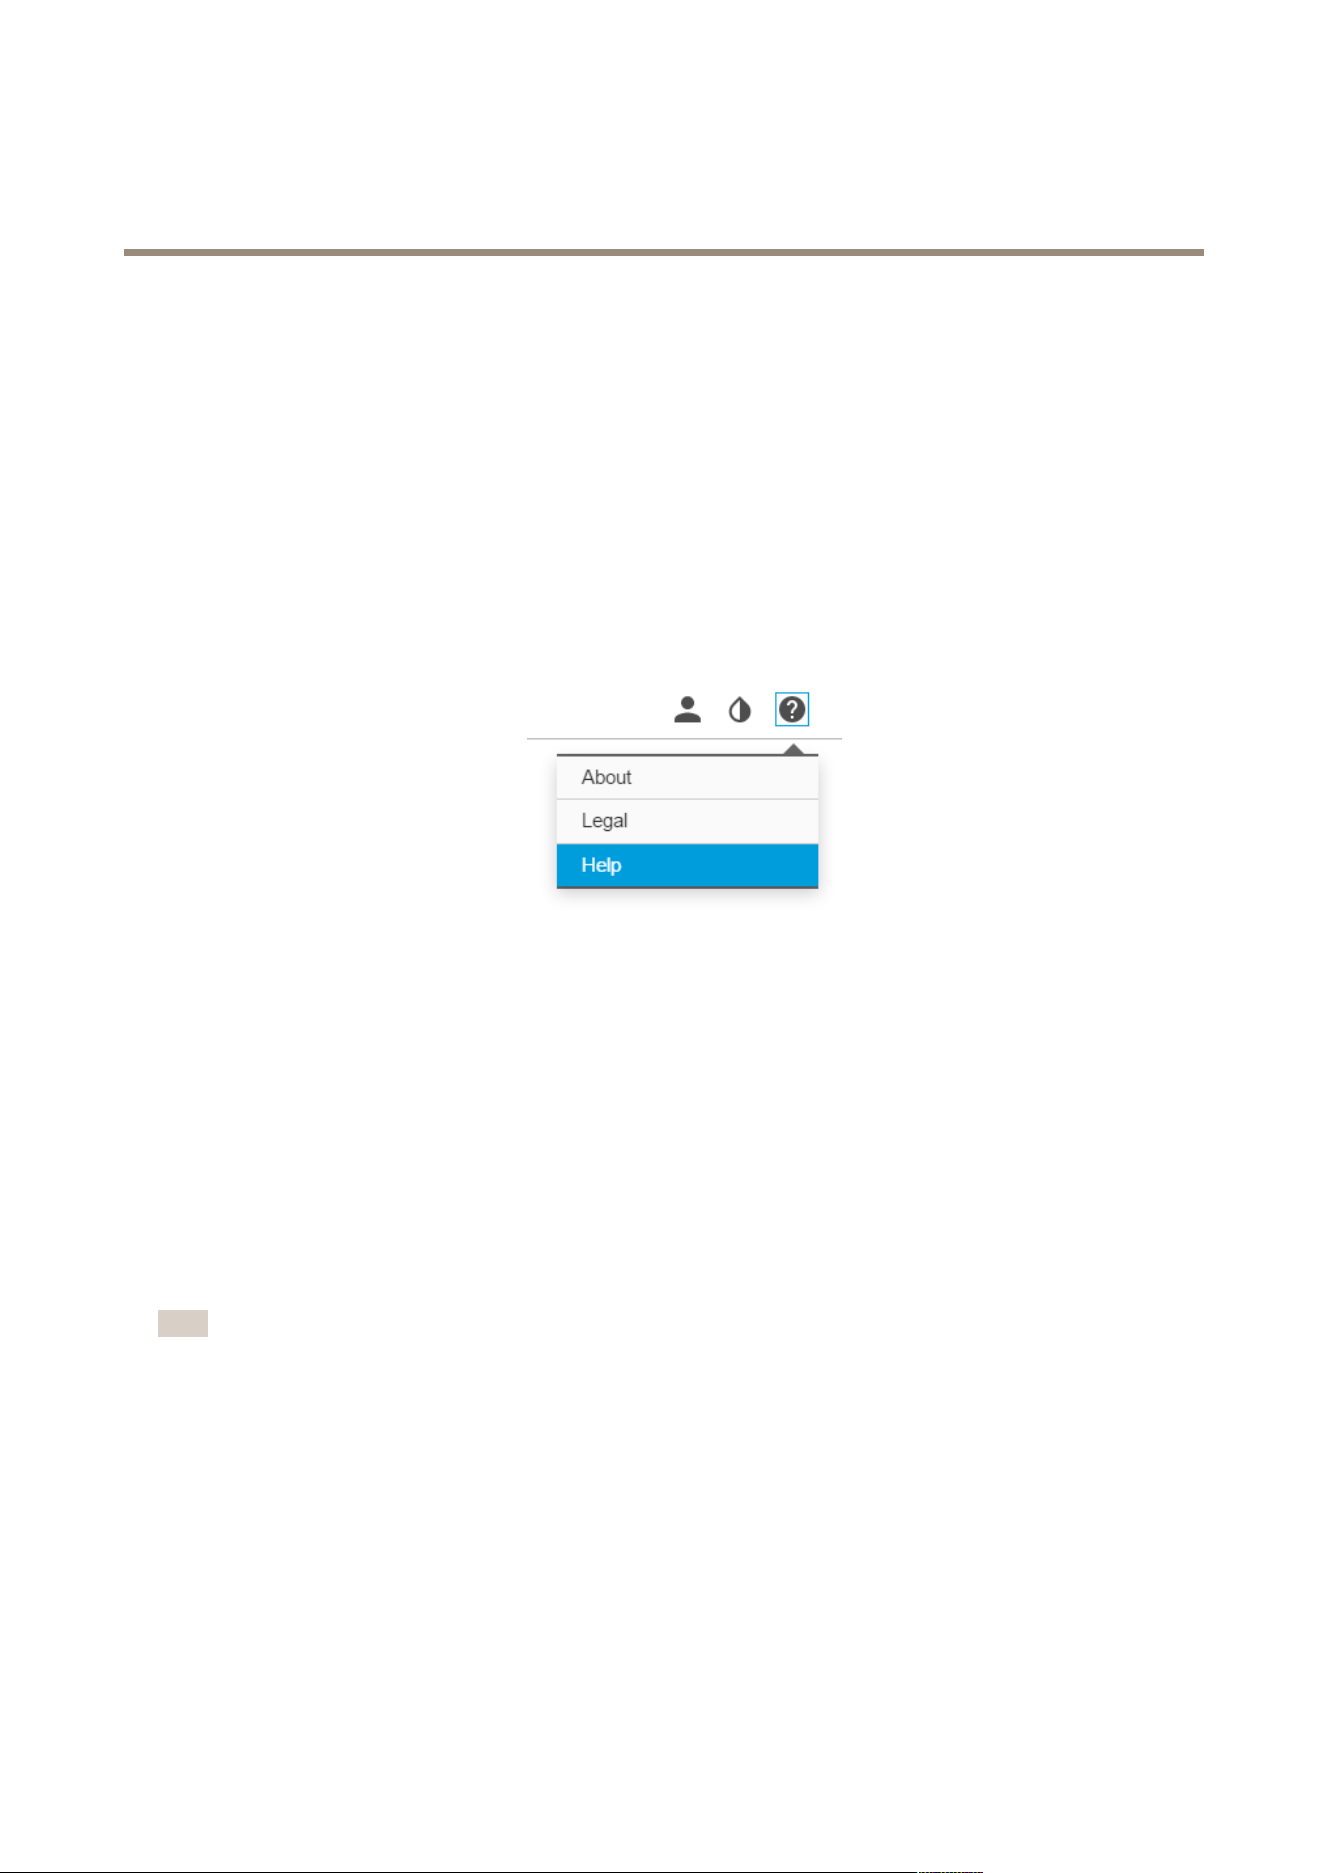
Aboutthecamera'sbuilt-inhelp
Youcanaccessthebuilt-inhelpfromthecamera’swebpage.Thehelpprovidesmoredetailedinformationontheproduct’s
featuresandtheirsettings.
Audio
Howtoaddaudiotoyourrecording
Editthestreamprolewhichisusedfortherecording:
1.GotoSettings>System>Streamproles.
2.SelectthestreamproleandclickModify.
3.IntheAudiotab,selecttheAudiostreamcheckboxandselectOnfromthedrop-downlist.
4.ClickOk.
Howtoallowtwo-wayaudiocommunication
Note
Whenyouhavesetuptwo-wayaudiocommunicationinthecamera’suserinterface,useavideomanagementsystem
tomakeuseofthefunctionality.
Thisusecaseexplainshowtomakeitpossibletocommunicatewithaudiothroughtheproduct.
Connectamicrophoneandaspeakertotheproduct:
1.ConnectamicrophonetotheAudioinconnector.
2.ConnectaspeakertotheAudiooutconnector.
Allowtwo-wayaudiointhecamera'swebpage:
1.GotoSettings>Streamandincludeaudio.
6

AXIST61AudioandI/OInterfaceSeries
Setup
2.GotoSettings>Audioandmakesureaudioisallowed.
3.MakesureModeissettoFullduplex.
Events
Howtotriggeranaction
1.GotoSettings>System>Eventstosetupanactionrule.Theactionruledeneswhenthecamerawillperformcertain
actions.Actionrulescanbesetupasscheduled,recurring,orforexample,triggeredbymotiondetection.
2.SelectwhatTriggermustbemettotriggertheaction.Ifyouspecifymorethanonetriggerfortheactionrule,all
ofthemmustbemettotriggertheaction.
3.SelectwhichActionthecamerashouldperformwhentheconditionsaremet.
Note
Ifyoumakechangestoanactiveactionrule,theactionruleneedstoberestartedforthechangestotakeeffect.
HowtorecordvideowhenaPIRdetectorsensesmotion
ThisexampleexplainshowtoconnectanAxisPIRdetectortotheproduct,andsetupthecameratostartrecordingwhenthe
detectorsensesmotion.
Requiredhardware
•3–wirecable(ground,power,I/O)
•AxisPIRdetector
NO NO
NO
TICE TICE
TICE
Disconnecttheproductfrompowerbeforeconnectingthewires.Reconnecttopowerafterallconnectionsaredone.
Connectthewirestotheproduct’sI/Oconnector
Note
ForinformationontheI/Oconnector,seeConnectorsonpage10
1.Connectthegroundwiretopin1(GND/-).
2.Connectthepowerwiretopin2(12VDCoutput).
3.ConnecttheI/Owiretopin3(I/Oinput).
ConnectthewirestothePIRdetector’sI/Oconnector
1.Connecttheotherendofthegroundwiretopin1(GND/-).
2.Connecttheotherendofthepowerwiretopin2(DCinput/+).
3.ConnecttheotherendoftheI/Owiretopin3(I/Ooutput).
7

AXIST61AudioandI/OInterfaceSeries
Setup
ConguretheI/Oportinthecamera’swebpage
1.GotoSettings>System>I/Oports.
2.SelectInputinthePort1drop-downlist.
3.Givetheinputmoduleadescriptivename.
4.TomakethePIRdetectorsendasignaltothecamerawhenitsensesmotion,selectClosedcircuitinthedrop-downlist.
TotriggerthecameratostartrecordingwhenitreceivesasignalfromthePIRdetector,youneedtocreateanactionruleinthe
camera’swebpage.
Howtodetecttamperingwithinputsignal
Thisexampleexplainshowtotriggeranalarmwhentheinputsignalhasbeencutorshort-circuited.Formoreinformationaboutthe
I/Oconnector,seepage10.
1.GotoSettings>System>I/OPortsandenableSupervisedI/Oforoneoftheports.
Createanactionrule:
1.GotoSettings>System>Eventsandcreateanactionrule.
2.Typeanamefortheactionrule.
3.Fromthelistoftriggers,selectInputSignalandthenDigitalinputport.SelecttheportwithSupervisedI/Oandset
TamperedtoYes.
4.Fromthelistofschedules,selectAlways.
5.Fromthelistofactions,selectSendNoticationandthenselectarecipientorcreateanewrecipient.
6.ClickOK.
8

AXIST61AudioandI/OInterfaceSeries
Troubleshooting
Troubleshooting
Technicalissues,cluesandsolutions
Ifyoucan’tndwhatyou’relookingforhere,trythetroubleshootingsectionataxis.com/support
TheAudiotabandI/Oiconarenotvisibleinthecamera’swebpage
Thewebpageisnotupdated.Refreshthebrowserwindow.Ifthatdoesnothelp,clearthebrowsercache.
Wrongcamerarmware
version.
Verifythatthecamera’srmwareversionsupportstheproduct.Forinformationabouthowto
checkthecamera’srmwareversion,seethecamera’susermanual.
Thenetworkconnectionis
unavailable.
ChecktheLEDindicatorsontheproductandcomparewiththeLEDindicatorstableonpage10.
Theinputandoutput
networkcablesare
connectedtothewrong
connectors.
Interchangetheinputandoutputnetworkcables.
TheAudiotabisvisiblebutaudioisnotworking
Thecamerahasbeen
disconnectedfromthe
AudioandI/OInterface.
ReconnectthecameratotheAudioandI/OInterfaceandrefreshthecamera’swebpage.
Thecameradoesn’tstartupafterconnectingittotheproduct
Hardwareissue
ContactAxissupport.
9

AXIST61AudioandI/OInterfaceSeries
Specifications
Specifications
Tondthelatestversionoftheproduct’sdatasheet,gototheproductpageonaxis.comandlocateSupport&Documentation.
LEDindicators
StatusLED
Indication
GreenSteadygreenfornormaloperation.
Amber
Steadyduringstartup.Flashesduringrmwareupgrade.
Amber/RedFlashesamber/redifnetworkconnectionisunavailableorlost.
RedFlashesredforrmwareupgradefailure.
Connectors
Networkconnector
Input:RJ45EthernetconnectorwithPoweroverEthernet(PoE).
Output:RJ45EthernetconnectorwithPoweroverEthernet(PoE).
Audioconnector
TheAxisproducthasthefollowingaudioconnectors:
•Audioin(pink)–3.5mminputforamonomicrophone,oraline-inmonosignal.
•Audioout(green)–3.5mmoutputforaudio(linelevel)thatcanbeconnectedtoapublicaddress(PA)systemoran
activespeakerwithabuilt-inamplier.Itisrecommendedtouseastereoconnectorforaudioout.
Foraudioin,theleftchannelisusedfromastereosignal.
3.5mmaudioconnectors
1Tip2Ring
3Sleeve
AudioInput
Microphone/Linein,Microphonebias
voltage
Ground
AudioOutput
Lineout,monoLineout,mono
Ground
I/Oconnector
UsetheI/Oconnectorwithexternaldevicesincombinationwith,forexample,motiondetection,eventtriggering,andalarm
notications.Inadditiontothe0VDCreferencepointandpower(DCoutput),theI/Oconnectorprovidestheinterfaceto:
Digitalinput-Forconnectingdevicesthatcantogglebetweenanopenandclosedcircuit,forexamplePIRsensors,door/window
contacts,andglassbreakdetectors.
Supervisedinput-Enablespossibilitytodetecttamperingonadigitalinput.
Digitaloutput-ForconnectingexternaldevicessuchasrelaysandLEDs.ConnecteddevicescanbeactivatedbytheVAPIX®
ApplicationProgrammingInterfaceorfromtheproduct’swebpage.
10

AXIST61AudioandI/OInterfaceSeries
Specifications
4-pinterminalblock
FunctionPinNotes
Specications
DCground
1
0VDC
DCoutput
2
Canbeusedtopowerauxiliaryequipment.
Note:Thispincanonlybeusedaspowerout.
12VDC
Maxload=50mA
DigitalinputorSupervisedinput–Connecttopin1toactivate,or
leaveoating(unconnected)todeactivate.Tousesupervisedinput,
installend-of-lineresistors.Seeconnectiondiagramforinformation
abouthowtoconnecttheresistors.
0tomax30VDC
Congurable
(InputorOutput)
3–4
Digitaloutput–Connecttopin1toactivate,orleaveoating
(unconnected)todeactivate.Ifusedwithaninductiveload,e.g.,a
relay,connectadiodeinparallelwiththeload,toprotectagainst
voltagetransients.
0tomax30VDC,opendrain,
100mA
Example
1
DCground
2
DCoutput12V,max50mA
3
I/Oconguredassupervisedinput
4
I/Oconguredasoutput
11

UserManualVer.M1.18
AXIST61AudioandI/OInterfaceSeries
Date:April2018
©AxisCommunicationsAB,2018
PartNo.T10117959