
Wireless Bridge (Web)
User Manual

Wireless Bridge (Web) • User Manual
i
Legal Information
About this Document
● This Document includes instructions for using and managing the Product. Pictures, charts, images
and all other information hereinafter are for description and explanation only.
● The information contained in the Document is subject to change, without notice, due to firmware
updates or other reasons. Please find the latest version of the Document at the Hikvision website
(https://www.hikvision.com). Unless otherwise agreed, Hangzhou Hikvision Digital Technology
Co., Ltd. or its affiliates (hereinafter referred to as "Hikvision") makes no warranties, express or
implied.
● Please use the Document with the guidance and assistance of professionals trained in supporting
the Product.
About this Product
This product can only enjoy the after-sales service support in the country or region where the
purchase is made.
Acknowledgment of Intellectual Property Rights
● Hikvision owns the copyrights and/or patents related to the technology embodied in the Products
described in this Document, which may include licenses obtained from third parties.
● Any part of the Document, including text, pictures, graphics, etc., belongs to Hikvision. No part of
this Document may be excerpted, copied, translated, or modified in whole or in part by any means
without written permission.
● and other Hikvision's trademarks and logos are the properties of Hikvision in
various jurisdictions.
● Other trademarks and logos mentioned are the properties of their respective owners.
LEGAL DISCLAIMER
● TO THE MAXIMUM EXTENT PERMITTED BY APPLICABLE LAW, THIS DOCUMENT AND THE
PRODUCT DESCRIBED, WITH ITS HARDWARE, SOFTWARE AND FIRMWARE, ARE PROVIDED "AS IS"
AND "WITH ALL FAULTS AND ERRORS". HIKVISION MAKES NO WARRANTIES, EXPRESS OR IMPLIED,
INCLUDING WITHOUT LIMITATION, MERCHANTABILITY, SATISFACTORY QUALITY, OR FITNESS FOR
A PARTICULAR PURPOSE. THE USE OF THE PRODUCT BY YOU IS AT YOUR OWN RISK. IN NO EVENT
WILL HIKVISION BE LIABLE TO YOU FOR ANY SPECIAL, CONSEQUENTIAL, INCIDENTAL, OR
INDIRECT DAMAGES, INCLUDING, AMONG OTHERS, DAMAGES FOR LOSS OF BUSINESS PROFITS,
BUSINESS INTERRUPTION, OR LOSS OF DATA, CORRUPTION OF SYSTEMS, OR LOSS OF
DOCUMENTATION, WHETHER BASED ON BREACH OF CONTRACT, TORT (INCLUDING
NEGLIGENCE), PRODUCT LIABILITY, OR OTHERWISE, IN CONNECTION WITH THE USE OF THE
PRODUCT, EVEN IF HIKVISION HAS BEEN ADVISED OF THE POSSIBILITY OF SUCH DAMAGES OR
LOSS.
● YOU ACKNOWLEDGE THAT THE NATURE OF THE INTERNET PROVIDES FOR INHERENT SECURITY

Wireless Bridge (Web) • User Manual
ii
RISKS, AND HIKVISION SHALL NOT TAKE ANY RESPONSIBILITIES FOR ABNORMAL OPERATION,
PRIVACY LEAKAGE OR OTHER DAMAGES RESULTING FROM CYBER-ATTACK, HACKER ATTACK,
VIRUS INFECTION, OR OTHER INTERNET SECURITY RISKS; HOWEVER, HIKVISION WILL PROVIDE
TIMELY TECHNICAL SUPPORT IF REQUIRED.
● YOU AGREE TO USE THIS PRODUCT IN COMPLIANCE WITH ALL APPLICABLE LAWS, AND YOU ARE
SOLELY RESPONSIBLE FOR ENSURING THAT YOUR USE CONFORMS TO THE APPLICABLE LAW.
ESPECIALLY, YOU ARE RESPONSIBLE, FOR USING THIS PRODUCT IN A MANNER THAT DOES NOT
INFRINGE ON THE RIGHTS OF THIRD PARTIES, INCLUDING WITHOUT LIMITATION, RIGHTS OF
PUBLICITY, INTELLECTUAL PROPERTY RIGHTS, OR DATA PROTECTION AND OTHER PRIVACY
RIGHTS. YOU SHALL NOT USE THIS PRODUCT FOR ANY PROHIBITED END-USES, INCLUDING THE
DEVELOPMENT OR PRODUCTION OF WEAPONS OF MASS DESTRUCTION, THE DEVELOPMENT OR
PRODUCTION OF CHEMICAL OR BIOLOGICAL WEAPONS, ANY ACTIVITIES IN THE CONTEXT
RELATED TO ANY NUCLEAR EXPLOSIVE OR UNSAFE NUCLEAR FUEL-CYCLE, OR IN SUPPORT OF
HUMAN RIGHTS ABUSES.
● IN THE EVENT OF ANY CONFLICTS BETWEEN THIS DOCUMENT AND THE APPLICABLE LAW, THE
LATTER PREVAILS.
© Hangzhou Hikvision Digital Technology Co., Ltd. All rights reserved.

Wireless Bridge (Web) • User Manual
iii
Preface
Applicable Models
This manual is applicable to the wireless bridge for web operation.
Symbol Conventions
The symbols that may be found in this document are defined as follows.
Symbol
Description
Danger
Indicates a hazardous situation which, if not avoided, will or could
result in death or serious injury.
Caution
Indicates a potentially hazardous situation which, if not avoided, could
result in equipment damage, data loss, performance degradation, or
unexpected results.
Note
Provides additional information to emphasize or supplement
important points of the main text.
Safety Instructions
Danger
● This is a class A product and may cause radio interference in which case the user may be required
to take adequate measures.
●
No naked flame sources, such as lighted candles, should be placed on the equipment.
●
The serial port of the equipment is used for debugging only.
●
Install the equipment according to the instructions in Quick Start Guide.
● To prevent injury, this equipment must be securely attached to the installation surface in
accordance with the installation instructions.
●
Keep vertical downward when moving or using the equipment.
Caution
● In the use of the product, you must be in strict compliance with the electrical safety regulations
of the nation and region.
● The socket-outlet shall be installed near the equipment and shall be easily accessible.
● Do not connect several devices to one power adapter as adapter overload may cause
overheating or a fire hazard.
● Please make sure that the plug is firmly connected to the power socket.

Wireless Bridge (Web) • User Manual
iv
Contents
Chapter 1 Introduction ................................................................................................................... 1
Chapter 2 Activation and Login ...................................................................................................... 2
Activate the Device ........................................................................................................................................ 2
Log in to the Device........................................................................................................................................ 2
Chapter 3 Network Configuration .................................................................................................. 4
Network Settings ........................................................................................................................................... 4
3.1.1 Network Connection Settings .............................................................................................................. 4
3.1.2 LAN Settings ........................................................................................................................................ 5
3.1.3 Data Forwarding Settings ..................................................................................................................... 6
Wireless Network Settings ............................................................................................................................. 7
3.2.1 Basic Settings ...................................................................................................................................... 8
3.2.2 Advanced Settings ..............................................................................................................................10
Chapter 4 System Maintenance ................................................................................................... 11
Check Device Information .............................................................................................................................11
4.1.1 Device Information .............................................................................................................................11
4.1.2 Device Status ......................................................................................................................................12
4.1.3 Network Status ...................................................................................................................................12
4.1.4 Connected Device Information ...........................................................................................................13
Edit Device Name ..........................................................................................................................................13
Reboot the Device.........................................................................................................................................13
Restore Defaults ...........................................................................................................................................14
Enable Intelligent Power Management ..........................................................................................................14
Save Debug Information ................................................................................................................................14
Import and Export Files .................................................................................................................................15
Upgrade the Device.......................................................................................................................................15
Set Time........................................................................................................................................................16
4.9.1 Manual Settings..................................................................................................................................16
4.9.2 NTP Setting ........................................................................................................................................16
Manage Safety ............................................................................................................................................17
4.10.1 HTTP Service.....................................................................................................................................17
4.10.2 HTTPS Service ...................................................................................................................................18
4.10.3 SSH Service .......................................................................................................................................19
4.10.4 SADP Service ....................................................................................................................................19
Manage Log ................................................................................................................................................20
Diagnose Network .......................................................................................................................................20
Ping Watchdog ............................................................................................................................................21
Test Wireless Bandwidth .............................................................................................................................22
Change Password ........................................................................................................................................22
View Open Source Software Licenses ..........................................................................................................23
Chapter 5 FAQs ............................................................................................................................. 24
Why the device cannot start up? ...................................................................................................................24
Why devices pairing failed? ...........................................................................................................................24
Why the wireless connection rate is relatively low? .......................................................................................24
Why the signal intensity is too low? ..............................................................................................................25
Why the throughput is inadequate even with high signal quality?..................................................................25
Why there are excessive packet loss and time delay when PC pings the device IP address? ............................25

Wireless Bridge (Web) • User Manual
1
Chapter 1 Introduction
You can manage and configure the wireless bridge (hereinafter referred to as the device) through
the web browser, including network settings, wireless network settings, and system management.
Note
Functions vary with device models. Pictures used for illustration here are for example purposes. The
actual interface prevails.

Wireless Bridge (Web) • User Manual
2
Chapter 2 Activation and Login
Activate the Device
For the security of your privacy and system data, you are required to set a password for your first
use. After the password is set, you can log in to the web for further configuration.
Before You Start
Ensure that your PC and the device are on the same network segment.
Steps
1.
Run the web browser.
2. Enter the IP address of the device in the address bar, and press Enter.
3. Set your password and confirm.
Caution
The password strength of the device can be automatically checked. We highly recommend you
change the password of your own choosing (using a minimum of 8 characters, including at least
three kinds of following categories: uppercase letters, lowercase letters, numbers, and special
characters) in order to increase the security of your product. And we recommend you change
your password regularly, especially in the high security system. Changing the password monthly
or weekly can better protect your product.
Proper configuration of all passwords and other security settings is the responsibility of the
installer and/or end-user.
4.
Select the desired Country/Region Code and confirm.
Note
Only when Country/Region Code is set, can the device work normally.
Log in to the Device
Log in to the device to check device information and configure related parameters.
Steps
1. Enter the IP address in the address bar of the web browser, and press Enter.

Wireless Bridge (Web) • User Manual
3
Log In
2. Enter the user name and password.
3. Click Login.
Wireless Bridge (Web) • User Manual
4
Chapter 3 Network Configuration
Network Settings
Click Network Settings to set relevant network parameters for the device.
Note
The function is available for some models only when AP is set as the working scene.
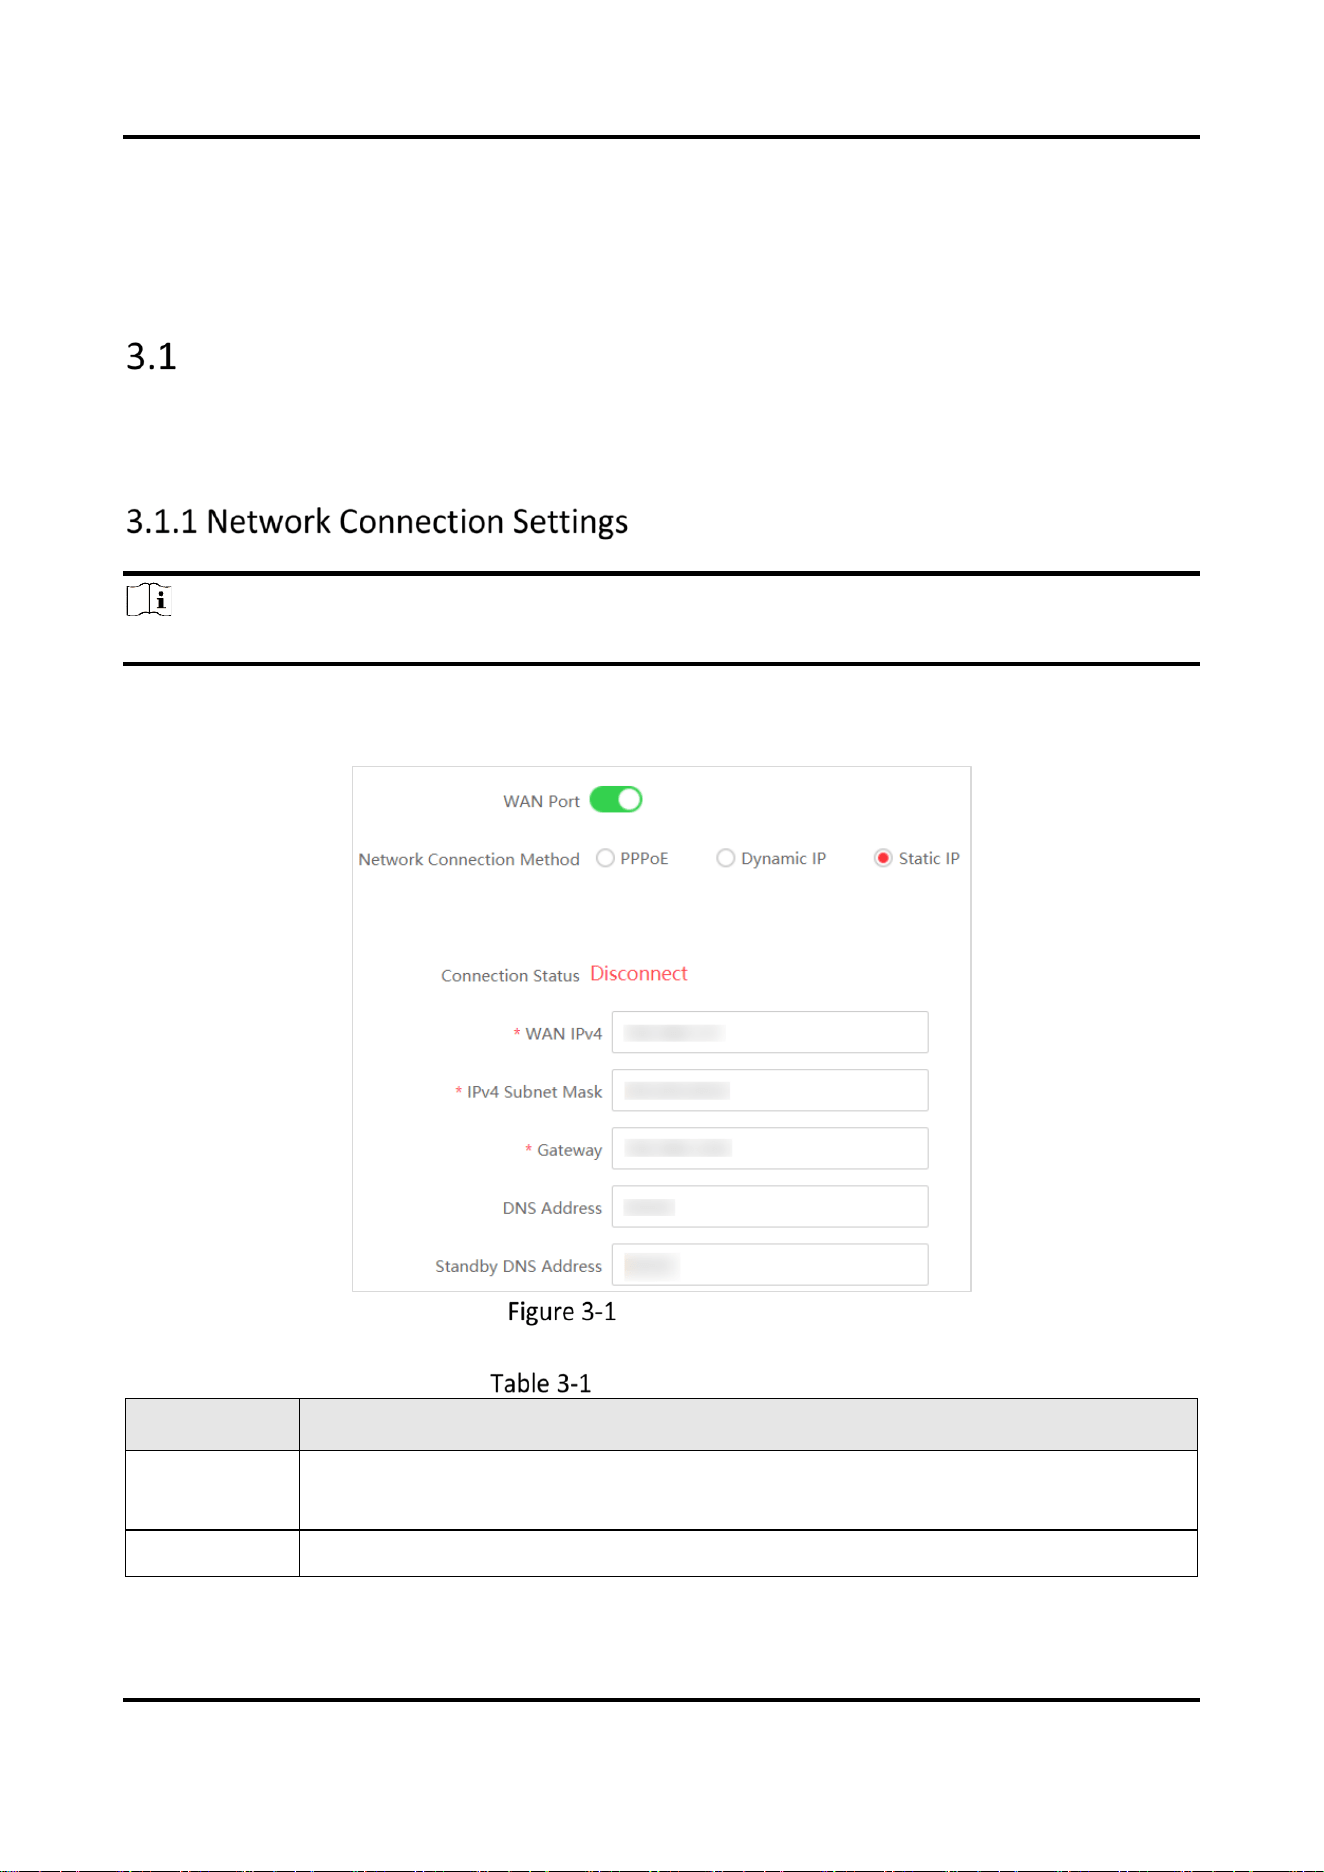
When the device is working in AP mode, you can enable WAN port and set relevant parameters,
such as Network Connection Method and WAN IPv4, to suit your needs.
WAN Port Settings
Parameter Description
Parameter
Description
PPPoE
Select this mode if your ISP (Internet Service Provider) has provided a broadband
account and password.
Dynamic IP
No additional configuration is required if you choose this mode.

Wireless Bridge (Web) • User Manual
5
Parameter
Description
Static IP
Select this mode if your ISP has provided an IP address and other information
related.
After configuring the network connection parameters, you can go to Network Settings → LAN
Settings to configure detailed network parameters.
Note
The function varies with models. Devices with WAN port function and devices without WAN port
function may have different sets of parameters to be configured. The actual interface prevails.
For devices without WAN port function or devices with WAN port function disabled, you can set
Network Connection Method, IPv4, IPv4 Subnet Mask, Gateway, DNS Address, and Standby DNS
Address.
LAN Settings (Without WAN Port Function/With WAN Port Function Disabled)
For devices with WAN port function enabled, you can configure the LAN port and DHCP server
respectively.

Wireless Bridge (Web) • User Manual
6
LAN Settings (With WAN Port Function Enabled)
After the IP address is reset, the web page redirects to the new login interface of the newly set IP
address.
Note
To prevent IP address conflict, it is recommended to use SADP tool when you set the device IP
address.
In a complex LAN environment, to reduce the negative impact of certain multicast, broadcast, and
unknown unicast packets on the device, you can filter the packets as required. Go to Network
Setting → Data Forwarding Settings to enable/disable the packet filtering features of the device.
Note
The function is available for some models only when AP is set as the working scene.
Wireless Bridge (Web) • User Manual
7
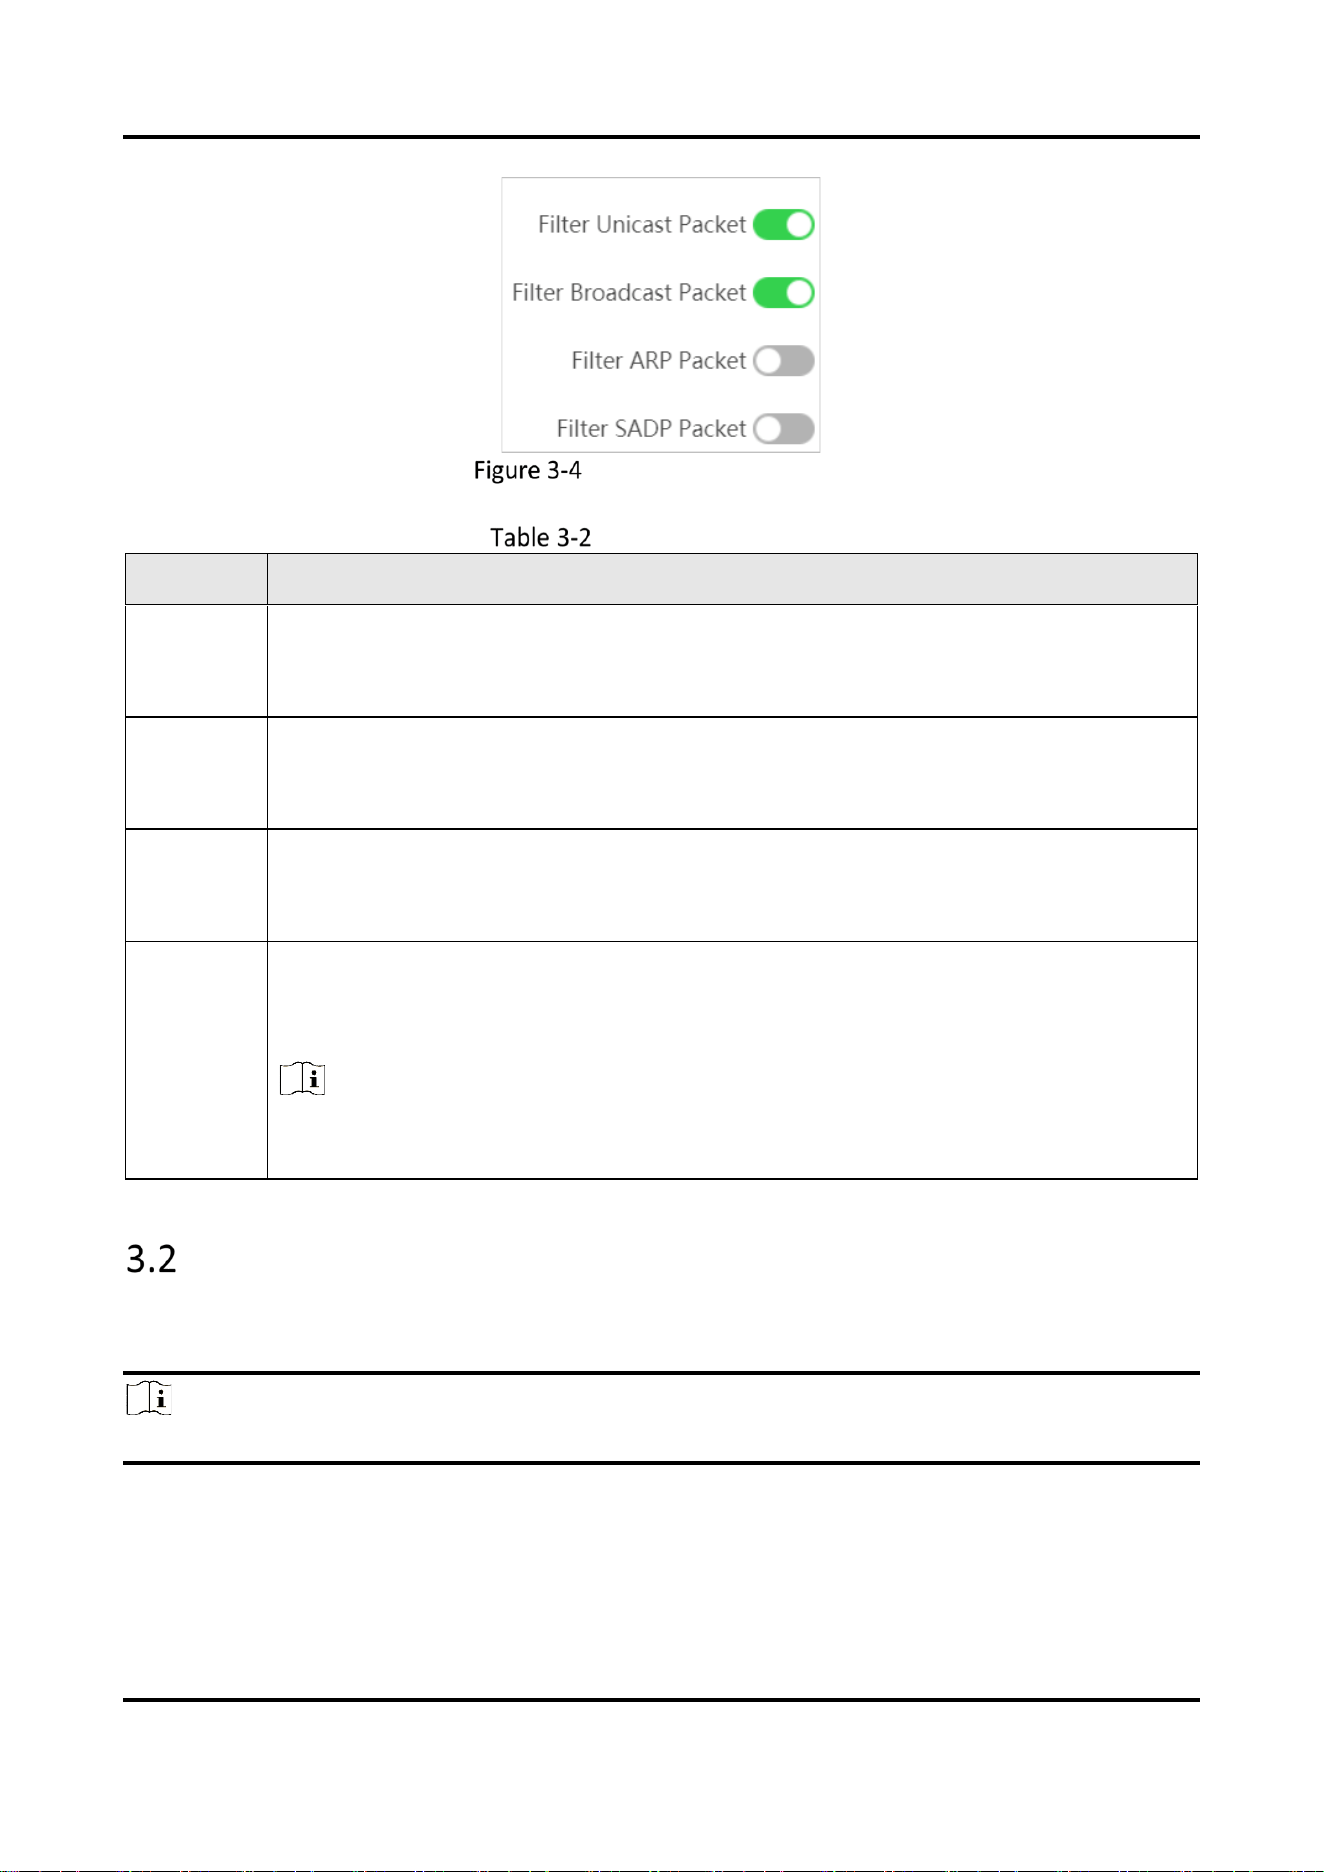
Data Forwarding Settings
Parameter Description
Parameter
Description
Filter
Unicast
Packet
Enabled by default. Enabling this function helps filter all unknown unicast packets,
to minimize the negative influence brought by massive unknown unicast packets in
the LAN.
Filter
Broadcast
Packet
Enabled by default. Enabling this function helps filter all unnecessary broadcast
packets, to minimize the negative influence brought by massive broadcast packets
in the LAN.
Filter ARP
Packet
Disabled by default. Enabling this function helps filter ARP packets sent to unknown
devices, to minimize the negative influence brought by massive ARP packets in the
LAN.
Filter
SADP
Packet
Disabled by default. Enabling this function helps filter SADP multicast packets, to
minimize the negative influence brought by massive SADP multicast packets in the
LAN.
Note
SADP discovery and related functions will become unavailable after this function is
enabled.
Wireless Network Settings
Click Wireless Network Settings to set basic and advanced parameters of wireless network.
Note
Parameters of this function vary with models. The actual interface prevails.
Wireless Bridge (Web) • User Manual
8
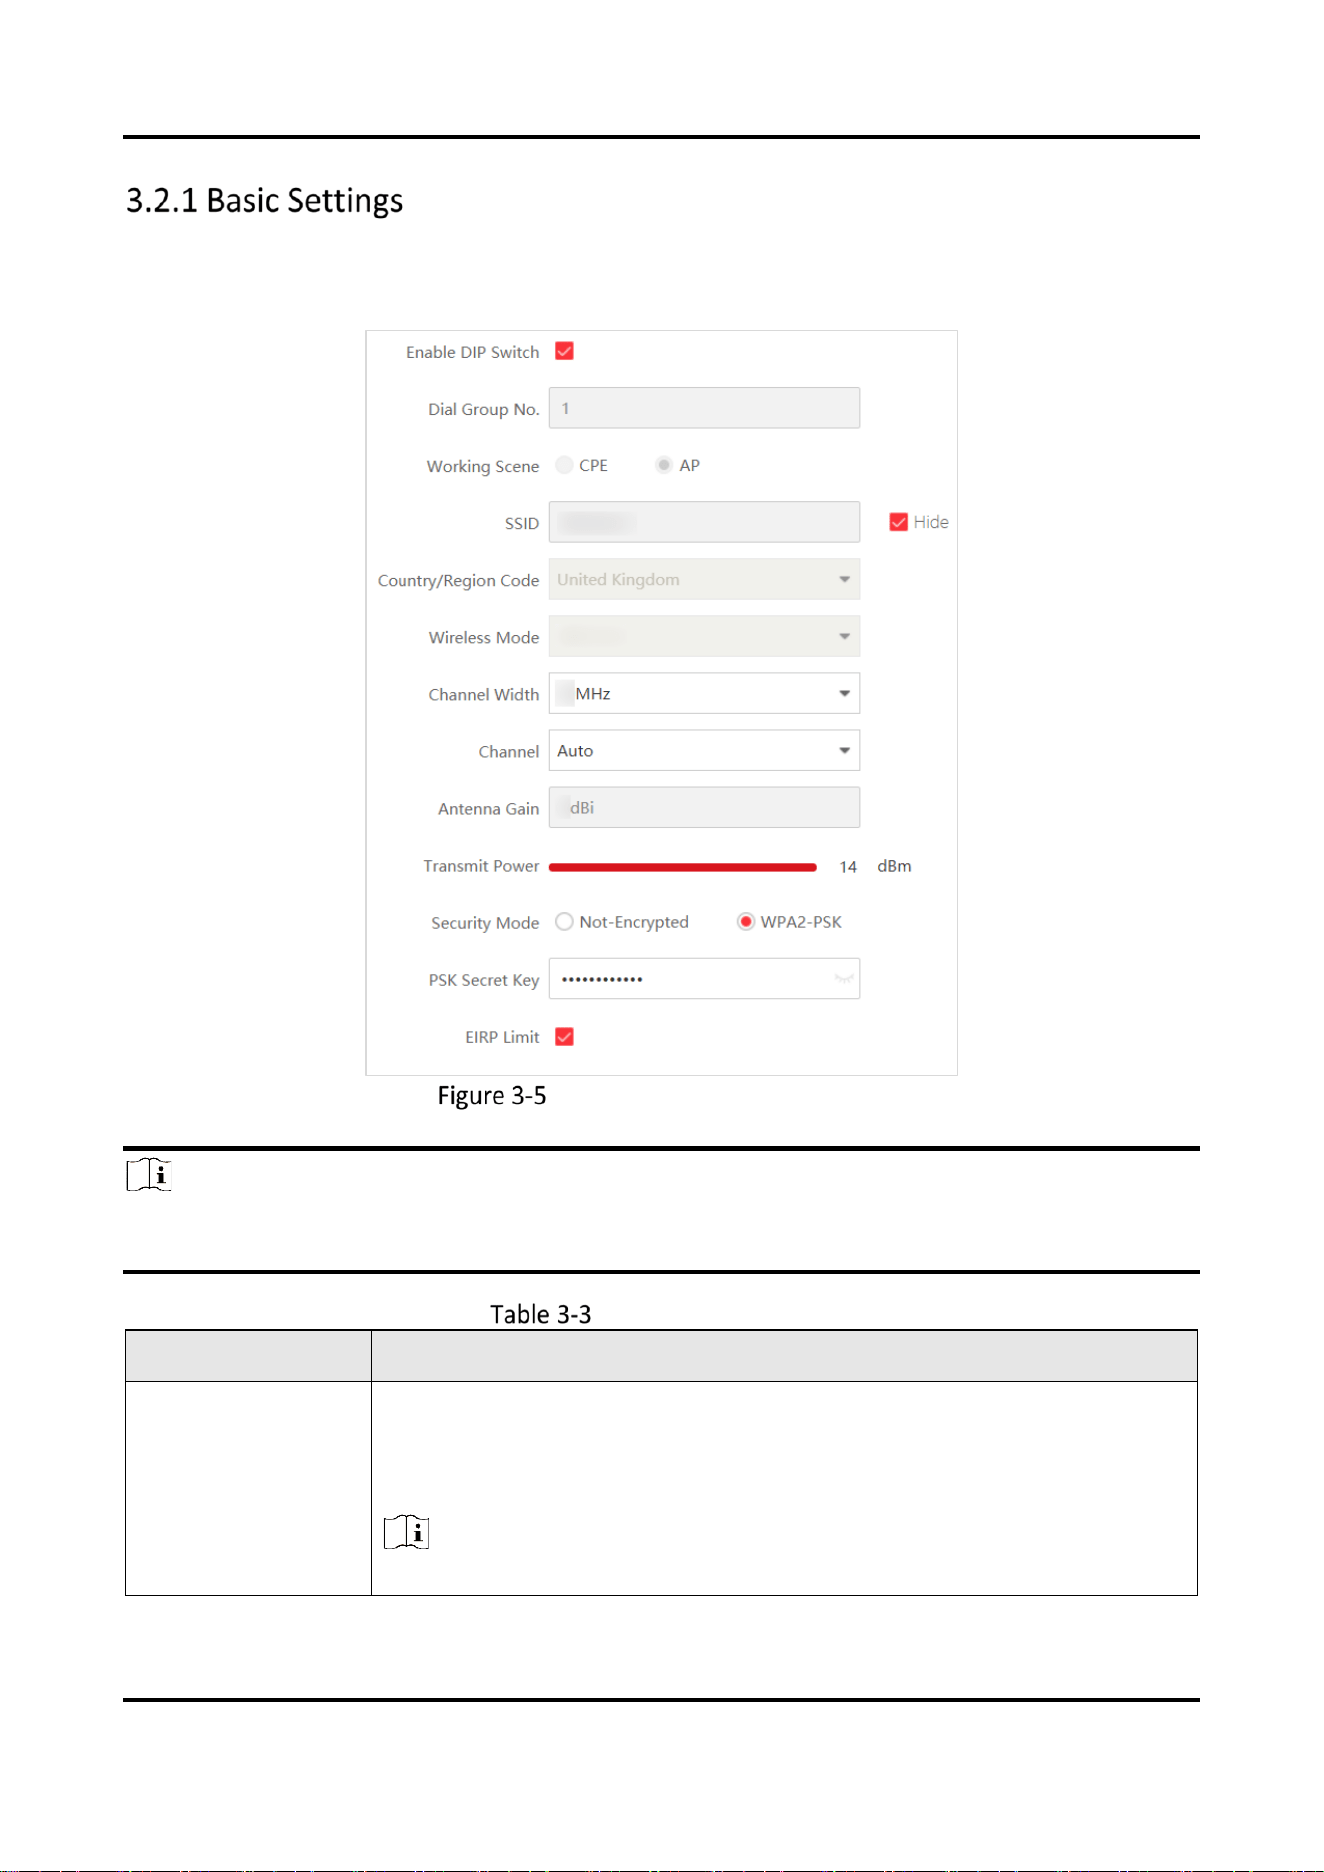
Go to Wireless Network Setting → Basic Settings to set wireless network basic parameters.
Wireless Network Basic Settings
Note
The picture used above is an example of a device with DIP switch function. The actual interface
varies with device models.
Parameter Description
Parameter
Description
Enable DIP Switch
Enable/disable the pairing code and scene switching function through the
DIP switch.
This function is enabled by default.
Note
● If the DIP group numbers are not enough for use, you can disable this

Wireless Bridge (Web) • User Manual
9
Parameter
Description
function and set SSID accordingly.
●
Enabling or disabling DIP switch makes the wireless connection
disconnected. Please operate with caution.
●
This parameter is only available for devices with DIP switch function.
Dial Group No.
1 to 16, used to indicate different group numbers. This information is only
displayed when DIP switch is enabled.
Note
This parameter is only available for devices with DIP switch function.
Working Scene
You can set Working Scene as desired through the web. Select AP to set
AP as Working Scene. Select CPE to set CPE as Working Scene.
SSID
● By default, the SSID is determined by the dial group number, and the
CPE pairs with the AP according to SSID.
● It is recommended to hide the SSID of APs for security.
Country/Region
Code
Set when activating the device. It is unchangeable after selected, unless
you restore all the settings to default settings.
Wireless Mode
It is not configurable.
Channel Width
● For APs: Channel widths are available for selection. The specific value
depends on the country/region code.
● For CPEs: The channel width is automatically changed according to the
AP. It is not configurable.
Channel
● For APs: Auto is set by default. You can select a desired one.
● For CPEs: Auto is set by default. It is not configurable.
Antenna Gain
The power transmitted in the direction of peak radiation to that of an
isotropic source.
Transmit Power
A key factor affecting the wireless coverage area and the maximum
achievable signal-to-noise ratio.
Security Mode
● WPA2-PSK is set by default, and the encryption method is AES.
● If Not-Encrypted is selected, there is no need to set PSK Secret Key.
PSK Secret Key
The pairing password for CPEs and APs. If WPA2-PSK is set as Security
Mode, you should configure PSK Secret Key.
EIRP Limit
Check to limit the EIRP (Effective Isotropic Radiated Power) of the device.
Note
You can select an optimum channel by clicking Scan Signal to check the signal intensity of available
channels nearby.
Wireless Bridge (Web) • User Manual
10
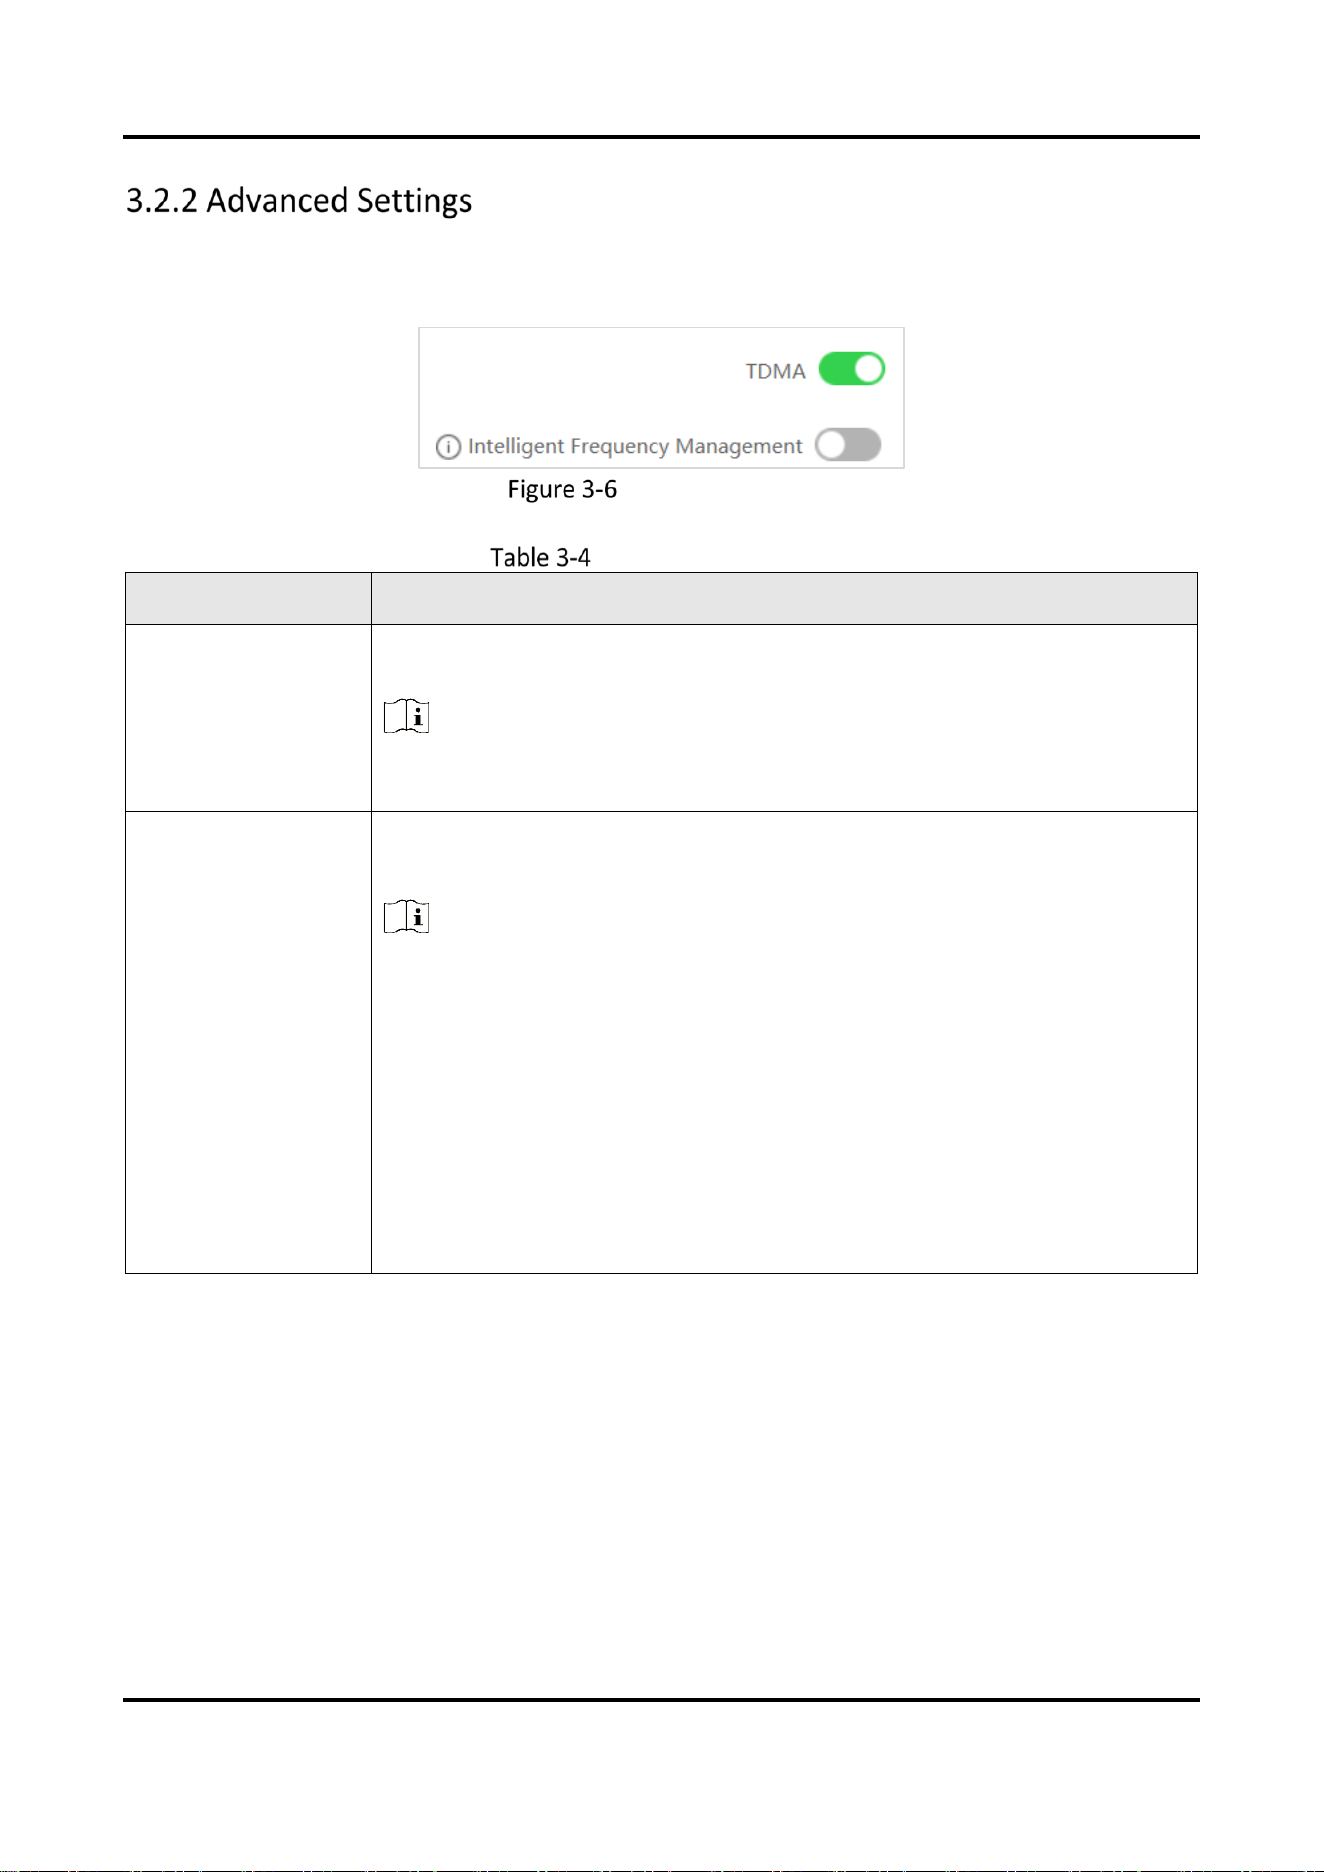
Go to Wireless Network Settings → Advanced Settings, enable or disable TDMA and Intelligent
Frequency Management as desired.
Advanced Settings
Parameter Description
Parameter
Description
TDMA
Enable TDMA to improve the throughput performance of the working
scene when an AP is connected to multiple devices.
Note
The function is available for some models only when AP is set as the
working scene.
Intelligent
Frequency
Management
Enable Intelligent Frequency Management to ensure stable video
transmission when interference is detected.
Note
The function is available for some models only when AP is set as the
working scene.
With this function, the working channel will be automatically switched
to the optimal channel of all the choices except the DFS (Dynamic
Frequency Selection) channels and indoor channels.
The function varies with countries. For certain countries, this function
is not available.
With this function enabled, you are not able to set the channel and
channel width manually. It is recommended that you disable this
function if roaming is needed.
Wireless Bridge (Web) • User Manual
11
Chapter 4 System Maintenance
Check Device Information
You can view the basic information, hardware status, network status, and wireless status for
routine check or device maintenance.
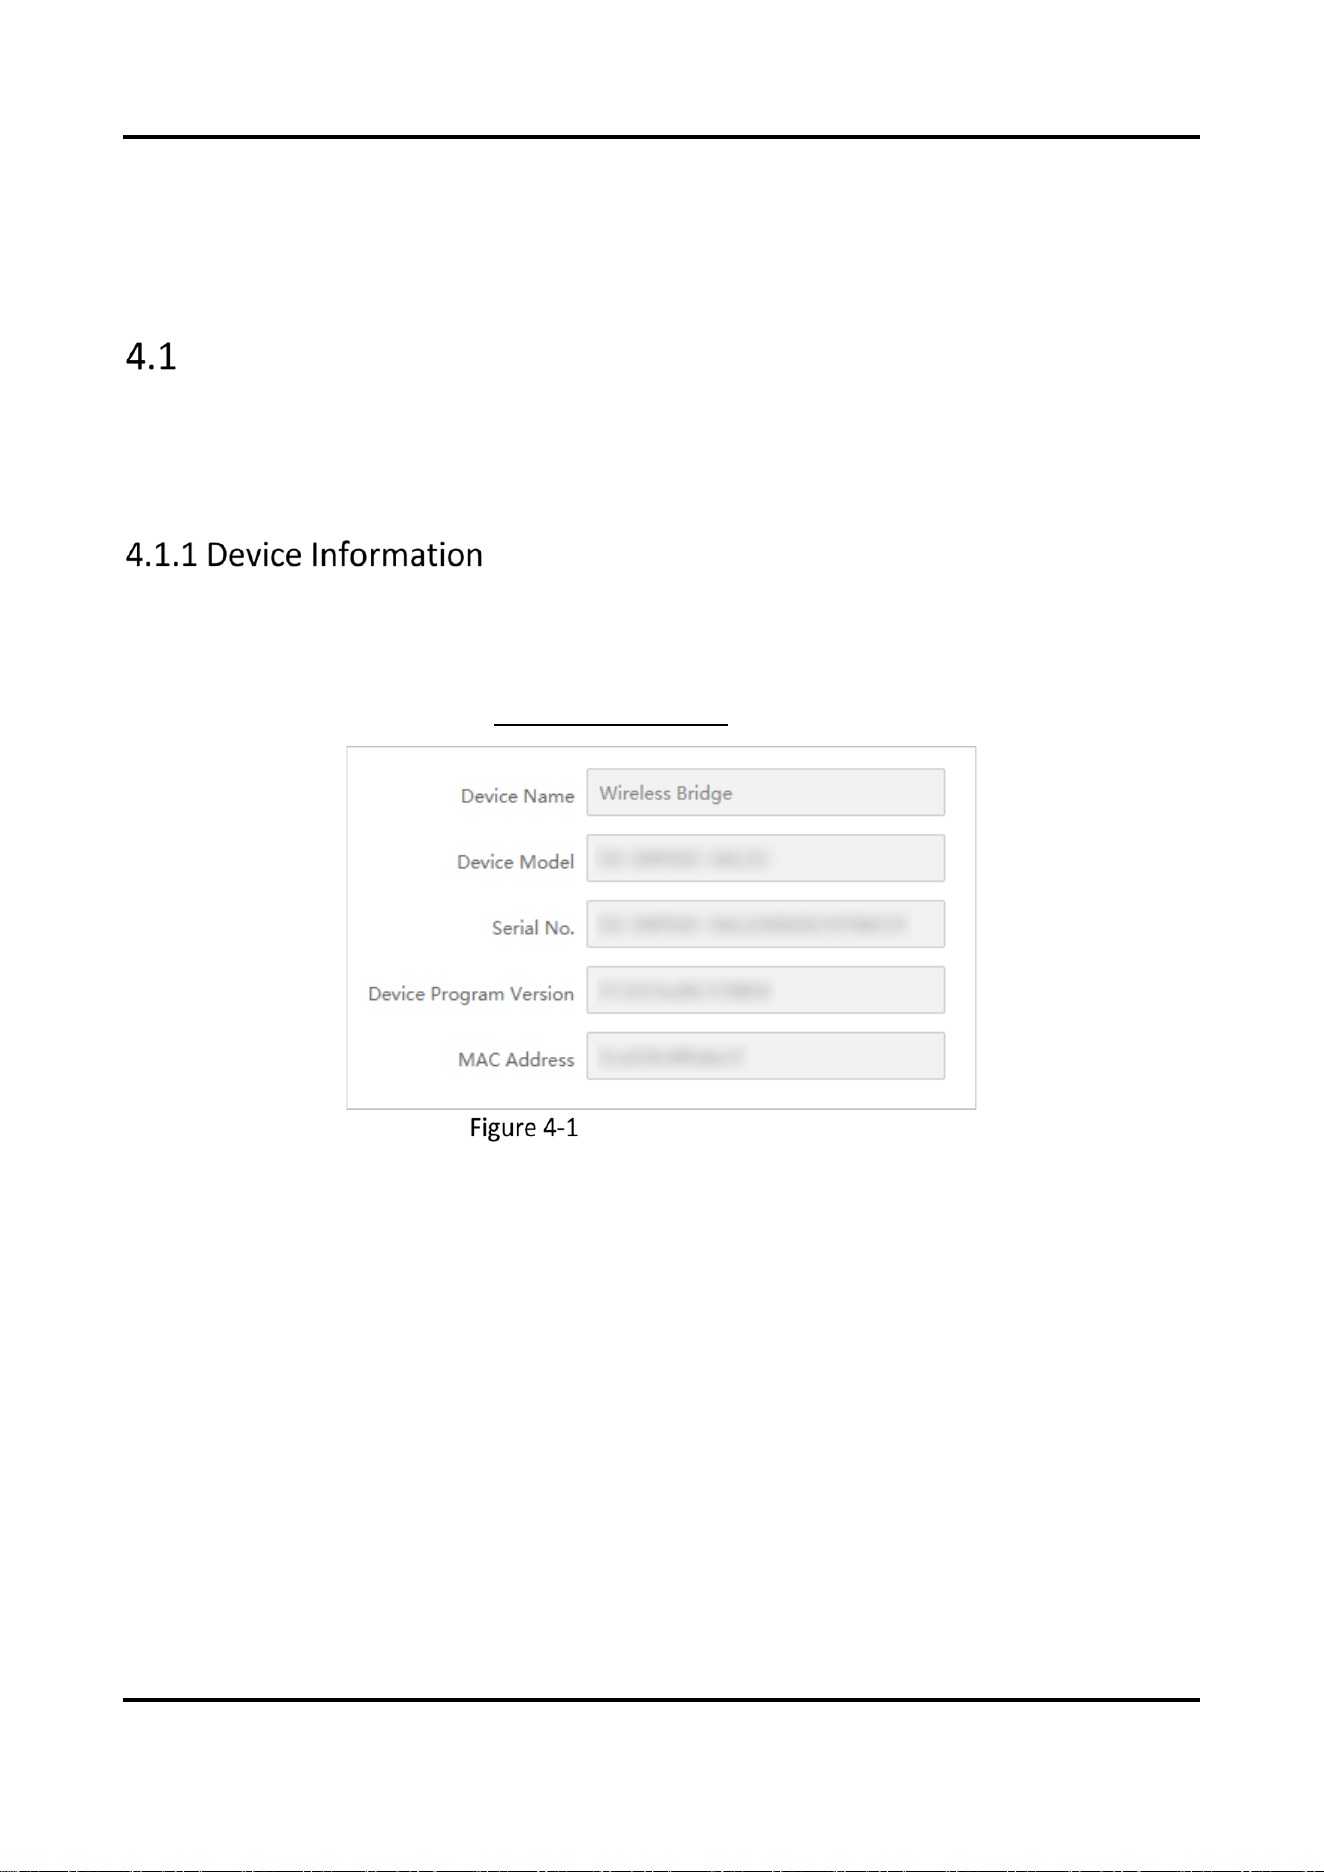
Go to System Status → Device Information to check device name, device model, serial No.,
program version, MAC address, etc.
Device Name is configurable. See 4.2 Edit Device Name
.
Check Device Information
Wireless Bridge (Web) • User Manual
12
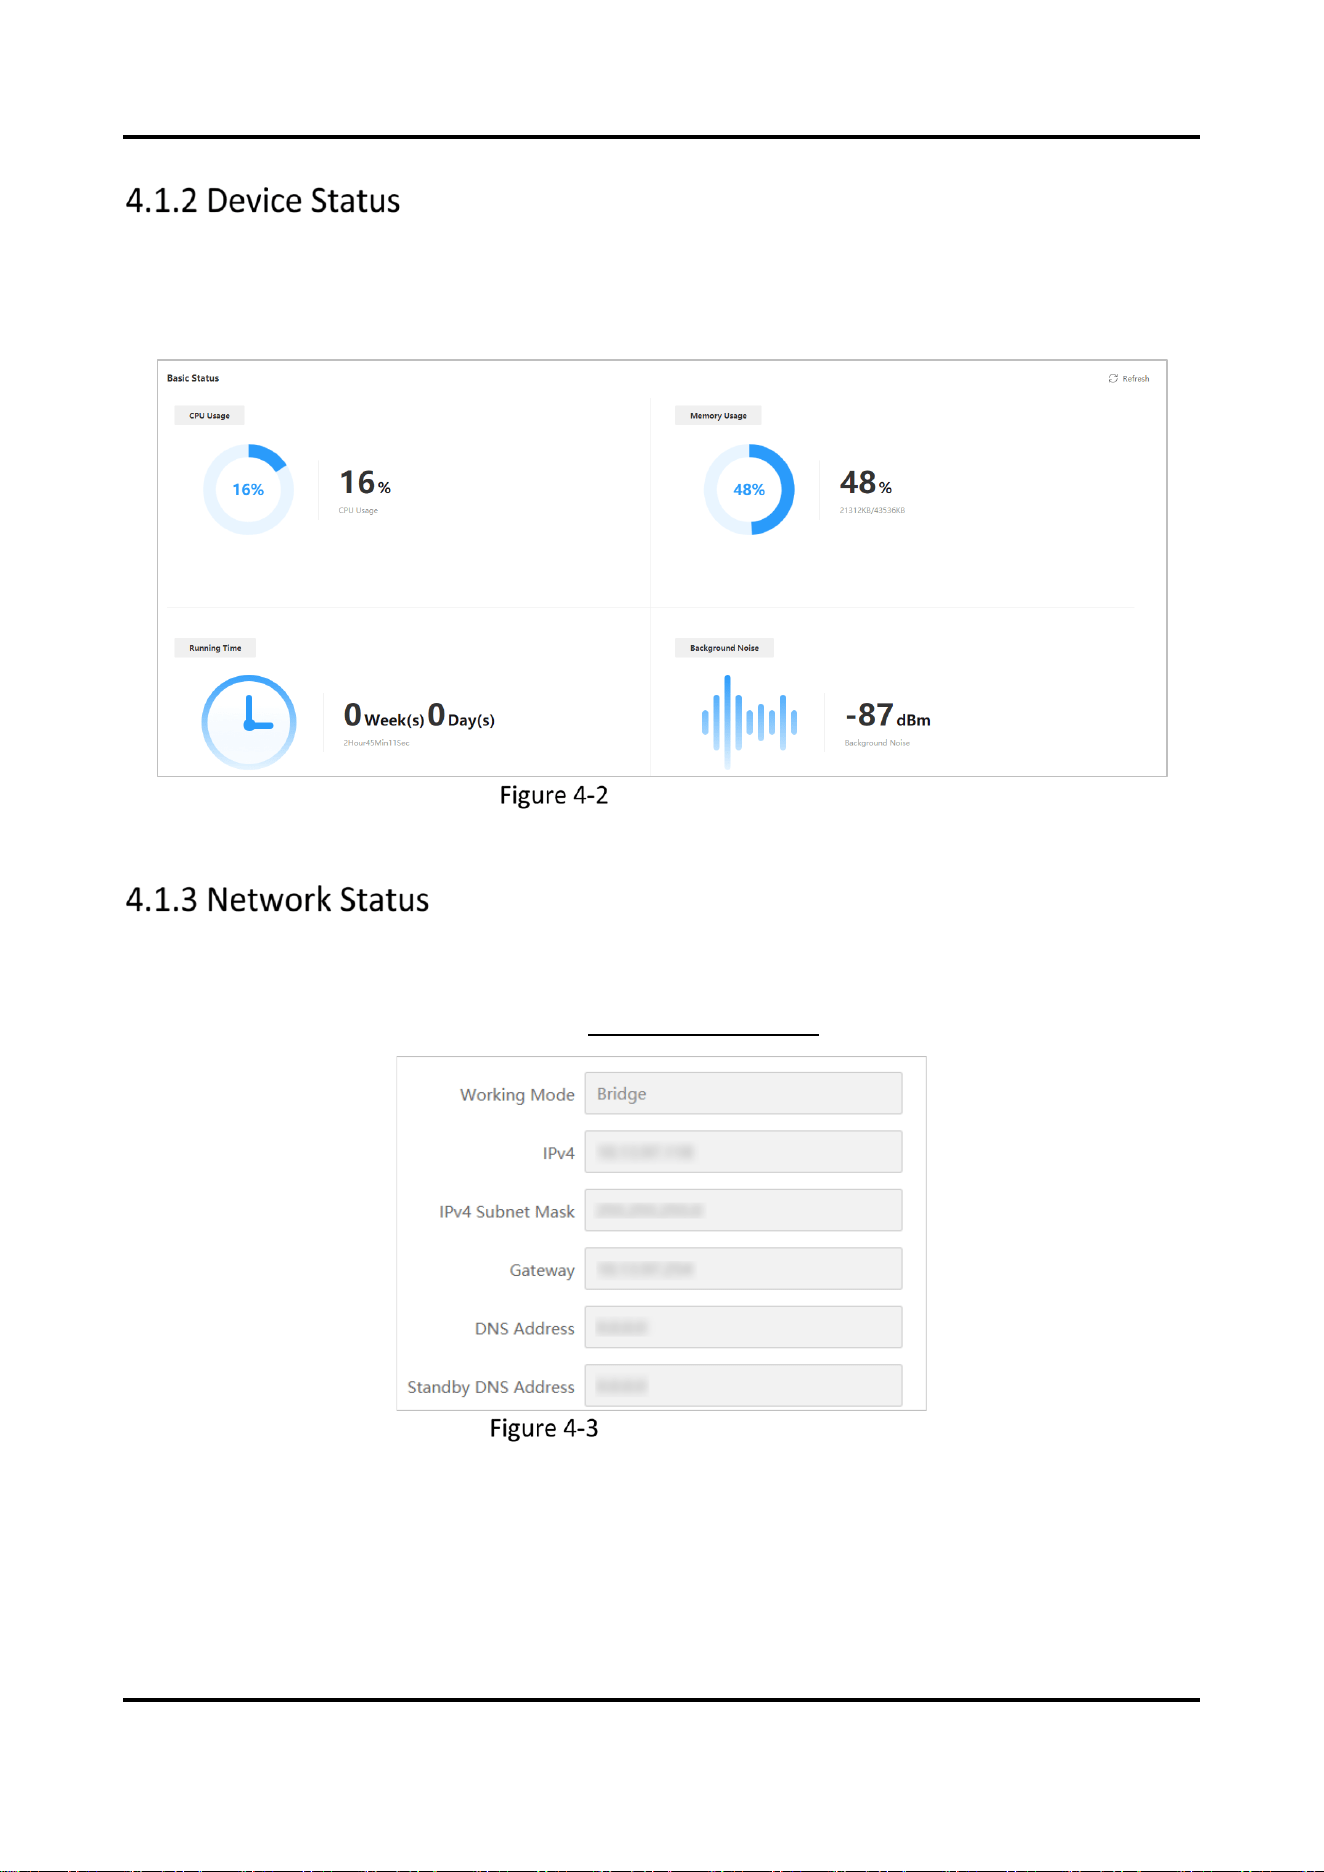
Go to System Status → Basic Status to check the CPU usage, memory usage, running time, and
background noise condition of the device. Click Refresh at the upper-right corner to update the
overall status.
Check Device Status
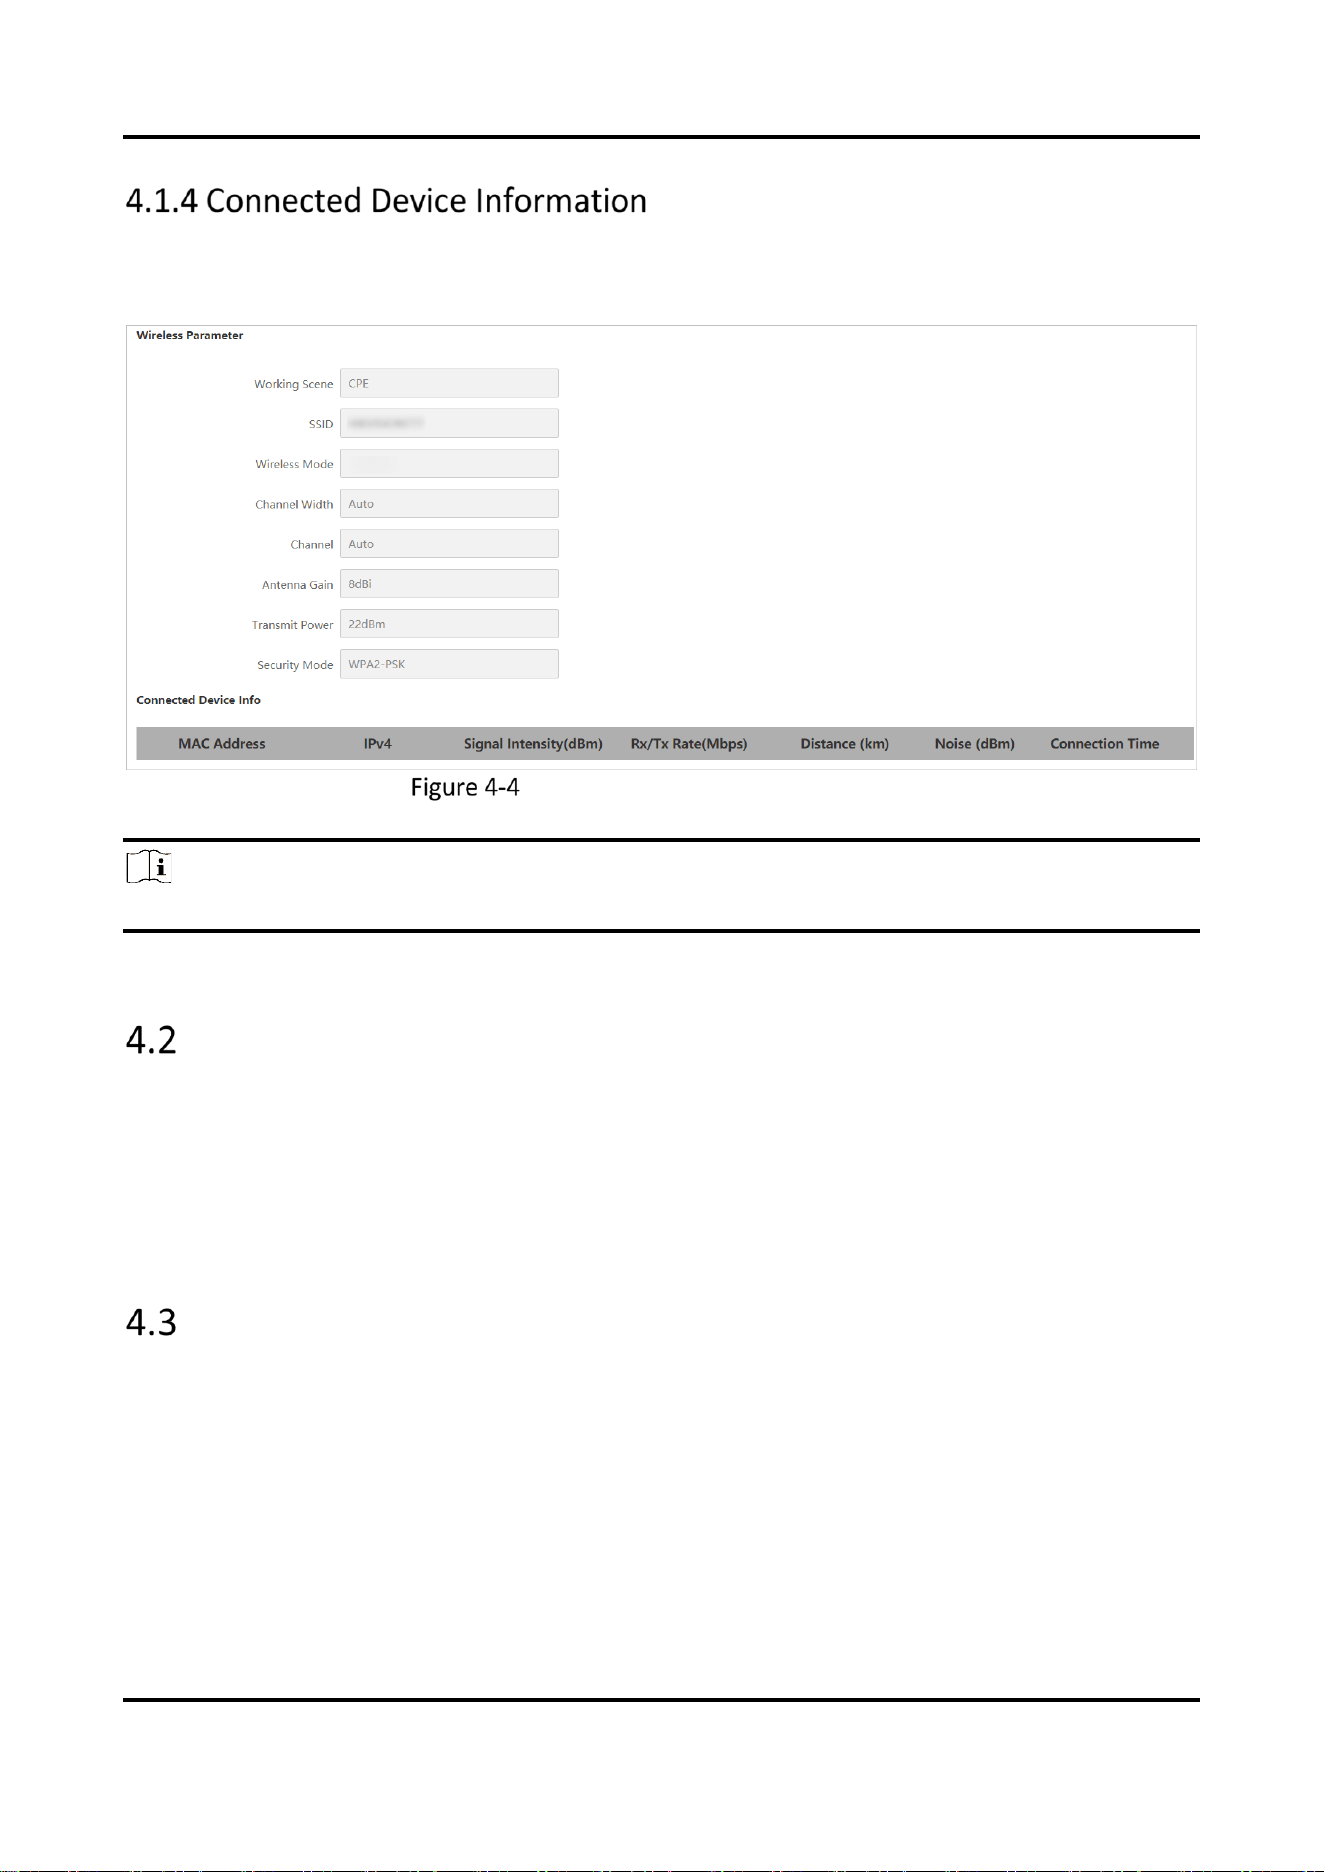
Go to System Status → Network Status to check the working mode, IPv4, IPv4 subnet mask,
gateway, DNS address, and standby DNS address of the device.
The LAN parameters are configurable. See 3.1 Network Settings.
Check Network Status
Wireless Bridge (Web) • User Manual
13
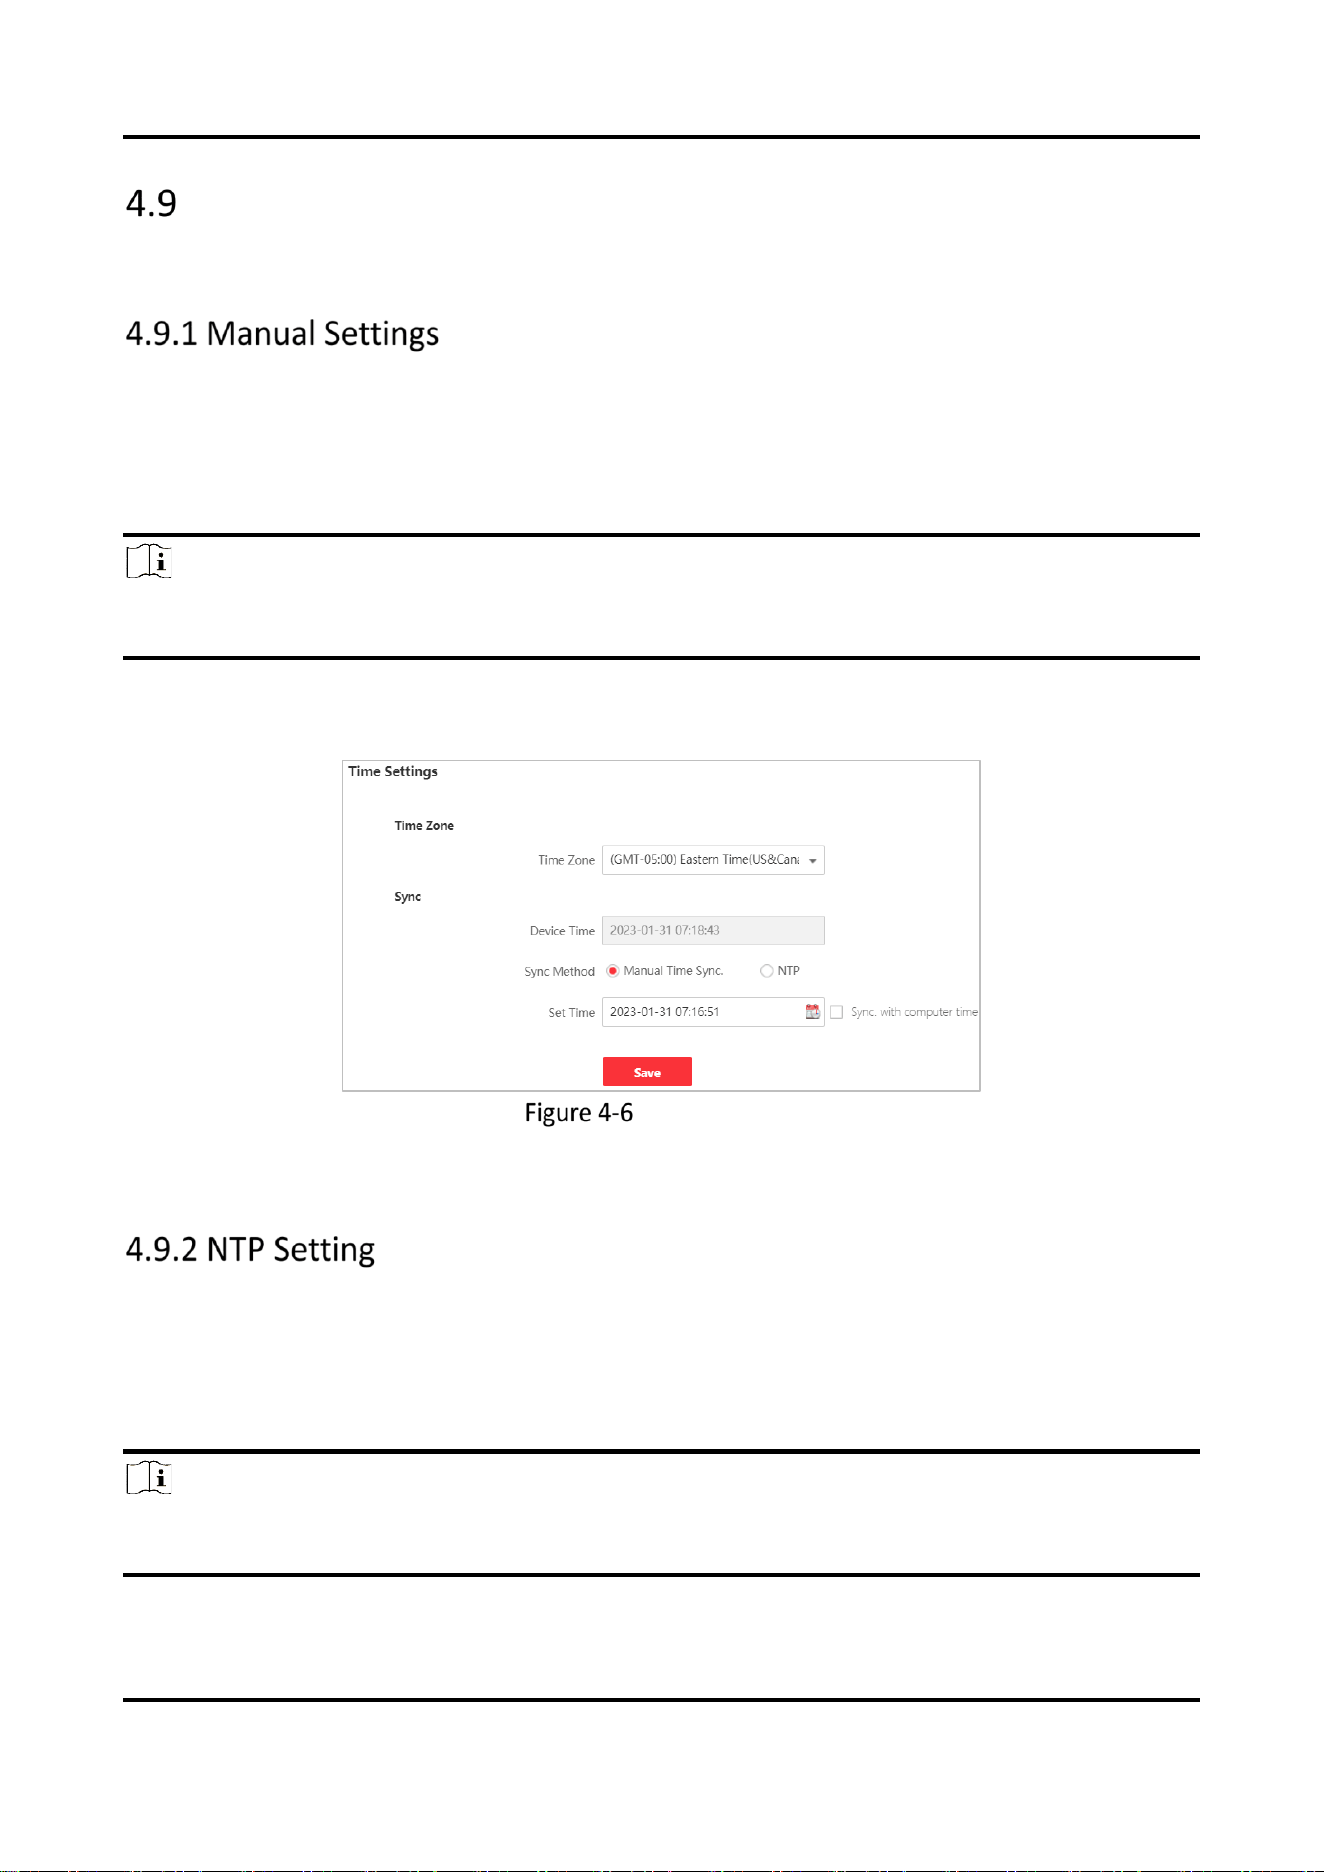
Go to System Status → Wireless Status to check wireless parameters and the information of
connected devices.
Check Connected Device Information
Note
Parameters of this function vary with models. The actual interface prevails.
Edit Device Name
Edit the device name for identification.
Steps
1. Go to System Management → Device Maintenance.
2. Edit your desired name in Device Name.
3. Click Save.
Reboot the Device
You can reboot the device remotely through the web page.
Steps
1. Go to System Management → Device Maintenance.
2. Click Reboot in Device Maintenance.
3. Follow the prompts for further operation.

Wireless Bridge (Web) • User Manual
14
Restore Defaults
Go to System Management → Device Maintenance for default settings restoration.
● Restore Default Settings: Restore the parameters to the default settings, except network
settings and user settings.
● Restore All: Restore all the parameters to the default settings.
Caution
● Restoring all the parameters will clear all the settings, please operate with caution.
● It is recommended to export all the configuration files before restoration.
Enable Intelligent Power Management
When the intelligent power management feature is enabled, the device would power off
automatically in condition of insolvable device failure.
Go to System Management → Device Maintenance. Enable Intelligent Power Management as
needed.
Note
This function is only available for some models. The actual interface prevails.
Save Debug Information
Save debug information of different levels for restoring specific information when the device
reboots. The saved information can be used for technical support professionals to conduct
troubleshooting and maintenance.
Steps
1. Go to System Management → Device Maintenance.
2. Select Level in Debug Information as desired.
Note
Three levels are selectable: Low (Alarm), Medium (Report), and High (Message). The higher the
level is, the more specific the information will be.
Save Debug Information
3.
Click Save.

Wireless Bridge (Web) • User Manual
15
4. Enable Save above Level to save the debug information in the next 7 days.
Note
After 7 days, this function will be restored to disabled status.
Import and Export Files
Go to System Management → Device Maintenance, you can import or export configuration files
for quick configuration or backup. Debug information can also be exported for troubleshooting by
professionals.
● Export Debug Information: Click Export to export debug information in TXT format.
● Export Configuration File: Click Export, set the password of configuration file, and click OK.
● Import Configuration File: Click to select the desired configuration file, and click Import.
Note
Importing configuration file requires the password you set when exporting files, and the device will
reboot automatically after the file is imported.
Upgrade the Device
Use the newest firmware for available upgrades, and upgrade the device through web page
remotely.
Before You Start
Copy the upgrade package to the local directory of the PC used for remote access.
Steps
1. Go to System Management → Device Maintenance.
2. Click in Upgrade Device to go to the local directory, and select the desired upgrade package.
3. Click Upgrade.
Note
● The device will reboot automatically after upgrade, and you need to log in again.
● If upgrade fails and the device cannot work normally, please contact the supplier for restoration.
Wireless Bridge (Web) • User Manual
16
Set Time
Both manual time synchronization and NTP time synchronization are supported.
You can set a desired specific time, or synchronize the time with that of the computer.
Steps
1. Go to System Management → Time Settings.
2. Select a Time Zone.
Note
The time zone is automatically selected after you set the country/region code. You can also select
the desired time zone as needed.
3. Select Manual Time Sync. as Sync Method.
4. Set the desired time or check Sync. with computer time.
Manual Setting
5. Click Save.
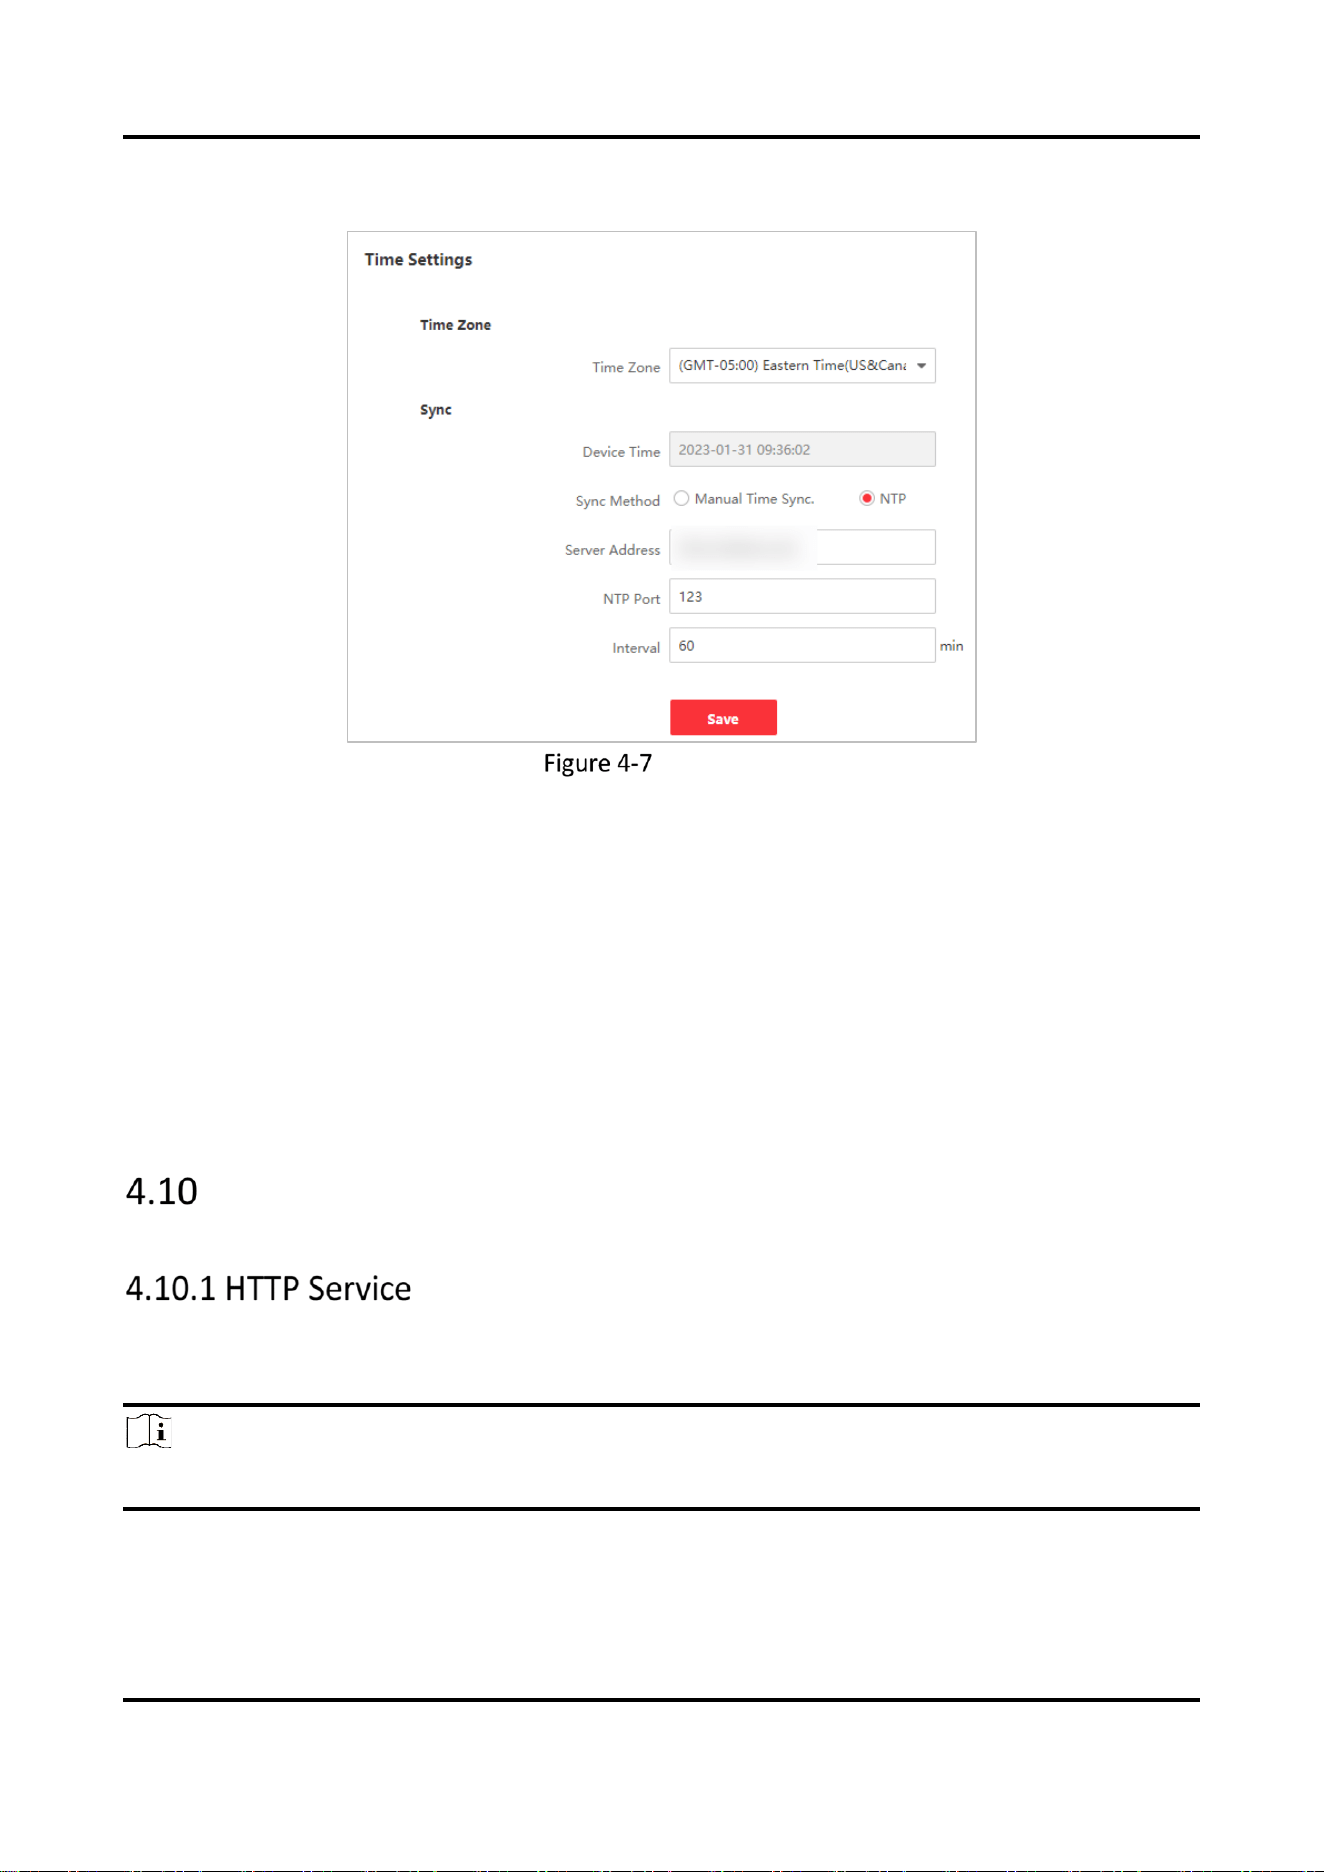
NTP time synchronization is used to synchronize the time with that of a specific NTP server.
Steps
1. Go to System Management → Time Settings.
2. Select a Time Zone.
Note
The time zone is automatically selected after you set the country/region code. You can also select
the desired time zone as needed.
Wireless Bridge (Web) • User Manual
17
3. Select NTP as Sync Method.
NTP Setting
4.
Enter NTP server information.
Server Address
The IP address of the NTP server.
NTP Port
Monitoring port of the NTP server. Default value: 123. Value range: 1 to 65535.
Interval
The frequency for the device to synchronize with the NTP server. Value range: 1 to 10080
minutes.
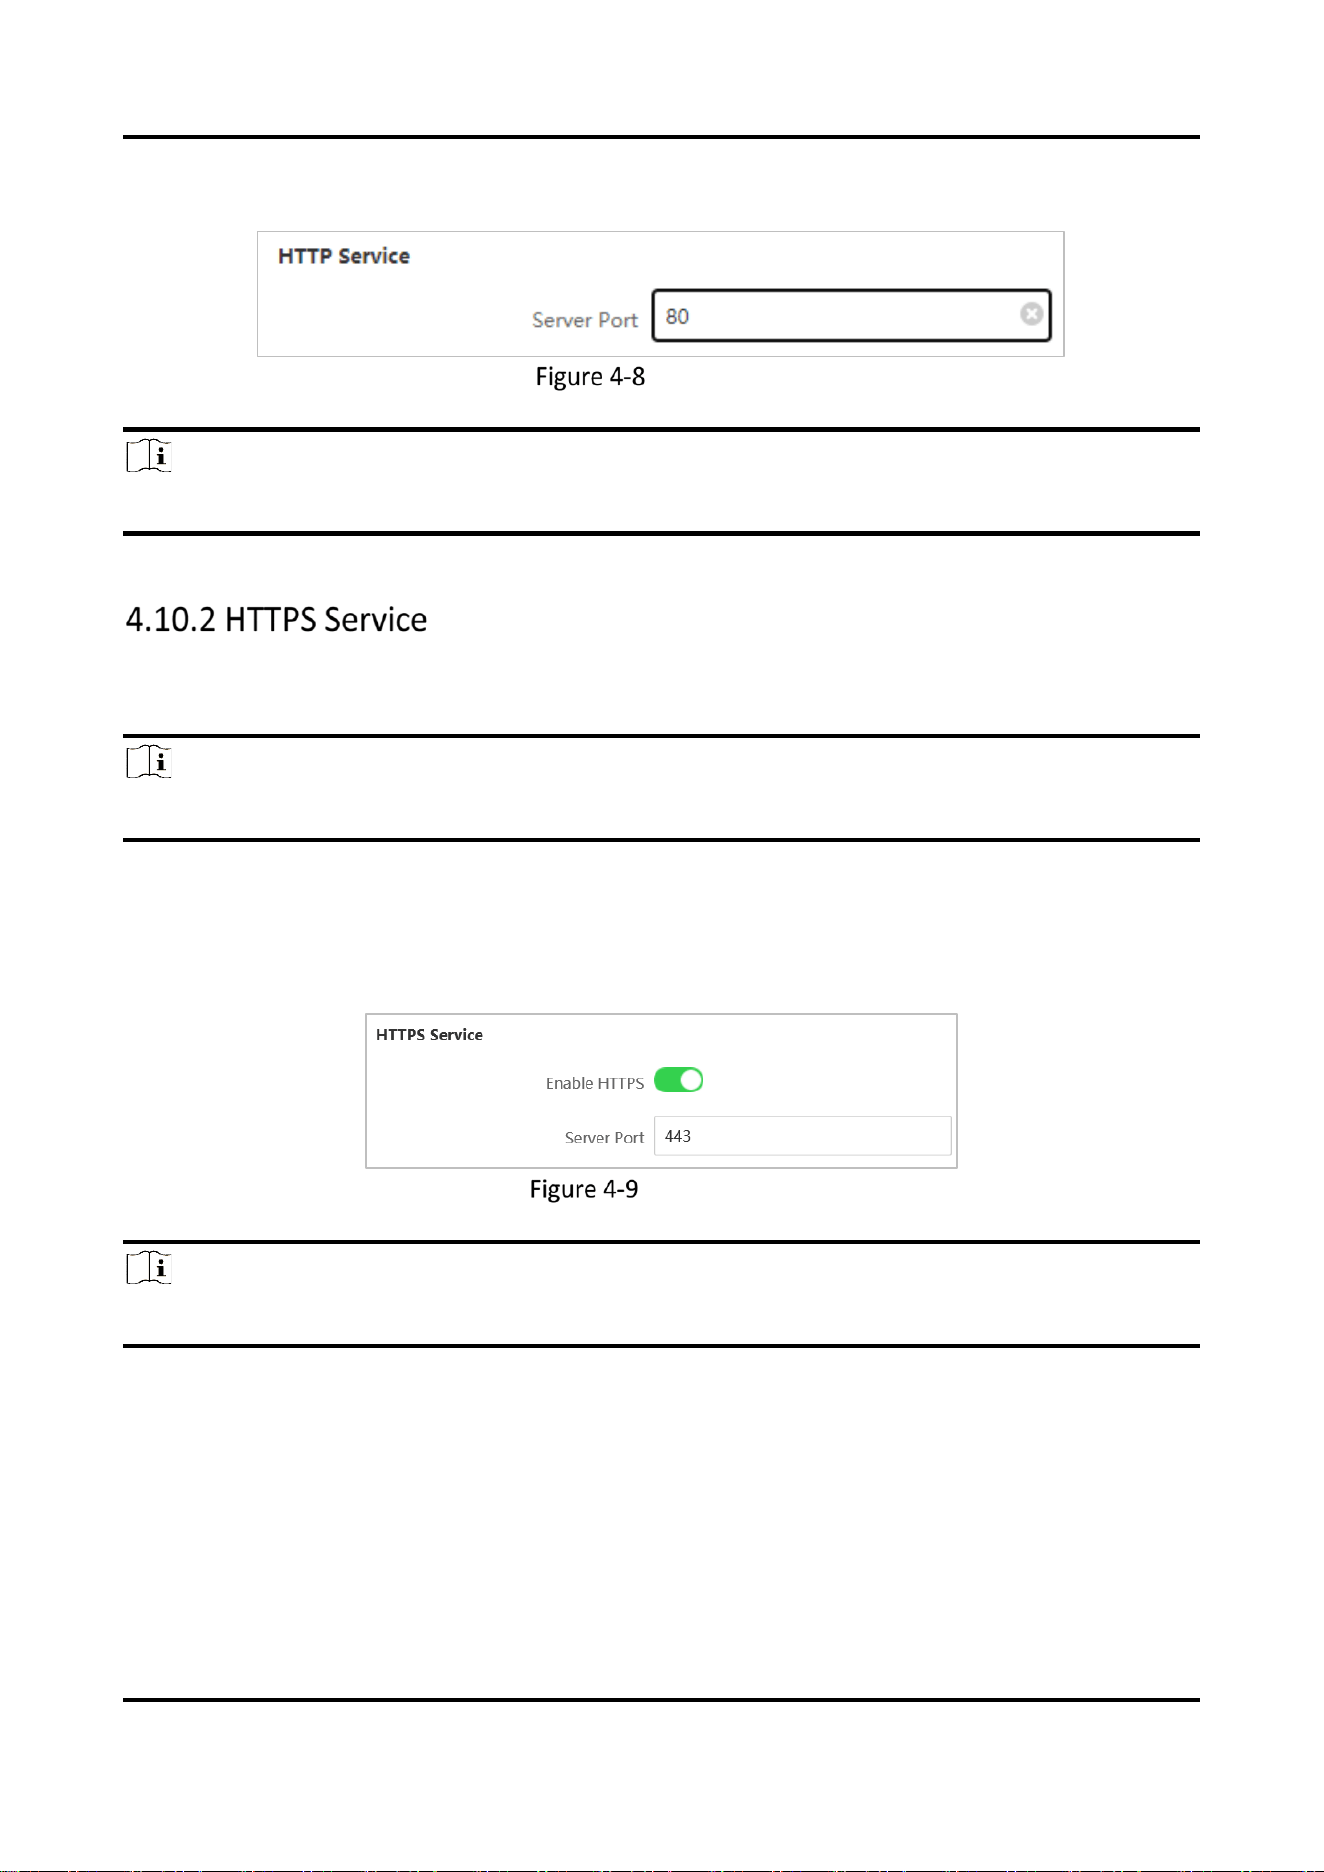
Manage Safety
The port used for HTTP (Hyper Text Transfer Protocol) connection can be set as needed. HTTP
service is available on port 80 by default.
Note
This function is only available for some models. The actual interface prevails.
Steps
1. Go to System Management → Safety Management.
Wireless Bridge (Web) • User Manual
18
2. Enter the server port number for HTTP connection.
HTTP Service
Note
The server port number for HTTP service can be set as 80 or any number from 2000 to 65535.
The port used for HTTPS (Hypertext Transfer Protocol Secure) connection can be set as needed.
HTTPS service is available on port 443 by default when enabled.
Note
This function is only available for some models. The actual interface prevails.
Steps
1. Go to System Management → Safety Management.
2. Enable HTTPS service.
3. Enter the server port number for HTTPS connection.
HTTPS Service
Note
The server port number for HTTPS service can be set as 443 or any number from 2000 to 65535.
Wireless Bridge (Web) • User Manual
19
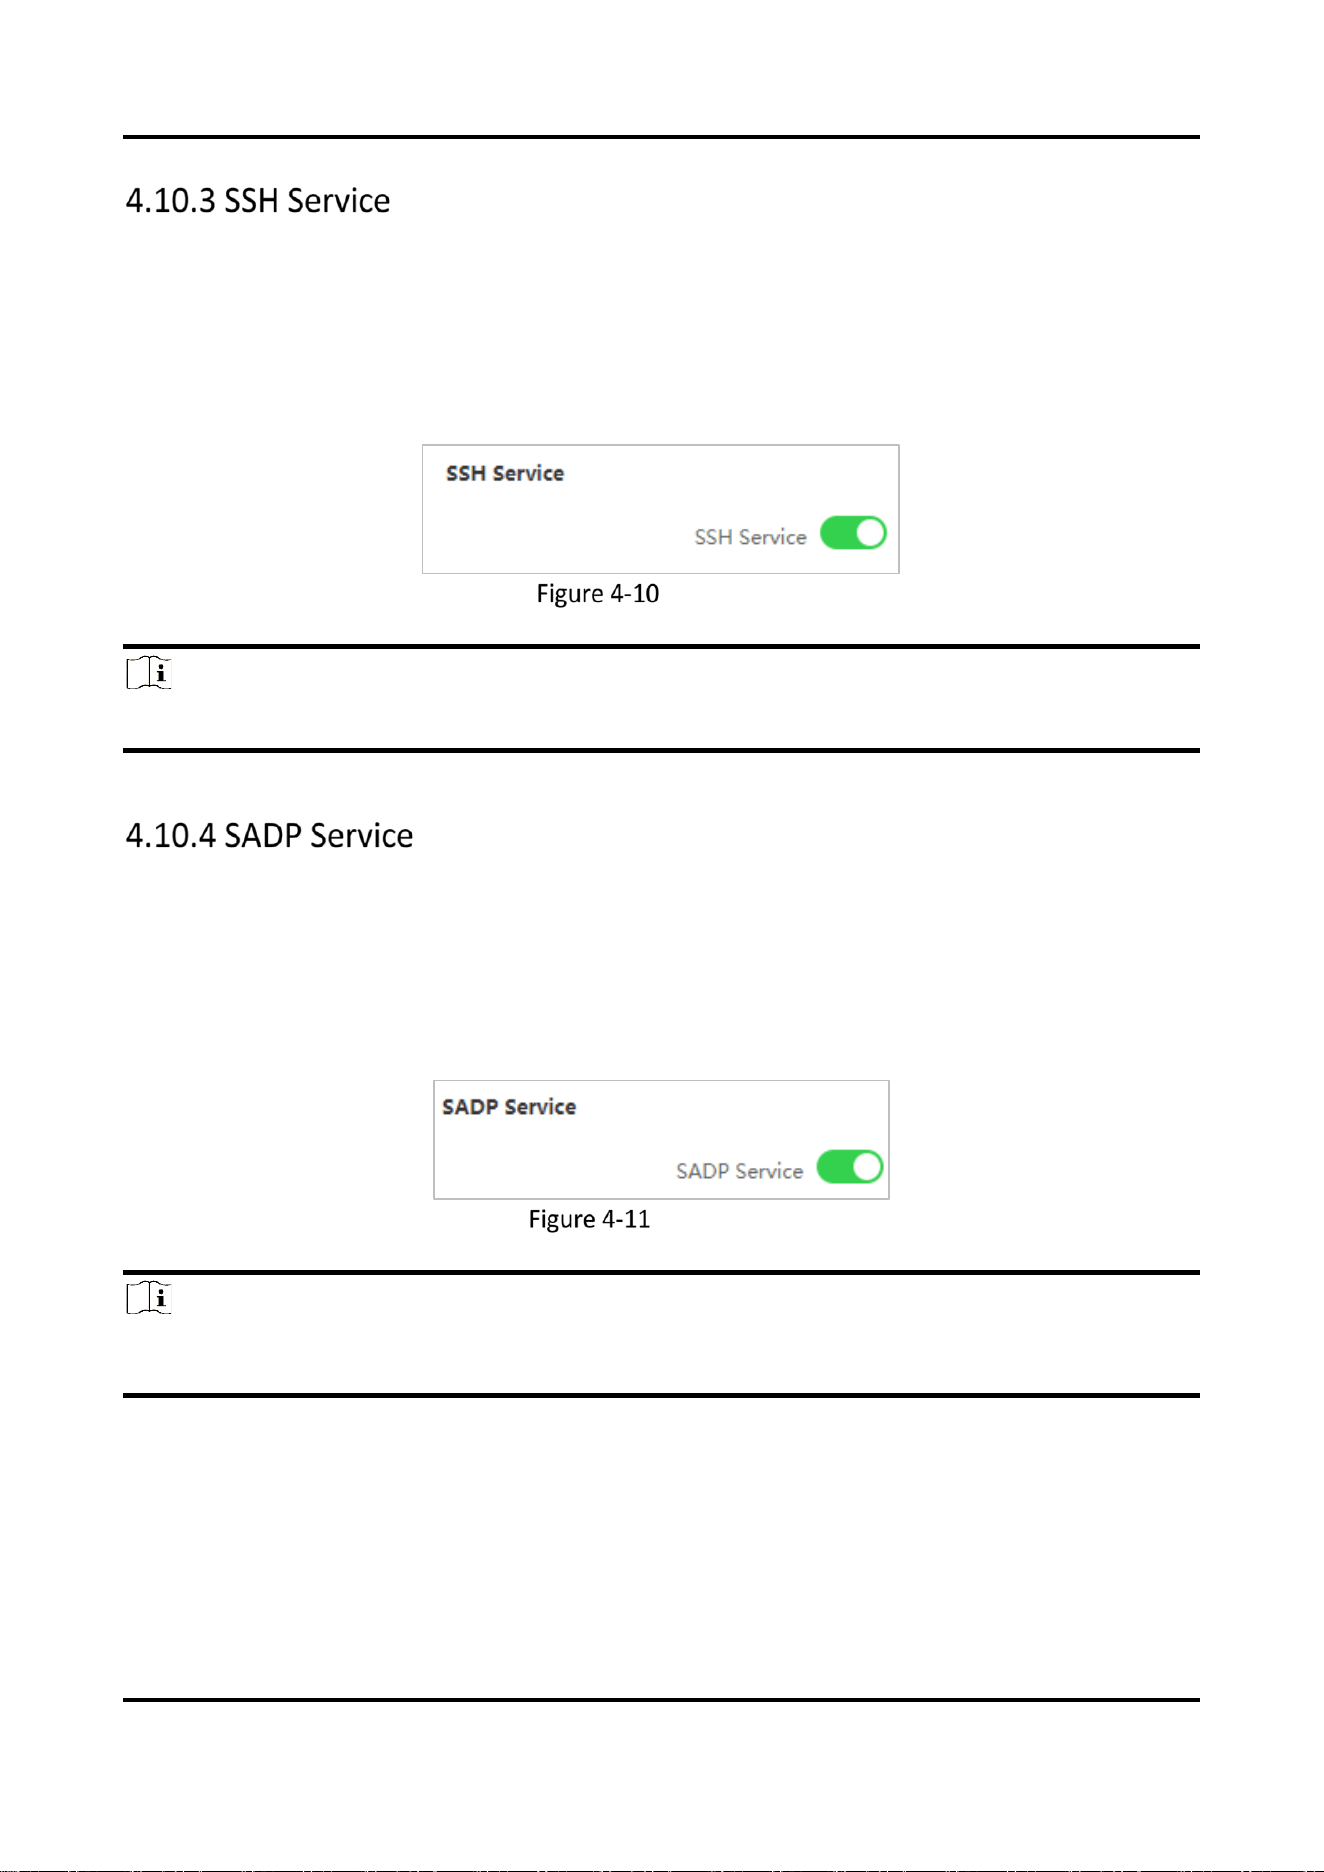
SSH protocol can prevent information leakage caused by remote management. If SSH service is
enabled, you can manage the device remotely. SSH service is disabled by default.
Steps
1. Go to System Management → Safety Management.
2. Enable SSH Service.
SSH Service
Note
The user name of SSH Client is root, and the password is the same as that of web login.
If SADP service is enabled, you can activate the device, change password, and modify IP address
through the software. SADP service is enabled by default.
Steps
1. Go to System Management → Safety Management.
2. Enable SADP Service.
SADP Service
Note
If SADP service is disabled, some of the functions may become unavailable. It is recommended to
enable this service.

Wireless Bridge (Web) • User Manual
20
Manage Log
Export desired logs to your local storage.
Steps
1. Go to System Management → Log Management.
2. Select Main Type, Subtype, Starting Time, and End Time.
3. Click Search.
Log Search
4.
Click Export to save the log files.
Diagnose Network
Network diagnosis provides network status information, which would be useful for the technical
support.
Steps
1. Go to System Management → System Tool → Network Diagnosis.
2. Enter the IP address.
3. Click Ping.
Diagnosis results will display.
Wireless Bridge (Web) • User Manual
21
Network Diagnosis
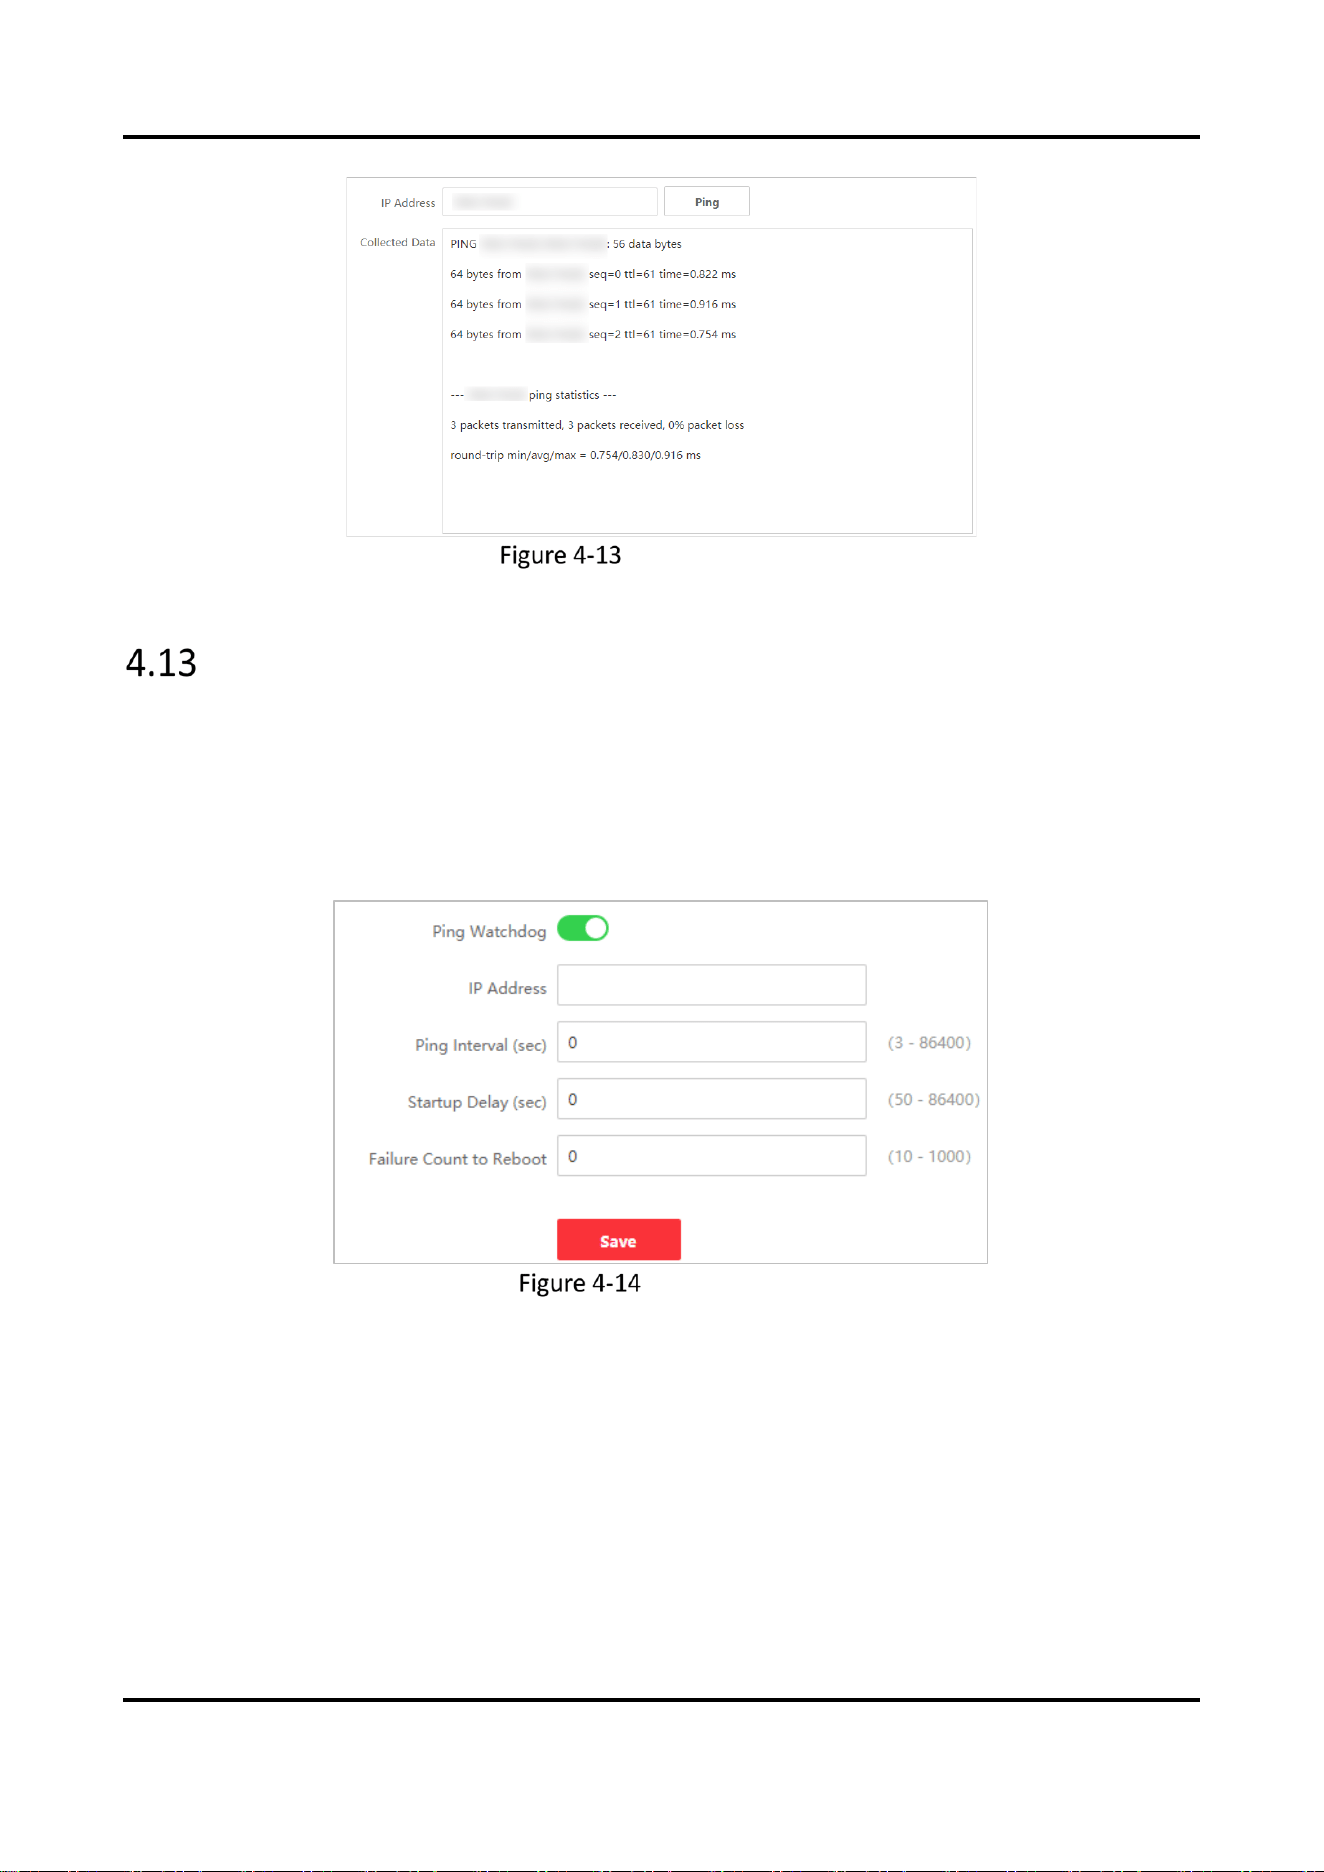
Ping Watchdog
By pinging a specific IP address and check the packet loss, technical support professionals can
examine the device working status. If the device is in abnormal status, they may reboot the device.
Steps
1. Go to System Management → System Tool → Ping Watchdog.
2. Enable Ping Watchdog.
Ping Watchdog
3.
Enter related information.
Ping Interval
The interval of Ping packet.
Startup Delay
The delay time for reboot when the device is in abnormal status.
Failure Count to Reboot
Wireless Bridge (Web) • User Manual
22
The limit for packet loss times. The device is reckoned as abnormal when the packet loss
times reach this limit.
4. Click Save.
Test Wireless Bandwidth
By testing the wireless bandwidth, technical personnel can judge whether the network is smooth
enough.
Note
This function is only available for some models when the working scene of the device is set as AP.
Steps
1. Go to System Management → System Tool → Wireless Bandwidth Test.
2. Click Test to get the test result.
Test Wireless Bandwidth
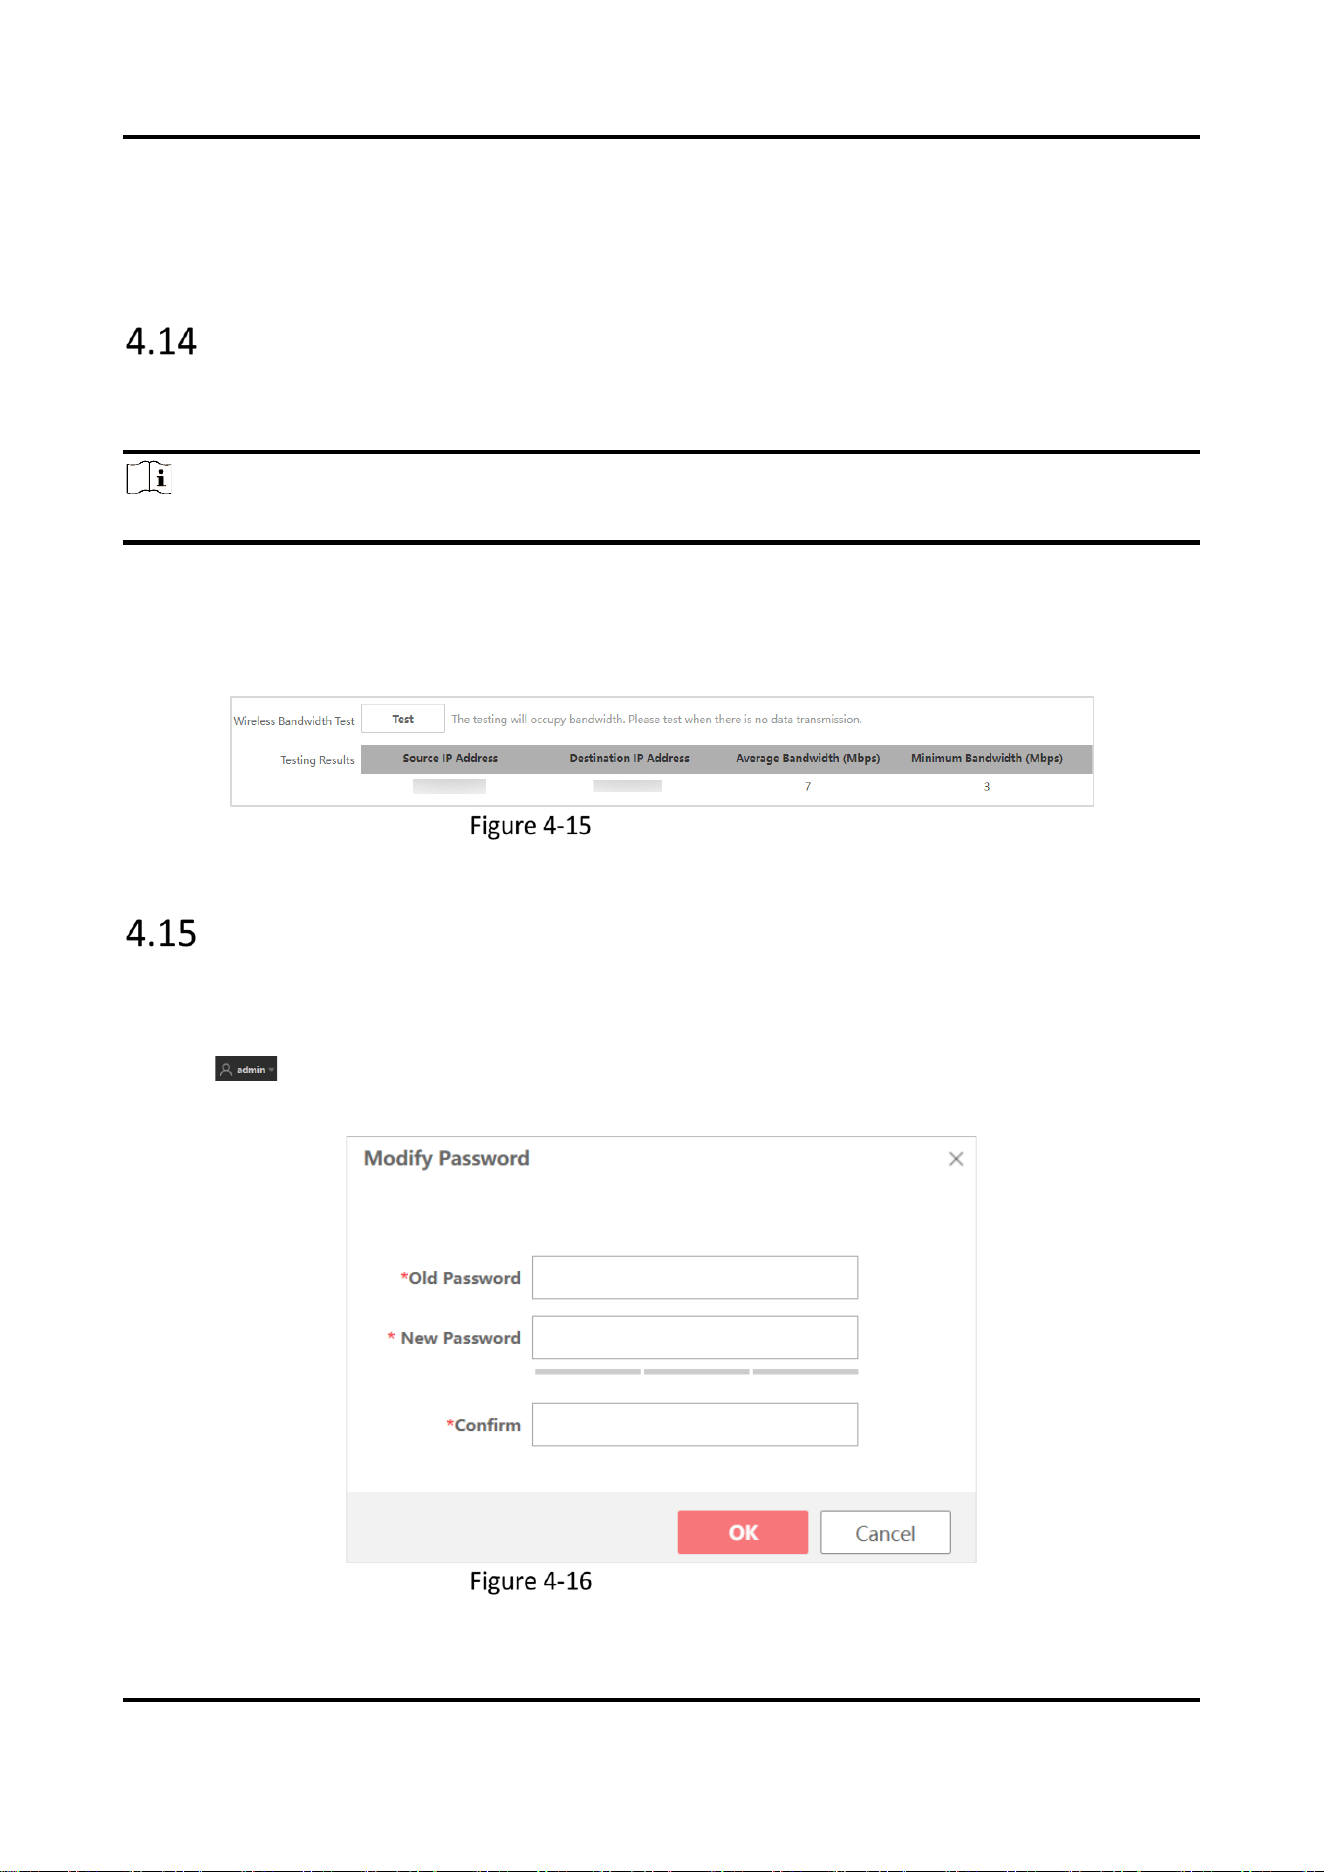
Change Password
For data security, we highly recommend you to change your password regularly.
Steps
1. Click at the upper-right corner.
2. Select Change Password.
Change admin Password

Wireless Bridge (Web) • User Manual
23
3. Enter the original password, new password and confirm.
4. Click OK.
The web page redirects to the login interface.
View Open Source Software Licenses
Open source licenses are licenses that allow software to be freely used, modified, and shared. Go
to System Management → About Device and click View to read the open source software licenses
of this software.

Wireless Bridge (Web) • User Manual
24
Chapter 5 FAQs
Why the device cannot start up?
Reason
1. The network cable length connecting the wireless bridge to the PoE module exceeds 60 m.
2. The network cable cannot meet the standard of Category 5e.
3. The registered jack of the network cable is not firmly connected, or the connection order is
improper.
Solution
1. Use a network cable shorter than 60 m.
2. Use a network cable with Category 5e or higher standard.
3. Remake the registered jack.
Why devices pairing failed?
Reason
The devices pairing status depends on the distance, direction, SSID name, and PSK password.
Solution
You can check as follows:
1. Check distance and direction: Ensure the AP and CPE are directly faced to each other, and the
distance between them is within the limit.
2. Check SSID name and PSK password: Ensure the SSID name and PSK password are correct.
Why the wireless connection rate is relatively low?
Reason
The wireless system makes connection with its maximum working rate, and the actual rate depends
on the distance and environment.
Solution
You can check as follows to ensure the highest connection rate:
1. Device position: Adjust the device position and direction.
2. Wireless channel or frequency: Change to another signal channel or frequency to reduce
interference.
3. Wireless interference: Adjust, shield, or disable the device causing interference.

Wireless Bridge (Web) • User Manual
25
Why the signal intensity is too low?
Reason
1. There is a large-sized obstruction between the CPE and the AP.
2. The CPE is not directly faced to the AP.
Solution
1. Remove the obstruction or bypass it.
2.
Adjust the angle of the CPE and the AP.
Why the throughput is inadequate even with high signal
quality?
Reason
1. Excessive interference or multipath interference.
2. Wired device error.
Solution
1. Remove the interference or change the device frequency.
Method of changing frequency: Reboot the AP of wireless bridge to allow auto search of
available signal channels.
2. Change a network cable or use another PC.
Why there are excessive packet loss and time delay when PC
pings the device IP address?
Reason
1. The registered jack of the network cable is not firmly connected.
2. The IP addresses of multiple devices conflict.
Solution
Port isolation should be conducted for APs connected to the same switch.
1. Remake the registered jack.
2. Modify the IP addresses of different devices.

UD35874B