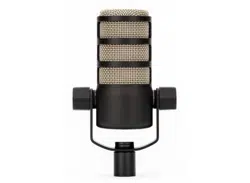
Pickup Pattern and Placement
The
PodMic
USB
is
an
end
-
address
microphone
and
features
a
tight
cardioid
polar
pattern
.
This
means
it
will
pick
up
sound
in
the
direction
of
the
end
of
the
microphone
grille
while
rejecting
sounds
from
around
and
behind
it
.
Being
a
dynamic
microphone
,
your
voice
will
sound
best
when
placed
nice
and
close
(
around
510
cm
)
to
your
mouth
.
PodMic
USB
The
PodMic
USB
is
an
ultra
-
versatile
dynamic
microphone
ideal
for
podcasting
,
streaming
,
gaming
,
voice
overs
,
and
other
speech
applications
for
content
creation
.
Discover
everything
you
need
to
know
about
using
your
PodMic
USB
here
.
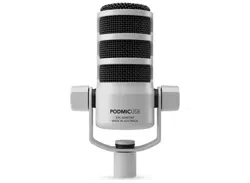
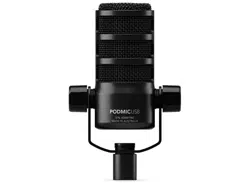
Features
1
Internal
Pop
Filter
2
Neodymium
Dynamic
Capsule
3
Internal
Shock
Mount
4
Microphone
Stand
Mount
5
Swing
Mount
6
Swing
Mount
Fasteners
7
3.5
mm
Headphone
Output
8
Headphone
Volume
Control
9
USB
C
Output
10
XLR
Output

Getting Set Up
The
PodMic
USB
comes
with
all
the
accessories
you
need
to
get
recording
,
including
a
pop
filter
and
USB
C
cable
.
Attaching
the
Pop
Filter
The
included
pop
filter
provides
additional
protection
against
plosives
–
sharp
puffs
of
air
when
mouthing
certain
syllables
,
like
the
‘
p
ʼ
in
‘
plosive
ʼ,
that
can
cause
artifiacts
in
your
audio
.
To
place
the
pop
filter
on
the
PodMic
USB
,
simply
slide
it
over
the
microphone
grille
,
ensuring
that
the
two
semi
-
circle
cutouts
on
either
side
line
up
with
the
swing
mount
pegs
.
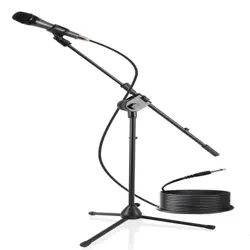
Mounting
and
Adjusting
the
PodMic
USB
The
PodMic
USB
features
an
integrated
swing
mount
which
,
on
its
end
,
has
a
mounting
hole
for
both
5/8-
inch
and
3/8-
inch
threads
.
Simply
screw
this
onto
your
microphone
stand
or
studio
arm
(
like
the
PSA
1
to
mount
your
PodMic
USB
.
Once
mounted
,
you
can
use
the
swing
mount
to
angle
the
PodMic
USB
in
any
direction
,
ensuring
that
the
rear
is
clear
to
allow
space
for
cabling
.
Once
positioned
,
you
can
tighten
the
pegs
on
either
side
of
the
swing
mount
to
secure
it
in
place
.
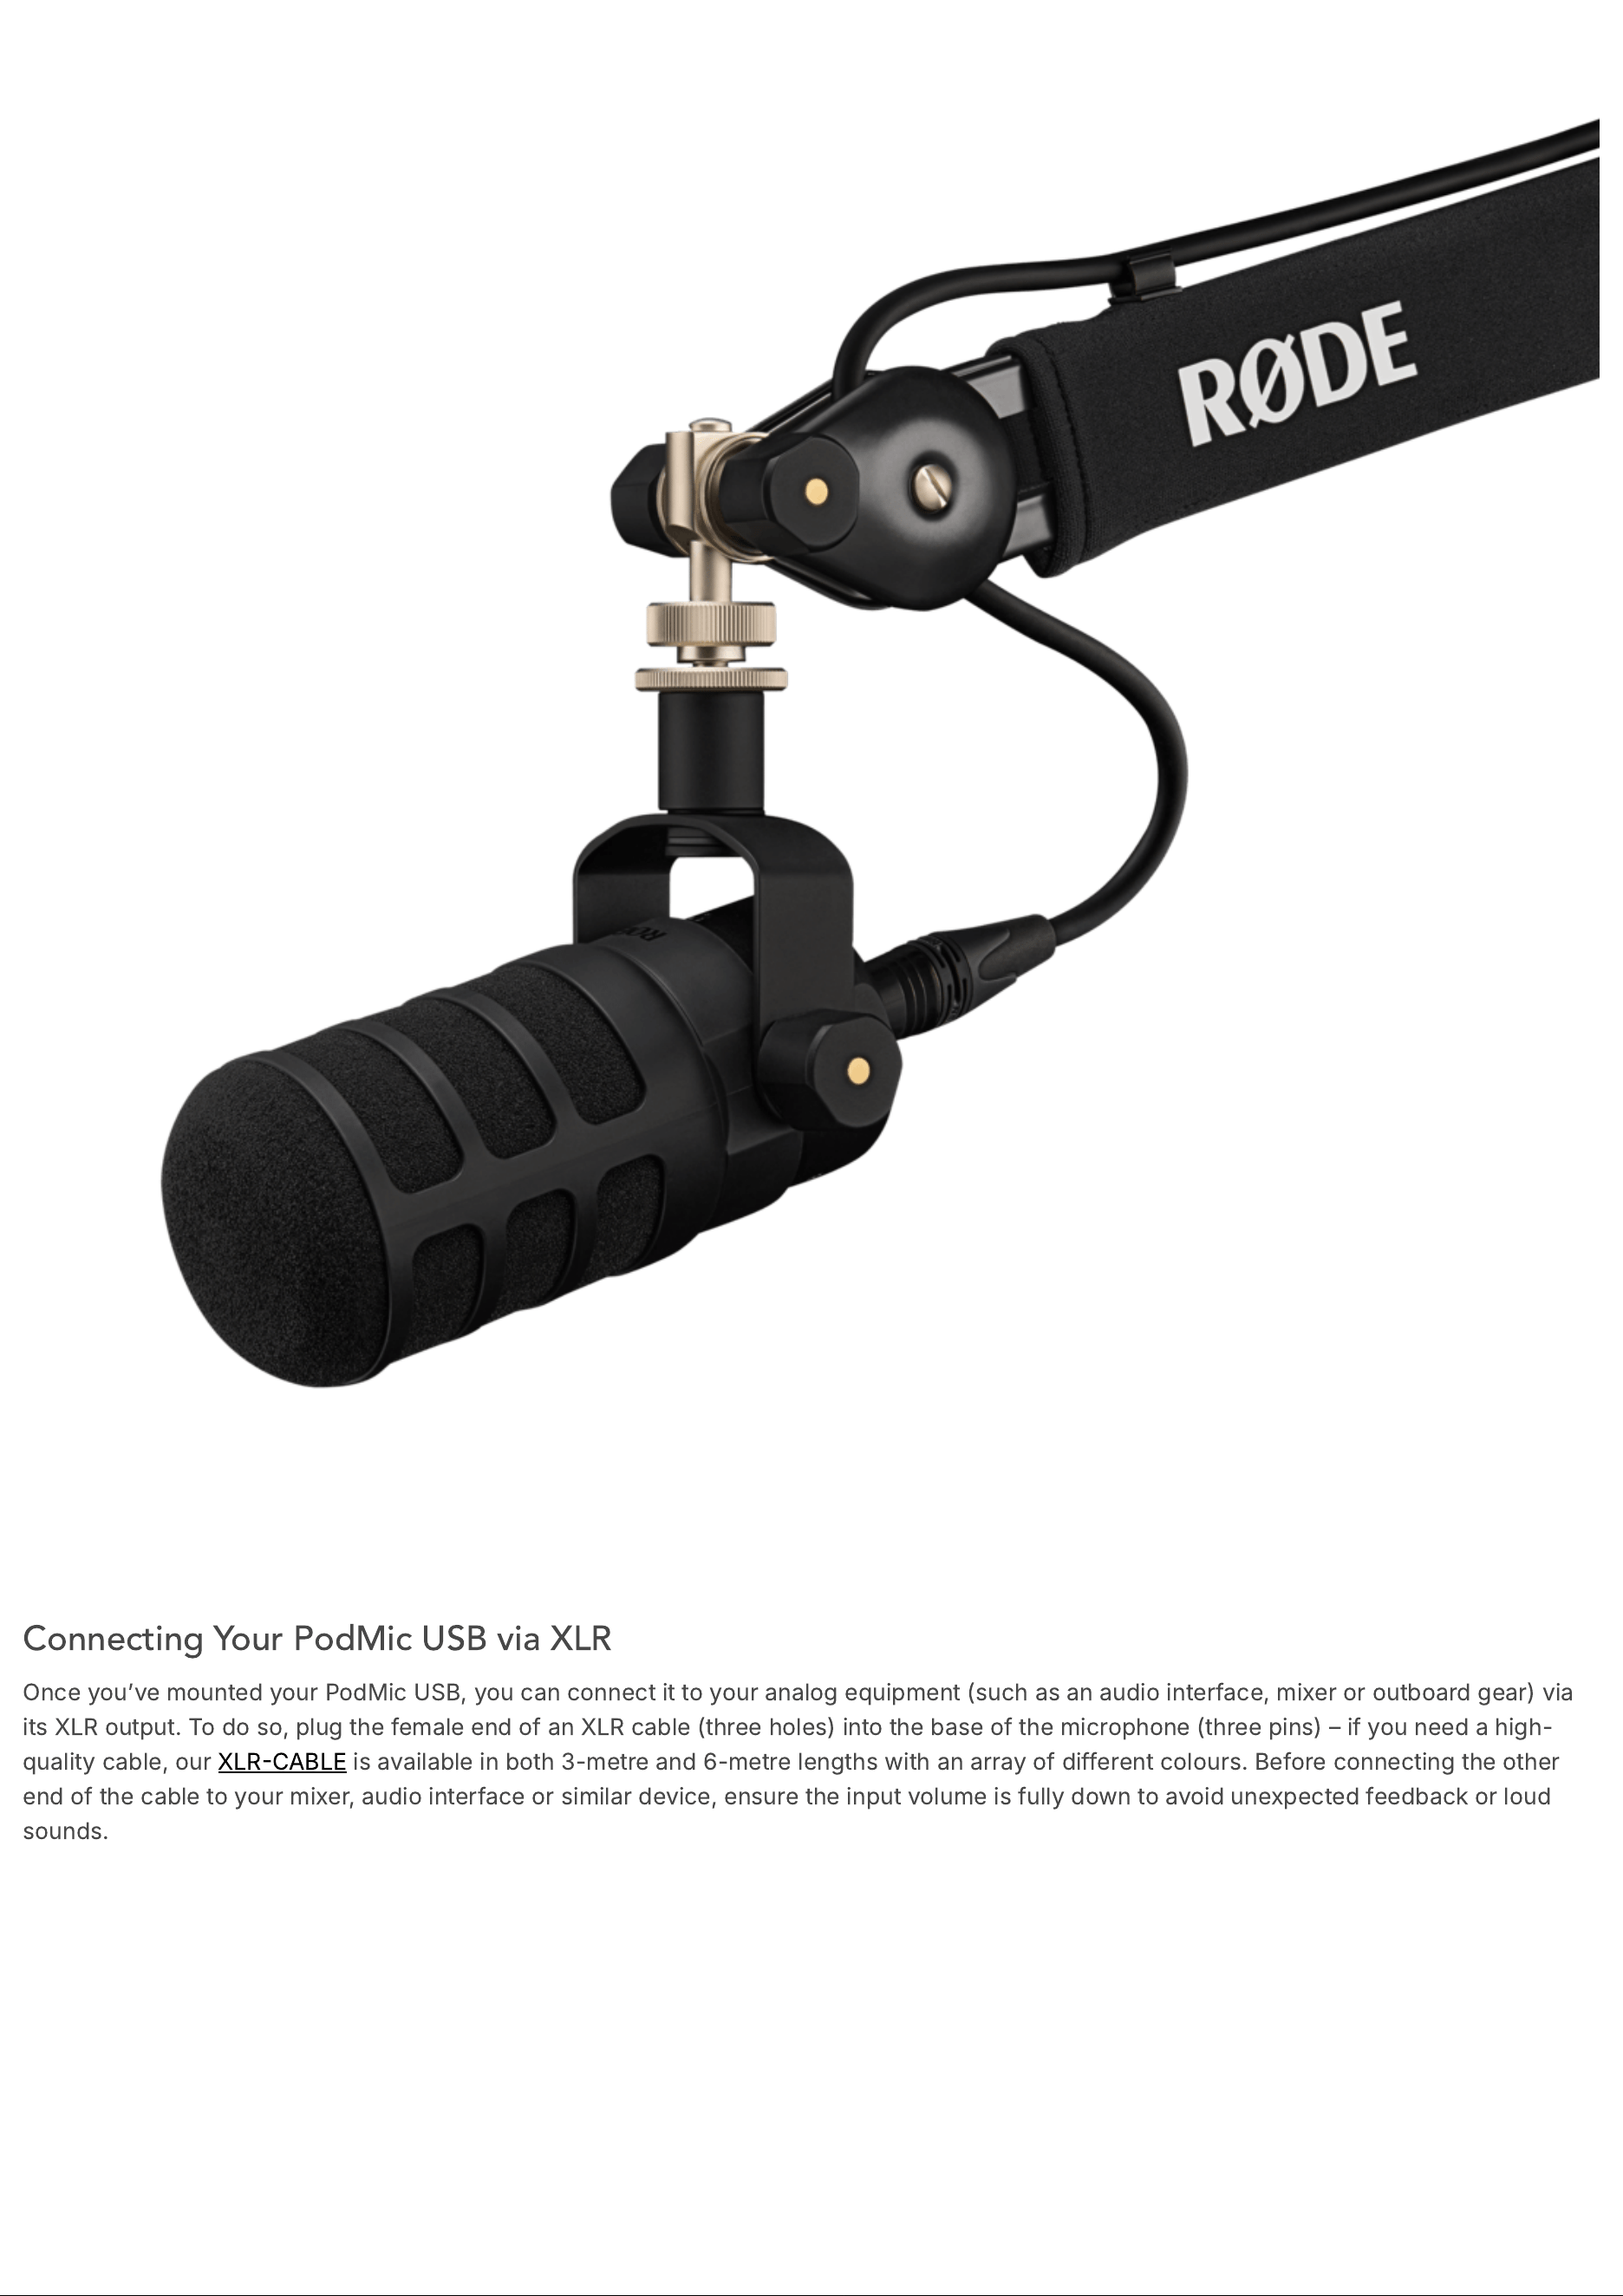
Connecting Your PodMic USB via XLR
Once
you
ʼ
ve
mounted
your
PodMic
USB
,
you
can
connect
it
to
your
analog
equipment
(
such
as
an
audio
interface
,
mixer
or
outboard
gear
)
via
its
XLR
output
.
To
do
so
,
plug
the
female
end
of
an
XLR
cable
(
three
holes
)
into
the
base
of
the
microphone
(
three
pins
) –
if
you
need
a
high
-
quality
cable
,
our
XLR
CABLE
is
available
in
both
3-
metre
and
6-
metre
lengths
with
an
array
of
different
colours
.
Before
connecting
the
other
end
of
the
cable
to
your
mixer
,
audio
interface
or
similar
device
,
ensure
the
input
volume
is
fully
down
to
avoid
unexpected
feedback
or
loud
sounds
.
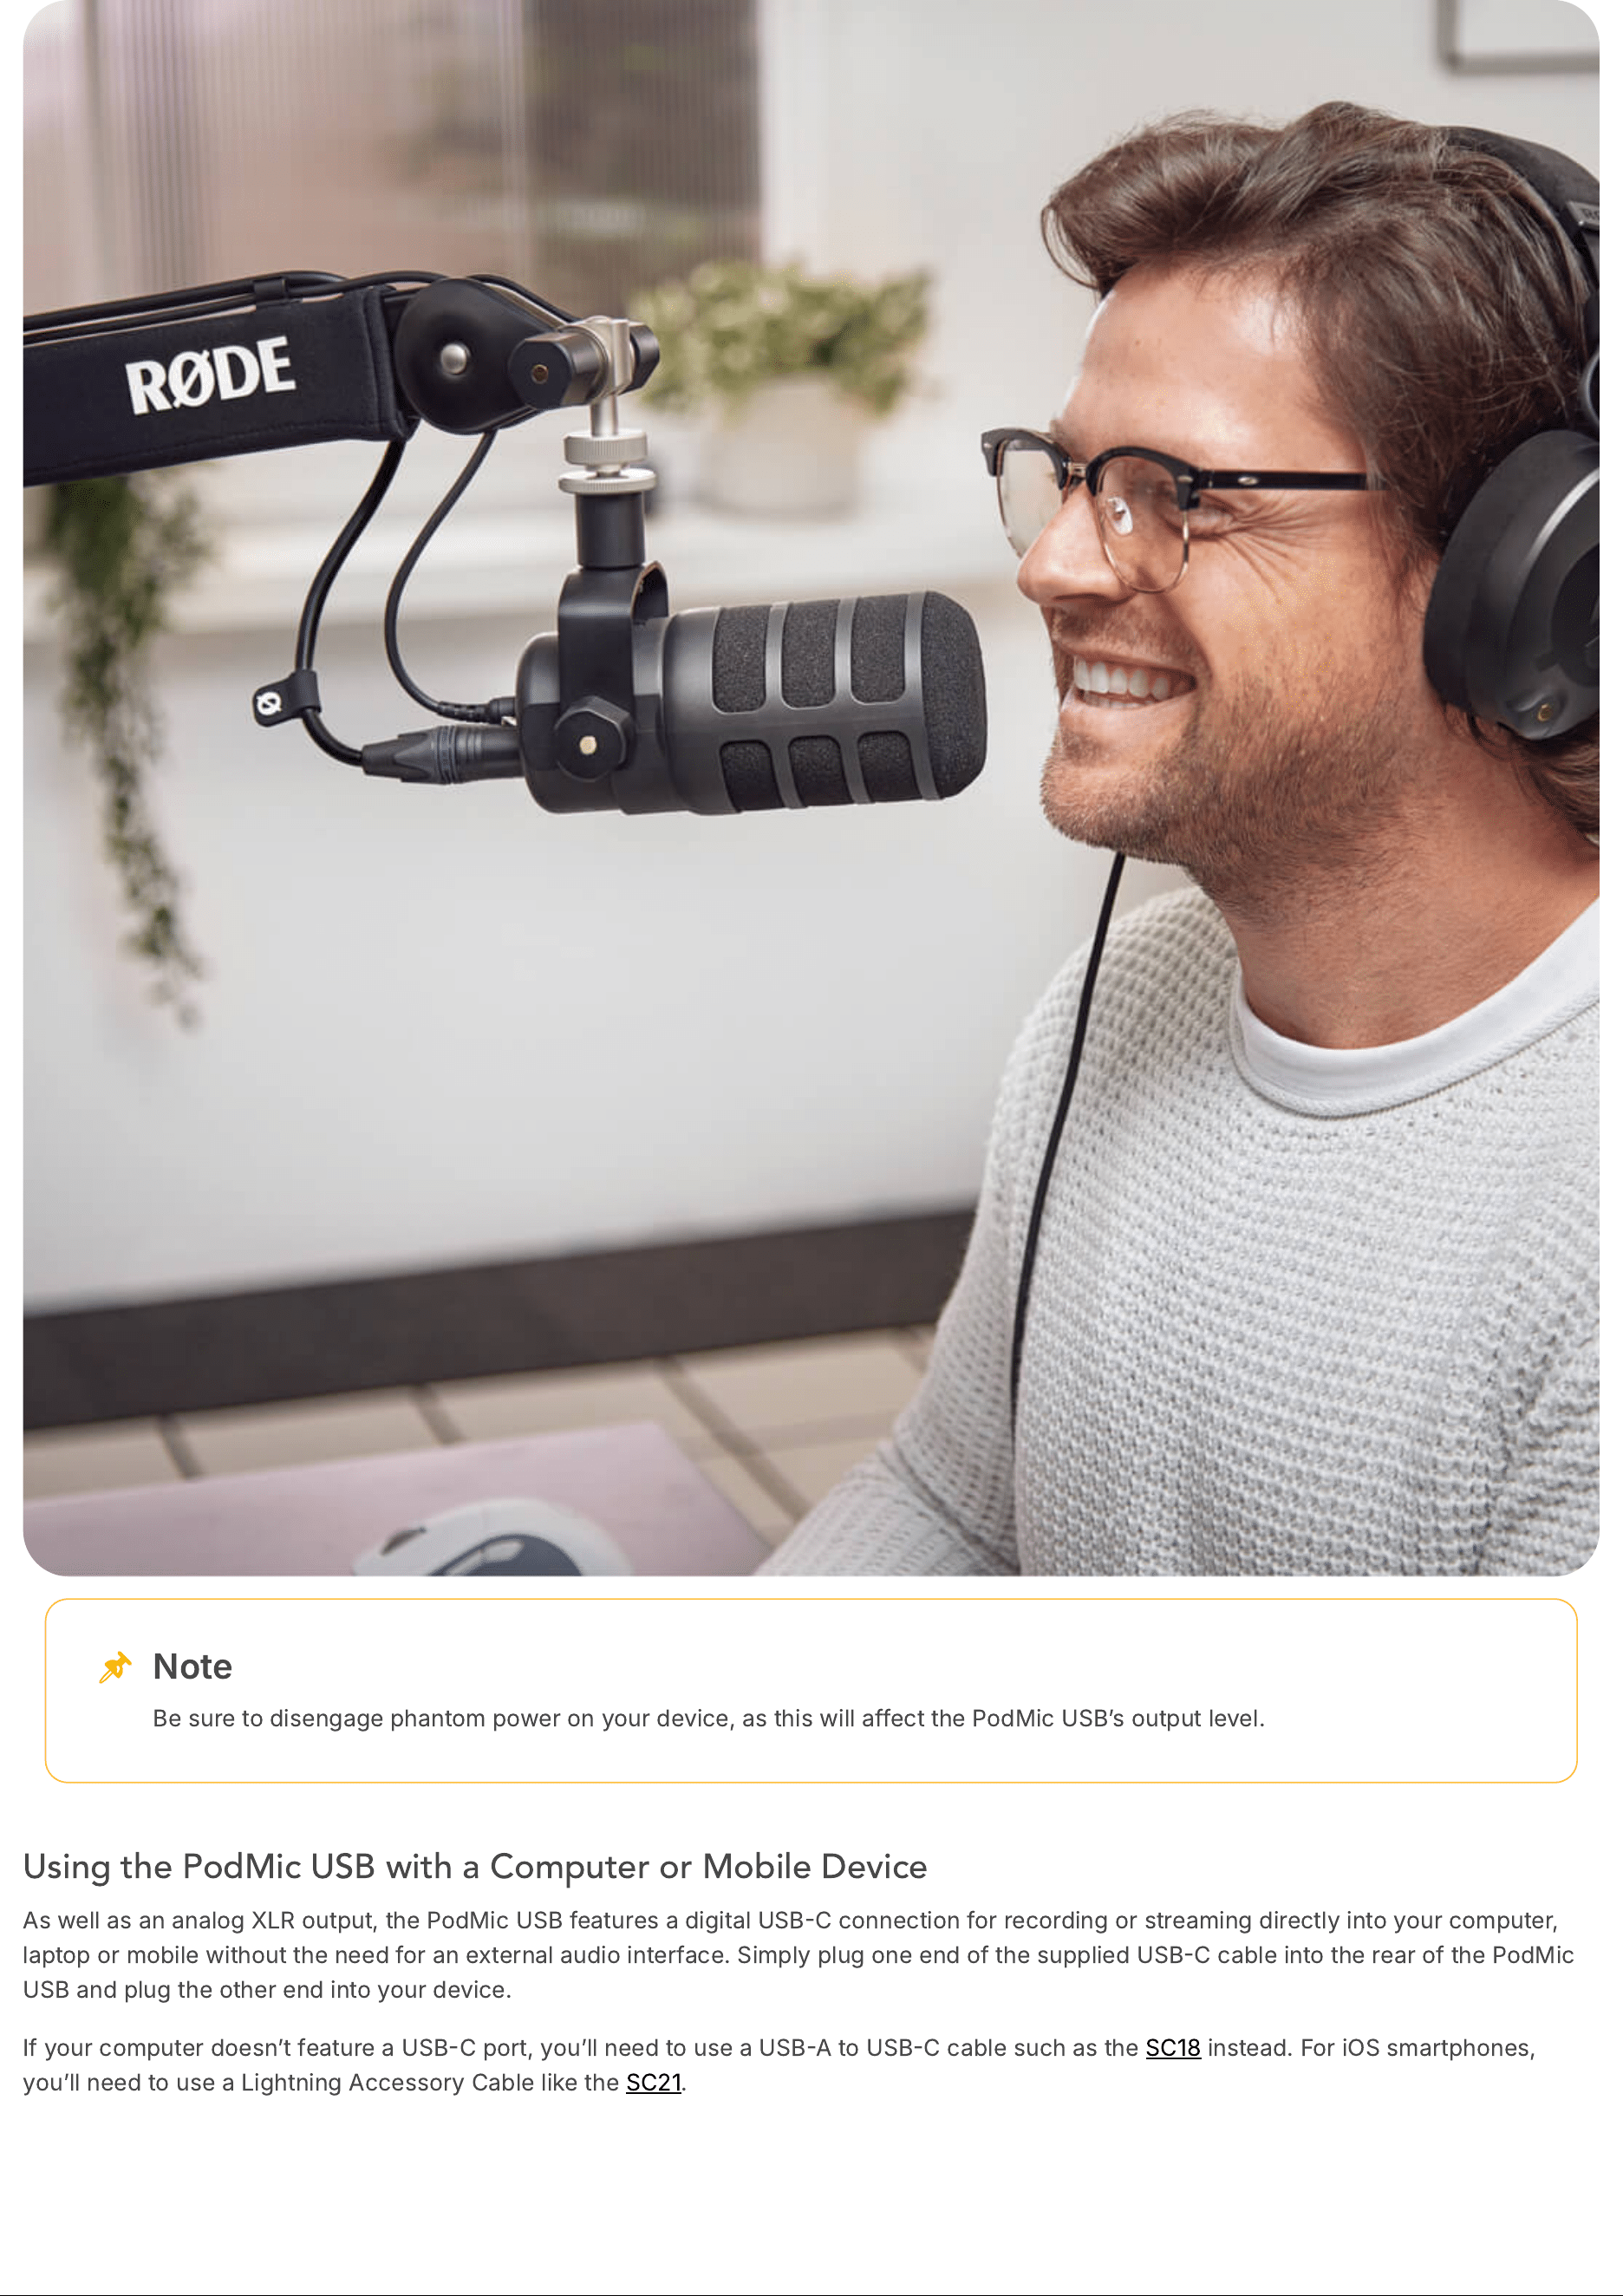
Using the PodMic USB with a Computer or Mobile Device
As
well
as
an
analog
XLR
output
,
the
PodMic
USB
features
a
digital
USB
C
connection
for
recording
or
streaming
directly
into
your
computer
,
laptop
or
mobile
without
the
need
for
an
external
audio
interface
.
Simply
plug
one
end
of
the
supplied
USB
C
cable
into
the
rear
of
the
PodMic
USB
and
plug
the
other
end
into
your
device
.
If
your
computer
doesn
ʼ
t
feature
a
USB
C
port
,
you
ʼ
ll
need
to
use
a
USB
A
to
USB
C
cable
such
as
the
SC
18
instead
.
For
iOS
smartphones
,
you
ʼ
ll
need
to
use
a
Lightning
Accessory
Cable
like
the
SC
21
.
Note
Be
sure
to
disengage
phantom
power
on
your
device
,
as
this
will
affect
the
PodMic
USB
ʼ
s
output
level
.
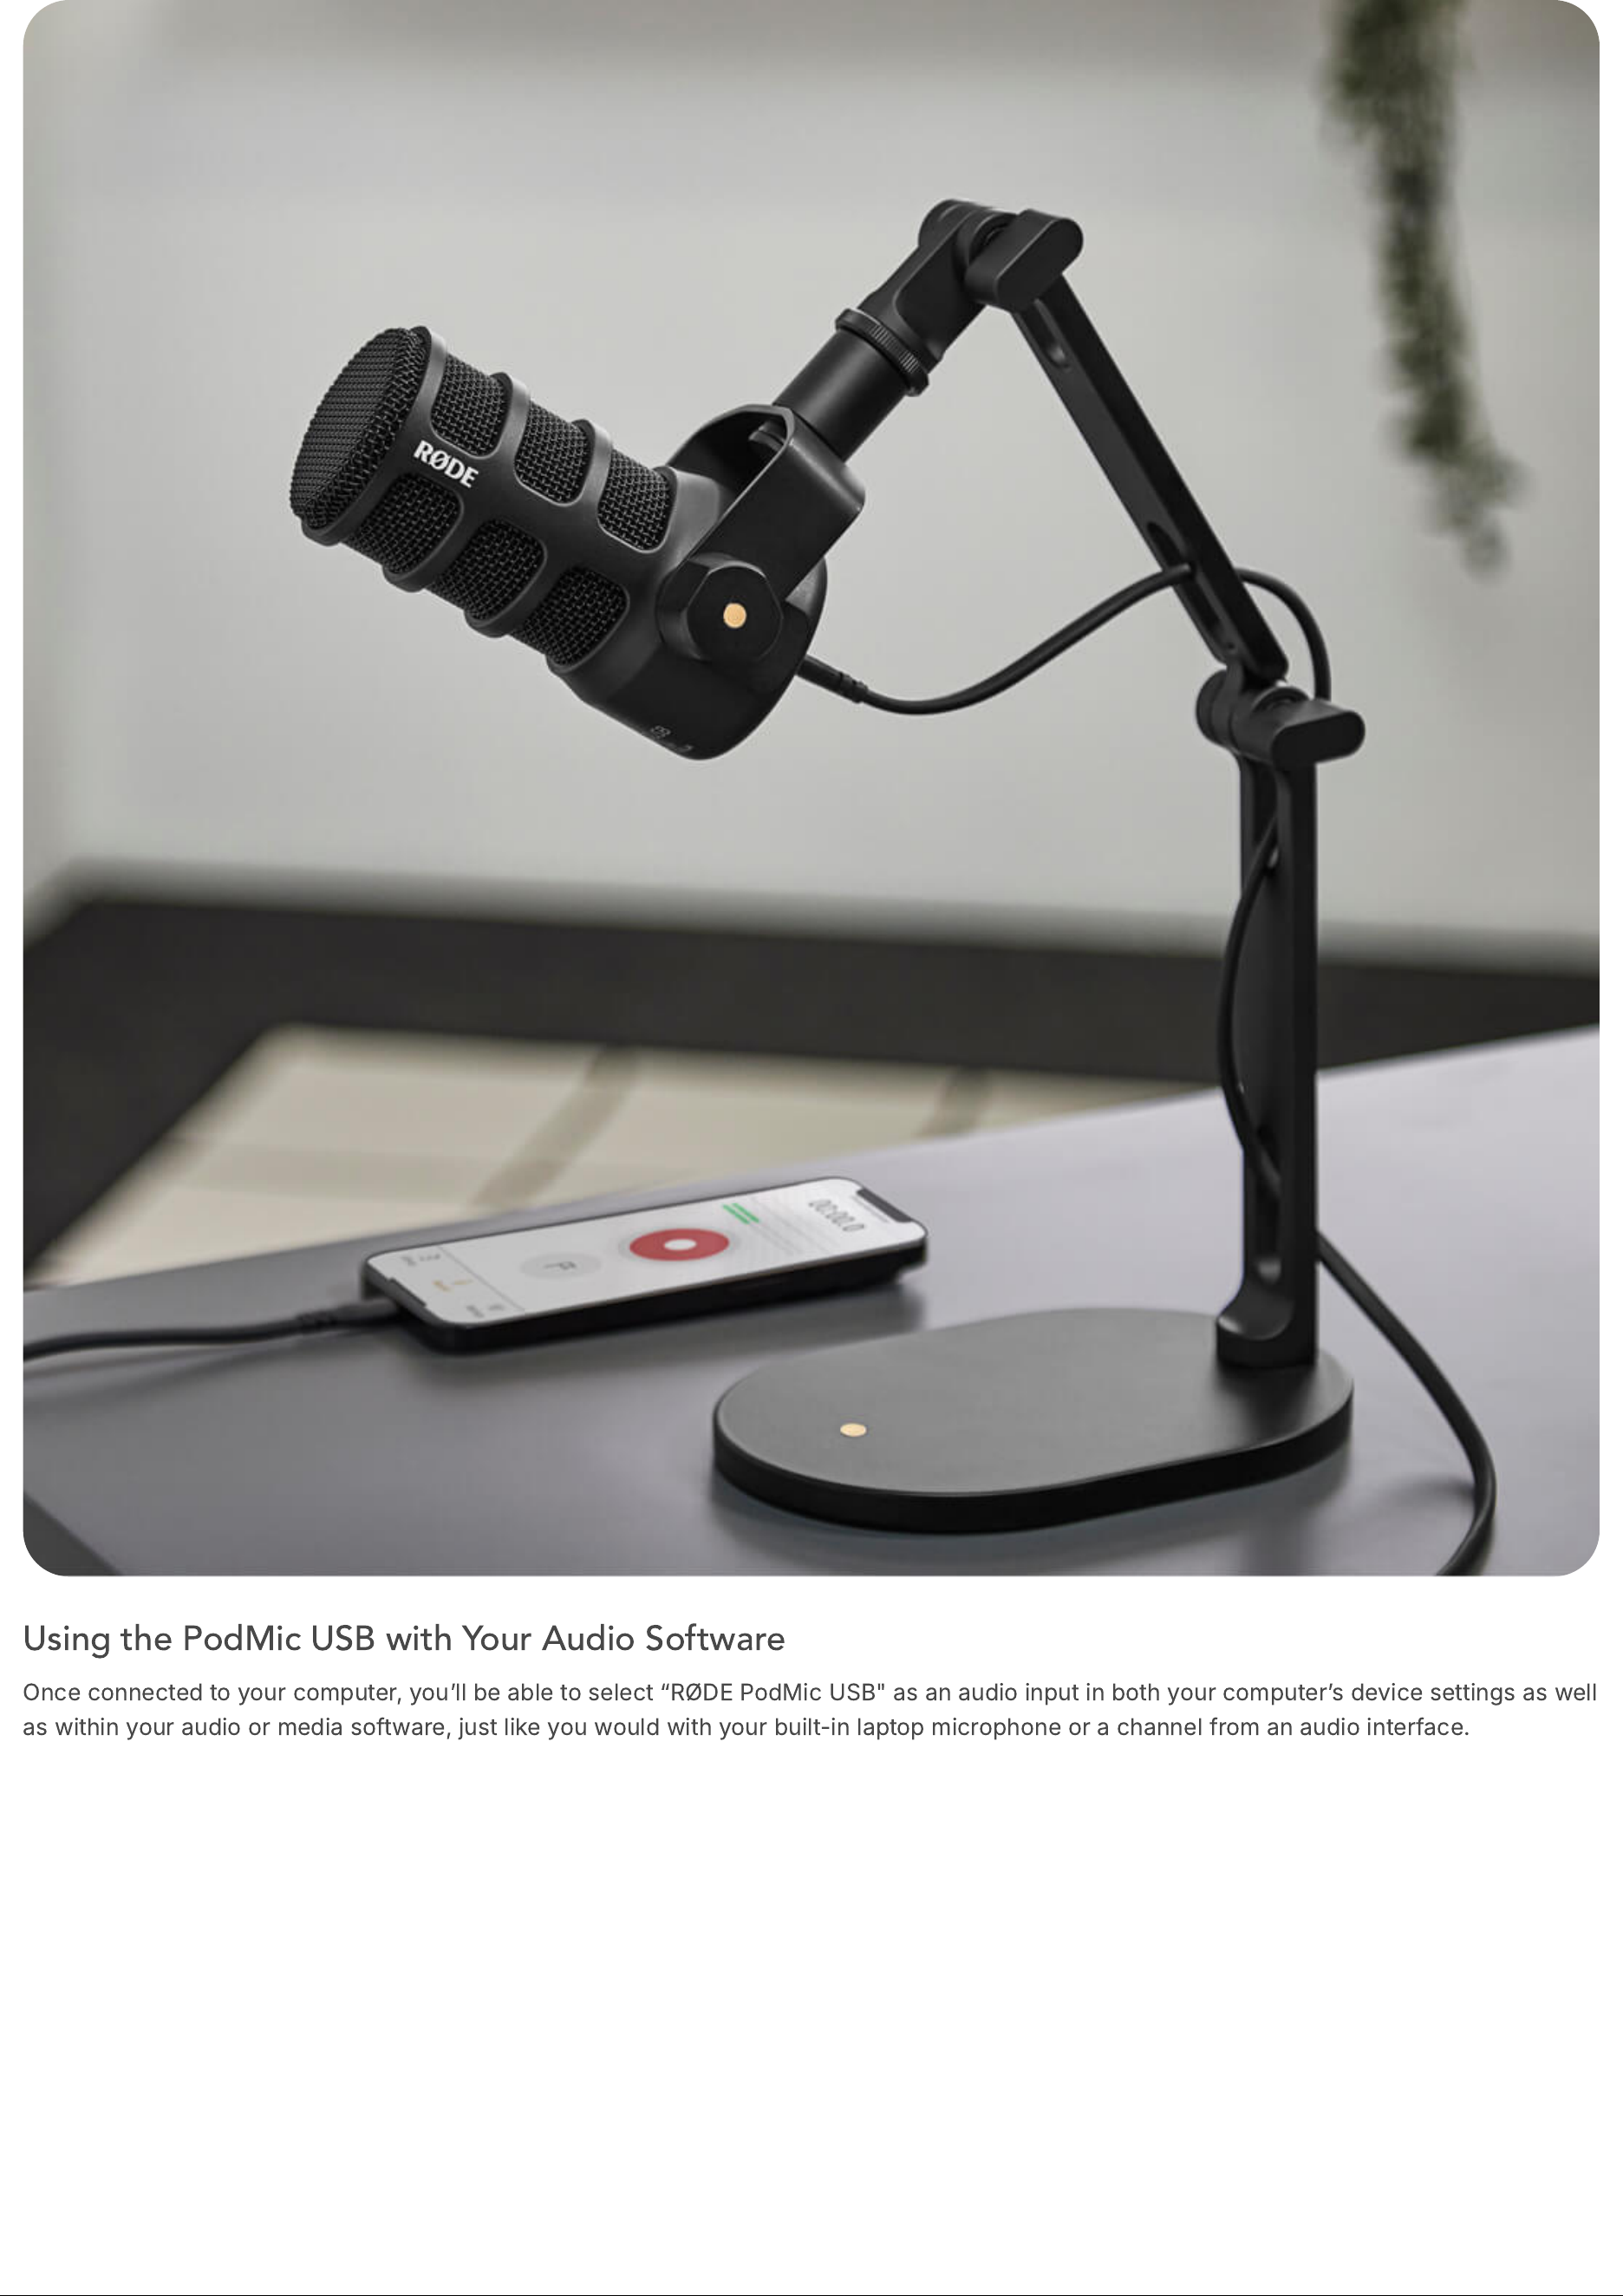
Using the PodMic USB with Your Audio Software
Once
connected
to
your
computer
,
you
ʼ
ll
be
able
to
select
“
RØDE
PodMic
USB
"
as
an
audio
input
in
both
your
computer
ʼ
s
device
settings
as
well
as
within
your
audio
or
media
software
,
just
like
you
would
with
your
built
-
in
laptop
microphone
or
a
channel
from
an
audio
interface
.
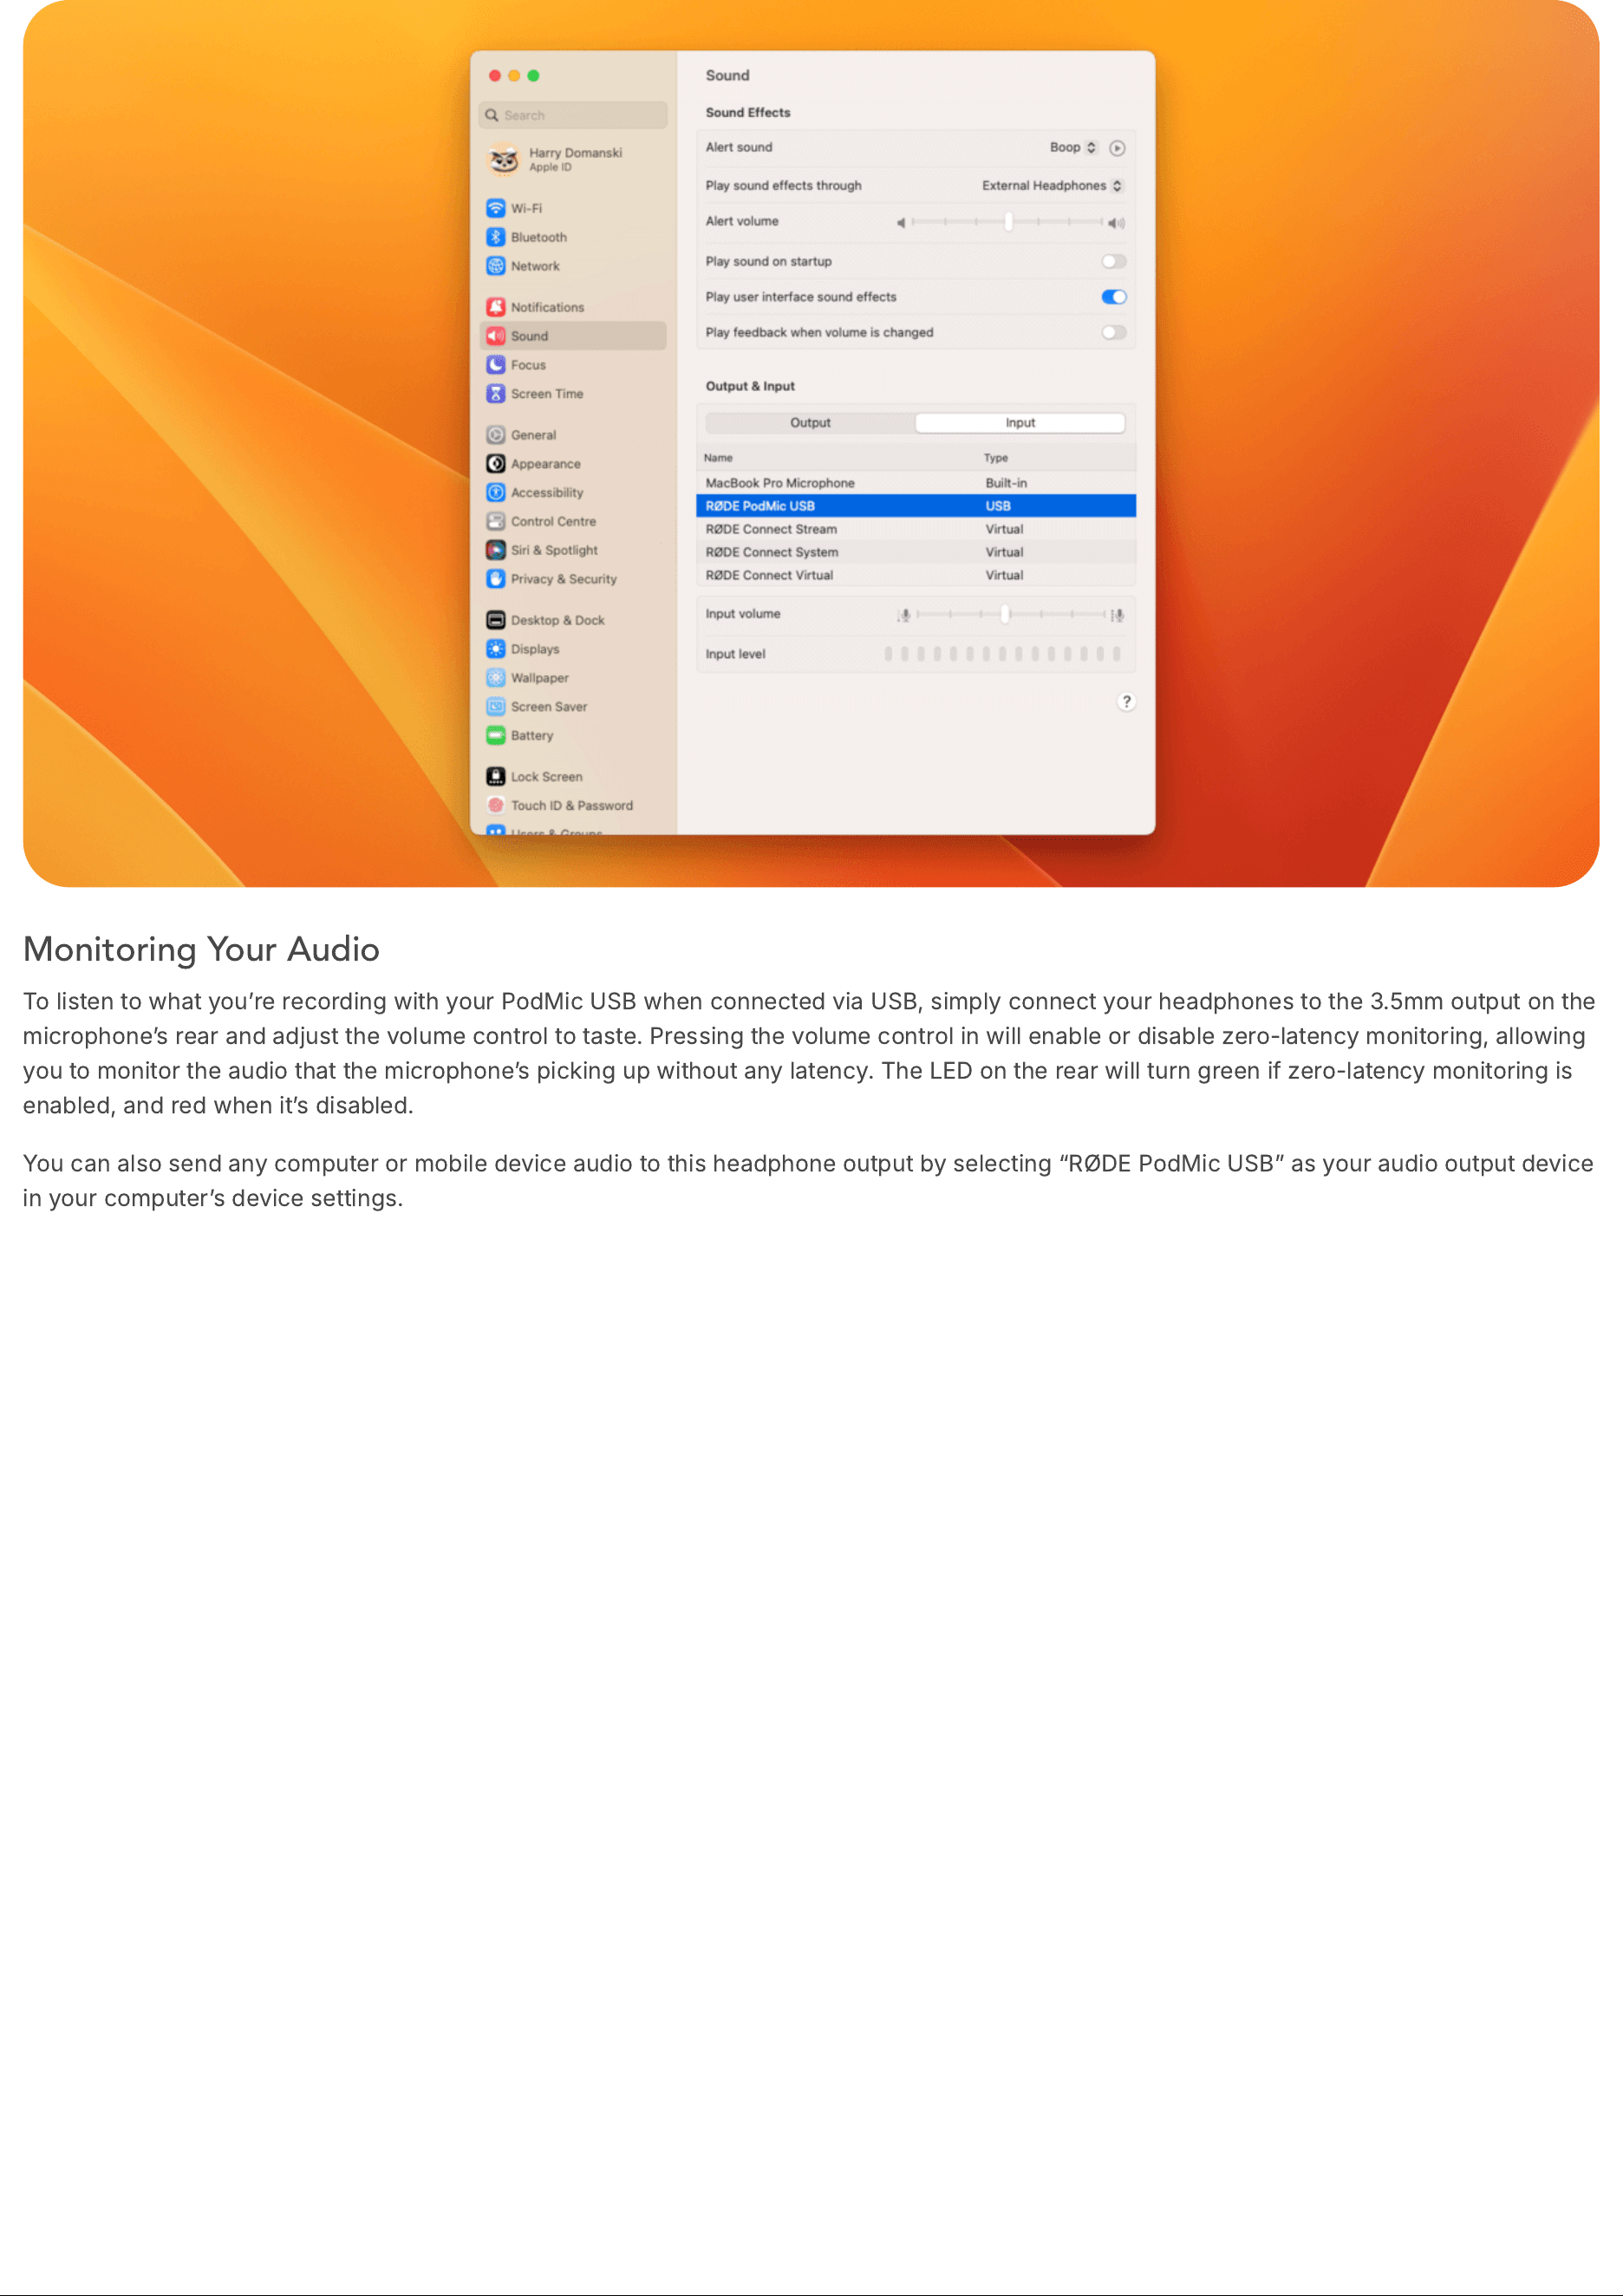
Monitoring Your Audio
To
listen
to
what
you
ʼ
re
recording
with
your
PodMic
USB
when
connected
via
USB
,
simply
connect
your
headphones
to
the
3.5
mm
output
on
the
microphone
ʼ
s
rear
and
adjust
the
volume
control
to
taste
.
Pressing
the
volume
control
in
will
enable
or
disable
zero
-
latency
monitoring
,
allowing
you
to
monitor
the
audio
that
the
microphone
ʼ
s
picking
up
without
any
latency
.
The
LED
on
the
rear
will
turn
green
if
zero
-
latency
monitoring
is
enabled
,
and
red
when
it
ʼ
s
disabled
.
You
can
also
send
any
computer
or
mobile
device
audio
to
this
headphone
output
by
selecting
“
RØDE
PodMic
USB
”
as
your
audio
output
device
in
your
computer
ʼ
s
device
settings
.
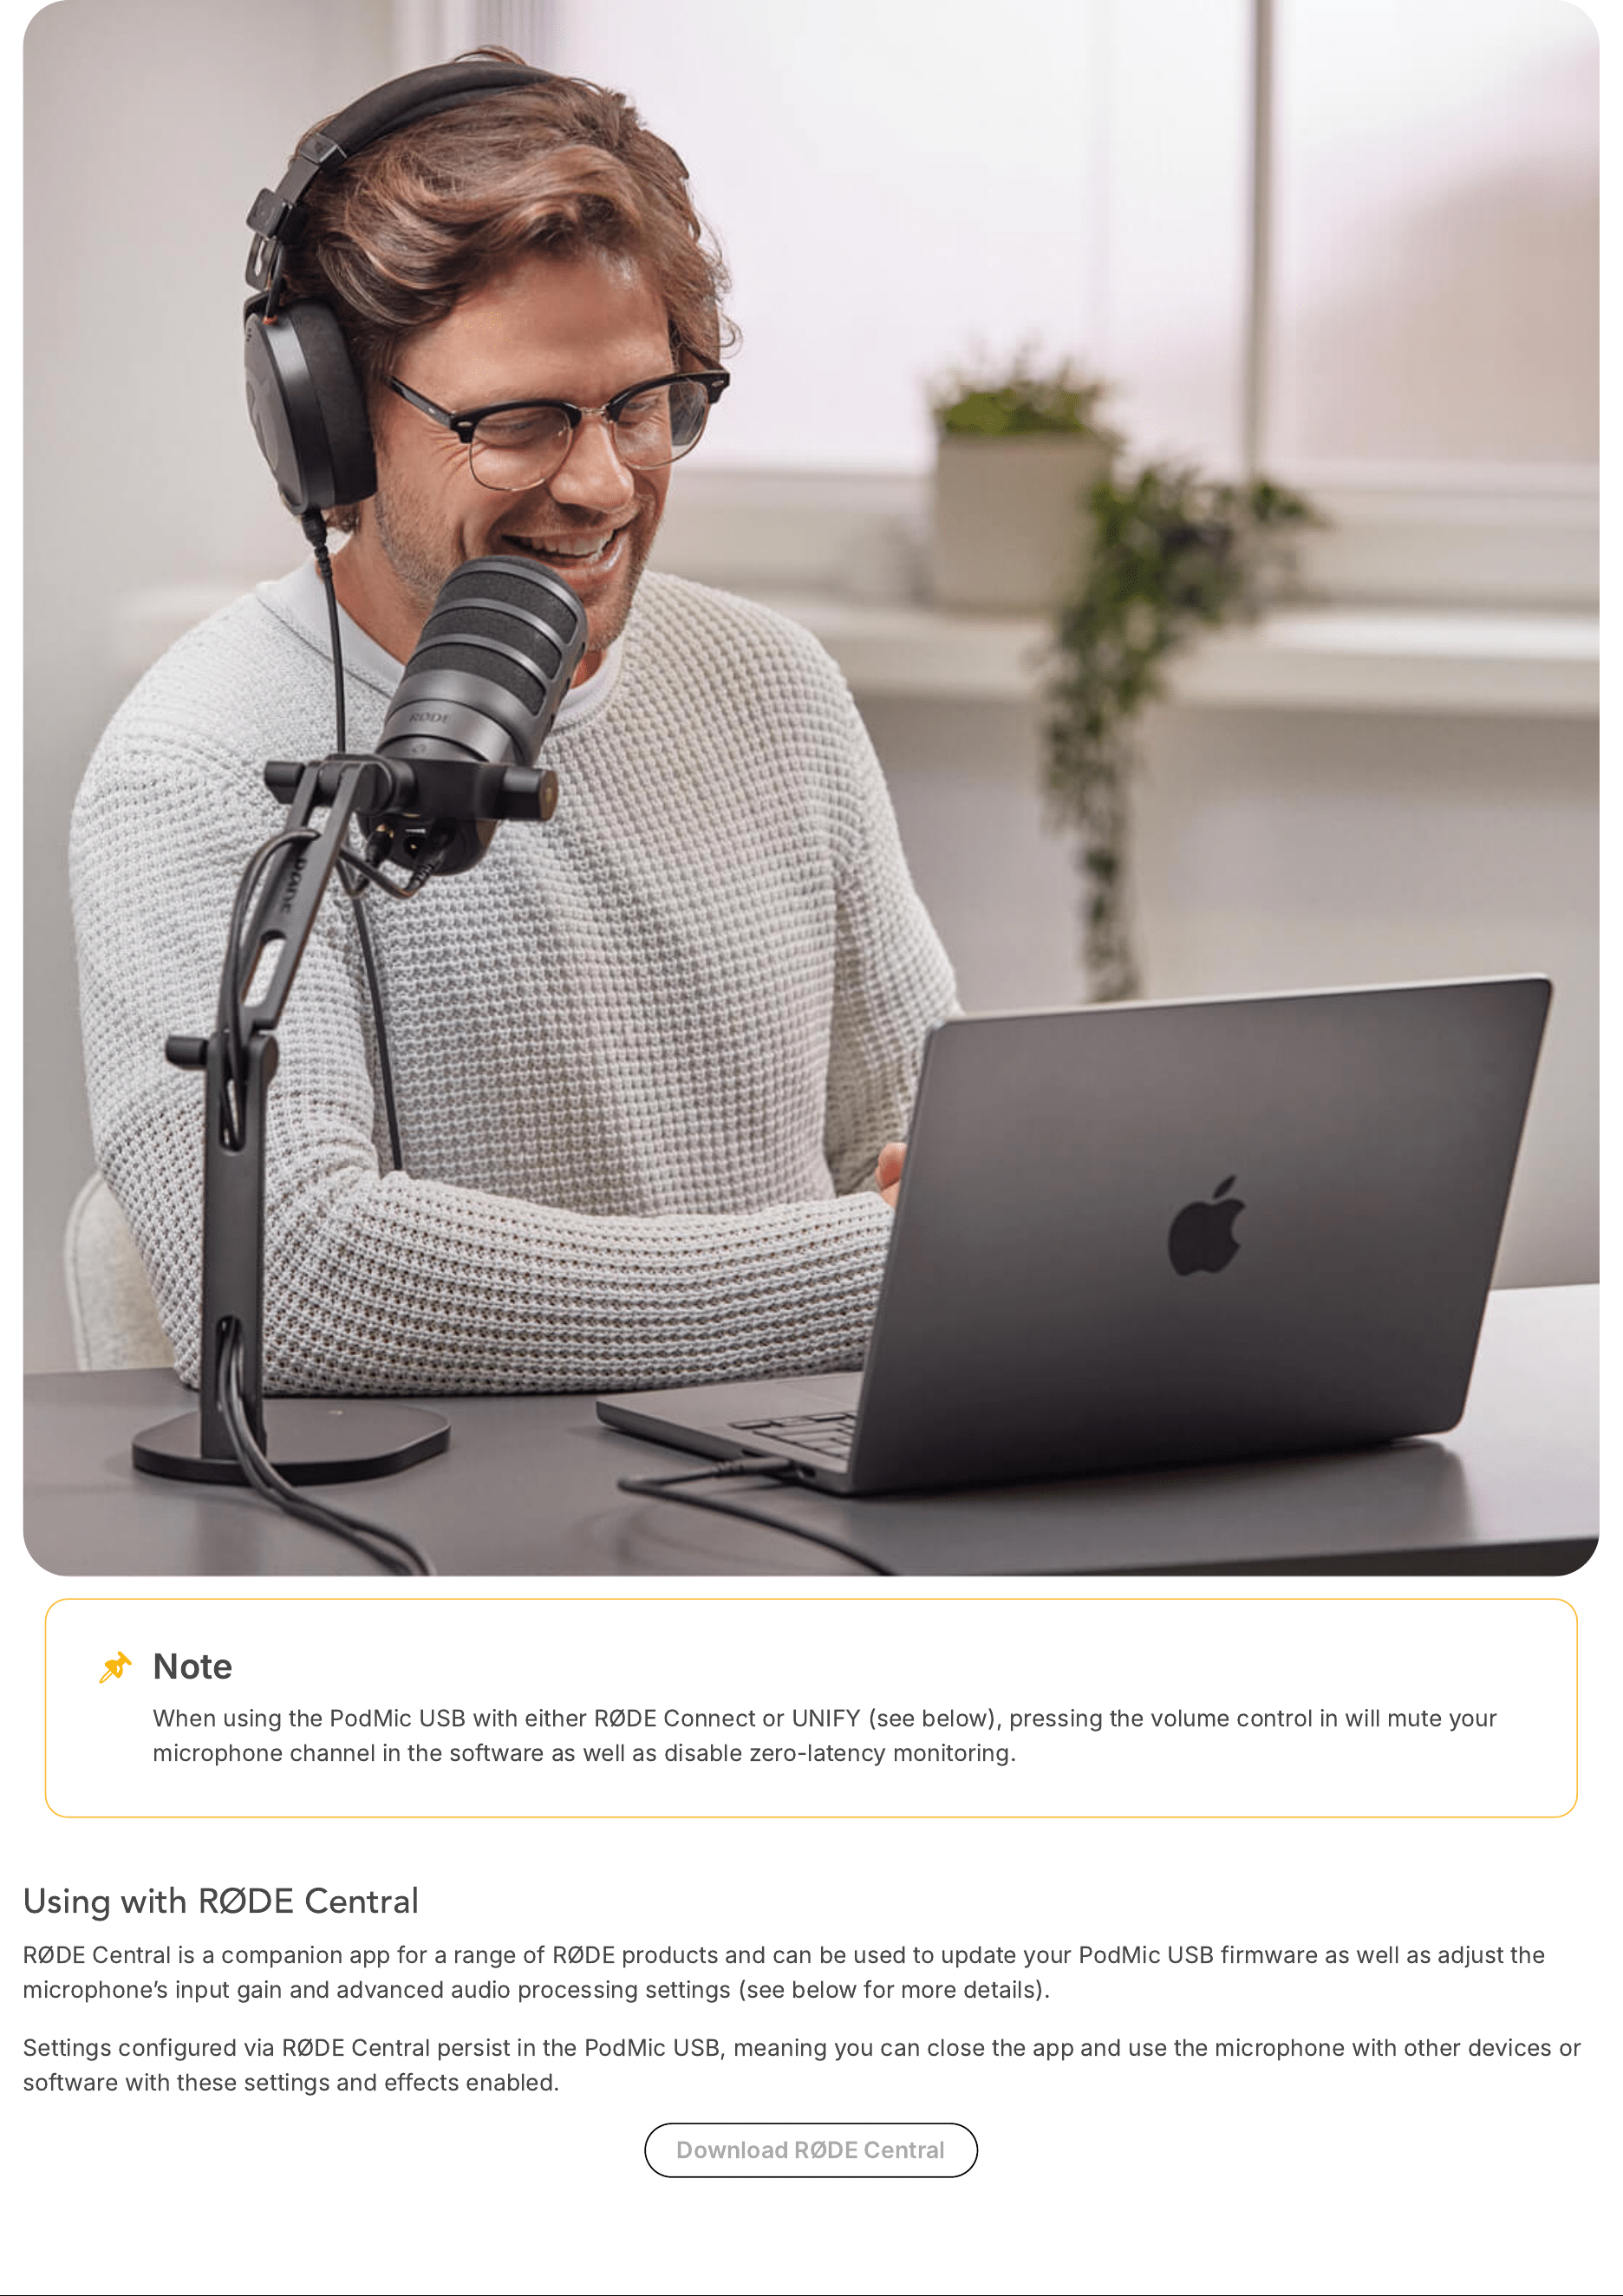
Using with RØDE Central
RØDE
Central
is
a
companion
app
for
a
range
of
RØDE
products
and
can
be
used
to
update
your
PodMic
USB
firmware
as
well
as
adjust
the
microphone
ʼ
s
input
gain
and
advanced
audio
processing
settings
(
see
below
for
more
details
).
Settings
configured
via
RØDE
Central
persist
in
the
PodMic
USB
,
meaning
you
can
close
the
app
and
use
the
microphone
with
other
devices
or
software
with
these
settings
and
effects
enabled
.
Download
RØDE
Central
Note
When
using
the
PodMic
USB
with
either
RØDE
Connect
or
UNIFY
(
see
below
),
pressing
the
volume
control
in
will
mute
your
microphone
channel
in
the
software
as
well
as
disable
zero
-
latency
monitoring
.
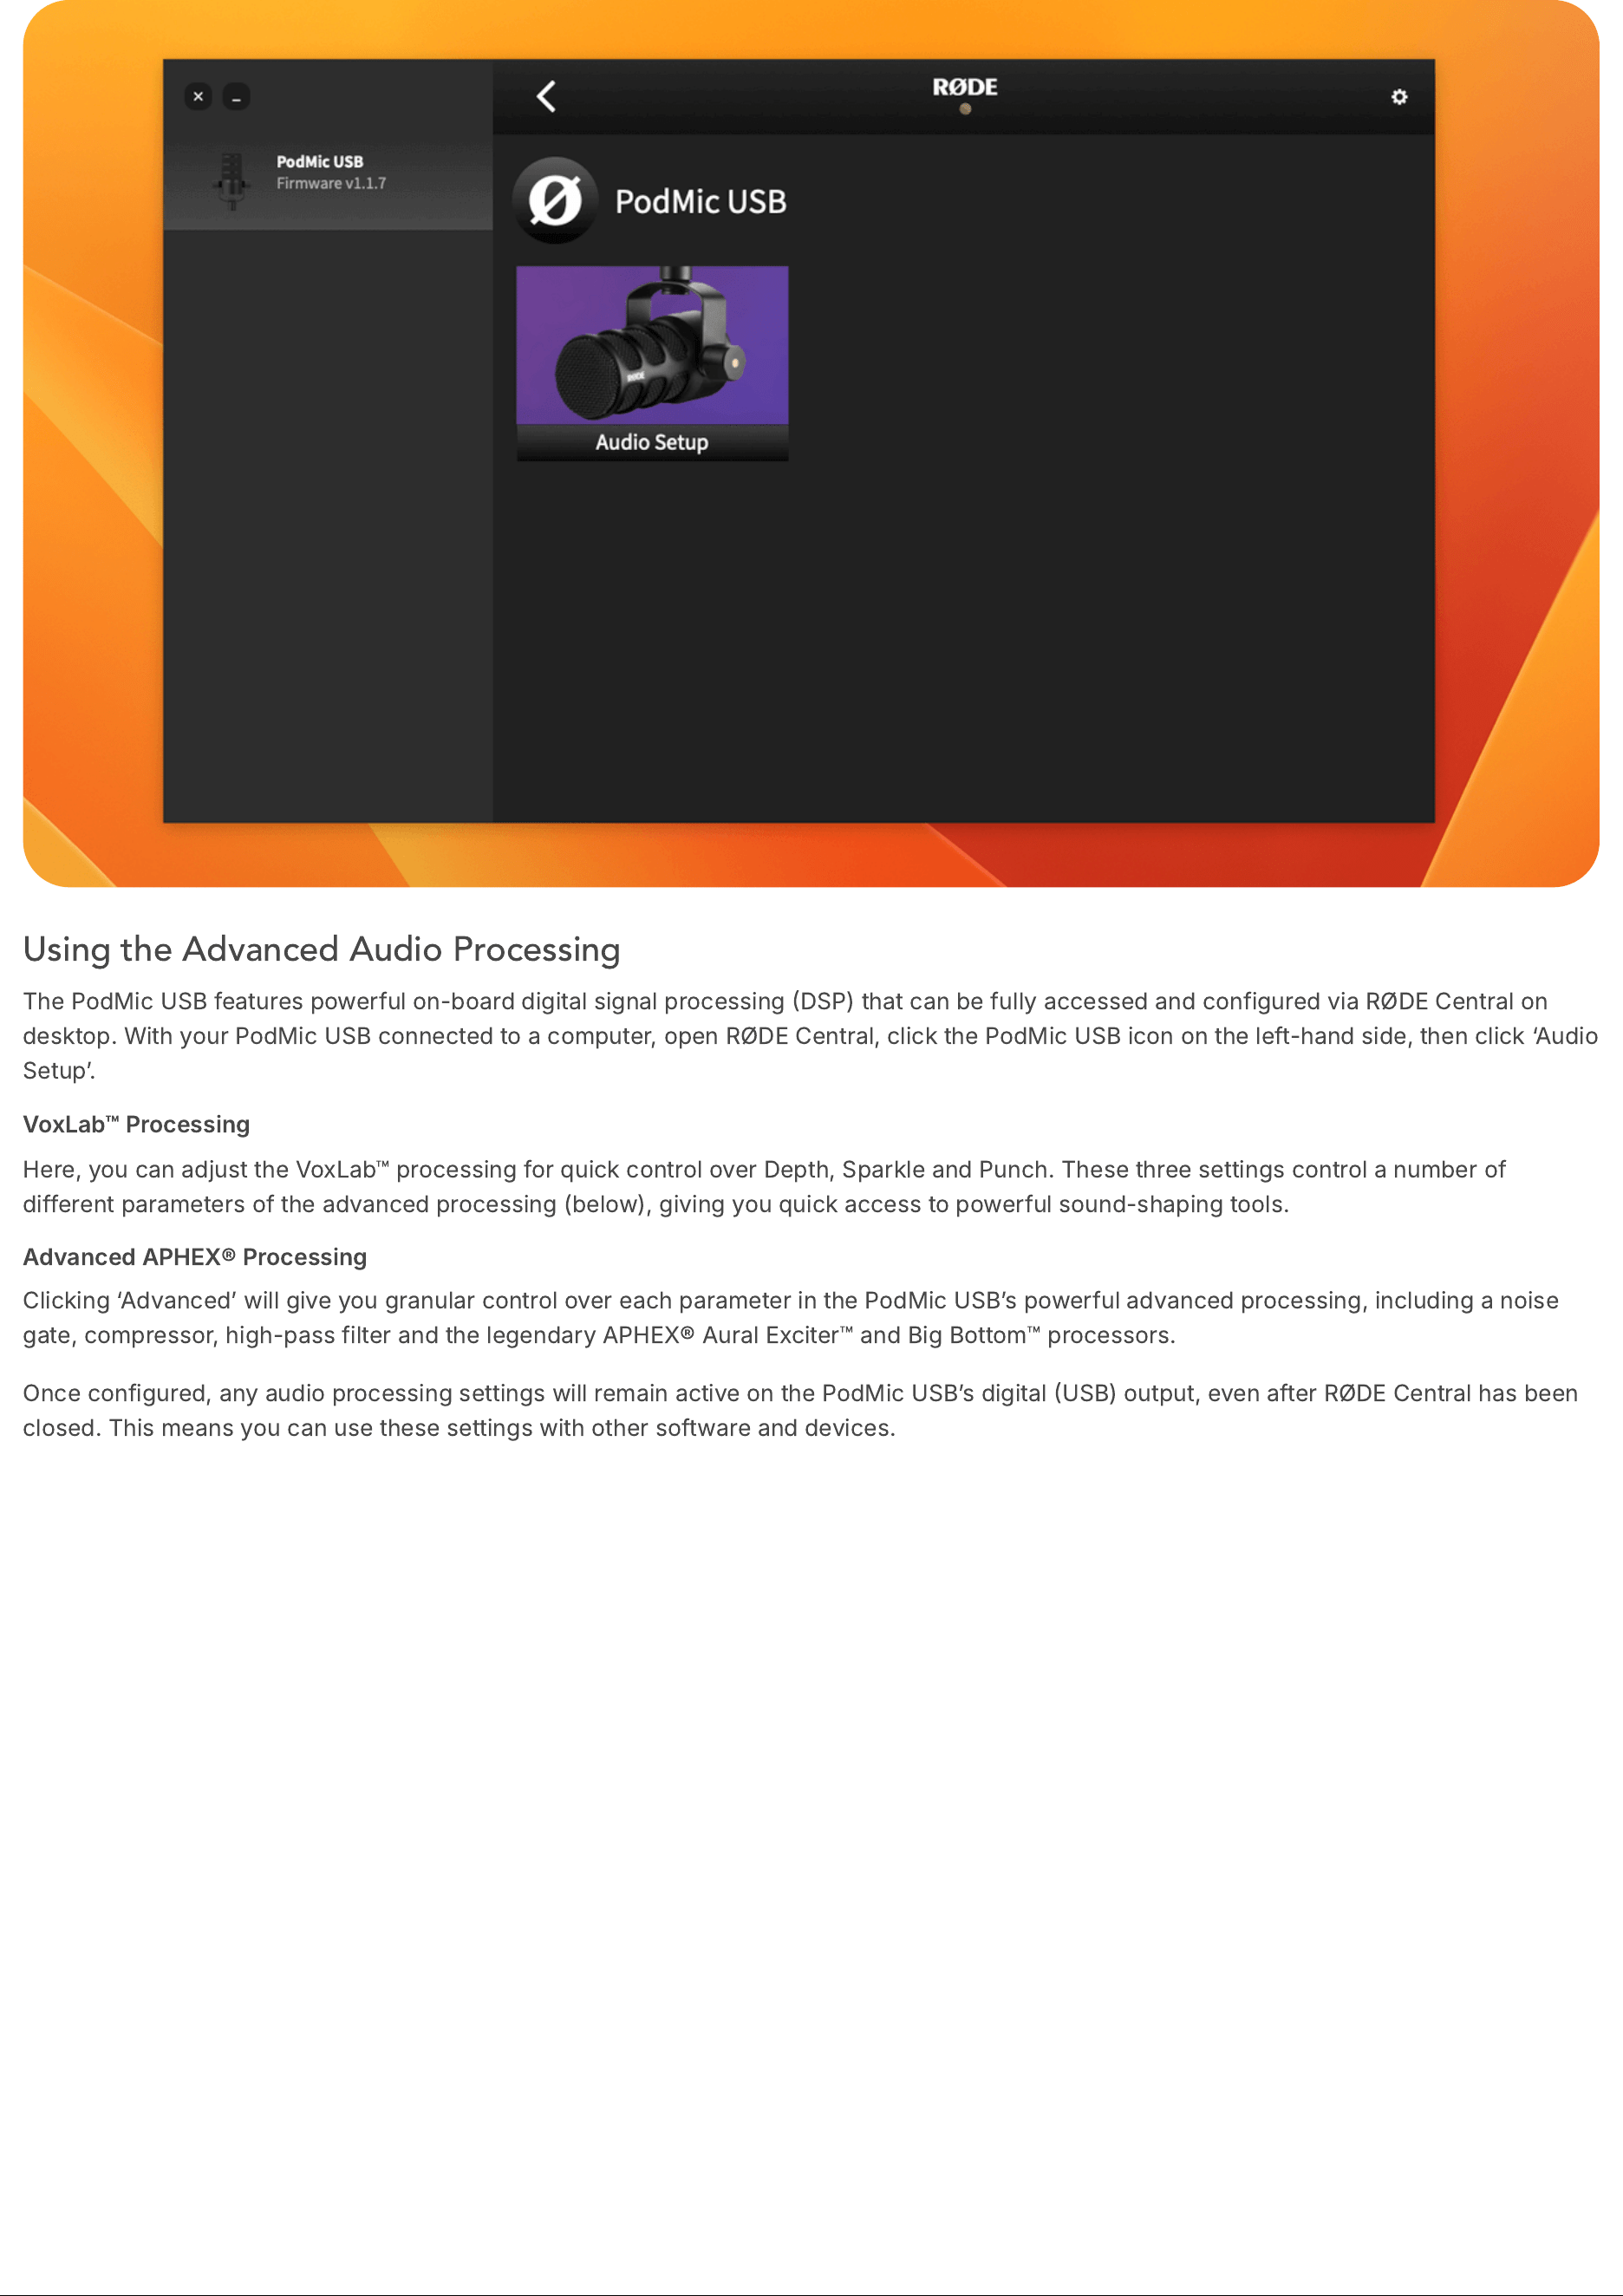
Using the Advanced Audio Processing
The
PodMic
USB
features
powerful
on
-
board
digital
signal
processing
DSP
)
that
can
be
fully
accessed
and
configured
via
RØDE
Central
on
desktop
.
With
your
PodMic
USB
connected
to
a
computer
,
open
RØDE
Central
,
click
the
PodMic
USB
icon
on
the
left
-
hand
side
,
then
click
‘
Audio
Setup
ʼ.
VoxLab
™
Processing
Here
,
you
can
adjust
the
VoxLab
™
processing
for
quick
control
over
Depth
,
Sparkle
and
Punch
.
These
three
settings
control
a
number
of
different
parameters
of
the
advanced
processing
(
below
),
giving
you
quick
access
to
powerful
sound
-
shaping
tools
.
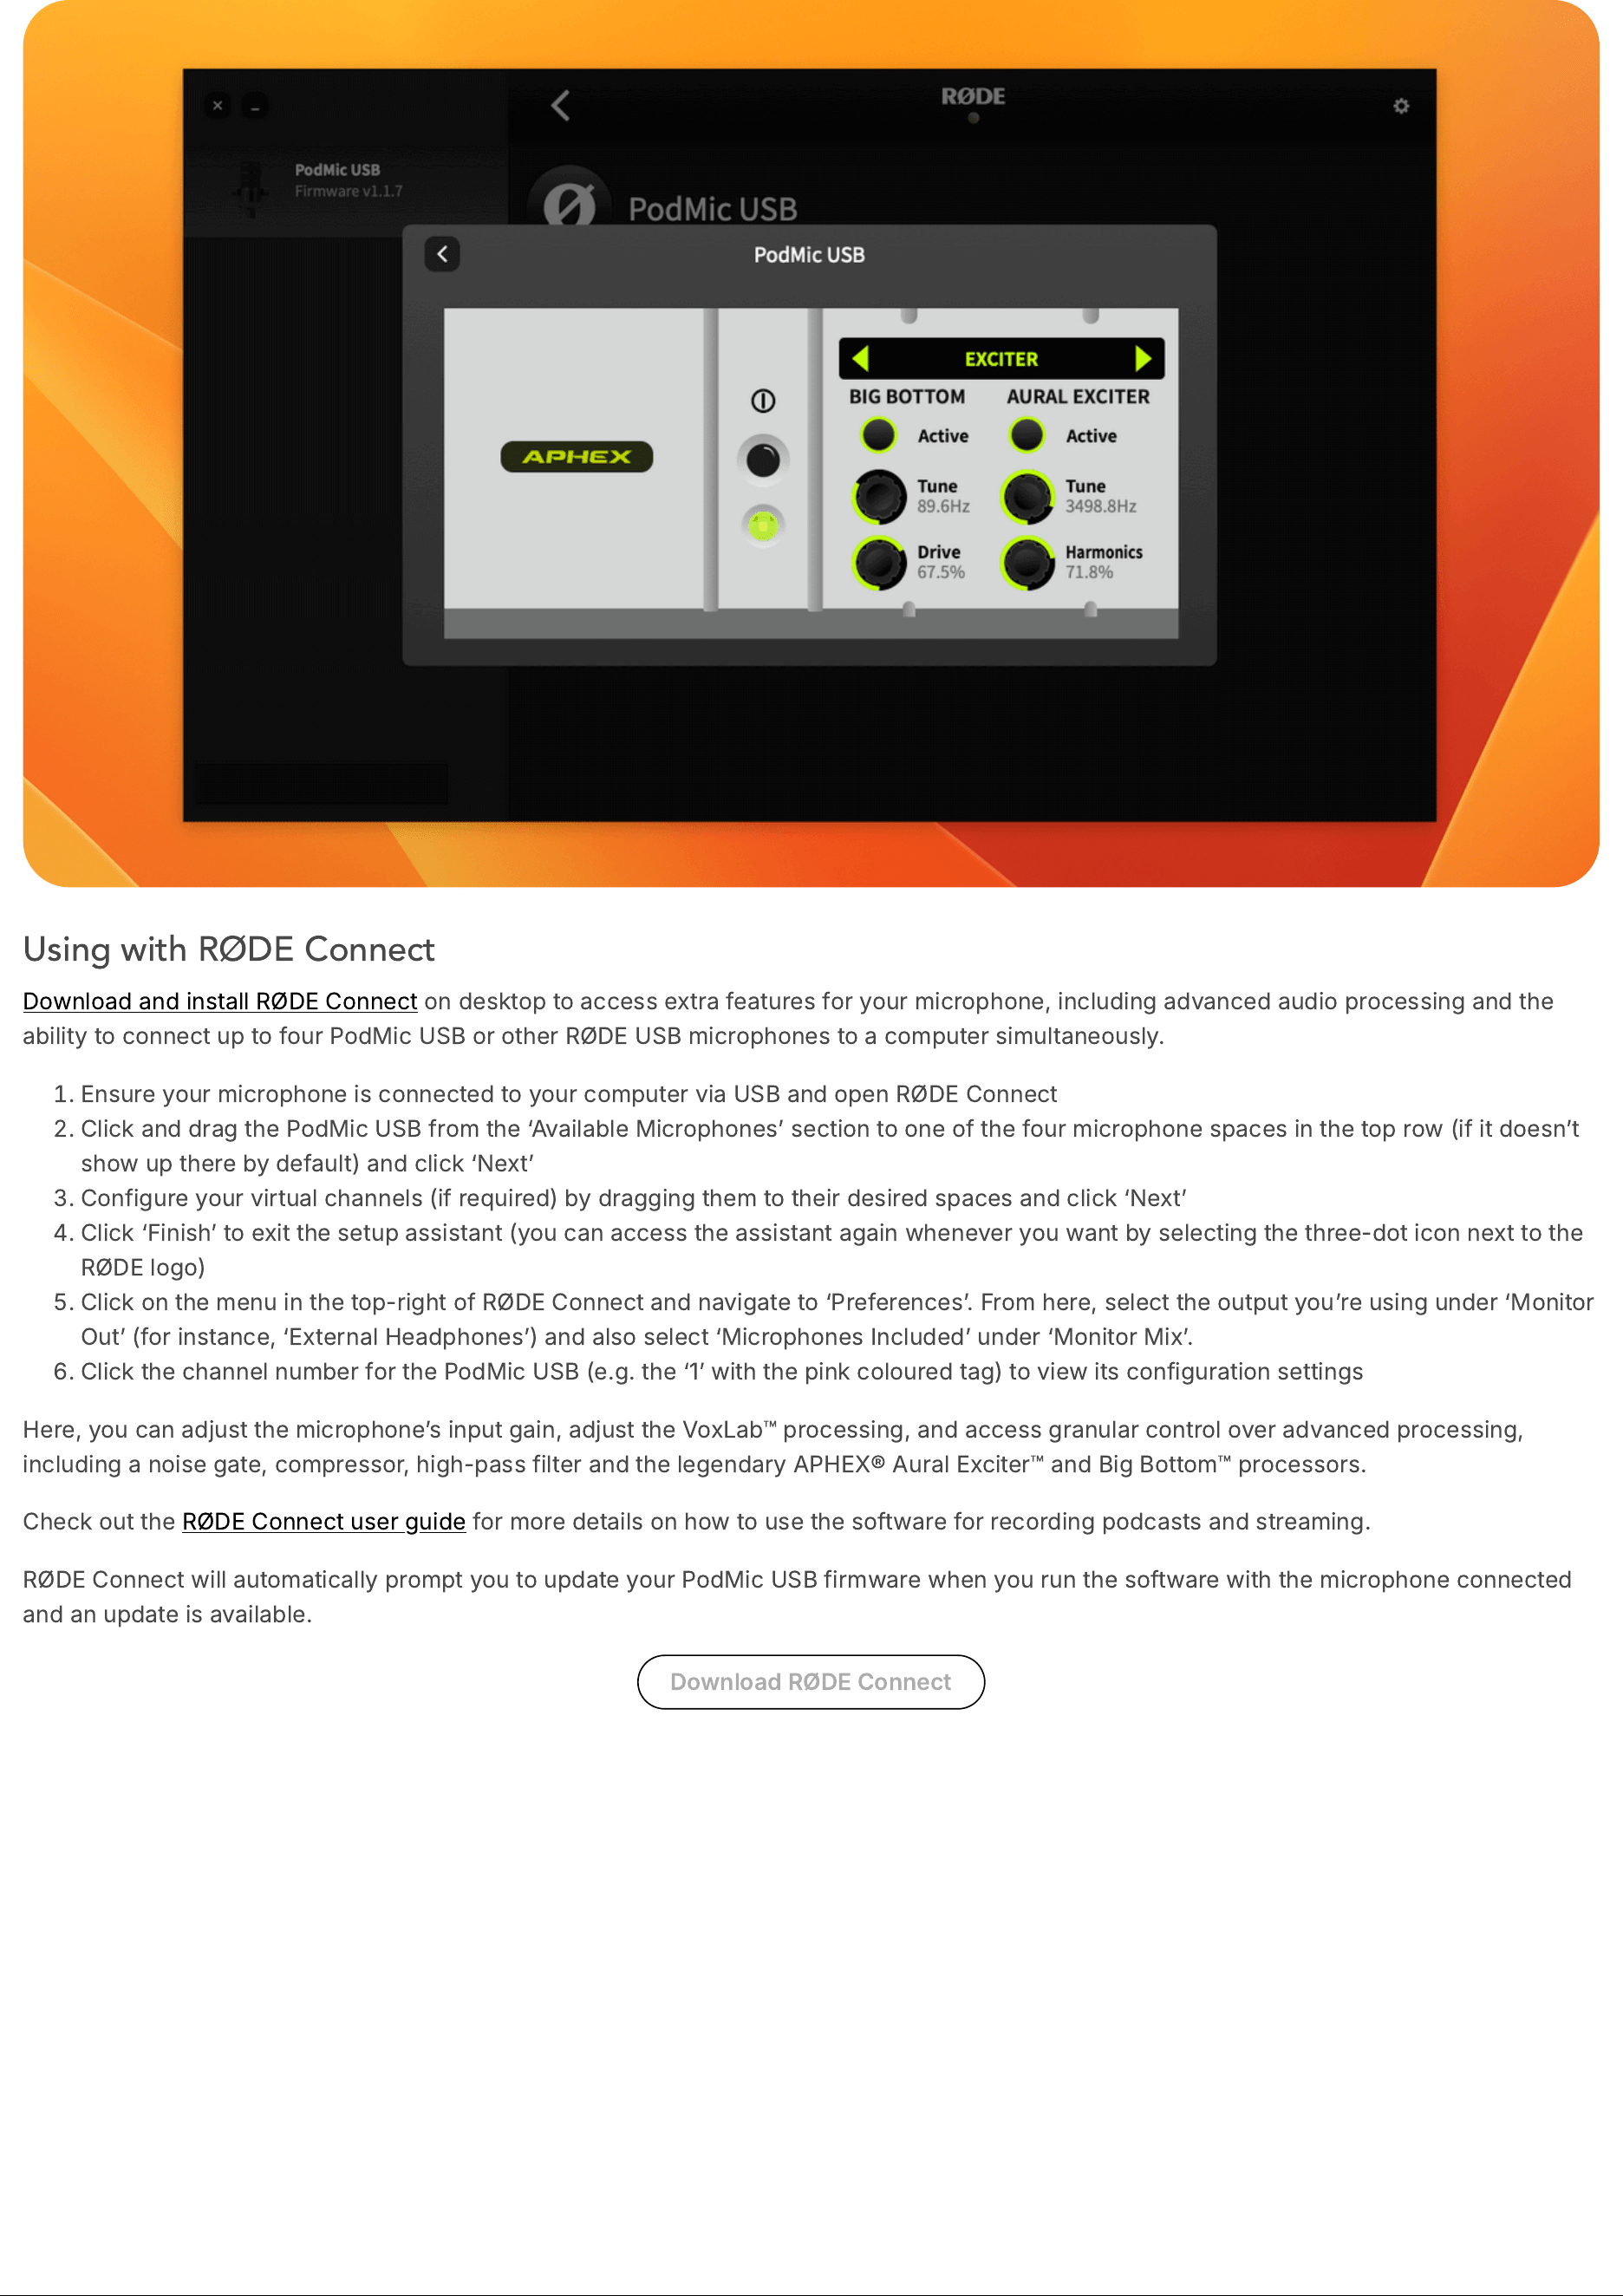
Advanced
APHEX
®
Processing
Clicking
‘
Advanced
ʼ
will
give
you
granular
control
over
each
parameter
in
the
PodMic
USB
ʼ
s
powerful
advanced
processing
,
including
a
noise
gate
,
compressor
,
high
-
pass
filter
and
the
legendary
APHEX
®
Aural
Exciter
™
and
Big
Bottom
™
processors
.
Once
configured
,
any
audio
processing
settings
will
remain
active
on
the
PodMic
USB
ʼ
s
digital
USB
)
output
,
even
after
RØDE
Central
has
been
closed
.
This
means
you
can
use
these
settings
with
other
software
and
devices
.
Using with RØDE Connect
Download
and
install
RØDE
Connect
on
desktop
to
access
extra
features
for
your
microphone
,
including
advanced
audio
processing
and
the
ability
to
connect
up
to
four
PodMic
USB
or
other
RØDE
USB
microphones
to
a
computer
simultaneously
.
Ensure
your
microphone
is
connected
to
your
computer
via
USB
and
open
RØDE
Connect
Click
and
drag
the
PodMic
USB
from
the
‘
Available
Microphones
ʼ
section
to
one
of
the
four
microphone
spaces
in
the
top
row
(
if
it
doesn
ʼ
t
show
up
there
by
default
)
and
click
‘
Next
ʼ
Configure
your
virtual
channels
(
if
required
)
by
dragging
them
to
their
desired
spaces
and
click
‘
Next
ʼ
Click
‘
Finish
ʼ
to
exit
the
setup
assistant
(
you
can
access
the
assistant
again
whenever
you
want
by
selecting
the
three
-
dot
icon
next
to
the
RØDE
logo
)
Click
on
the
menu
in
the
top
-
right
of
RØDE
Connect
and
navigate
to
‘
Preferences
ʼ.
From
here
,
select
the
output
you
ʼ
re
using
under
‘
Monitor
Out
ʼ (
for
instance
, ‘
External
Headphones
ʼ)
and
also
select
‘
Microphones
Included
ʼ
under
‘
Monitor
Mix
ʼ.
Click
the
channel
number
for
the
PodMic
USB
(
e
.
g
.
the
‘1ʼ
with
the
pink
coloured
tag
)
to
view
its
configuration
settings
Here
,
you
can
adjust
the
microphone
ʼ
s
input
gain
,
adjust
the
VoxLab
™
processing
,
and
access
granular
control
over
advanced
processing
,
including
a
noise
gate
,
compressor
,
high
-
pass
filter
and
the
legendary
APHEX
®
Aural
Exciter
™
and
Big
Bottom
™
processors
.
Check
out
the
RØDE
Connect
user
guide
for
more
details
on
how
to
use
the
software
for
recording
podcasts
and
streaming
.
RØDE
Connect
will
automatically
prompt
you
to
update
your
PodMic
USB
firmware
when
you
run
the
software
with
the
microphone
connected
and
an
update
is
available
.
Download
RØDE
Connect
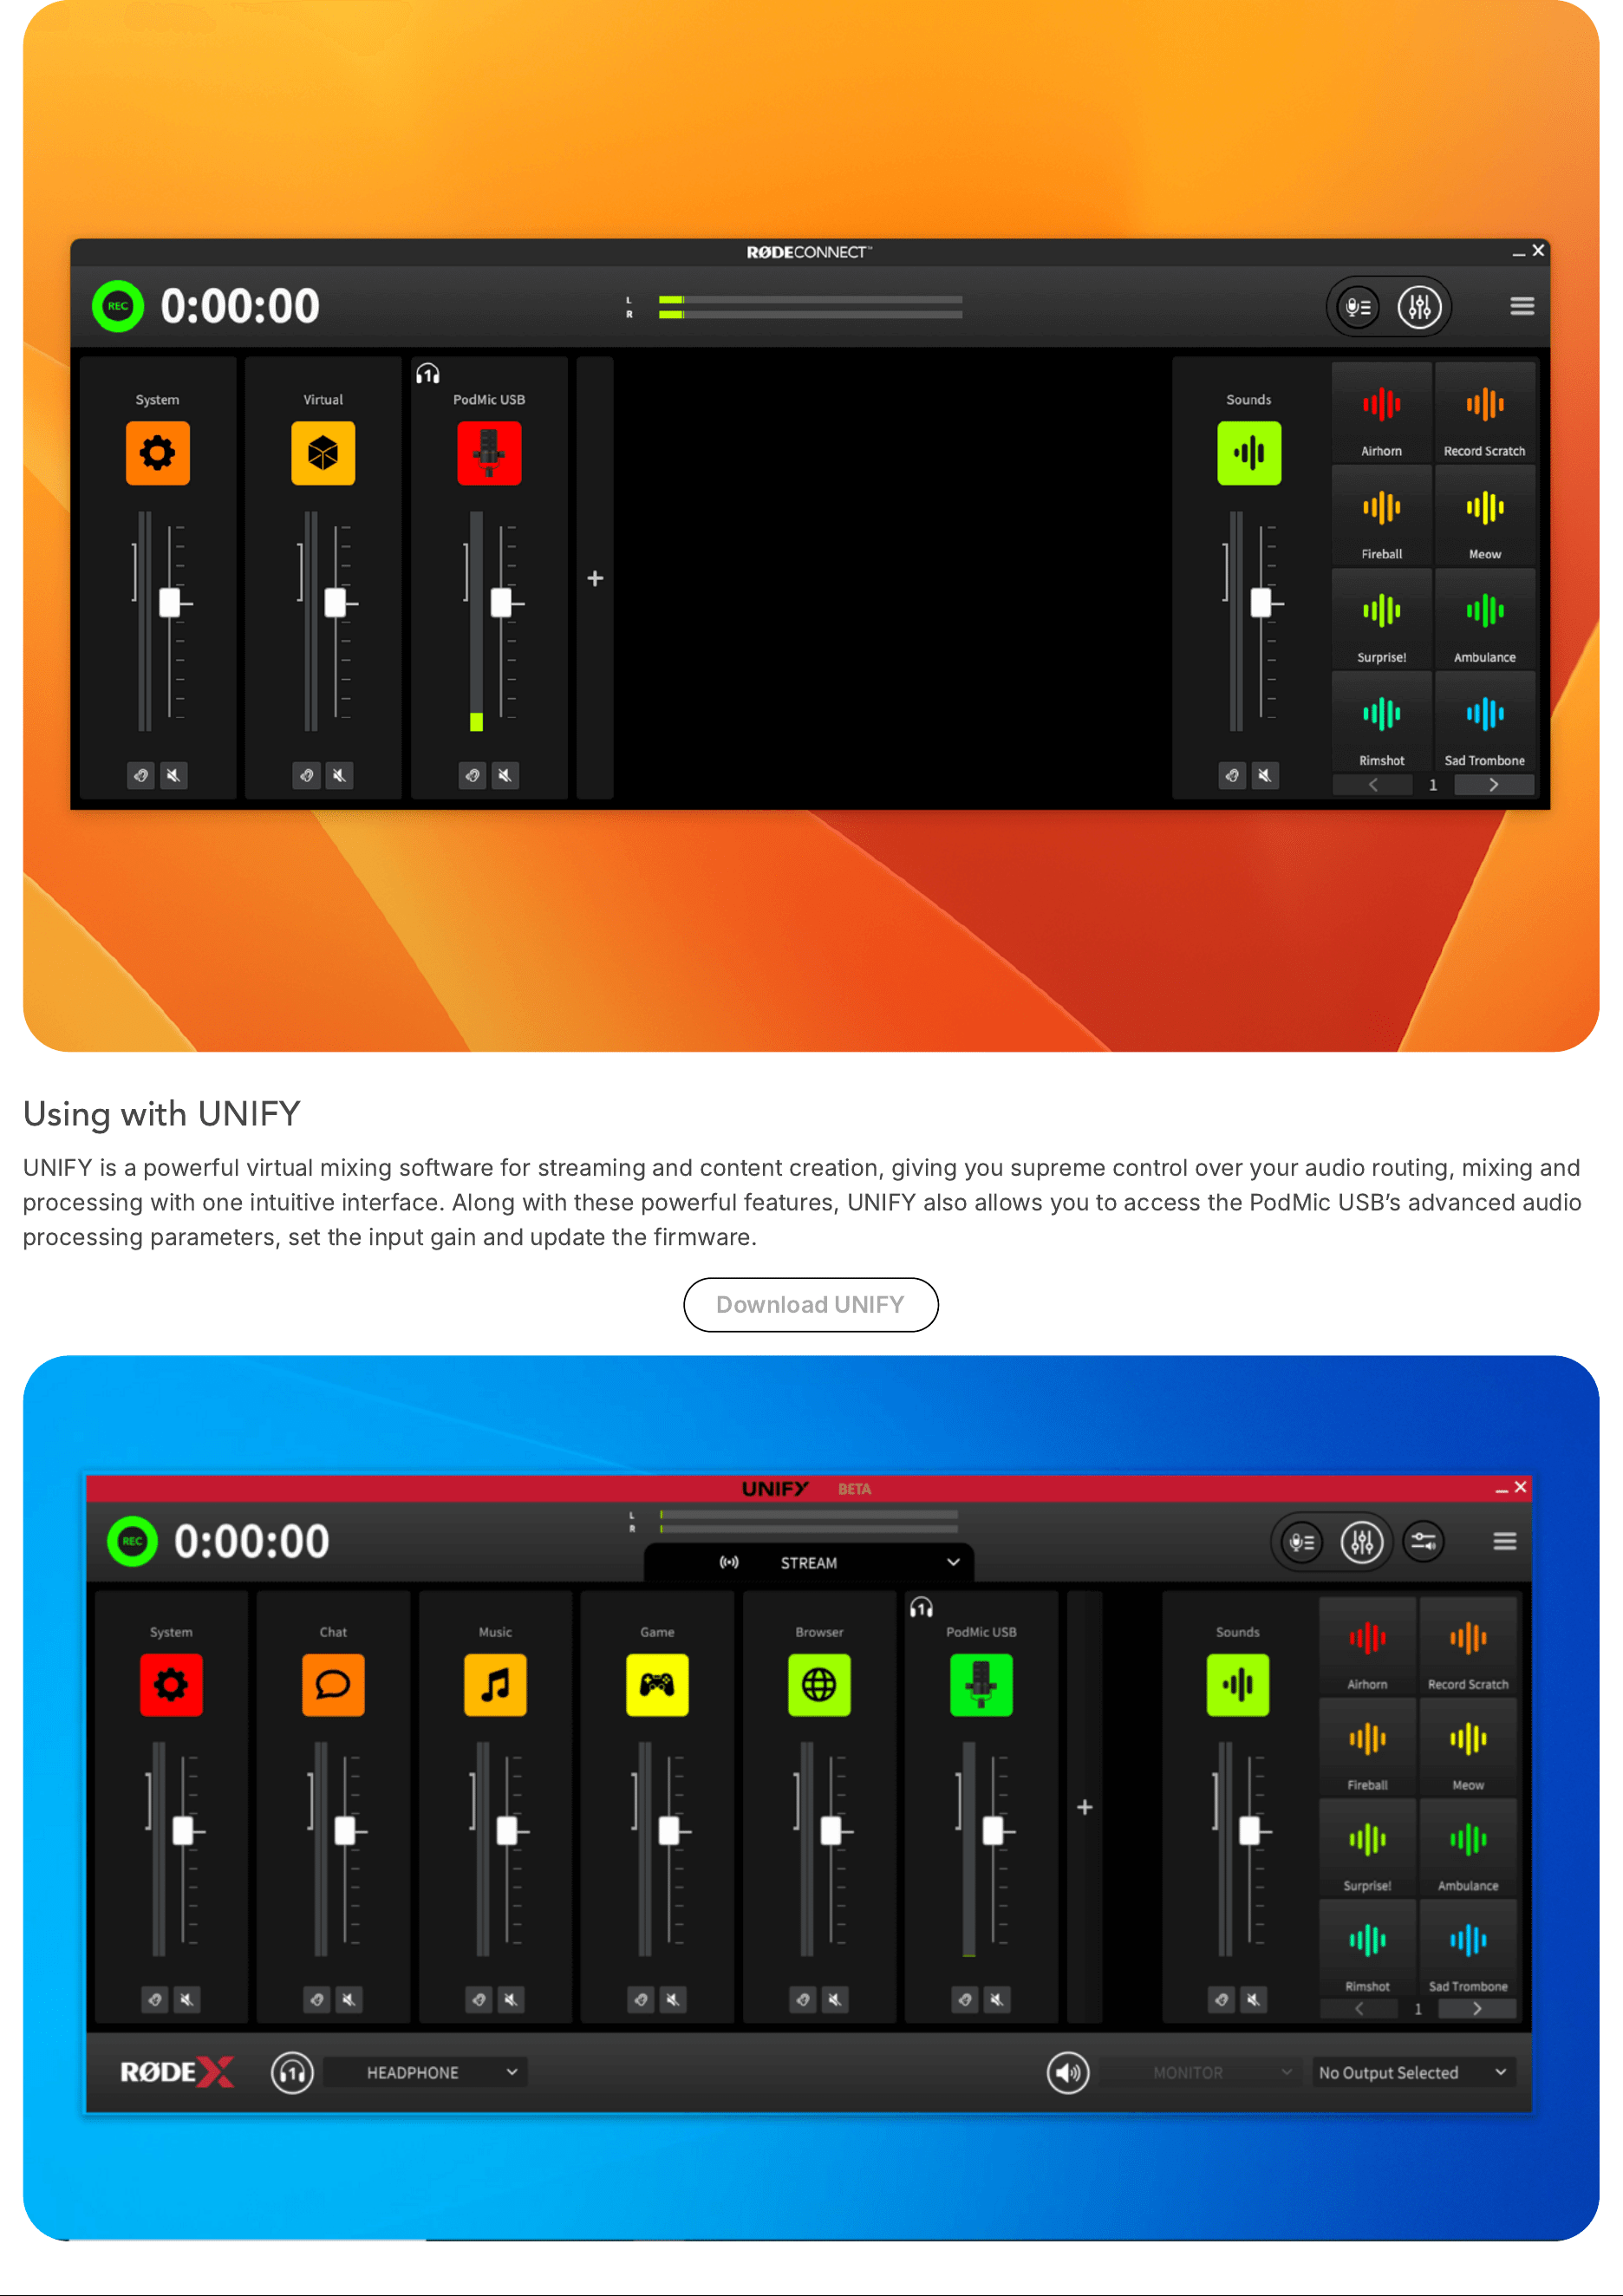
Using with UNIFY
UNIFY
is
a
powerful
virtual
mixing
software
for
streaming
and
content
creation
,
giving
you
supreme
control
over
your
audio
routing
,
mixing
and
processing
with
one
intuitive
interface
.
Along
with
these
powerful
features
,
UNIFY
also
allows
you
to
access
the
PodMic
USB
ʼ
s
advanced
audio
processing
parameters
,
set
the
input
gain
and
update
the
firmware
.
Download
UNIFY
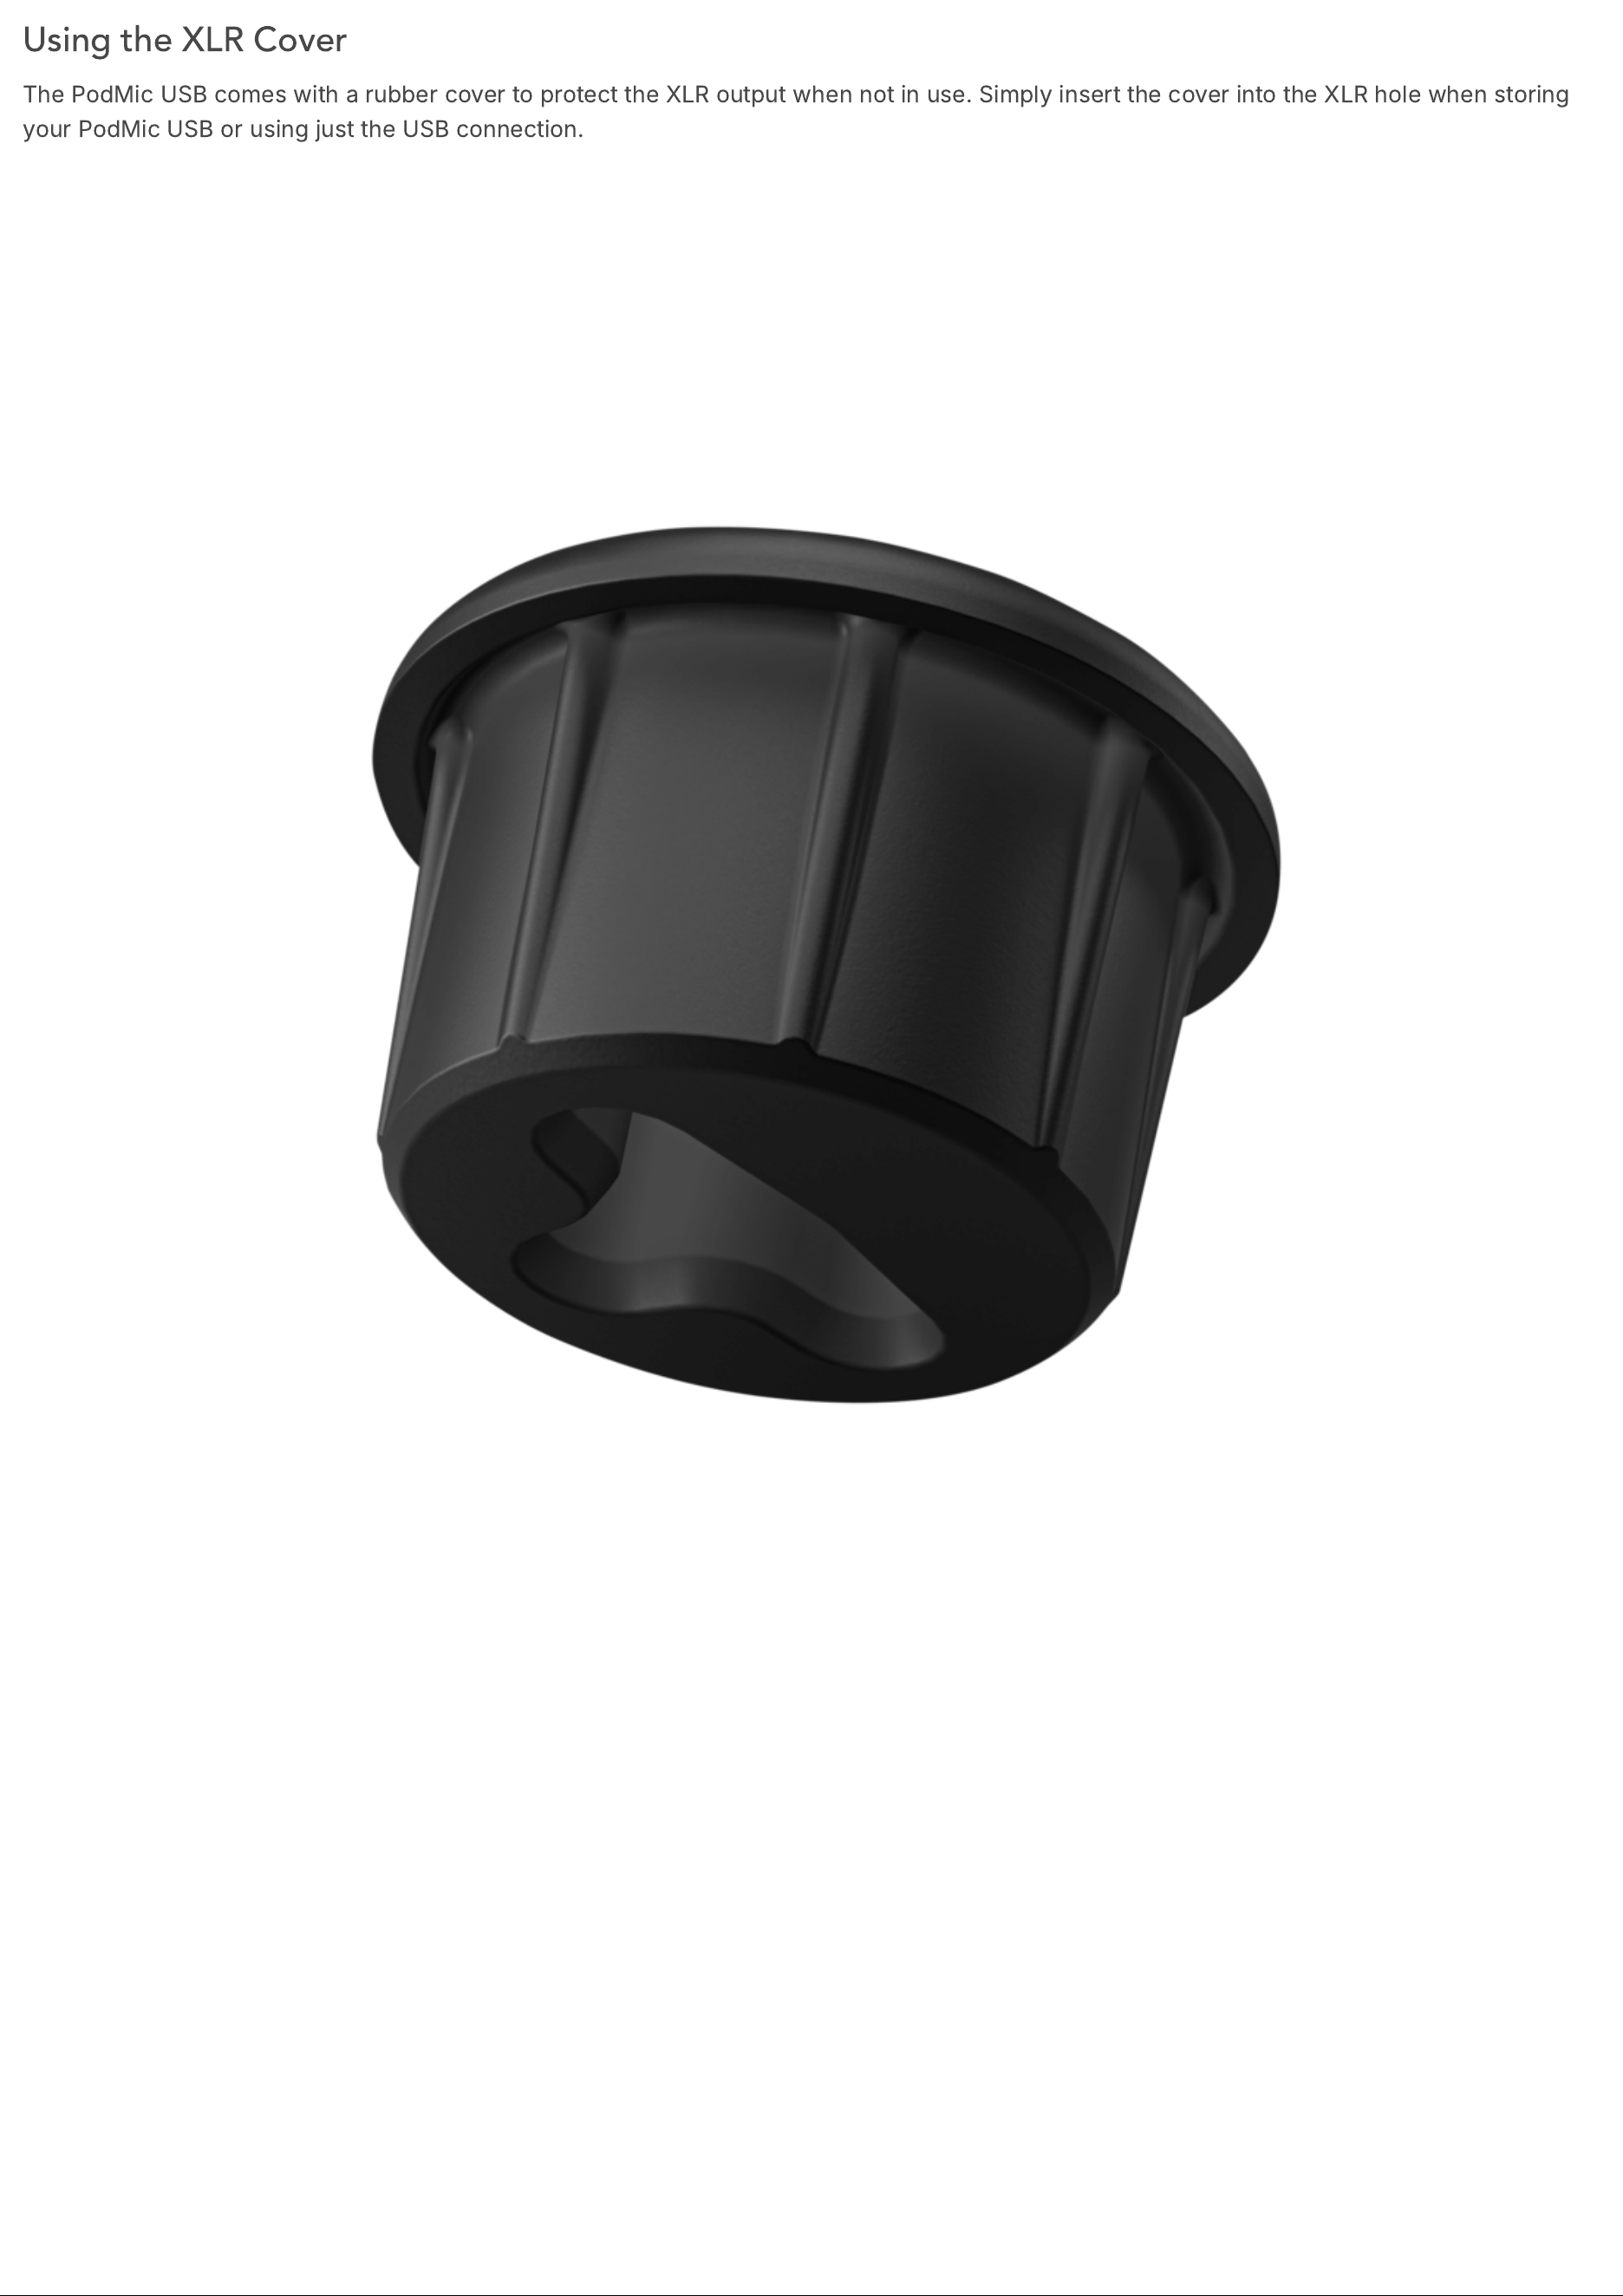
Using the XLR Cover
The
PodMic
USB
comes
with
a
rubber
cover
to
protect
the
XLR
output
when
not
in
use
.
Simply
insert
the
cover
into
the
XLR
hole
when
storing
your
PodMic
USB
or
using
just
the
USB
connection
.