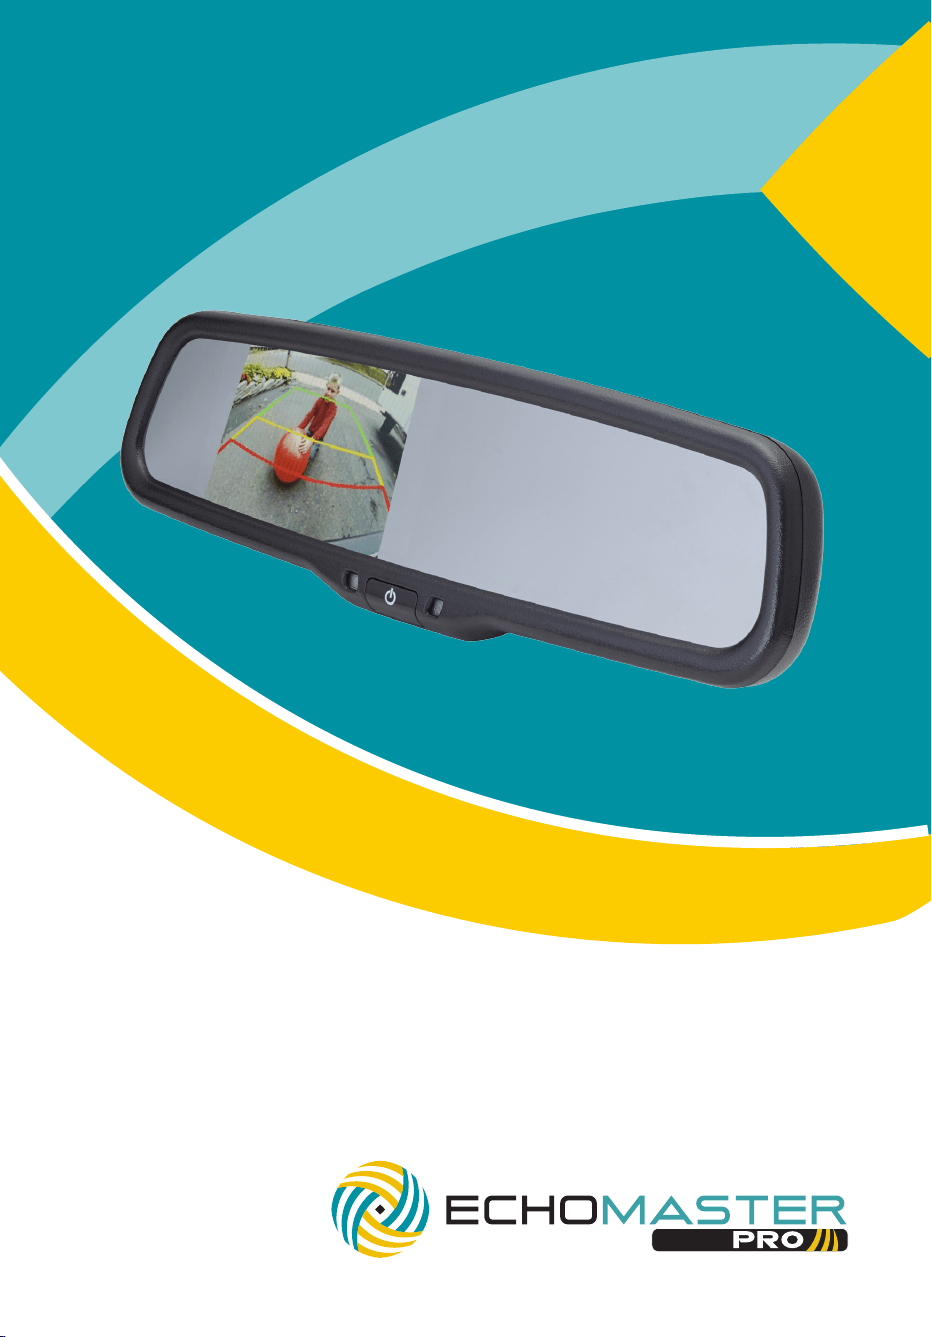
User Manual
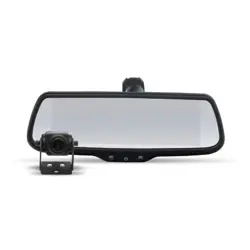
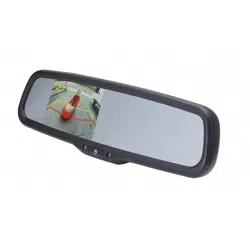
3.5” Factory Mount Mirror Monitor
with Adjustable Parking Lines
PMM-35-PL

3
email - [email protected] (US)
tel - 1-800-477-2267 (East Coast) - 1-888-883-2790 (West Coast)
email - [email protected] (Europe)
Installation Guide
2
Installation Guide
email - [email protected] (US)
tel - 1-800-477-2267 (East Coast) - 1-888-883-2790 (West Coast)
email - [email protected] (Europe)
Fitting Instructions
PMM-35-PL
3.5” Factory Mount Mirror Monitor
with Adjustable Parking Lines
Introduction
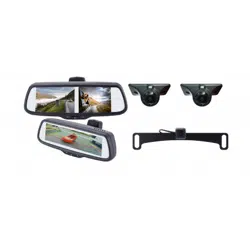
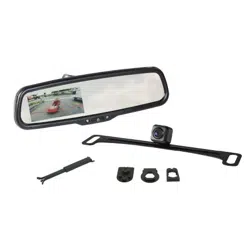
Box Contents
Key Features
u User Guide
u Mirror Monitor
u Main Harness
u Cable Management
u Allen Key
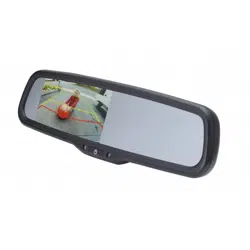
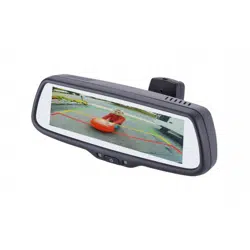
Thank you for purchasing your EchoMaster Pro automotive monitor.
Your monitor displays a clear, high resolution image of the area
surrounding your vehicle, meaning your maneuvering and vehicle
awareness will be greatly improved.
Please ensure you read and understand all aspects of this manual before
tting or using your EchoMaster monitor.
Operating Instructions
PMM-35-PL
3.5” Factory Mount Mirror Monitor
with Adjustable Parking Lines
u Dual video inputs
u Reverse trigger input
u Adjustable parking lines
u Remote control included
u Auto-dimming display
The PMM-35-PL will replace your factory tted rearview mirror.
Remove the original mirror from the vehicle and replace with the
PMM-35-PL.
Once the unit is in place, run the connections cable across the headliner of
the vehicle and down the A pillar.
Please ensure that you do not impede the operation of any airbags that
may be located in the A pillar of the vehicle. Any cable passing these
airbags should be run behind the airbag and not in front of it.
Once the cable has been routed down to the dashboard, connect the
camera inputs and power connections as shown in the wiring diagram
section of this manual.
The vehicle ignition is required to be on for the unit to operate.
The unit will only turn on when a video signal is present.
To turn it on or off hold the POWER button for 1 second. The screen will
show the video signal connected to Video 1.
All other options are accessed via the supplied remote control.
To enter the menu press the MENU button on the remote.

3
email - [email protected] (US)
tel - 1-800-477-2267 (East Coast) - 1-888-883-2790 (West Coast)
email - [email protected] (Europe)
Installation Guide
2
Installation Guide
email - [email protected] (US)
tel - 1-800-477-2267 (East Coast) - 1-888-883-2790 (West Coast)
email - [email protected] (Europe)
Fitting Instructions
PMM-35-PL
3.5” Factory Mount Mirror Monitor
with Adjustable Parking Lines
Introduction
Box Contents
Key Features
u User Guide
u Mirror Monitor
u Main Harness
u Cable Management
u Allen Key
Thank you for purchasing your EchoMaster Pro automotive monitor.
Your monitor displays a clear, high resolution image of the area
surrounding your vehicle, meaning your maneuvering and vehicle
awareness will be greatly improved.
Please ensure you read and understand all aspects of this manual before
tting or using your EchoMaster monitor.
Operating Instructions
PMM-35-PL
3.5” Factory Mount Mirror Monitor
with Adjustable Parking Lines
u Dual video inputs
u Reverse trigger input
u Adjustable parking lines
u Remote control included
u Auto-dimming display
The PMM-35-PL will replace your factory tted rearview mirror.
Remove the original mirror from the vehicle and replace with the
PMM-35-PL.
Once the unit is in place, run the connections cable across the headliner of
the vehicle and down the A pillar.
Please ensure that you do not impede the operation of any airbags that
may be located in the A pillar of the vehicle. Any cable passing these
airbags should be run behind the airbag and not in front of it.
Once the cable has been routed down to the dashboard, connect the
camera inputs and power connections as shown in the wiring diagram
section of this manual.
The vehicle ignition is required to be on for the unit to operate.
The unit will only turn on when a video signal is present.
To turn it on or off hold the POWER button for 1 second. The screen will
show the video signal connected to Video 1.
All other options are accessed via the supplied remote control.
To enter the menu press the MENU button on the remote.

5
email - [email protected] (US)
tel - 1-800-477-2267 (East Coast) - 1-888-883-2790 (West Coast)
email - [email protected] (Europe)
Installation Guide
4
Installation Guide
email - [email protected] (US)
tel - 1-800-477-2267 (East Coast) - 1-888-883-2790 (West Coast)
email - [email protected] (Europe)
Operating Instructions (continued)
Wiring Diagram
Scroll through the various options by pressing the SEL button.
Adjust options using the – and + buttons (top right of remote).
Settings available are as follows.
Brightness Adjusts the screen brightness.
Contrast Adjusts the screen contrast.
Color Adjusts the screen color.
Scale Turns the parking guidelines on or off.
Language Allows you to choose what language the on-screen
menus are displayed in.
Preset Resets all values to default.
The parking guidelines can also be adjusted when the reverse trigger is
activated.
To enter the adjustment mode press and hold the top center button on the
remote.
You will then notice the XL (left) and XR (right) menus appear at the top of
the screen.
The bottom 3 rows of buttons on the remote adjust the right-hand guide
and the next 3 up adjust the left.
To set the lines accurately place some 2” wide tape at the rear of the
vehicle parallel to each other. The tape should be about 12ft long and 6”
outside the maximum width of the vehicle (please see image on next page).
It must be visible on the display when
the vehicle is in reverse. You can then
set the guidelines to match the tape.
Press and hold the top center button
again to exit the guidelines setting
function.
+12V Ignition
GND
V1
Reverse Camera Input
Video Input
Main Harness
(Black)
Reverse Trigger
(Green)
(Red)
FILTER &
FUSE BOX
IN
OUT
PMM-35-PL
3.5” Factory Mount Mirror Monitor
with Adjustable Parking Lines
PMM-35-PL
3.5” Factory Mount Mirror Monitor
with Adjustable Parking Lines
2” Wide Tape
12ft
6”
7
email - [email protected] (US)
tel - 1-800-477-2267 (East Coast) - 1-888-883-2790 (West Coast)
email - [email protected] (Europe)
Installation Guide
6
Installation Guide
email - [email protected] (US)
tel - 1-800-477-2267 (East Coast) - 1-888-883-2790 (West Coast)
email - [email protected] (Europe)
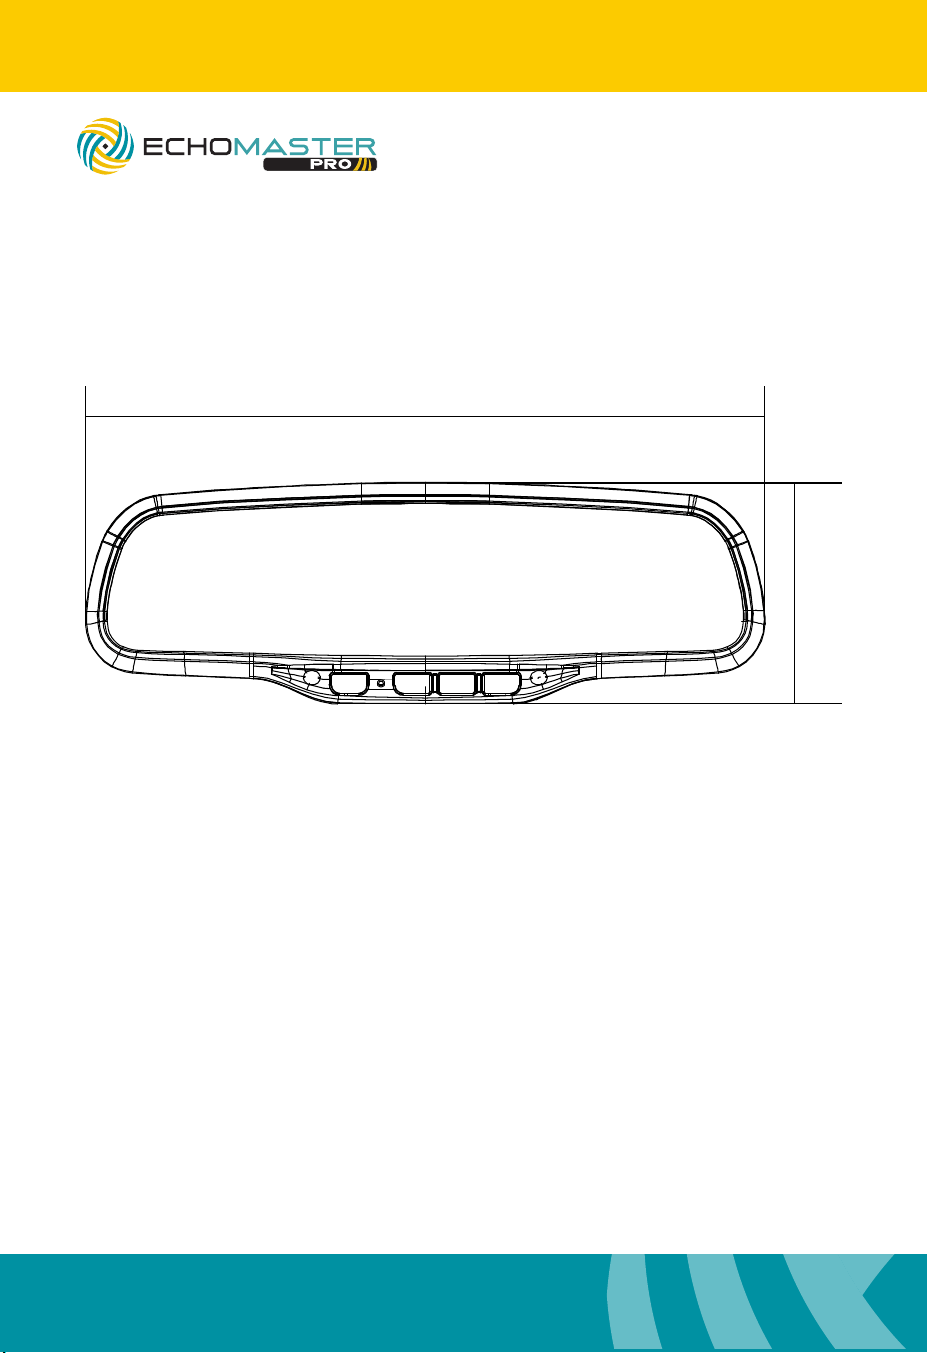
Specications
PMM-35-DPL
Screen Size 3.5”
Aspect Ratio 4:3
Power Supply 12-24V DC
Resolution 480 x 272
Luminance 900-1100
Contrast 250:1
TV Format AUTO
OSD Languages Multi
Video Inputs 2
Audio Inputs 0
Triggers 1
Current Draw 75mA
Operating Temperature -20C - +70C
IP Rating 30
Parking Guidelines Adjustable
Dimensions (mm) 270 x 88
Connection Type Power & RCA
Dimensions
270mm
88mm
PMM-35-PL
3.5” Factory Mount Mirror Monitor
with Adjustable Parking Lines
PMM-35-PL
3.5” Factory Mount Mirror Monitor
with Adjustable Parking Lines

7
email - [email protected] (US)
tel - 1-800-477-2267 (East Coast) - 1-888-883-2790 (West Coast)
email - [email protected] (Europe)
Installation Guide
6
Installation Guide
email - [email protected] (US)
tel - 1-800-477-2267 (East Coast) - 1-888-883-2790 (West Coast)
email - [email protected] (Europe)
Specications
PMM-35-DPL
Screen Size 3.5”
Aspect Ratio 4:3
Power Supply 12-24V DC
Resolution 480 x 272
Luminance 900-1100
Contrast 250:1
TV Format AUTO
OSD Languages Multi
Video Inputs 2
Audio Inputs 0
Triggers 1
Current Draw 75mA
Operating Temperature -20C - +70C
IP Rating 30
Parking Guidelines Adjustable
Dimensions (mm) 270 x 88
Connection Type Power & RCA
Dimensions
270mm
88mm
PMM-35-PL
3.5” Factory Mount Mirror Monitor
with Adjustable Parking Lines
PMM-35-PL
3.5” Factory Mount Mirror Monitor
with Adjustable Parking Lines

email - [email protected] (US)
tel - 1-800-477-2267 (East Coast) - 1-888-883-2790 (West Coast)
email - [email protected] (Europe)
tel - +44(0)1420 487110 (Sales) - +44(0)1420 470618 (Technical)
15500 Lightwave Drive, Suite 202, Clearwater, Florida 33760
Woolmer Way, Bordon, Hampshire, United Kingdom
EchoMaster is a Power Brand of AAMP Global.
Echomaster.com