READ, FOLLOW AND SAVE THESE INSTRUCTIONS
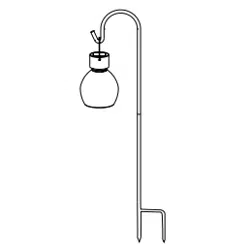
Solar Powered
Garden Light
MODEL #GL42076
5021-GL42076-EN_062519
1. How your solar powered fixture works
During the day, the solar panel converts sunlight into electricity and recharges the battery / batteries. At night, the light turns on
automatically using the electricity stored during that day.
The number of hours the light stays on depends on your geographical location, weather conditions and seasonal sunlight availability.
Place the solar light fixture in an area where it can receive direct sunlight for at least 8 hours each day. Shadowed locations will not allow the
battery / batteries to charge fully and will reduce the hours of nighttime lighting. The selected location should not be near nighttime light sources,
such as porch lights, street lights or pool lights, as these may cause the solar light to turn off prematurely.
2. First time use
• If the solar panel is covered by a protective film, remove it
before using the product.
• Remove the top cap by turning counter-clockwise
• Slide the switch to either the WH (white) or
CLR (color changing) position
• Replace the top cap by turning clockwise
• Place the solar light in a location where it can receive a
full 8 hours of sunlight to allow the rechargeable battery
to reach maximum capacity.
(includes 2/3 AA 1.2V Ni Mh rechargeable battery)
OFFW CLR
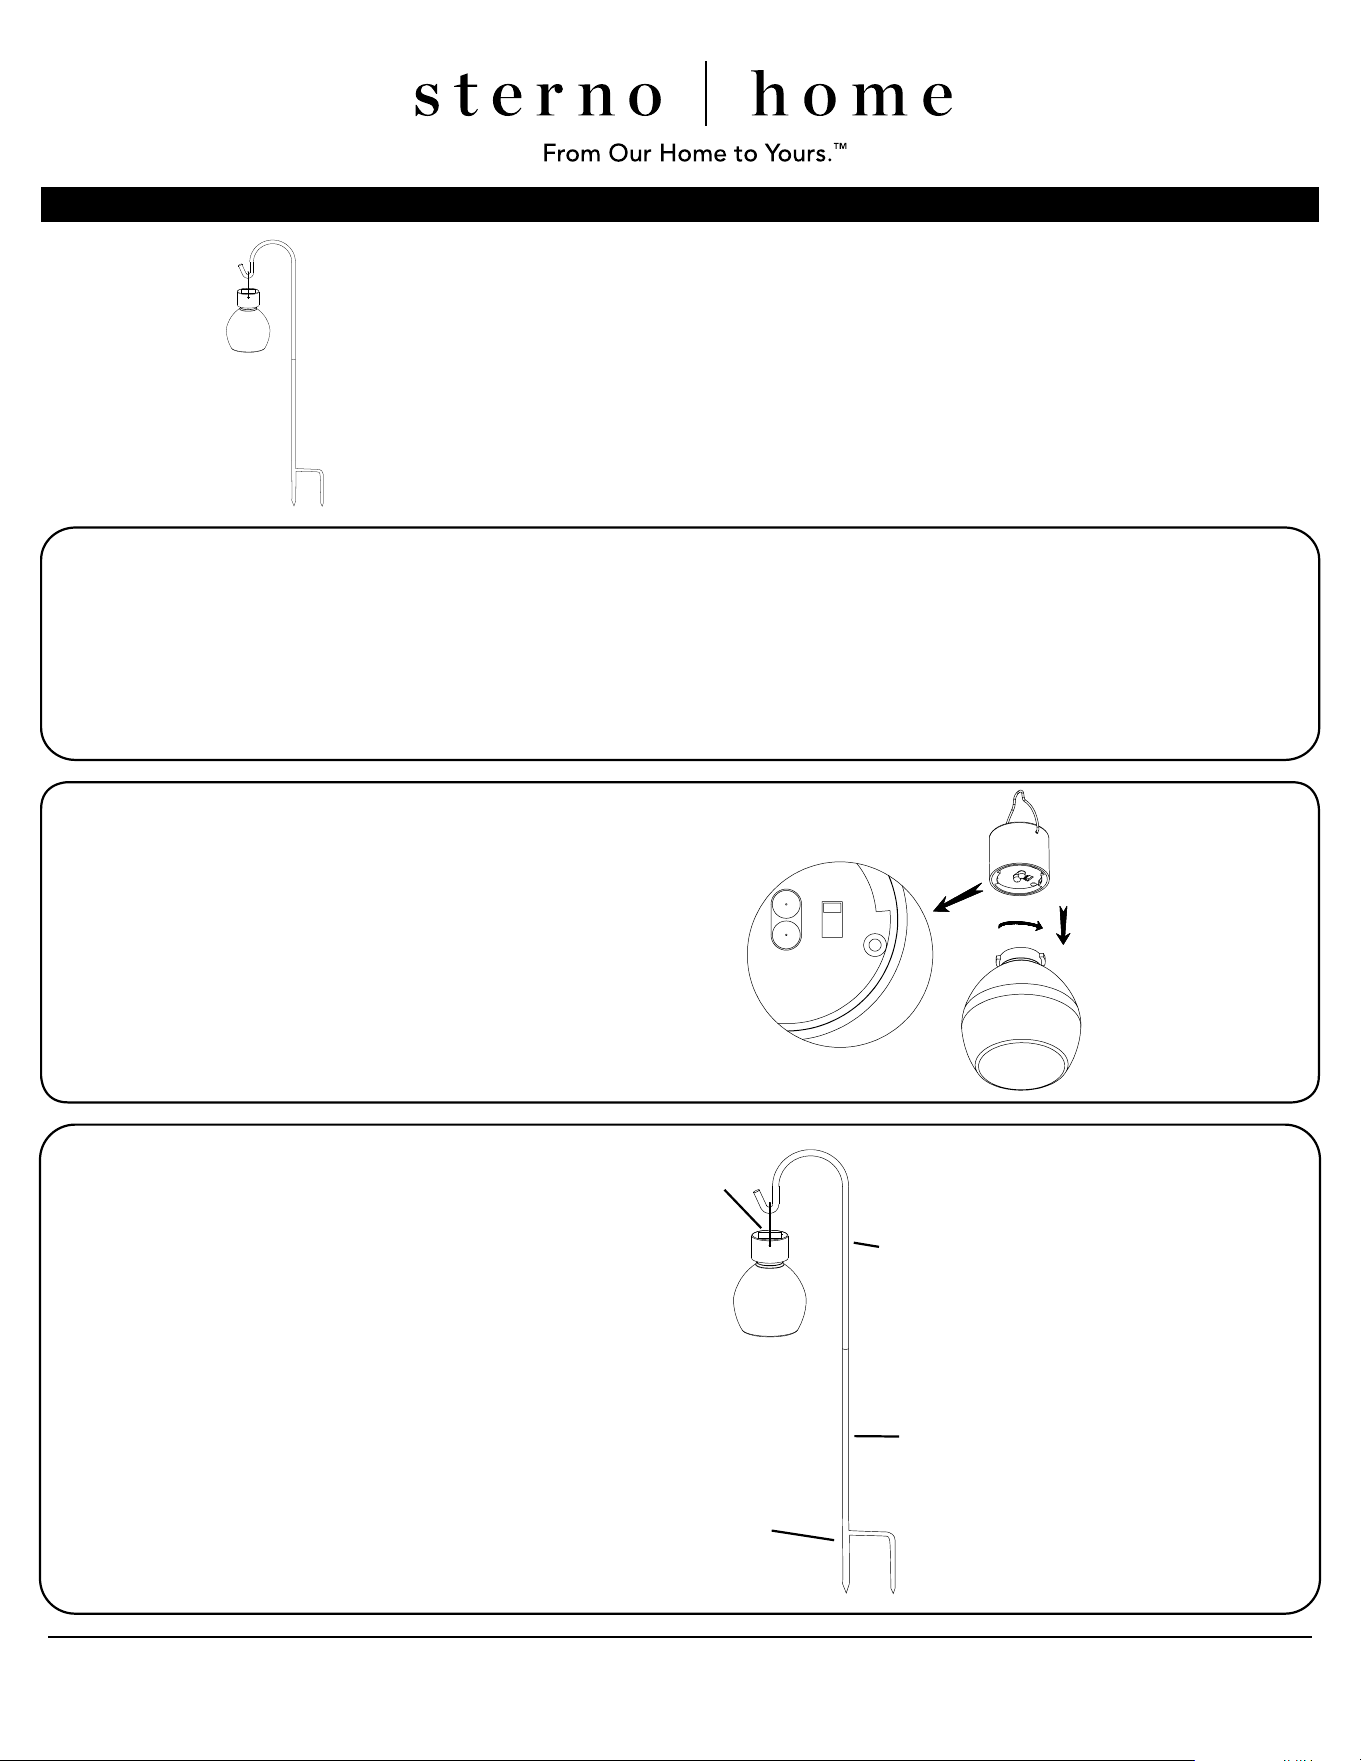
3. Fixture assembly
• Attach the bottom post to
the top post section by turning it
clockwise.
• Hang the fixture on the shepherd hook.
Bottom post
Top post
Spike
Solar panel
4. Installation Tips
• Never push fixture into the ground by the fixture head.
• If the soil is of a loose, sandy or organic type, grasp the post with both hands near the spike and firmly push into the ground.
• If the soil is hard, pour some water onto the ground to soften it.
• If the soil is stony, soften the ground with a rake or shovel and remove large rocks. Dig a small hole, insert the fixture spike, replace the soil
and tap down.
5. Troubleshooting
If the light does not turn on at dusk after 8 hours of charging:
• Ensure that the solar light is in a bright sunny location and not in a shady area during the day.
• Make sure that the light’s photocell is not affected by other light sources at night.
• Verify that the battery is making contact with the terminal and that it has been inserted in the correct polarity.
• Ensure the switch is in the WH or CLR position.
7. CAUTION
• Safe for outdoor operation.
• Failure to insert battery/batteries in the correct polarity, as indicated in the battery compartment, may shorten the life
of the battery/batteries or cause battery/batteries to explode or leak.
• Do not mix old and new batteries. Replace all batteries of a set at the same time.
• Do not mix Alkaline, Standard (Carbon-Zinc) or Rechargeable (Nickel Cadmium) or (Nickel Metal Hydride) batteries.
• Do not dispose of batteries in fire.
• Batteries should be recycled or disposed of as per manufacturer’s recommendations and/or per state and local regulations. Do not
dispose of batteries in fire or short circuit. Batteries should be recycled or disposed of properly. Do not ingest.
• Remove battery/batteries if consumed or if product is to be left unused for a long period.
• REPLACEMENT PARTS MAY BE ORDERED BY USING THE FIXTURE MODEL NUMBER AND THE PART’S NAME.
Made in China
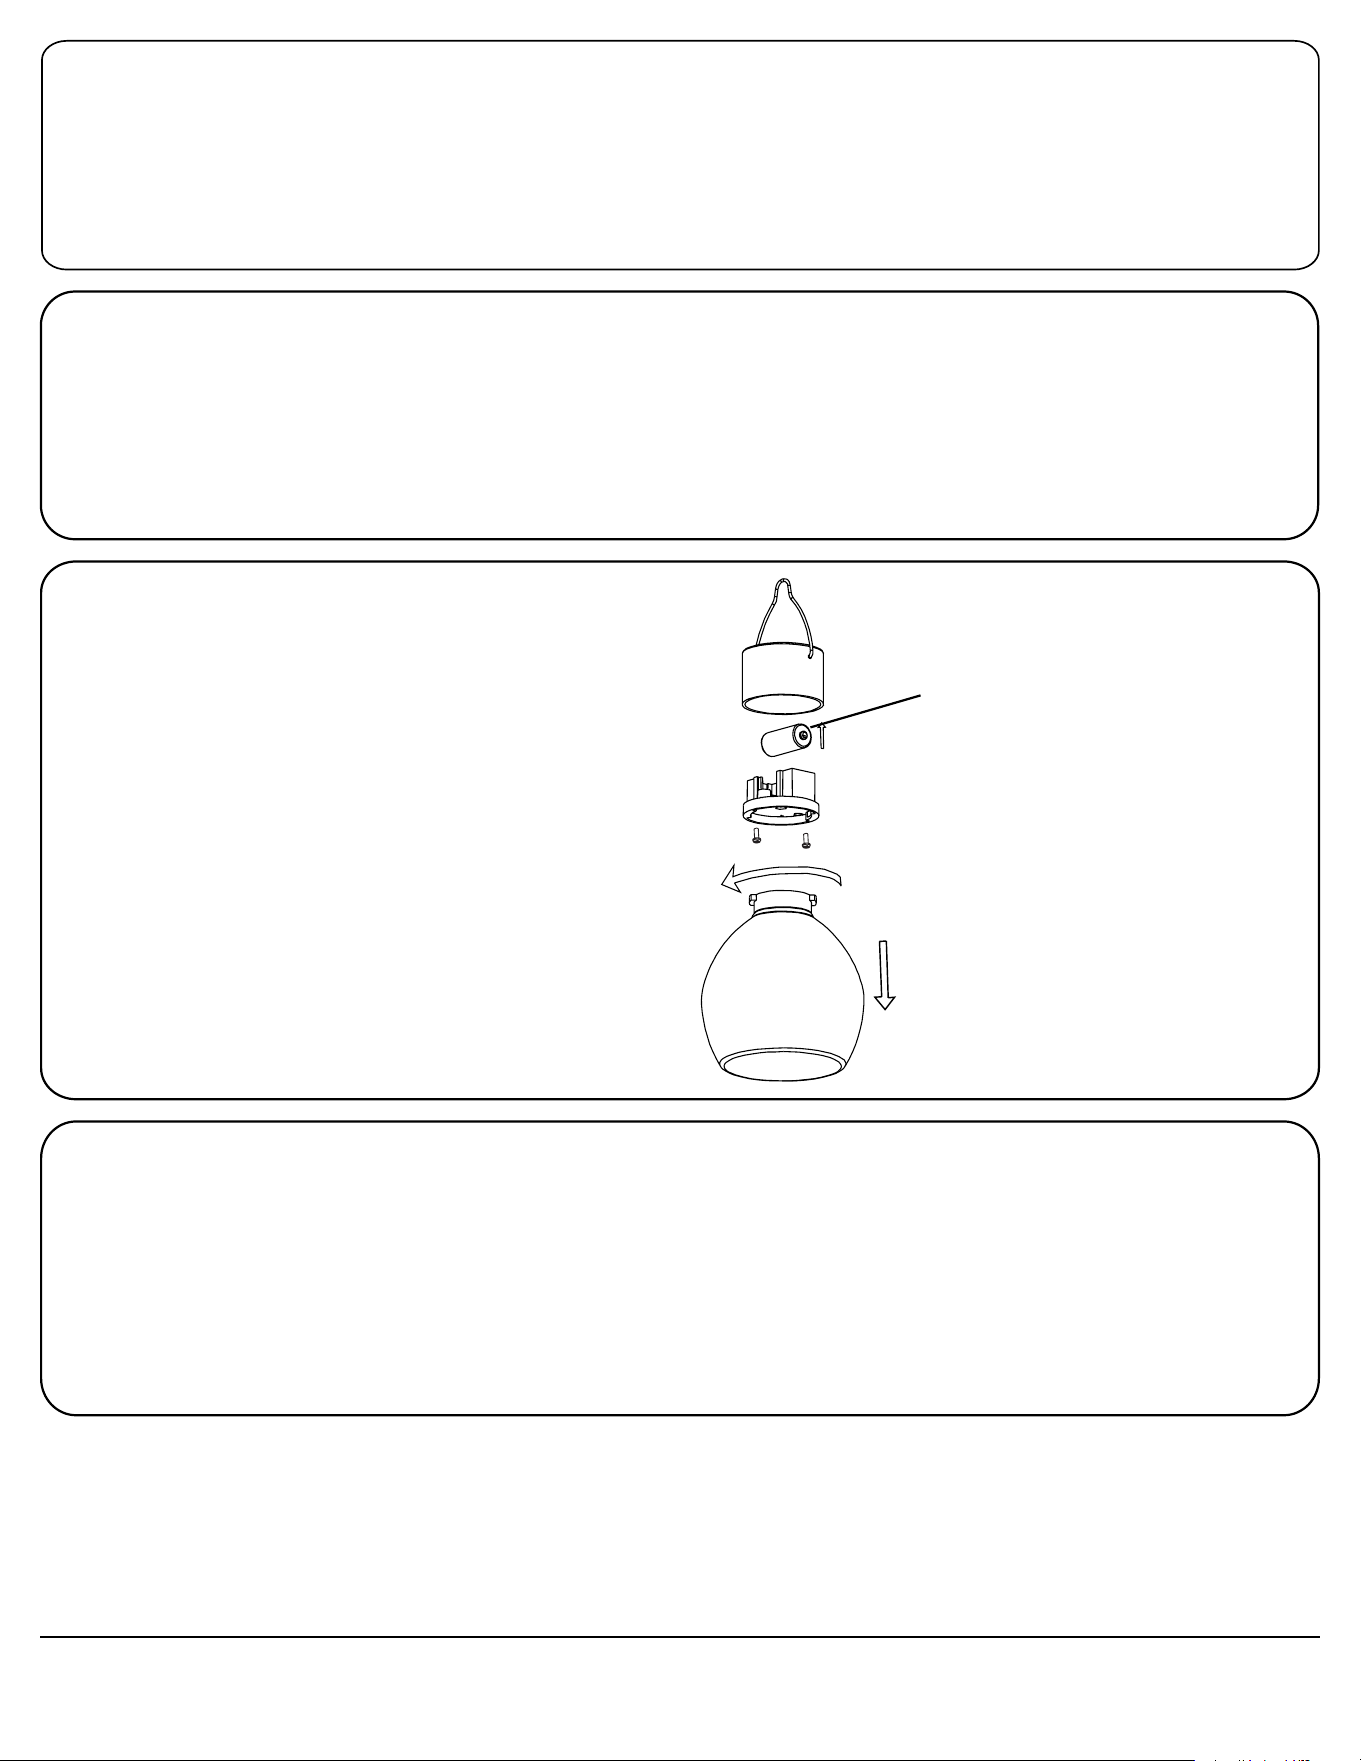
6. Battery Replacement
NOTE : This operation should be done in the
morning on a sunny day. This will allow the solar
fixture to receive a full 8 hours of sunlight so that the
rechargeable battery can reach maximum capacity.
• Remove the cover by turning it.
• Remove the 2 screws that hold the battery cover.
• Remove the old battery and replace with 1 new
2/3 AA size 1.2V rechargeable battery of same or
greater mAh.
(USE RECHARGEABLE BATTERIES ONLY).
Note : Clean the battery contacts and those of the
device prior to battery installation.
• Be sure to insert the battery in the
proper direction.
• Replace the cover and the 2 screws.
Battery
CUSTOMER SERVICE