Thank you for choosing our ice maker. This user manual will provide you with valuable
information necessary for the proper care and maintenance of your new product.
Please take a few moments to thoroughly read the instructions and familiarize yourself
with all the operational aspects of your new product.
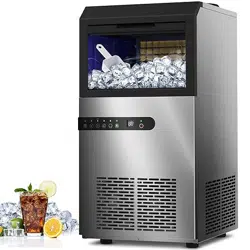
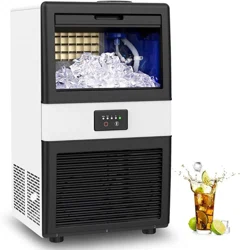
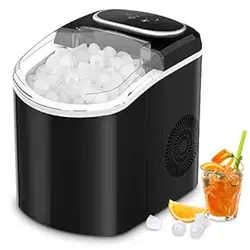
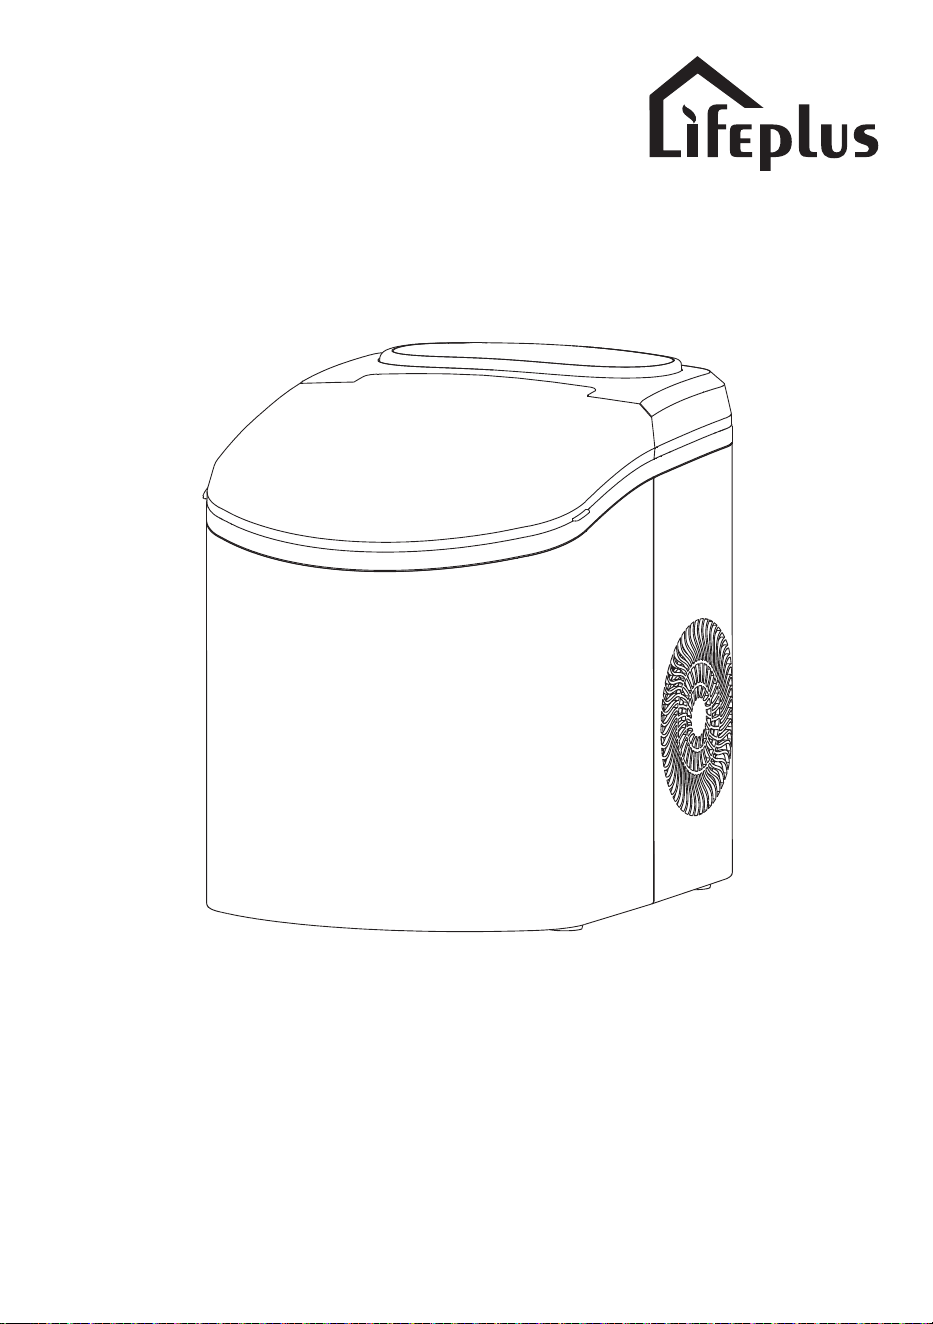
PORTABLE HOUSEHOLD ICE MAKER
USER'S MANUAL

Please take a few minutes to read
this manual carefully.
SAFETY TIPS & WARNINGS PAGES 4-5
Proper maintenance and operation of this
machine can provide better service.
INTRODUCTION
SECTION 1
ACCESSORIES PAGES 6
CONTROL PANEL PAGES 6
PANEL PROMPT LIGHT PAGES 7
ICE STORAGE CAPACITY PAGES 7
SECTION 2
ELECTRICAL REQUIREMENTS PAGES 8
SECTION 3
HOW TO INSTALLATION PAGES 8
SECTION 4
HOW TO OPERATION PAGES 9
SECTION 5
CLEANING AND MAINTENANCE PAGES 9-10
SECTION 6
HOW TO STORAGE PAGES 10
SECTION 7
TECHNICAL PARAMETER PAGES 13
SECTION 9
TROUBLESHOOTING PAGES 11-12
SECTION 8
TABLE OF CONTENTS
SOUND DURING MACHINE OPERATION PAGES 12
IF HAVE STRANGE SMELL PAGES 10
WRANTY PAGES 12

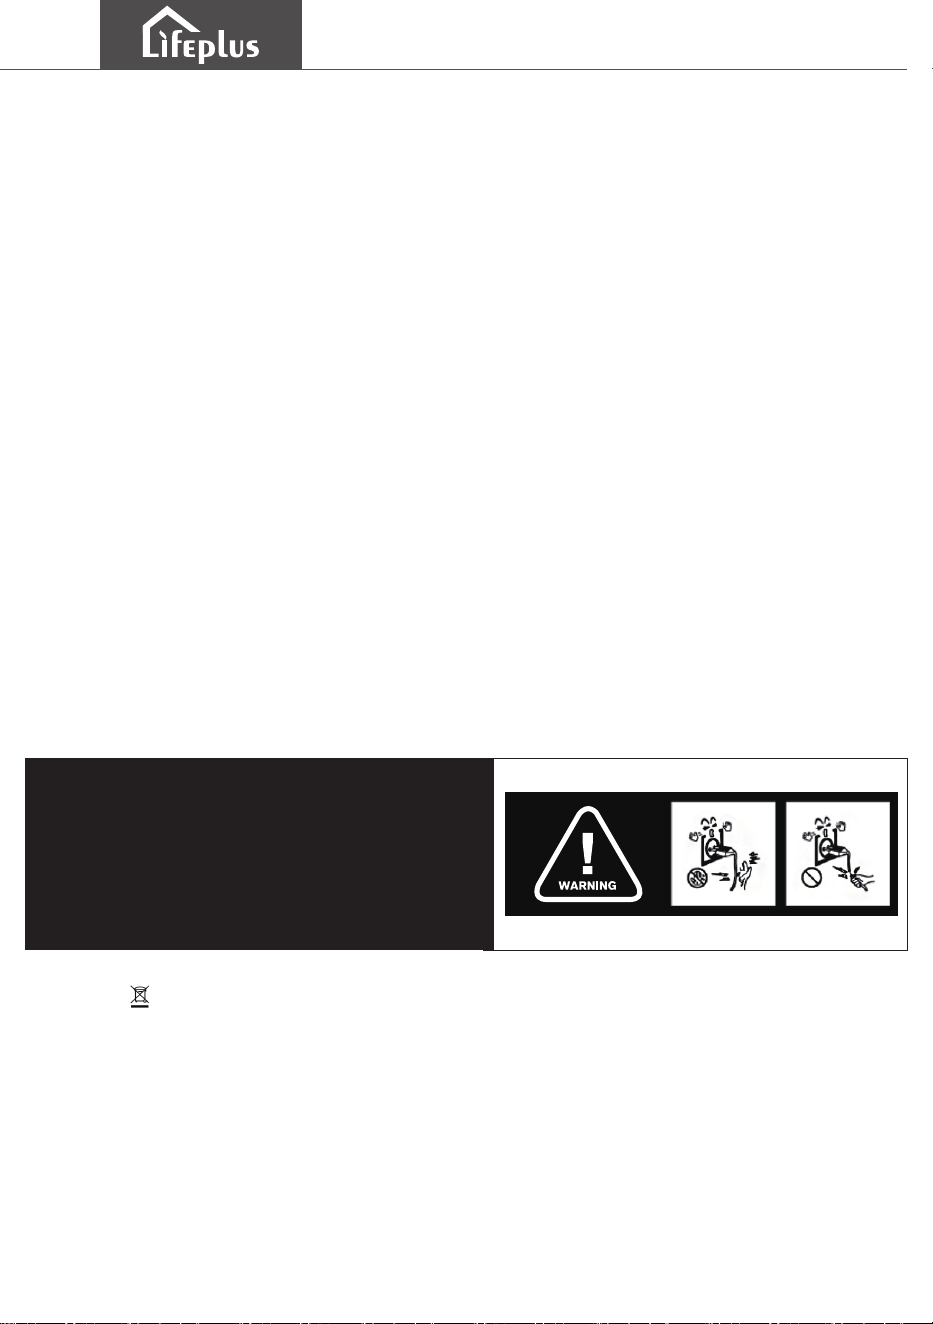
(1). Do not plug and unplug Machine with wet hands.
(2). Do not attempt to repair or replace any part of the ice machine unless Under
manufacturer’s guid, otherwise inspections should be performed under the direction of a
technician.
(3). Use the machine in a well ventilated area with a temperature between 50℉ and 100℉.
(4). Do not install or operate the machine in a sealed space, such as a closed room.
(5). Install the machine away from the following factors, such as wind, rain, water mist or
electromagnetic environment.
(6). Do not place it next to high temperature sources such as ovens and grills.
(7). The use of ice makers must comply with national and local standards.
(8). Do not squeeze or twist the power cord of the ice machine.
(9). In order for the machine to work properly, please lay it flat during use.
(10). Check if there is any water leakage after adding water to the ice machine.
(11). Children or people with mental disorders are not allowed to operate the ice machine.
(12). Although the machine has been tested and cleaned at the factory, due to long-term
transportation and storage, please dump the ice cubes made in the first four cycles.
(13). If the machine has not been used for a long time, please clean it thoroughly before
use. Please follow the instructions provided to clean and disinfect. Do not leave any
solution after cleaning.
(14). This machine is suitable for household or similar purposes, such as family, bar, tea
shop, KTV, coffee shop, etc. Do not use the machine beyond its intended use.
(15). If the service life is exceeded, please hand over the machine to the manufacturer,
service agent or similar qualified organization.
(16). This machine can only be filled with drinking water.
(17). If the power cord is damaged, it must be replaced by a manufacturer, service agent
or similar qualified person to avoid danger.
(18). This device may not be used by persons who have physical, sensory or mental
abilities, or who lack experience and knowledge, including children, unless they are
supervised or prompted by the person responsible for their safety.
(19). At least 150mm space is left around the ice machine to ensure free circulation of
the cooling air.
(20). Do not use mechanical equipment or other means to accelerate the defrosting
process except the method recommended by the manufacturer.
(21). Do not damage the ice machine refrigeration tube.
(22). Except for the type recommended by the manufacturer, the appliance shall not be
used in the ice storage room of the appliance.
(23). It is forbidden to clean the ice machine with flammable liquid. Failure to do so may
result in fire or explosion.
(24). It is forbidden to store explosives such as gasoline, combustion-supporting sprays
or other flammable gases or liquids in this appliance.
(25). Under no circumstances should the ice machine be inclined more than 45 degrees.
(26). When the machine is working, it is strictly forbidden to touch the evaporator by hand.
SAFETY TIPS AND WARNINGS
!
- 4 - - 5 -

When the ice box is full, the ice full indicator on the display panel will light up (red), and
the machine will stop automatically. When the ice is removed, the machine will back to
work.
If water is insufficient, the add water indicator lights up (red) and the ice maker will stop
working. After refilling, press the " " to reboot.
If an error occurs, the ice full and add water indicator lights will flash simultaneously,
and the ice maker will stop working. Please refer to the Problem Solution Page.
When you do not use the ice maker, please turn off the ice maker and unplug the power
plug.
When entering the cleaning state, the large and small ice indicator green lights flash
alternately, press the power button will be turn off.
When an ice jam fault alarm occurs, the water and full ice indicator red lights flash
alternately, turn off the ice maker and wait for the ice cubes to melt automatically. Then
restart it to start normally.
If the ice maker needs to be after unplug, please for at least 5 minutes to protect the
compressor.
ACCESSORIES
Ice Storage Basket Ice Spoon
CONTROL PANEL
PANEL PROMPT LIGHT
* When the ice basket is full, the machine will stop automatically and stand by.
* The ice maker can partially block heat and store ice temporarily, but cannot be used as
freezer.
* Please remove ice cubes as needed and add water to ensure machine works normally.
ICE STORAGE CAPACITY
- 6 - - 7 -
WATER FULL S
L
1
2
3
4
5 6
1
3
5
2
4
6
Add Water Indicator
Small Size Ice
Power On/Off
Ice Full Indicator
Big Size Ice
Switch Ice Size

HOW TO INSTALLATION
The machine should be placed on a stable level to support the ice machine's weight of
water or ice.
This machine can be installed without any support and can be installed in any place that
meets the conditions of use and power supply.
Use a machine that is well ventilated and has a temperature between 50℉ and 100℉.
Do not install or operate the machine in a sealed space, such as a closed room.
Install the machine away from the following factors, such as wind, rain, water mist or
electromagnetic environment.
Do not place it next to high temperature sources such as ovens and grills.
To ensure long-term use of the machine, use filtered or purified water; or use citric acid
every other week to clean the outside of the machine and the dust deposits on the
bottom of the tank.
Connect the power cord. Please put the machine on for 24 hours to allow the refrigerant
to settle. Unpack all packaging materials: foam, bags, tape, etc.
CLEANING AND MAINTENANCE
Regular cleaning and correct maintenance will ensure the working efficiency, performance
and prolong the working life of the ice maker.
* Cut off the power supply and pull out the plug before cleaning.
* Do not use solvent-based cleaning agents, which may damage the machine or the
retention of harmful substances.
* Do not wash the machine, but wipe the outside of the machine with a wet cloth.
* Dry the inside and outside of the machine with a soft and clean cloth.
* Check regularly whether the drain plug is loose to prevent leakage.
Please read the safety precautions listed at the front of the instructions.
This machine is recommended to use a dedicated line.
Do not use a board that can be disconnected through a switch or ground.
This machine must use a national standard three-pronged plug with a grounding. In
order to reduce the potential for hidden contacts, the power cord must be plugged into
the matching three-plug grounding type wall switch. Do not cut or move the grounding
wire. If the matching wall switch cannot be used, consumers should ask a professional
electrician to install the correct three-push switch.
ELECTRICAL REQUIREMENTS
1. Connect the ice machine's power cord to a grounded three-hole outlet.
2. Open the front cover, take out the ice basket, and pour the potable water into the water
tank (Do not exceed the highest mark of the water level).
3. Put back the ice basket, the water level is below the bottom of the ice basket, close the
front cover.
4. Touch the “ ” button, the “Big Ice” indicator light will be on continuously, when the light
stops flashing, the machine will start working.
5. Touch the “ ” button to select the size of the ice block according to your needs (default
Big ice)
HOW TO OPERATION
For the first time using an ice machine (or not used for a long time), it is recommended to
discard the ice cubes made in the first 4 cycles to ensure that the machine is thoroughly
cleaned.
- 8 - - 9 -
Clean after first use or long-term placement:
* Disinfection solution: water and vinegar, or citric acid (ratio: 10:1)
* Wipe the interior with a solution, including the hand-touchable evaporator (icing column)
TROUBLESHOOTING
If the machine breaks down, please wait for the machine to stop automatically. You can
solve the problem by using the method in the table below. But don't disassemble, inspect
or repair the machine without professional guidance.
Tip: After power-on, the water tank is turned over to deicing state, the ice display lamp
flickers, and the machine enters standby state. Touch the “ ”, then the ice display lights
will continue to light, no longer flicker, the machine into normal working state.
This machine has self-checking function. If an error occurs, the ice-filled and water-
shortage indicator will flicker alternately, and the ice maker will stop working.
Fault phenomenon
No power
Equipment does not respond
Not powered
Check the power supply
Check the power cord connection
Check the power cord for damage
Call authorized technician repair
There is no power in the power jack
The power cord is not plugged in firmly
Power cord is damaged
Cause of issue Solution
IF HAVE STRANGE SMELL
If the ice has a strange taste.If the ice has a disgusting or mildewy odor in the machine,
use the above steps to clean the inside of the machine.
* Add ice-making water, run the ice maker and discard the ice cubes produced four times
before. Then remove the remaining water from the drain and reinstall the drain plug to
ensure that the plug is in place.
* Re-use clean, soft cloth to clean the remaining watermarks. Finish cleaning.
Add water indicator light
Ice full indicator light
Ice cubes stuck together
Ice making environment temperature
or water temperature is too low
Evaporator deformation, sagging
Add water to increase the
temperature of ice making water
Push up the icicles with your hand
Ice full
Ice full induction
Ice full sensor is bad Call authorized technician repair
Lack of water or too little water
Restart after 2 minutes of power
failure
Please add water
Call authorized technician repair
Please take out the ice cubes
Cleaning induction probe
Call authorized technician repair
Poor water insensitivity
The pump is stuck or damaged
Water shortage sensor is bad
HOW TO STORAGE
If the ice maker is not used for a long time, cut off the power supply and remove the
remaining water from the drainage outlet. Dry the interior with a clean soft cloth
(refer to maintenance and cleaning)
This sign “ ” on the product or packaging indicates that the product cannot be treated
as household waste. Should be delivered specific recycling points for electronic and
electrical products. Proper handling of this product can help prevent environmental
problems caused by improper handling of this product and harm to human health. If you
need more details about recycling, please contact the office responsible for household
waste disposal services or the manufacturer or purchase point that purchases our
products.
Warning:
Don’t touch the power supply with wet hands !
Don’t pull out the machine by pulling the power cord !
- 10 - - 11 -

SOUND DURING MACHINE OPERATION
TECHNICAL PARAMETER
The new ice maker may make unfamiliar sounds. Most sounds are normal.
For example:
* Efficient compressors emit beating or sharp sounds.
* Water splashes from the evaporator to the tank.
* At the end of each cycle, you can hear the gurgling of refrigerant flow.
* The sound of air compressed by the condenser fan over the condenser.
* In the final deicing cycle, you may hear ice falling into the box.
Small ice making
Ice making is not big
Evaporator deformation upturn Pull down the low icicles by hand
Ice making ring temperature,
water temperature is too high
Continue to make a few rounds of
ice to lower the water temperature
The machine is working
properly but does not
make ice
Water shortage and ice full
indicator flash alternately
Other system failure
Component damage
/
Refrigeration pipe blockage
Call authorized technician repair
Call authorized technician repair
Observe the state of the ice box and
restart after 2 minutes of slightly
switching off the power.
Call authorized technician repair
Call authorized technician repair
Turn off the power supply and restart
when the ice melts. Choose smaller
ice cubes.
Refrigerant leak
Ice cubes are stuck in ice box
Mechanical failure
- 12 - - 13 -
Model
Ice storage capacity
1.54lb
DBJ-12D1
Water tank volume
Noise
≤55dB(A)
Ⅰ
Ice making time
Cooling method
Compressor/air cooling
6-8 minutes(59℉)
Refrigerant/injection volume
R600a/0.057lb
Grade of protection against electric shock
24H ice making
Rated voltage/frequency
120V/60Hz
26.46lb/24H
Ice making
Type of thermal insulation
C5H10
9pcs/each time
Body material
Applicable Climate Types
Net/Gos weight
Product size
73.9oz
ABS
SN/N
18.5/21.4lb
10.3×13.4×14.4inch
WRANTY
After-sales Service Letter of Commitment:
All products purchased in our company are guaranteed to keep in good repair for 1 year.
If quality problems happen in guarantee period, our company will maintain for free or
provide replacement. Additionally, our company provides technical support and fittings for
life. After-sales service isn't restricted by time and hear feedback idea of users and deal
with them in time. If you are caught in some problems when using our products, welcome
to contact us at any time.

E-mail: service@lifepluspro.com
Things To Be Best With Lifeplus
ICE MAKER
PRODUCT USE GUIDE
E-mail: service@lifepluspro.com
Things To Be Best With Lifeplus
ICE MAKER
PRODUCT USE GUIDE