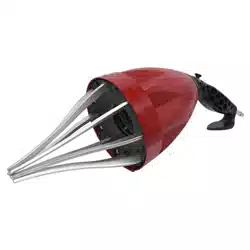
CVJ BOOT INSTALLER TOOL – AIR
MODEL NO: BSL105
Thank you for purchasing a Sealey product. Manufactured to a high standard, this product will, if used according to these instructions,
and properly maintained, give you years of trouble free performance.
IMPORTANT: PLEASE READ THESE INSTRUCTIONS CAREFULLY. NOTE THE SAFE OPERATIONAL REQUIREMENTS, WARNINGS & CAUTIONS. USE
THE PRODUCT CORRECTLY AND WITH CARE FOR THE PURPOSE FOR WHICH IT IS INTENDED. FAILURE TO DO SO MAY CAUSE DAMAGE AND/OR
PERSONAL INJURY AND WILL INVALIDATE THE WARRANTY. KEEP THESE INSTRUCTIONS SAFE FOR FUTURE USE.
1. SAFETY
1.1. GENERAL SAFETY
9 Carefully read these operating and safety instructions before using the boot tool. Keep them for future reference.
9 This tool should only be used by properly trained operators.
9 Keep the work area clean, uncluttered and ensure there is adequate lighting.
9 Maintain correct balance and footing. Ensure the floor is not slippery and wear non-slip shoes.
9 Remove ill fitting clothing. Remove ties, watches, rings, and other loose jewellery, and contain and or tie back long hair.
9 Keep children and unauthorised persons away from the working area.
9 Keep the boot tool away from fire, heat and chemicals.
8 DO NOT use the boot tool for any purpose other than that for which it is designed.
8 DO NOT operate the boot tool when you are tired, under the influence of alcohol, drugs or intoxicating medication.
WARNING! Ensure Health & Safety, local authority, and general workshop practice regulations are adhered to when using this equipment.
1.2. MECHANICAL SAFETY
9 Maintain the boot tool in good condition (use an authorised service agent).
9 If the tool falls or is knocked, stop operation and check for any damage i.e. cracked components.
8 DO NOT erase or damage any of the markings, symbols or text printed onto or moulded onto the surfaces of the boot tool.
9 In case of mechanical fault and/or breakage and/or cracks, immediately stop operation of the tool. Contact an authorised distributor.
8 DO NOT operate the boot tool if any parts are damaged or missing as this may cause failure and/or personal injury.
1.3. SPECIFIC SAFETY FOR CVJ TOOL
9 Only operate if trained to use pneumatic devices.
9 Air hoses are dangerous, observe manufacturer’s safety guidelines.
9 Read these instructions and retain for future reference.
9 Ensure vehicle is correctly supported with road wheels secured, in line with manufactures guidelines.
9 Keep hands away from moving parts, wear safety gloves. Never insert fingers into the tool.
9 Never operate near the face, wear safety glasses.
9 Maximum safe operating pressure is 116psi(8bar). Fit a regulator to bring pressure within range.
9 A safety pressure valve is installed, when operational a ‘leaking’ sound will be heard from the piston.
9 Only use to t stretchy CV boots. DO NOT use for any other purpose.
9 During expansion of the CV boot support the main body of the device with your free hand.
9 Store the device and operating instructions safely on the stand provided.
9 When operating the boot tool, to open a CV rubber boot, turn the tool away from your face and body.
9 Keep hands clear of the moving parts when operating the boot tool. Never insert fingers into the tool.
8 DO NOT point the boot tool at any person and/or towards any part of the operator’s body.
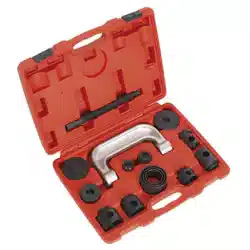
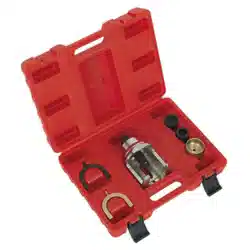
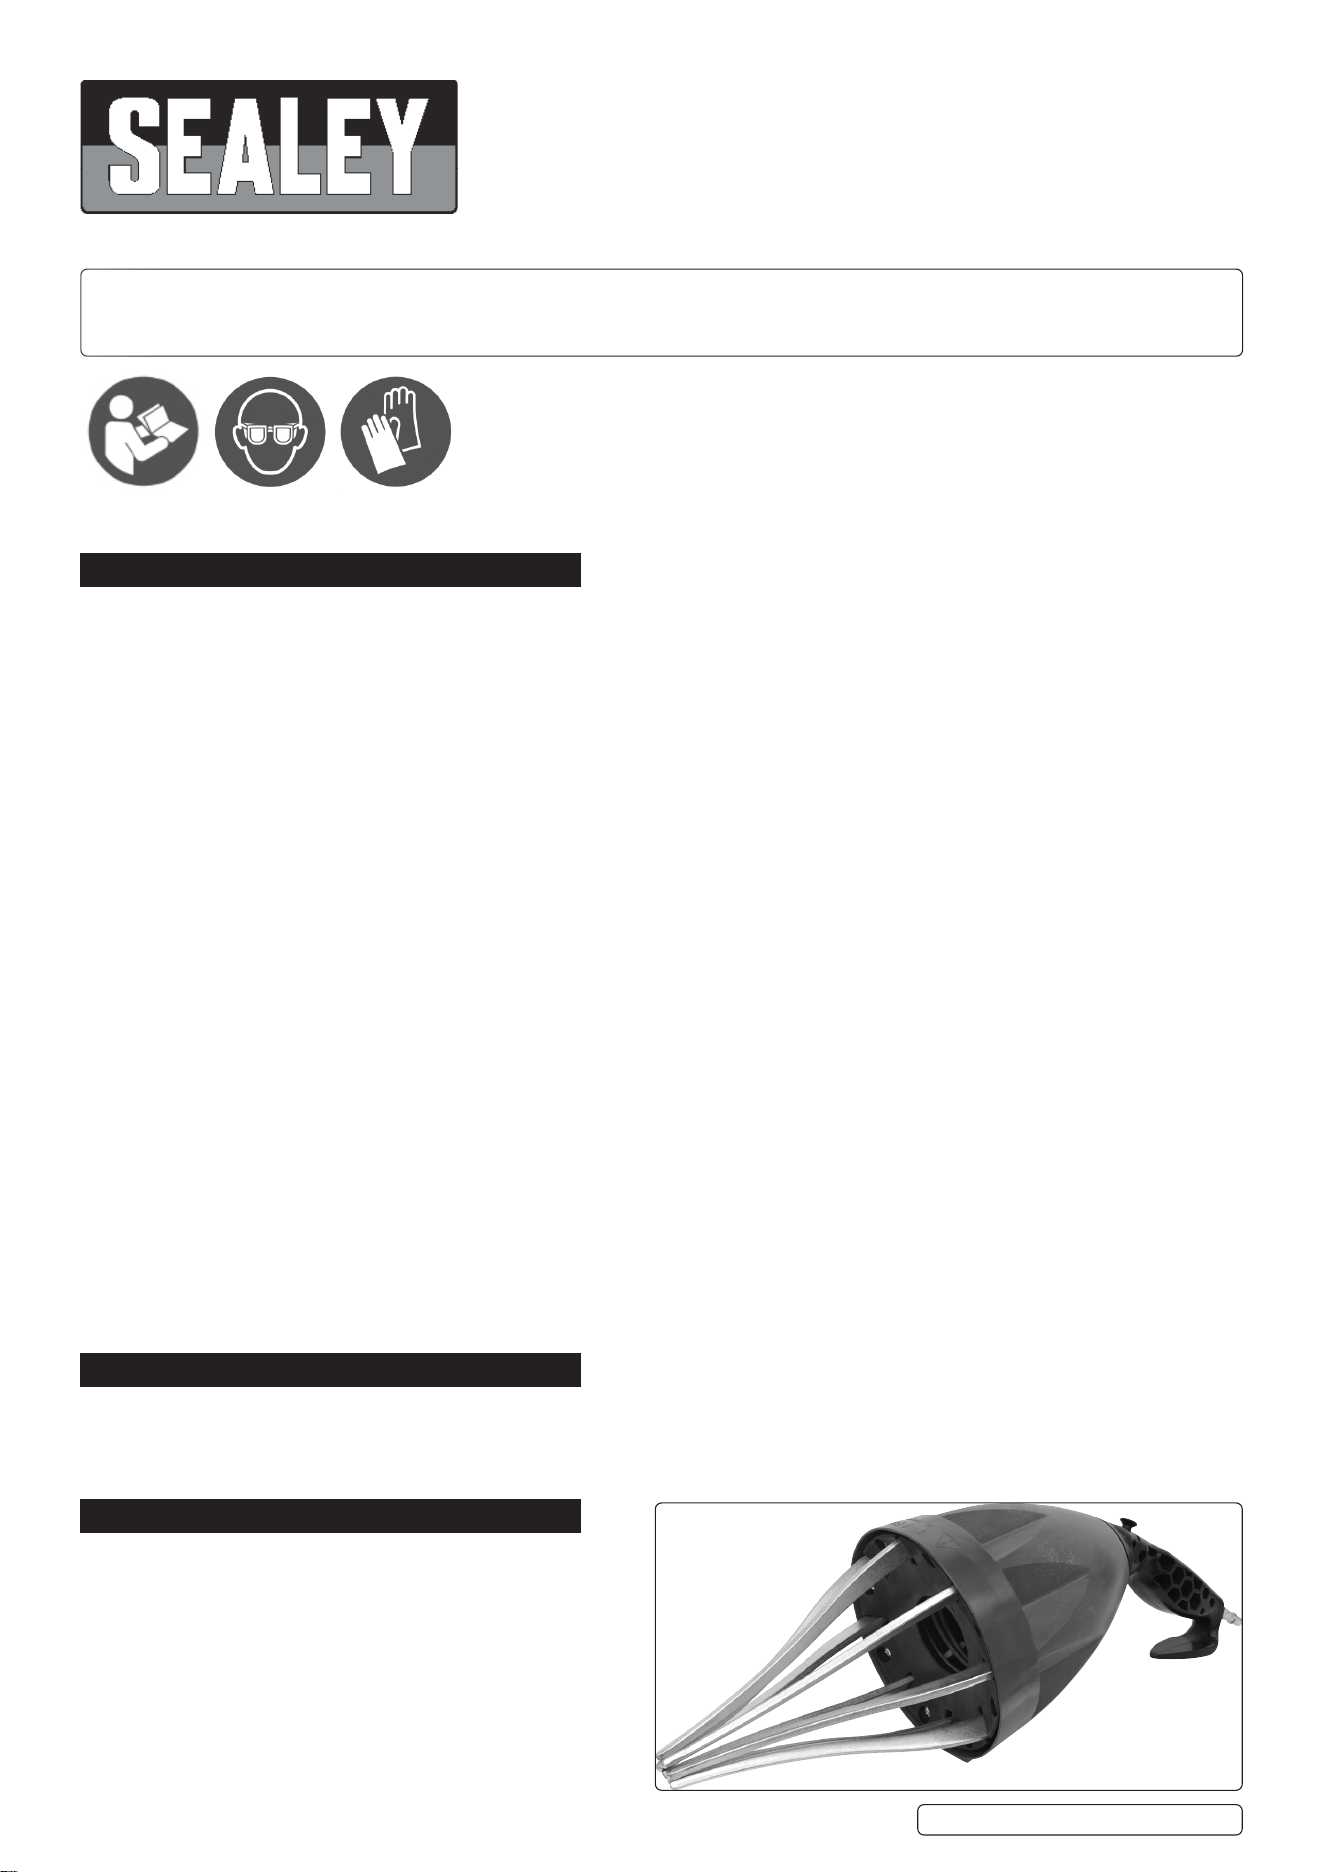
2. INTRODUCTION
Installs CVJ boots without the need to remove the CV joint. Designed to be used in situ to the vehicle with up to 70% labour saving
costs. Innovative design provides easy operation with a single 2-way air switch, anti-slip grip, hand guard/belt hook, and anti-fatigue
features. One switch operation and airlock design allow airline detachment for safer no-trip installation. Suitable for cars, SUV’s, 4x4’s
and light commercial applications. Made in the UK with a 3-year guarantee included.
3. SPECIFICATION
Model No: ..........................................................BSL105
Air Inlet Size: ...................................................... 1/4”BSP
Max. Air Pressure: .......................................116psi(8bar)
Max. Joint Diameter: ........................................ Ø155mm
Refer to
instruction
manual
Wear eye
protection
Wear protective
gloves
BSL105 Issue 2 (S,3,4,F) 19/06/23
Original Language Version
© Jack Sealey Limited

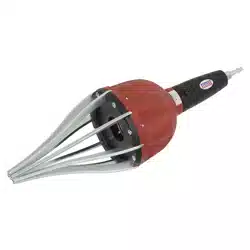
4. OPERATION
4.1. Attach the relevant adaptor to the body, max torque 2.3 N-m, the body accepts ¼” BSP Male thread.
4.2. Check air pressure does not exceed 116psi (8bar). Fit a regulator to bring pressure within range.
4.3. Whilst disconnected from air hose check equipment to ensure:
4.3.1. Cap-retaining nuts and bolts are secure, max torque 9 Nm.
4.3.2. There are no visible signs of damage. DO NOT Operate if cracks are found.
4.3.3. Check the CV boot has no defects before proceeding.
WARNING! Using a faulty CV boot on the equipment could cause it to be ejected with force during expansion.
4.4. Slide the CV boot onto the metal ngers, large end rst. Settle the boot as far as possible onto the ngers ensuring that they just
protrude from the small end of the boot, g.1.
NOTE: To t a CV boot to an inner joint; Slide the CV boot onto the metal ngers, small end rst, then pull the large end down the metal
ngers until the CV boot is the other way round.
4.5. Connect to the air hose. It is recommended to use a quick release coupling.
4.6. Press the air button, g.2 until the ngers open enough to pass over the joint, keeping hands clear of moving parts.
NOTE: For best results warm the boot prior to stretching.
4.7. When tting to larger joints pre-stretch the boot a couple of times on the tool before tting.
4.8. Disconnect from air hose. It is not possible to use the device whilst connected.
4.9. Carefully place the metal ngers and CV boot over the CV joint, g.3.
NOTE: The pneumatic opening is limited to a maximum 125mm* to prevent boots from splitting. For larger joints manually expand the
tool by pushing it over the joint, up to a maximum of 155mm.
4.10. Keeping hands away from moving parts, press the air button, g.2.
4.11. Slide the boot from the metal arms and withdraw.
4.12. Complete the boot installation in the normal way.
*Maximum opening will depend on the boot being stretched and the temperature of the boot. A warmer boot is more pliable than a cold
one.
5. MAINTENANCE
5.1. Wipe clean after use with a cloth. DO NOT use solvents.
Sealey Group, Kempson Way, Suffolk Business Park, Bury St Edmunds, Suffolk. IP32 7AR
01284 757500 sales@sealey.co.uk www.sealey.co.uk
Note: It is our policy to continually improve products and as such we reserve the right to alter data, specifications and component parts without prior
notice.
Important: No Liability is accepted for incorrect use of this product.
Warranty: Guarantee is 36 months from purchase date, proof of which is required for any claim.
ENVIRONMENT PROTECTION
Recycle unwanted materials instead of disposing of them as waste. All tools, accessories and packaging should be sorted,
taken to a recycling centre and disposed of in a manner which is compatible with the environment. When the product
becomes completely unserviceable and requires disposal, drain any fluids (if applicable) into approved containers and
dispose of the product and fluids according to local regulations.
REGISTER YOUR
PURCHASE HERE
BSL105 Issue 2 (S,3,4,F) 19/06/23
Original Language Version
© Jack Sealey Limited
fig.
1
fig.
2
fig.
3