Loading ...
Loading ...
Loading ...
30 INSTALLATION
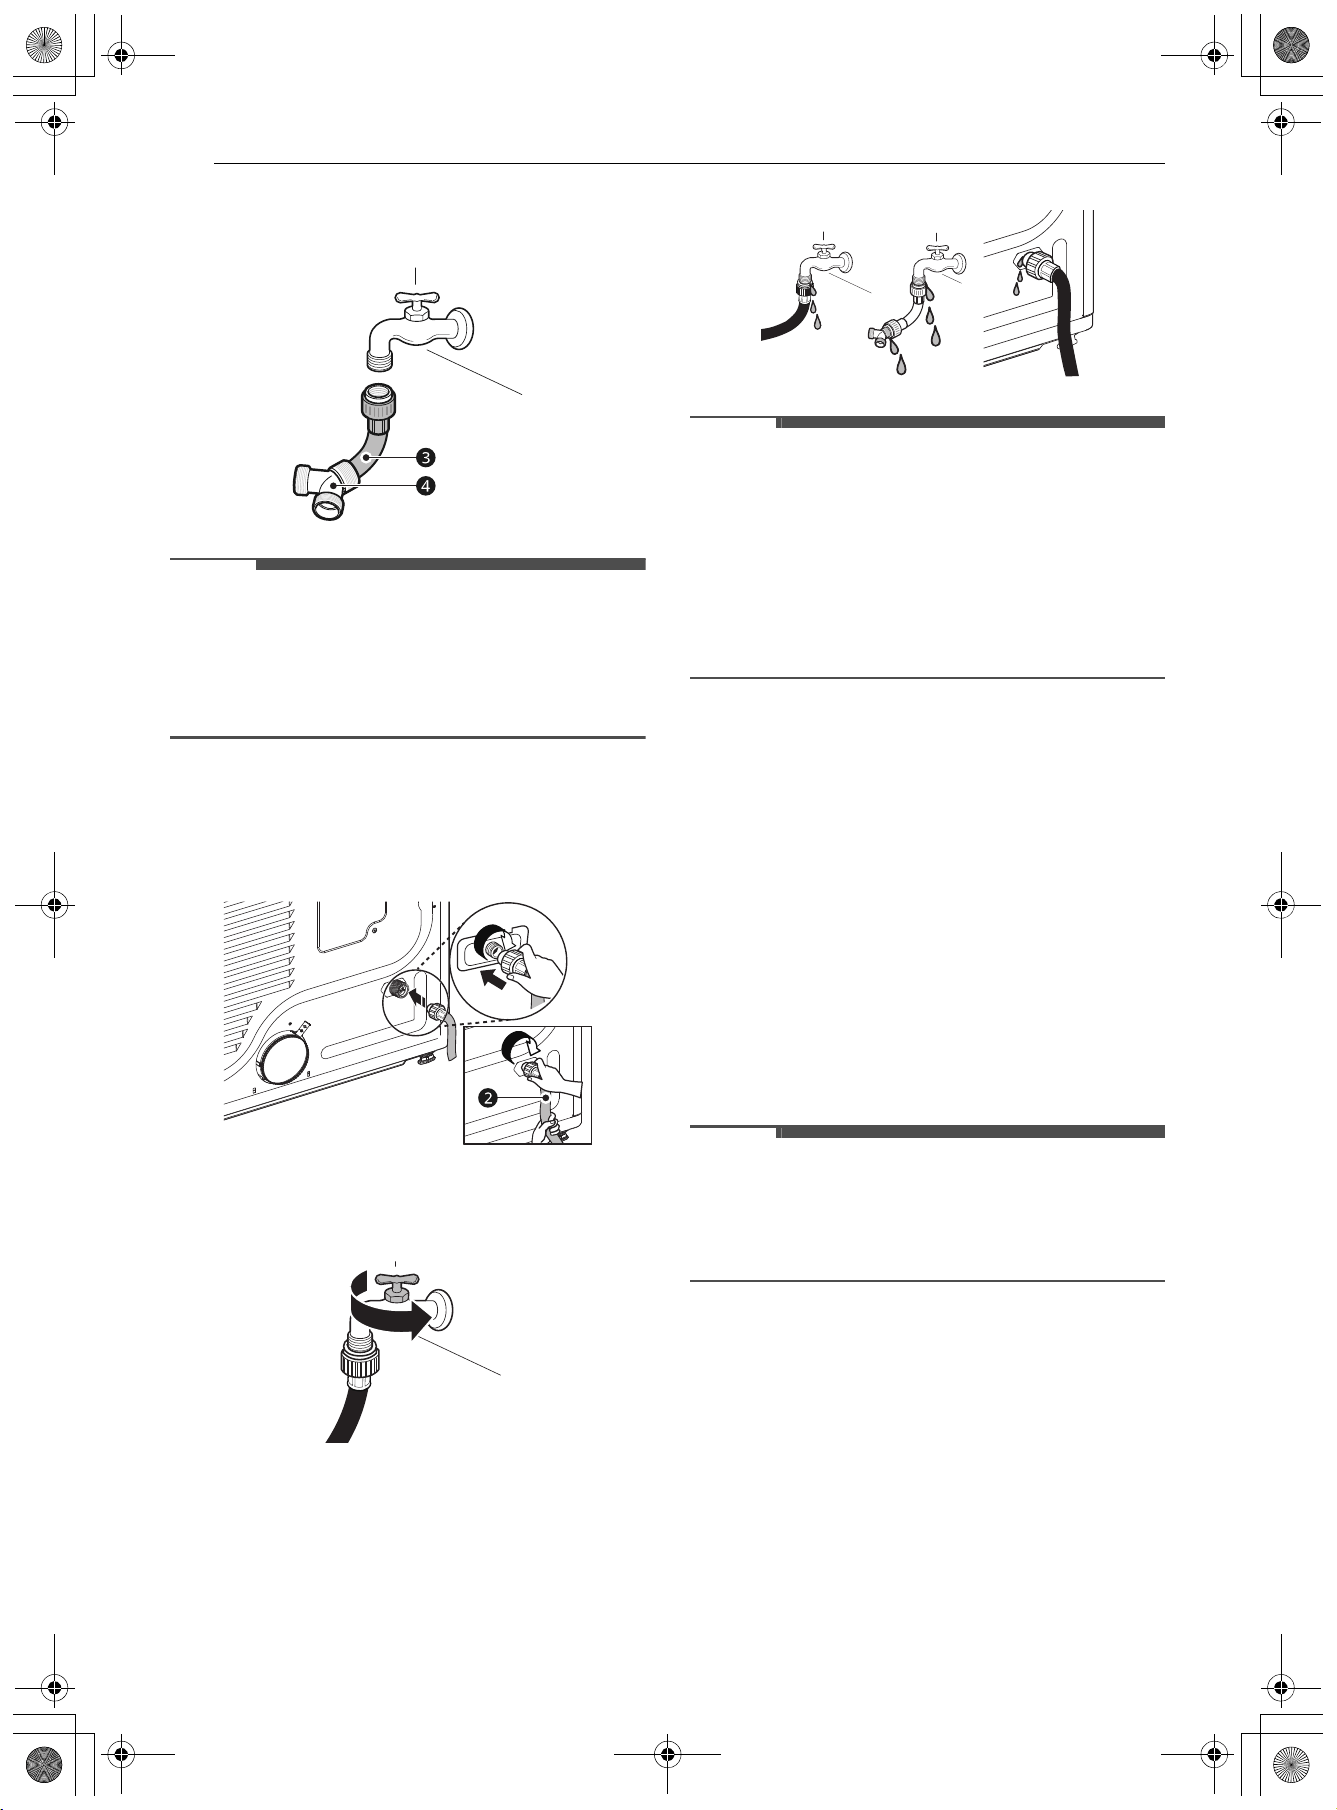
washer hose to the washer and the
other side of the Y-connector d.
NOTE
• Before connecting the water line to the dryer,
flush several gallons of water into a drain or
bucket. This will help prevent foreign particles
such as sand and scale from clogging the dryer
inlet valve.
3 Connect the long dryer hose b to the dryer
inlet valve tightly by hand and then tighten
another 2/3 turn with pliers.
4 Turn on the cold water faucet.
5 Check all hoses and Y-connectors (if used) for
leaks.
NOTE
• If any leaks are found, shut off the water faucet,
remove the hose and check the condition of the
rubber seal.
• In areas with hard water, mineral scale can form
on internal components of the dryer. Use of a
water softener is recommended in areas with
hard water. Excessive scale buildup may lead to
the need for certain part replacement or repair.
Final Installation Check
Once you have completed the installation of the
dryer and it is in its final location, confirm proper
operation with the following tests.
Test Dryer Heating
Gas Models
Close the dryer door and press the Power button
to turn the dryer on. Turn the knob to select Timed
Dry and press the
8(OK) button to start the test.
When the dryer starts, the igniter should ignite the
main burner.
NOTE
• If all air is not purged from the gas line, the gas
igniter may turn off before the main burner
ignites. If this happens, the igniter will reattempt
gas ignition after approximately two minutes.
Electric Models
Close the dryer door and press the Power button
to turn the dryer on. Turn the knob to select Timed
Dry and press the
8(OK) button to start the test.
The exhaust air should be warm after the dryer
has been operating for 3 minutes.
Checking Airflow
Effective dryer operation requires proper airflow.
The adequacy of the airflow can be measured by
evaluating the static pressure. Static pressure in
en-us_main.book.book Page 30 Tuesday, December 12, 2023 12:59 PM
Loading ...
Loading ...
Loading ...