Loading ...
Loading ...
Loading ...
DNS Sengs (Oponal)
Note
●
If a device is successfully added to the Hik-ProConnect app, you do not need to congure the
DNS IP addresses. The client automacally uses the preset DNS IP addresses.
●
If a device is displayed as oine when being added to the Hik-ProConnect app, the preset DNS IP
addresses may be invalid. In this case, the DNS IP addresses need to be manually
congured.
1. Click → Advanced Funcon in the Operaon column of the desired device.
2. Click Remote Conguraon → Network → Advanced Sengs .
3.
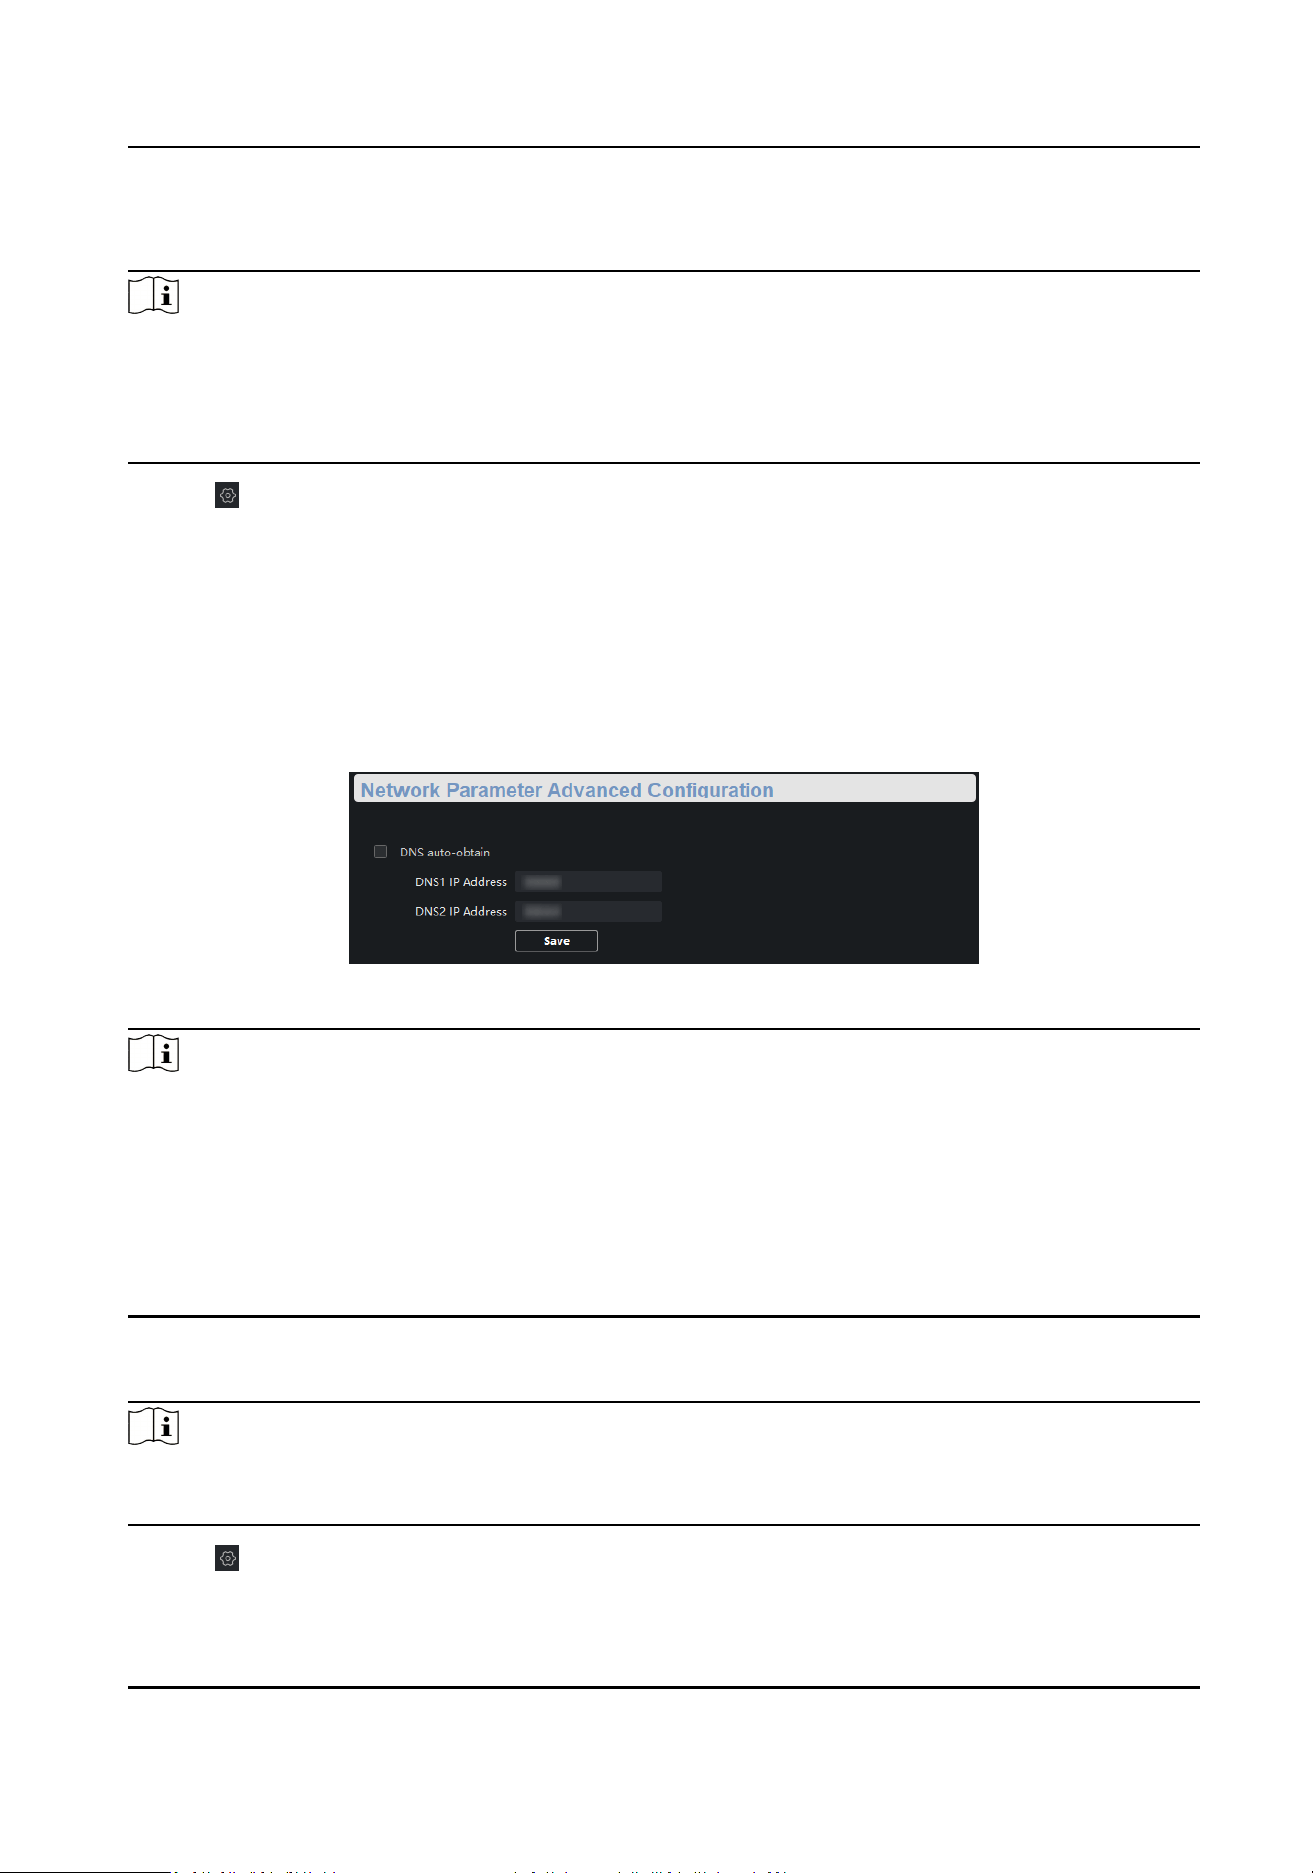
Congure DNS IP addresses in either of the following ways.
-
Connect the PC to a network, open the Command Prompt window, and execute the
ipcong/all command to view the IP addresses of DNS servers. Then, enter the two IP
addresses in the text boxes.
-
Search for public DNS servers on the Internet, and enter the corresponding IP addresses in
the text boxes.
Figure 5-2 DNS Sengs
Note
●
The funcon of automacally obtaining DNS IP addresses is available only aer you check DNS
auto-obtain in Network → Advanced Sengs . Currently, DNS auto-obtain cannot be checked
as this funcon is not supported.
●
You are recommended to
congure two DNS IP addresses simultaneously. If the rst IP address is
invalid, the client will
automacally use the second one. If both IP addresses are invalid, please
recongure DNS IP addresses. Aer conguraon is complete, you can verify if the IP addresses
are valid.
Hik-Connect Sengs (Oponal)
Note
If a device is displayed as oine when being added to the Hik-ProConnect app, you need to
perform Hik-Connect sengs in addion to reconguring DNS IP addresses.
1. Click → Advanced Funcon in the Operaon column of the desired device.
2. Click Remote
Conguraon → Network → Hik-Connect Sengs .
Switch Client User Manual
11
Loading ...
Loading ...
Loading ...