instructions for
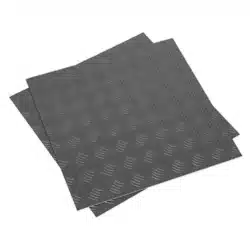
vinyl floor tiles with peel & stick
backing box of 16
model no’s: ft1b, ft1s, ft2b, ft2s
thank you for purchasing a sealey product. Manufactured to a high standard, this product will, if used according to these instructions,
and properly maintained, give you years of trouble free performance.
IMPORTANT: PLEASE READ THESE INSTRUCTIONS CAREFULLY. NOTE THE SAFE OPERATIONAL REQUIREMENTS, WARNINGS & CAUTIONS. USE
THE PRODUCT CORRECTLY AND WITH CARE FOR THE PURPOSE FOR WHICH IT IS INTENDED. FAILURE TO DO SO MAY CAUSE DAMAGE AND/OR
PERSONAL INJURY AND WILL INVALIDATE THE WARRANTY. KEEP THESE INSTRUCTIONS SAFE FOR FUTURE USE.
1. safety
warning! ensure that Health & safety, local Authority regulations and general workshop practice regulations are adhered to when
using and installing these tiles.
2. introduction
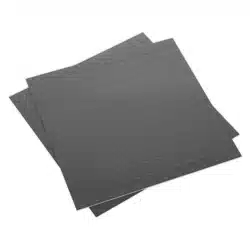
stylish oor tiles ideal for any garage or workshop environment. Tiles are quick and simple to install with a peel and stick backing, no need for
any additional adhesive. Provides an Anti-Slip surface which is durable, ame and water resistant. Fibreglass reinforced with a 0.5mm wear layer
and a UV coating. Supplied in a box of 16, tiles come in two different patterns, FT1B and FTB1S with a treadplate nish and FT2B and FT2S
with a coin nish. Available in a choice of either silver or blue.
3. specification
model no’s: .........................................................FT1B, FT1S,
type: FT1B/FT1S: ........................ blue/silver treadplate nish
type: FT1S/FT2S: ................................. blue/silver coin nish
tile size: ......................................................457.2 x 457.2mm
thickness: ...................................................................... 3mm
thickness of wear layer: ............................................. 0.5mm
floor coverage: .........................................................3.34mtr²
Pack quantity: .................................................................... 16
4. preparation
please read all instructions carefully before beginning installation. iMproper installation will void
warranty.
4.1. suitable surfaces
Smooth surface well bonded resilient oors: dry, clean well cured concrete on or above grade. Painted oors where paint is rmly
bonded. Wood oors with r plywood overlay, make sure the plywood surface has been sealed with an oil based primer. All surfaces
must be clean and free of dust, dirt, oil or other contaminants.
4.2. unsuitable surfaces
Particleboard or chipboard: concrete surfaces which are below grade and where moisture may be a problem and any form of
embossed oors. Not recommended for laying over a oor with underoor heating.
4.3. preparing the base floor
4.3.1. The tiles should be allowed to acclimatise at room temperature (approx. 20°C) for 48 hours prior to installation. Check that all batch
numbers and item numbers are the same and that enough tiles have been purchased to complete the job.
4.3.2. All porous surfaces such as cement and plywood should be sealed with a suitable primer. New concrete oors need to dry out for
at least 60 days prior to installation. Wood oors: securely nail all loose boards. Scrape, plane or ll uneven boards in preparation for
hardboard overlay. Cover oor with ooring grade hardboard, nailing 6” centres with ringed type 1-1/2” nails. All nail heads must be
driven down below the surface.
4.3.3. Remove any traces of wax or other coatings from well bonded, smooth surface-oors. All old non-cushioned sheet oor and vinyl tiles
must be rmly stuck down. Remove any traces of glue or residue from any previous ooring. Scrape, plane or ll uneven boards,
holes or cracks using oor levelling compound. Make sure the oor is free from wax, grease oil, paint, dust and any other foreign
materials and sealed as necessary before laying tiles.
warning! do not reMove old resilient flooring. these products May contain either asbestos or
crystalline silica which can be harMful to your health.
4.3.4. Use an embossing leveller to smooth out any old embossed oors and cover the old cushion resilient ooring with a new sub oor. Or
see a ooring specialist for recommended removal.
fT1B, FT1S, FT2B, FT2S | Issue:1 25/09/17
Original Language Version
© Jack Sealey Limited
refer to
instruction
manual
5. installation
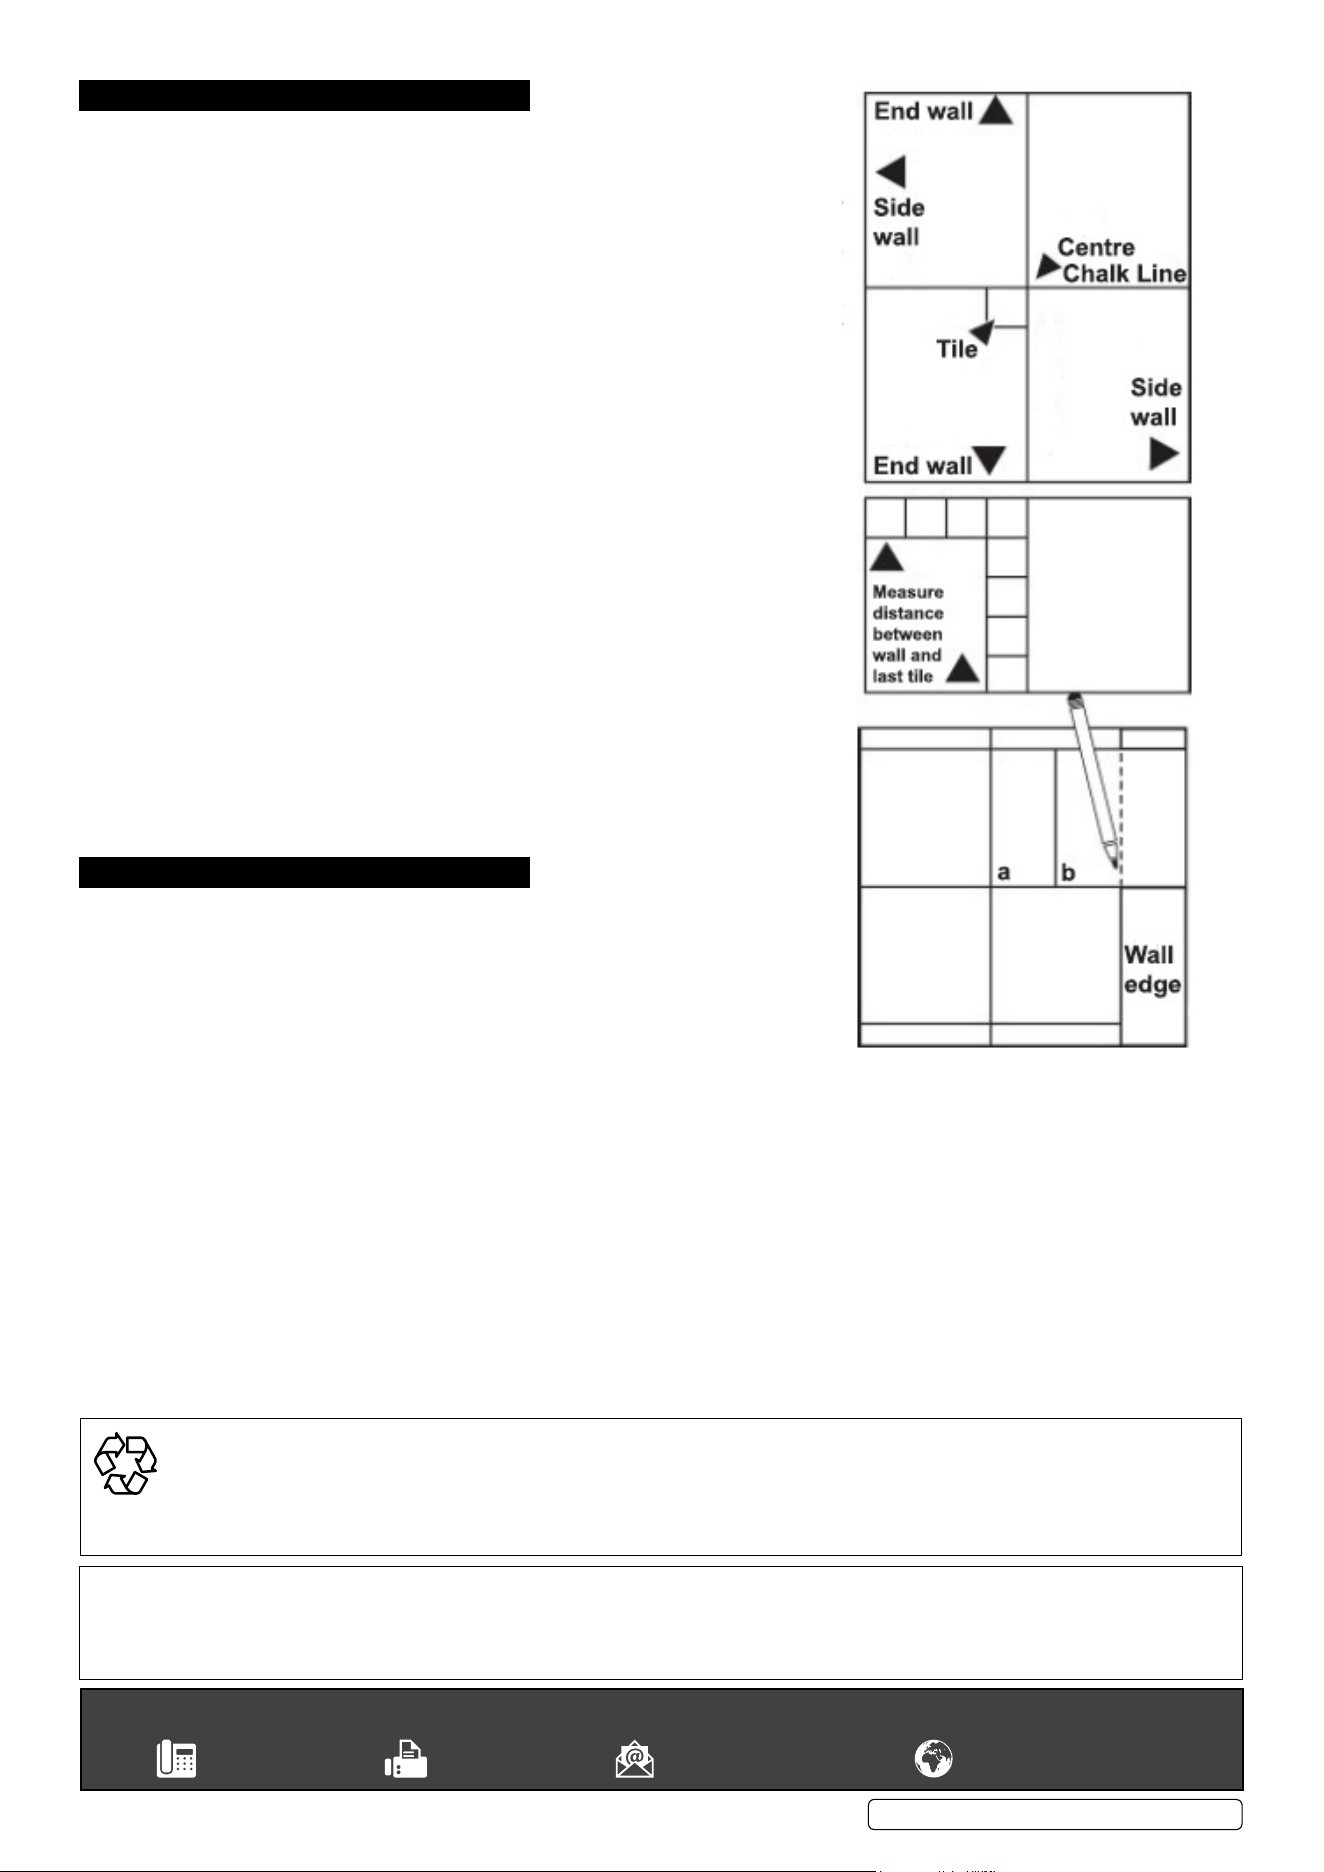
5.1. planning the floor
5.1.1. Locate and mark the centre point of end walls. Strike a chalk line connecting
these two points. Locate and mark the centre of this line.
5.1.2. Using a tile, draw a line through the mark perpendicular to the centre line. Strike
a chalk line connecting the side walls along the perpendicular.
5.1.3. Lay a complete row of tiles along the chalk lines from the centre to one side wall
and one end wall.
5.1.4. If the distance between wall and edge of last tile is less than 3” or more than 9”,
strike a new chalk line 6” from the previous chalk line to establish a starting point.
5.1.5. For larger areas open several boxes and mix the tiles before installing. This
will blend any slight colour variations there may be. For best appearance, install
each tile with arrows of the back of the tile all pointing in the same direction.
5.2. laying the floor
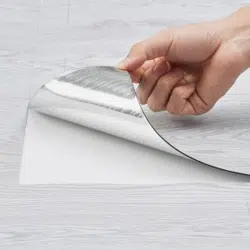
5.2.1. Remove release paper from the back of a tile and place it at the centre point,
make sure its edges are along the chalk lines. Press rmly into place, set the
next tile into place at a slight angle to the oor. Butt each tile squarely to the
adjoining tile. do not slide the tile into place. Remove the release paper from
the back of the tile as you install it. The release paper has a slippery surface.
5.2.2. TO AVOID ACCIDENTS PLACE THE RELEASE PAPER IN A SUITABLE
RECEPTACLE AS IT IS REMOVED. do not WALK OR STAND ON PIECES
OF RELEASE PAPER OR LOOSE TILE.
5.2.3. Install one quarter of the oor at a time. do not cut the tiles around the edges
of the room until the main area of the oor has been covered.
5.2.4. To t around obstacles, make a pattern on paper, trace onto a tile and cut with
paper side up using scissors and a straight edge and sharp knife. It should t
snugly and should not be forced into place.
5.2.5. To t border tiles, place a loose tile ‘A’ over the last tile in a row. Butt another
tile “B” against the wall and mark the tile “A” with a pencil along the edge of the
“B” tile. Cut the tile “A” along the pencil line.
5.2.6. Lay all tiles ensuring a close t but do not force together. make sure that the
cut edge always faces the wall.
6. care and Maintenance
6.1. Once the complete oor is installed, roll the tiles with a household rolling pin or
a metal pipe in both directions, atten any ridges and make seams swell.
6.2. Allow 48 to 72 hours before washing the oor to allow the tiles to conform to
the sub-oor.
6.2.1. Sweep regularly to remove surface grit and dust. Never use excessive amounts
of water when cleaning the tiles - use a damp cloth or mop and rinse with
clean water. When necessary a mild detergent can be added to
the water. do not use abrasive cleaners.
6.2.2. High heels can damage oors. Use protective pads under furniture.
sealey group, kempson way, suffolk business park, bury st edmunds, suffolk. ip32 7ar
01284 757500 01284 703534 sales@sealey.co.uk www.sealey.co.uk
environMent protection
Recycle unwanted materials instead of disposing of them as waste. All tools, accessories and packaging should be sorted, taken to
a recycling centre and disposed of in a manner which is compatible with the environment. When the product becomes completely
unserviceable and requires disposal, drain any fluids (if applicable) into approved containers and dispose of the product and fluids
according to local regulations.
note: It is our policy to continually improve products and as such we reserve the right to alter data, specifications and component parts without prior
notice.
important: No Liability is accepted for incorrect use of this product.
warranty: Guarantee is 12 months from purchase date, proof of which is required for any claim.
fT1B, FT1S, FT2B, FT2S | Issue:1 25/09/17
Original Language Version
© Jack Sealey Limited