Loading ...
Loading ...
Loading ...
22
8. Replace the “57” spud with a “49” spud. Install the Natural gas
bake burner orifice spud, turning it clockwise until snug.
IMPORTANT: Do not overtighten.
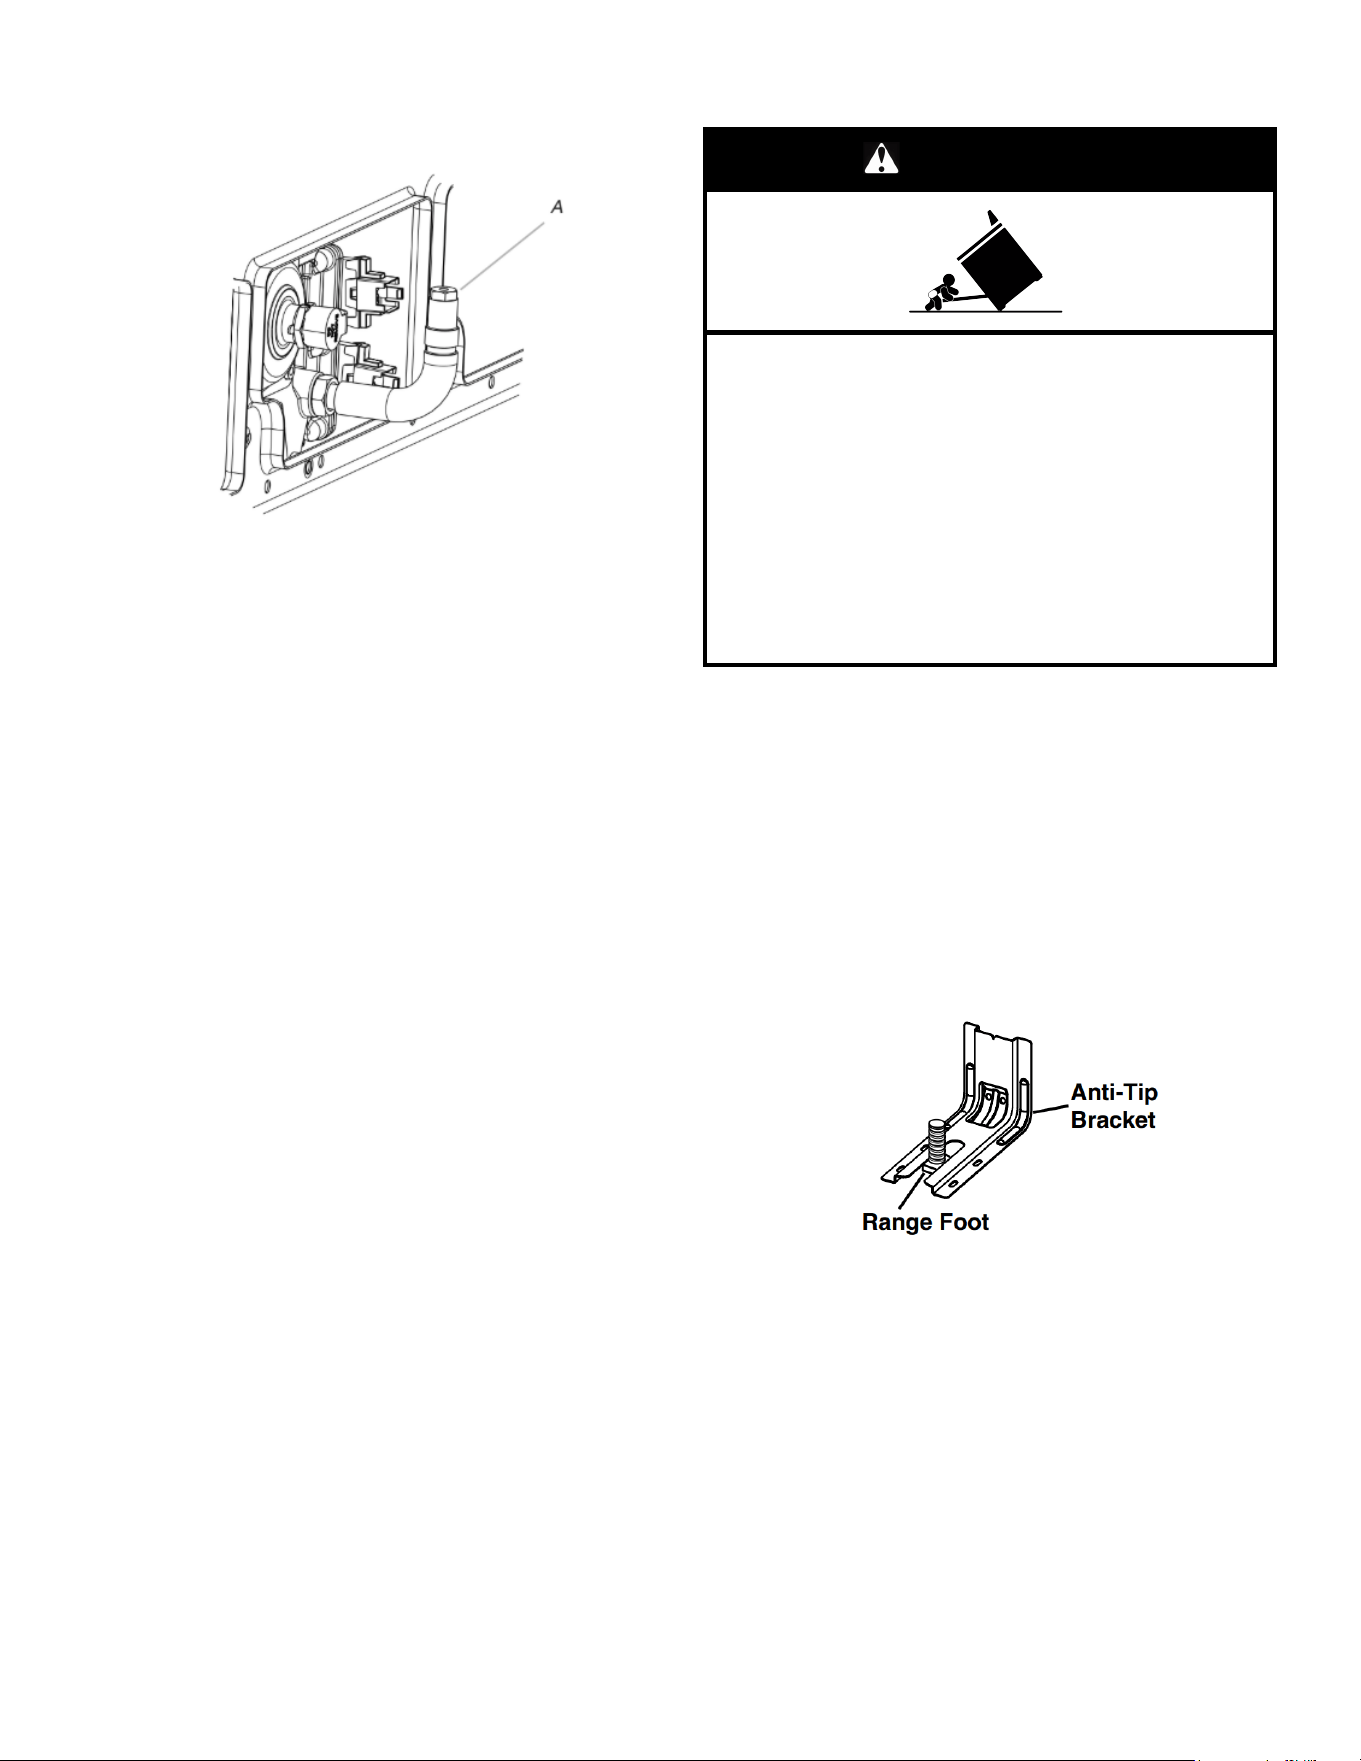
A. Orifice spud
9. Position the back of the bake burner over the oven orifice, and
slide the tab on front of the bake burner into the front of the
oven
10. Reattach the bake burner with 2 screws.
11. Insert the tabs on the rear of the flame spreader into the rear
of the oven.
12. Reattach the front tabs of the flame spreader to the oven with
2 screws.
13. Position the front of the oven bottom panel toward the front
frame and lower the rear of the oven bottom panel into the
oven.
14. Reattach the oven bottom panel with 2 screws.
Complete Installation (Propane Gas to Natural
Gas)
1. Refer to the “Make Gas Connection” section for properly
connecting the range to the gas supply.
2. Refer to the “Electronic Ignition System” section for proper
burner ignition, operation and burner flame adjustments.
IMPORTANT: You may have to adjust the “LO” setting for
each cooktop burner.
Checking for proper cooktop, bake burner flame is very
important. Natural gas flames do not have yellow tips.
3. Refer to “Complete Installation” in the “Installation
Instructions” section of this manual to complete this
procedure.
NOTE: Make sure to save the orifices that have just been
replaced in the conversion.
Moving the Range
WARNING
Tip Over Hazard
A child or adult can tip the range and be killed.
Install anti-tip bracket to floor or wall per installation
instructions.
Slide range back so rear range foot is engaged in the
slot of the anti-tip bracket.
Re-engage anti-tip bracket if range is moved.
Do not operate range without anti-tip bracket installed
and engaged.
Failure to follow these instructions can result in death or
serious burns to children and adults.
When moving range, slide range onto cardboard or hardboard to
avoid damaging the floor covering.
If removing the range is necessary for cleaning or maintenance:
For power supply cord-connected ranges:
1. Slide range forward.
2. Turn manual shutoff valve to the closed position.
3. Unplug the power supply cord.
4. Disconnect the gas supply tubing.
5. Complete cleaning or maintenance.
6. Reconnect the gas supply tubing.
7. Open the manual shutoff valve in the gas supply line.
8. Plug in power supply cord.
9. Slide range back so rear range foot is under anti-tip bracket.
10. Refer to the “Verify Anti-Tip Bracket Is Installed and Engaged”
section to verify engagement.
11. Check that range is level.
Loading ...
Loading ...
Loading ...