Electronic Blender
INSTRUCTION MANUAL
SIMPLY
MING

When using blender, basic safety precautions should always be followed:
1. Read all instructions carefully.
2. To protect against risk of electrical shock, do not put appliance base, cord or plug in water or other
liquid.
3. This appliance should not be used by children and care should be taken when used near children.
4. Unplug from outlet when not in use, before putting on or taking o parts, and before cleaning. To
disconnect, turn unit o, grasp plug, and pull from the wall. Never yank on cord.
5. Avoid contact with moving parts.
6. To prevent severe personal injury or damage to your Blender keep hands and utensils out of Blender
Jar while motor is running. A rubber spatula may be used but only when the blender motor is not running
and is unplugged. The Tamper may be used while motor is running only with the lid is securely in place.
7. Do not operate any appliance with a damaged cord or plug or after the appliance malfunctions or is
dropped or damaged in any manner. Return the appliance to an authorized service facility for examination,
repair, or electrical or mechanical adjustment.
8. The use of attachments not recommended or sold by I.S. Appliances, Inc., including canning jars, may
cause re, electric shock, or injury to persons.
9. Do not use outdoors.
10. Do not let cord hang over edge of table or counter or touch hot surfaces, including the stove.
11. Blades are very sharp. Handle carefully. Store out of reach of children. Never attempt to remove blades.
Do not operate the blender with loose or damaged blades.
12. Always operate Blender with ller cap and lid in place. Only remove ller cap when adding ingredients
or blending hot liquids.
13. When blending hot liquids ensure the 2-part lid is securely in place. Steam will escape naturally. Always
start in low speed and then increase speed to desired setting. Use caution with hot liquids. Spraying from
under the ller cap can occur, or escaping steam may cause scalding. Only use the lid provided with your
blender.
14. Do not store anything in your blender jar, including your ller cap as this will damage the blade
assembly or jar when starting the blender, it can also cause personal injury.
15. Do not use this appliance for other than intended use.
16. Keep hands and utensils out of container while blending to reduce the risk of ever injury to persons
or damage to the blender. A scraper may be used but must be used only when the blender is not running
(this does not apply to an acceptable scraper integral with the appliance.).
IMPORTANT SAFEGUARDS
1

IMPORTANT SAFEGUARDS
SAVE THESE INSTRUCTIONS
HOUSEHOLD USE ONLY
Additional Safety Information
This appliance has a polarized plug (one blade is wider than the other). As a safety feature, this plug
will t in a polarized outlet only one way. If the plug does not t fully in the outlet, reverse the plug.
If it still does not t, contact a qualied electrician. Do not attempt to defeat this safety feature.
A short power-supply cord is provided to reduce the hazards resulting from entanglement or
tripping over a longer cord. If it is necessary to use an extension cord, it should be positioned such
that it does not drape over the counter or tabletop where it can be pulled on by children or tripped
over.
Before First Use
Wash all parts according to the Care & Cleaning section of this manual.
2
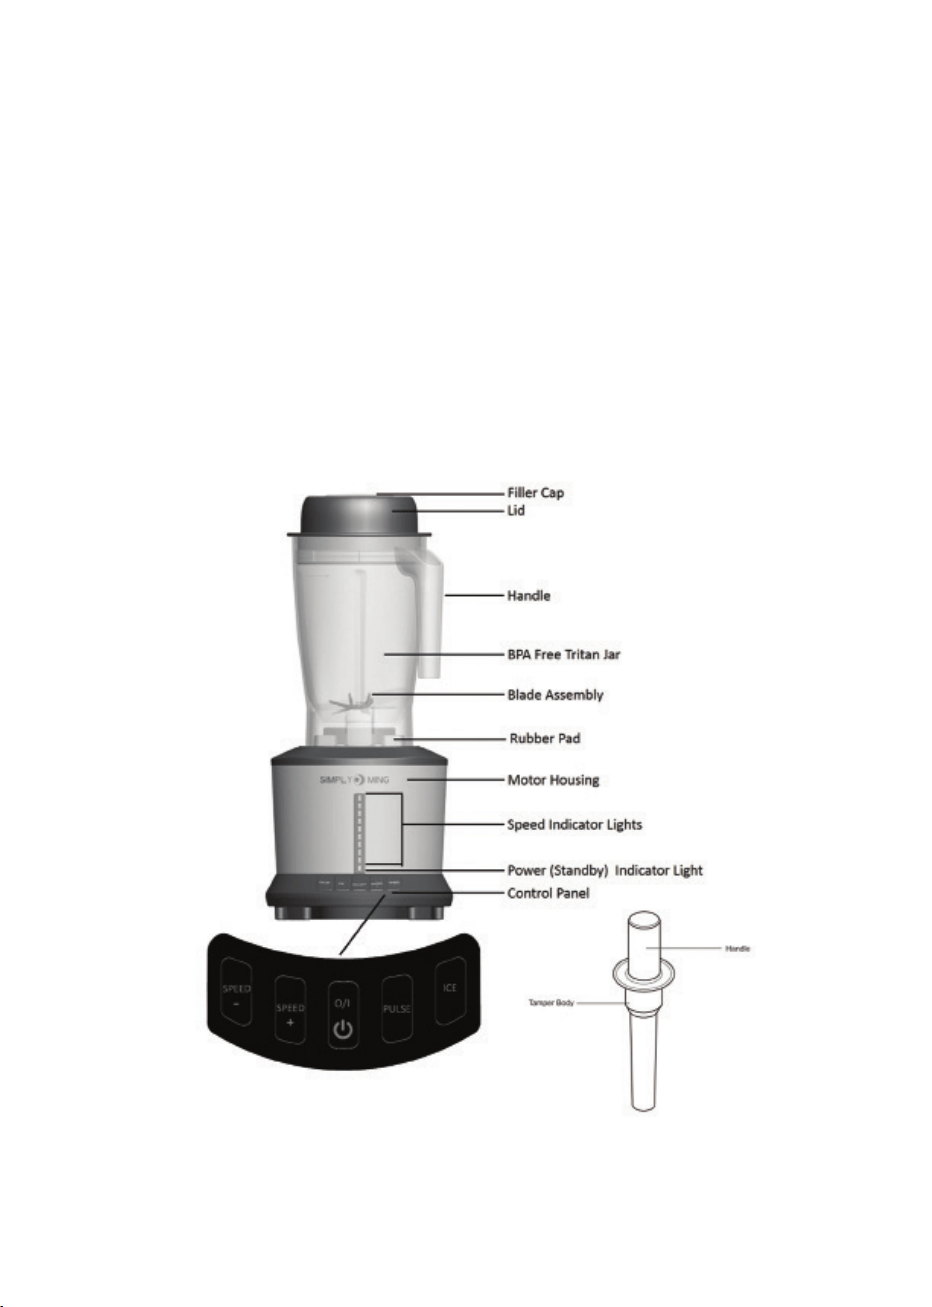
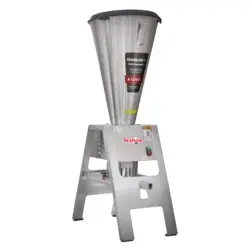
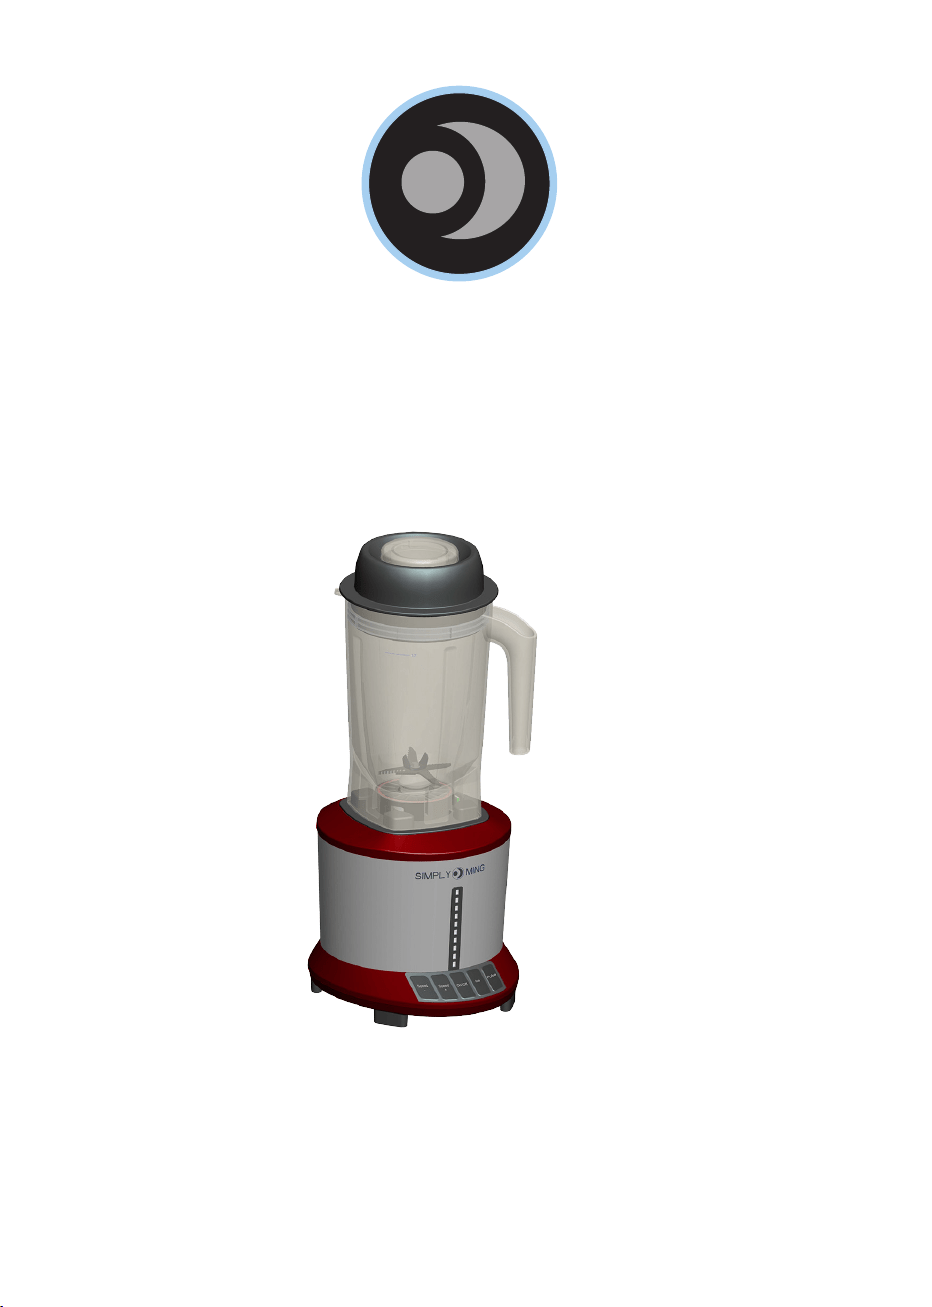
Know Your Ming Tsai Blender
3

As a safety feature your blender will not power on unless the jar is placed on top of the motor housing.
Never use the blender without the lid tted securely on the jar. Do not stick any utensils in the blender jar
while plugged in.
1. Place blender on a level, stable surface.
2. Put ingredients in jar. Always add liquid ingredients rst followed by solid ingredients.
3. Place the ller cap insert into the blender lid opening and turn ller cap clockwise until tight. Firmly
attached assembled lid to the blender jar and place the blender jar on the motor base.
4. Plug the blender into a 120-volt 60 Hz AC-only outlet. The red STANDBY indicator light will illuminate
and blink.
5. Press the POWER button and the blender will start at the lowest speed setting and the red light will
stop blinking and stay on red. The blue speed indicator light will come on when the Speed + button is
pushed. Each successive press of the SPEED + button will increase the speed and illuminate additional
blue lights. Pressing the SPEED – will decrease the speed and will turn o each blue light in succession.
Press the POWER button again to turn the blender o.
WARNING: When blending hot liquids ensure the lid is securely in place.
Place the ller cap into lid and turn clockwise until is stops (about a quarter turn), Always start on low
speed and then increase speed to desired setting. Use caution with hot liquids. Spraying from under the
ller cap can occur, or escaping steam may cause scalding. Only use the lid provided with your blender.
6. To add ingredients while the blender is on, remove the ller cap insert and drop ingredients through
the lid opening. Replace the insert securely when done. Do not place your hands into the blender jar with
the blender plugged in.
7. The ICE function is perfect for frozen drinks and ice crushing. To use this function press the ICE button
followed by the POWER button. The blender will turn on at the highest speed for 2 seconds, then turn o
for 4 seconds. This will repeat 5 times and then the blender will automatically switch to STANDBY mode
and the red STANDBY indicator light will illuminate.
8. The PULSE function allows you to control the blender for precise blending, or when a little extra
processing is needed. To use this feature press the PULSE button down and the blender will automatically
start at the highest speed without having to press the POWER or speed buttons. Once you release your
nger from the PULSE button the blender will automatically turn o.
4
Using your Blender

5
Using Your Tamper
The tamper allows you to quickly process thicker mixtures of frozen drinks that are more dicult to
process on their own. It also helps you to keep the ingredients pushed down onto the blade assembly.
Never use the tamper without the lid in place. Remove center ller cap and slide tamper into jar. The
tamper has a splash guard located near the top that prevents the tamper from coming in contact with
the blade assembly.
When using the tamper do not ll blender jar more than 2/3 full. Do not blend continuously for more
than 30 seconds when tamper is in place. Always circulate the tamper around the sides of the jar, not
just in the center. This will ensure that your ingredients are fully processed.
WARNING:
To reduce the risk of a scalding injury NEVER use tamper when processing hot liquids
Thermal Protection
Your blender is equipped with thermal protection to prevent damage to the motor if the blender
senses overheating. This will stop the motor from operating temporarily. Should this occur, unplug
the motor and allow the blender to cool down for 30 - 45 minutes.
Auto-O
As an added safety protection your blender comes with an auto-o feature. The motor will stop
blending after ten minutes of continuous operation.
Care & Cleaning
1. Unplug your blender and ensure that all parts have completely cooled.
2. Remove jar from motor base by lifting straight up. Rinse with warm water to remove any large
food particles that may have accumulated in the jar. Extreme caution should be used when cleaning
your blender jar as the blades are very sharp.
3. Your blender jar and blade assembly can be cleaned by adding a few drops of dishwashing
detergent into the blender jar and lling with 3 cups of warm water. Place the cover with ller cap on
the jar and blend on low speed for 20 seconds. Rinse and repeat with clean tap water.
4. The blender jar and tamper can also be washed in the top rack of the dishwasher.
5. Wipe the cord and base clean with a damp cloth. Dry thoroughly.
6. Caution: Do not immerse the blender motor base in water or other liquid. Do not use abrasive
cleansers on any part of the blender.

Helpful Hints
• If you need to scrape ingredients from the sides of the jar turn the blender o and unplug from
the wall outlet.
• When blending solid foods, always cut them into no larger than 1/2-inch to 1-inch pieces be-
fore placing them into the jar. Blend no more than 1/2 cup of these foods at a time for uniform blend-
ing.
• We do not recommend blending herbs or spices in the blender jar. They can permanently dis-
color the blender jar and release strong odors into the container which will aect the avor of other
foods.
• Remember that ice cubes vary in size and shape. Smaller ice cubes can be chopped or crushed
faster than larger ones. To add ice cubes to mixtures while the blender is operating, remove the ller
cap and drop through the opening.
• If too much food is blended at one time, the motor may stall. If this happens turn the blender
o and unplug from wall outlet. Remove a portion of the food and then continue the blending pro-
cess.
• For more consistent results, always add liquid ingredients rst, followed by solid ingredients.
• To add food or liquid while the blender is operating, remove the ller cap from the blender jar
cover and drop the ingredients through the opening. Remember to replace the ller cap when n-
ished adding ingredients.
WARNING! To prevent a scalding injury do not remove the ller cap, or lid when blending hot ingredi-
ents.
• Avoid over-blending. Usually, you will need to blend for only a few seconds, not minutes, ex-
cept when heating liquid ingredients in the blender.
• This blender is NOT intended to grind meat, mash potatoes, knead dough, or whip egg whites.
• Never place any of the following ingredients into the blender jar: bones or large pieces of sol-
idly frozen foods. If ingredients cannot be cut with a knife, do not place it in the blender jar.
• When making peanut butters or other nut butters or oil based foods do not process for more
than 1 minute. Over-processing can cause overheating.
6

LIMITED ONE-YEAR WARRANTY
Congratulations on your purchase of the Ming Tsai Blender This product is warranted to be free from
defects in material and workmanship under normal use and service for a period of one year from the
date of original purchase with receipt. The manufacturer’s obligation shall be limited to repairing or
replacing, FOB N.Y.,any part of the product that is defective. Such warranty shall not apply to damages
resulting from accidents, abuse or misuse. This warranty is valid only for rst quality goods purchased
from an authorized selling agent of IDL.
7
Ingenious Designs LLC • 2060 9th Avenue • Ronkonkoma, NY 11779 • (800)248-3002