Ns0522-1122
Printed in China
• Before attempting to connect or install this product, please read these instructions carefully and
save this manual for future use.
• The external appearance and other parts shown in this manual may differ from the actual product
within the scope that will not interfere with normal use due to improvement of the product.
Do not use this bracket except with suitable cameras.
Failure to observe this may cause a drop resulting in injury or accidents.
Refer installation work to the dealer.
Installation work requires technique and experience.
Failure to observe this may cause fire, electric shock, injury, or damage to the product.
Be sure to consult the dealer.
Install the product securely on the bracket by following the installation
instructions.
Failure to observe this may cause injury or accidents.
The screws and bolts must be tightened to the specied torque.
Failure to observe this may cause a drop resulting in injury or accidents.
The measures of protection against a fall of this product shall be taken.
QSR501F
QSR 501M
QSR50 1F1
QSR 501M1
Failure to observe this may cause a drop resulting in injury or accidents.
Be sure to install the safety wire.
Do not rub the edges of metal parts with your hand.
Failure to observe this may cause injury.
When using this product, also read the “Precautions” described in the operating
instructions for the camera to be attached.
Precautions
i-PRO Co., Ltd. assumes no responsibility for injuries or property damage resulting
from failures arising out of improper installation or operation inconsistent with this
documentation or through use of parts other than this product, such as locally
procured parts.
Caution:
• Before attempting to connect or operate this
product, please read these instructions care-
fully.
Notice:
• This product is not suitable for use in loca-
tions where children are likely to be present.
• Do not install this product in locations where
ordinary persons can easily reach.
• For information about screws and other parts
required for installation, refer to the corre-
sponding section of this document.
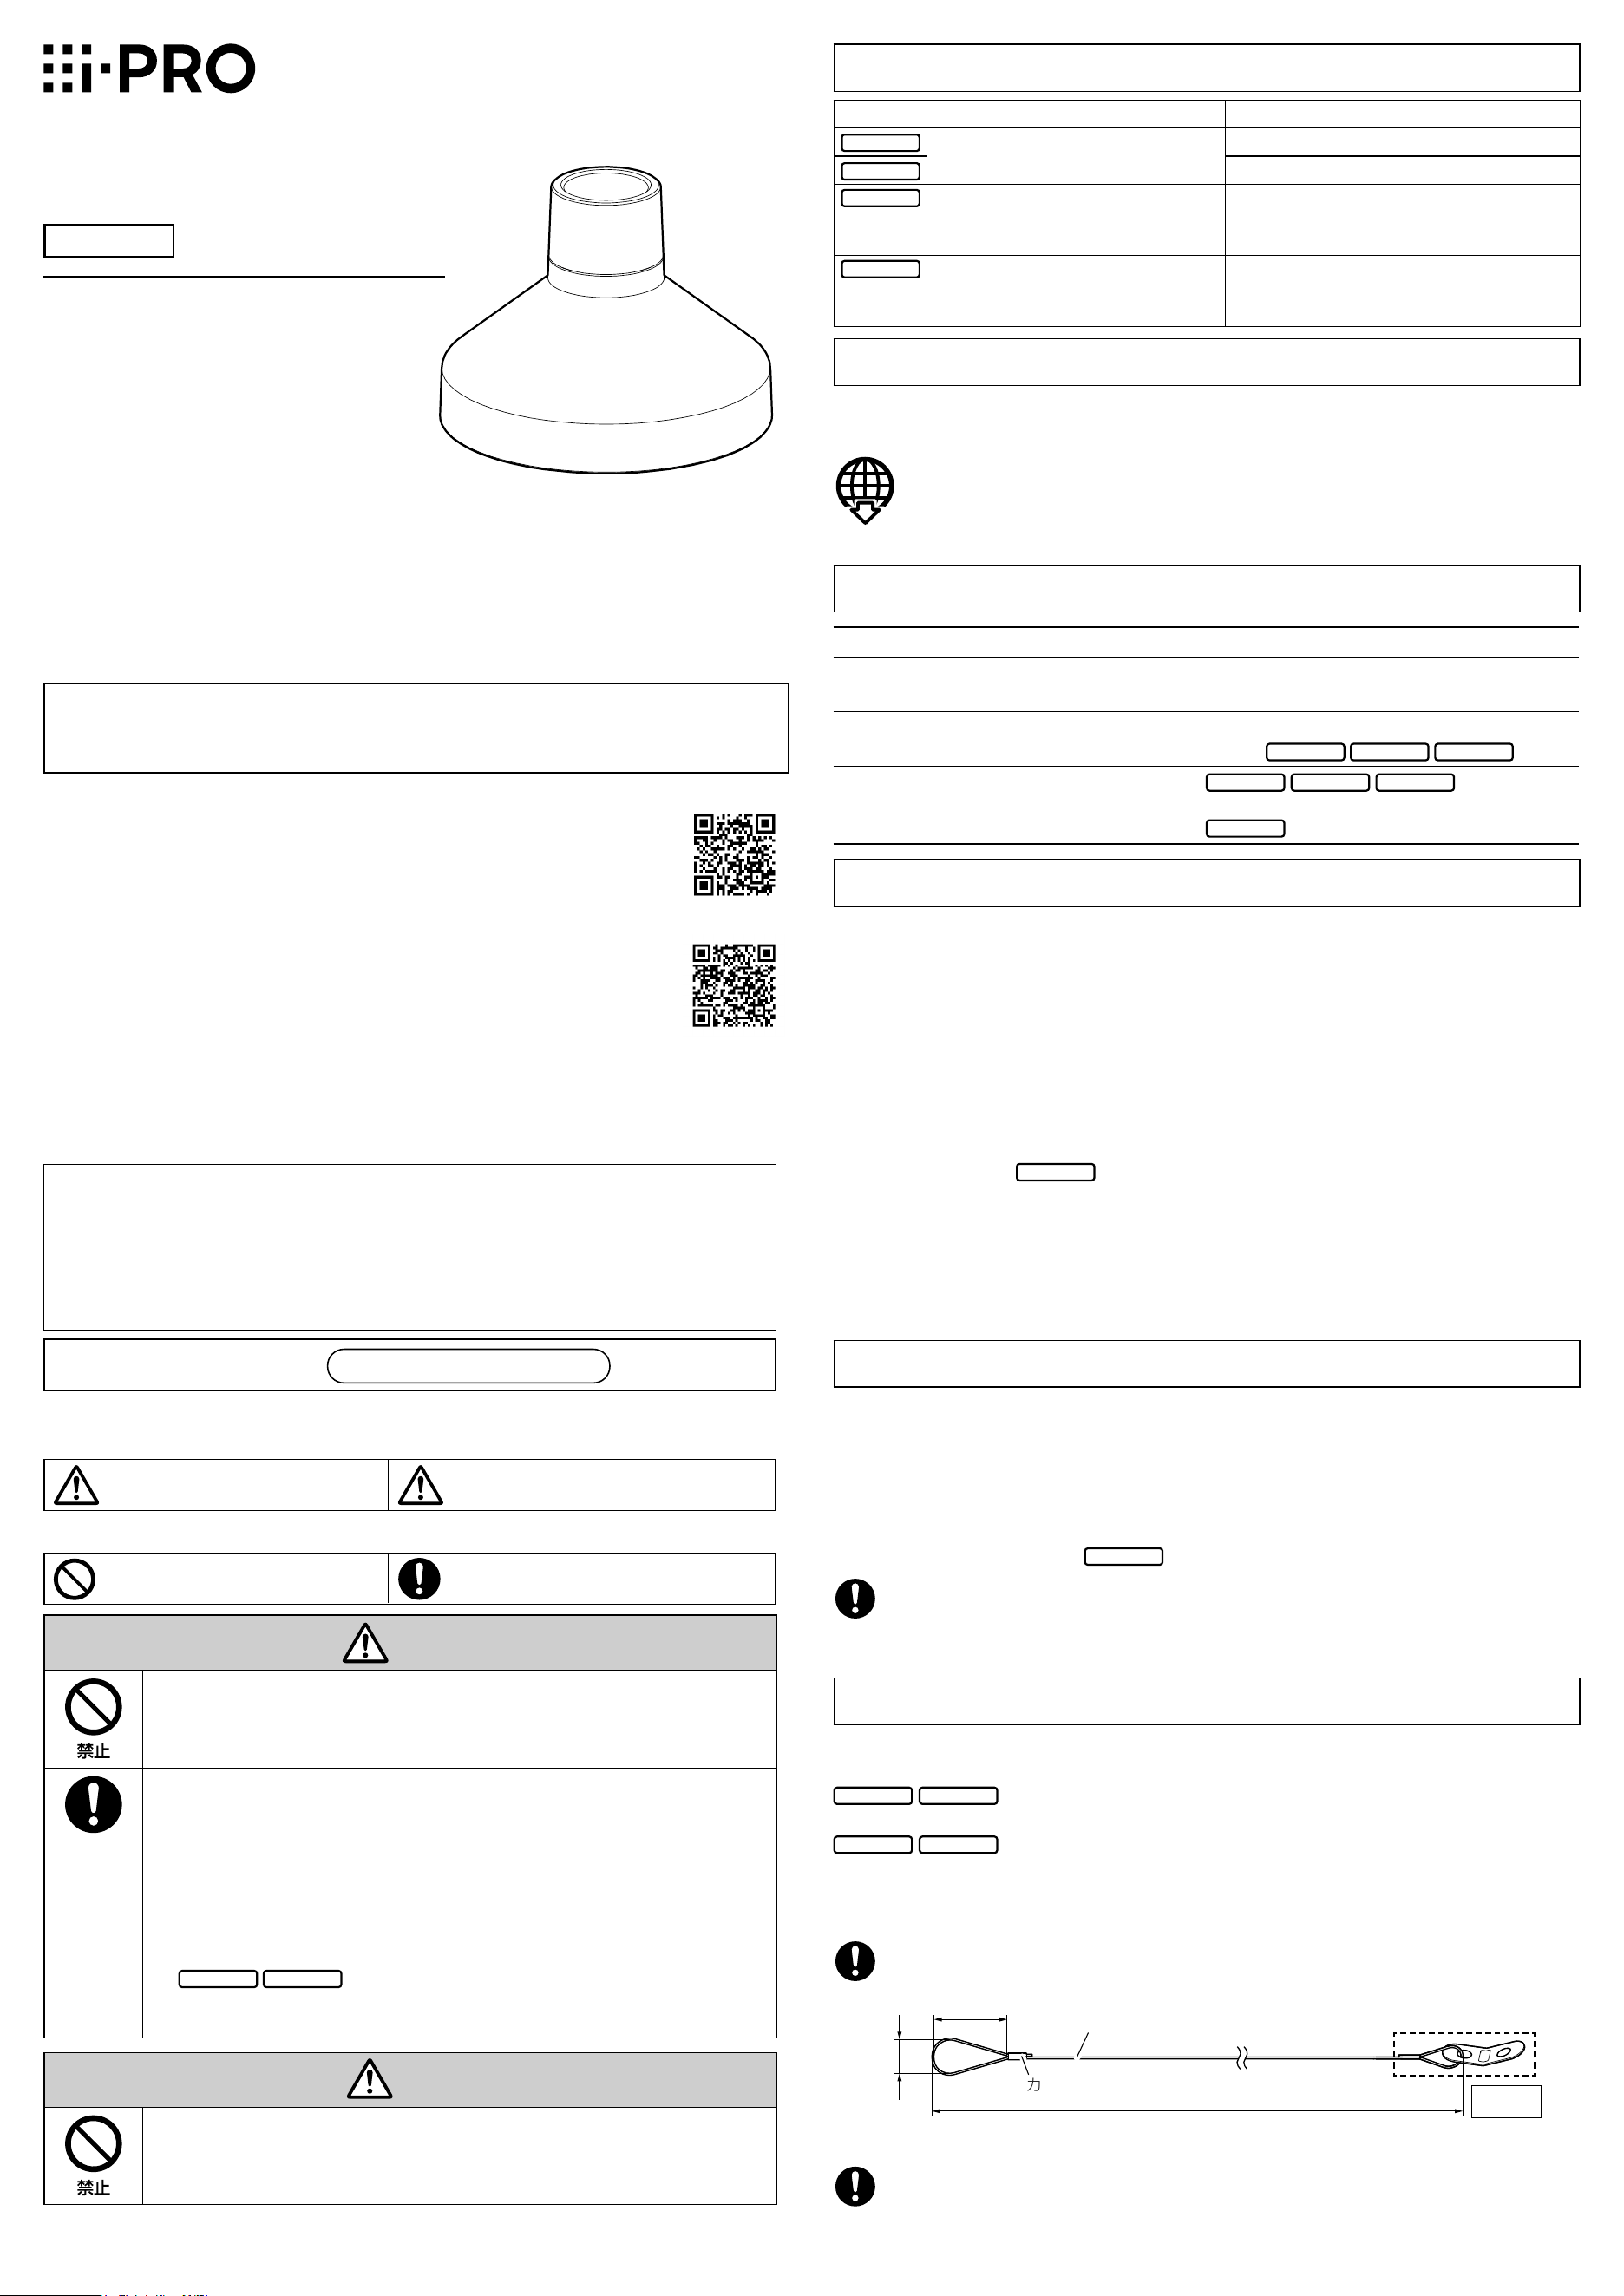
Mount Bracket
Model No. WV-QSR501
Operating Instructions
Included Installation Instructions
Other items that are needed (not included)
Common
• Screws to fix a locally procured bracket on the installation surface
QSR501
QSR501S
• 5 mm (distance between two parallel sides of a hexagon) hex wrench
QSR501F
QSR 501M
QSR50 1F1
QSR 501M1
• Sealant for waterproof treatment
• Safety wire
• Safety wire fixing screw
• Use a screw having a pull-out strength that is enough to hold the sum of weight of the
camera, this bracket, locally procured bracket, wire and cables.
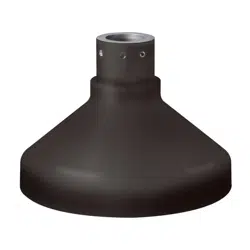
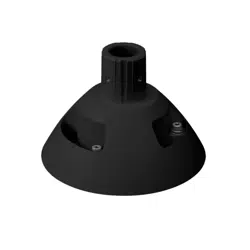
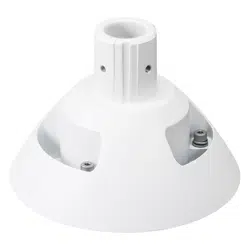
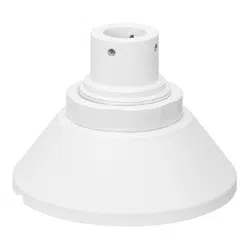
Preface
This product is a mount bracket for a camera. Use this product when connecting a camera to a
ceiling mount bracket, wall mount bracket or a locally procured bracket.
The latest information about the supported cameras
<Control No.: C0501>
The model number is abbreviated in some descriptions in this manual.
Specifications
In order to prevent injury, this product must be securely mounted to a bracket
according to Installation Guide.
Mounting method for this product
This product is designed to be used as a pendant mount camera. If it is mounted on a desktop or at
a slant, the camera may not work correctly and its lifetime may be shortened.
Installation place
QSR501S
Salt damage prevention is applied to this product. However, it is not completely anti-corrosive.
Therefore, consider a place for installation where direct splash of seawater can be avoided.
Especially when installing this product in a seashore area or a place where a snow-melting agent is
applied, and also where rainwater is avoided, it is recommended to regularly clean and rinse off salt
with water. In case of installing this product in a seashore area, regularly check the status of equipment.
(Replace the parts as required.)
Make sure to remove this product if it will no longer be used.
Precautions for installation
Standard Accessories
Operating Instructions (this document) ....................................................................................... 1 pc.
Inner cover ................................................................................................................................ 1 pc.
Screw A (Fixing screw for the inner cover: M3 x 8 mm {5/16 inches}) .......................................4 pcs.
(of them, 1 for spare)
Base guide plate*
1
..................................................................................................................... 1 pc.
Screw B*
1
(Fixing screw for the base guide plate: M4 x 8 mm {5/16 inches}) ............................5 pcs.
(of them, 1 for spare)
Screw C (Fixing screw for attachment plate: M4 x 8 mm {5/16 inches}) ....................................5 pcs.
(of them, 1 for spare)
*1 Base guide plate and screw B are not included in
QSR501S
.
Ambient operating temperature: –50 °C to +60 °C {–58 °F to +140 °F}
Dimensions: Maximum diameter: ø176 mm {6-15/16 inches}
Height: 131 mm {5-5/32 inches}
(When base guide plate and other components installed:
Height 135.5 mm {5-11/32 inches})
Mass:
Main body: Approx. 480 g {1.06 lbs}
Base guide plate and others: Approx. 140 g {0.31 lbs}
QSR501
QSR501F
QSR 501M
QSR50 1F1
QSR 501M1
Finish:
Main body: Aluminum die cast,
QSR501
QSR501F
QSR 501M
QSR50 1F1
QSR 501M1
i-PRO white/black
QSR501S
Heavy salt damage prevention coating, i-PRO white
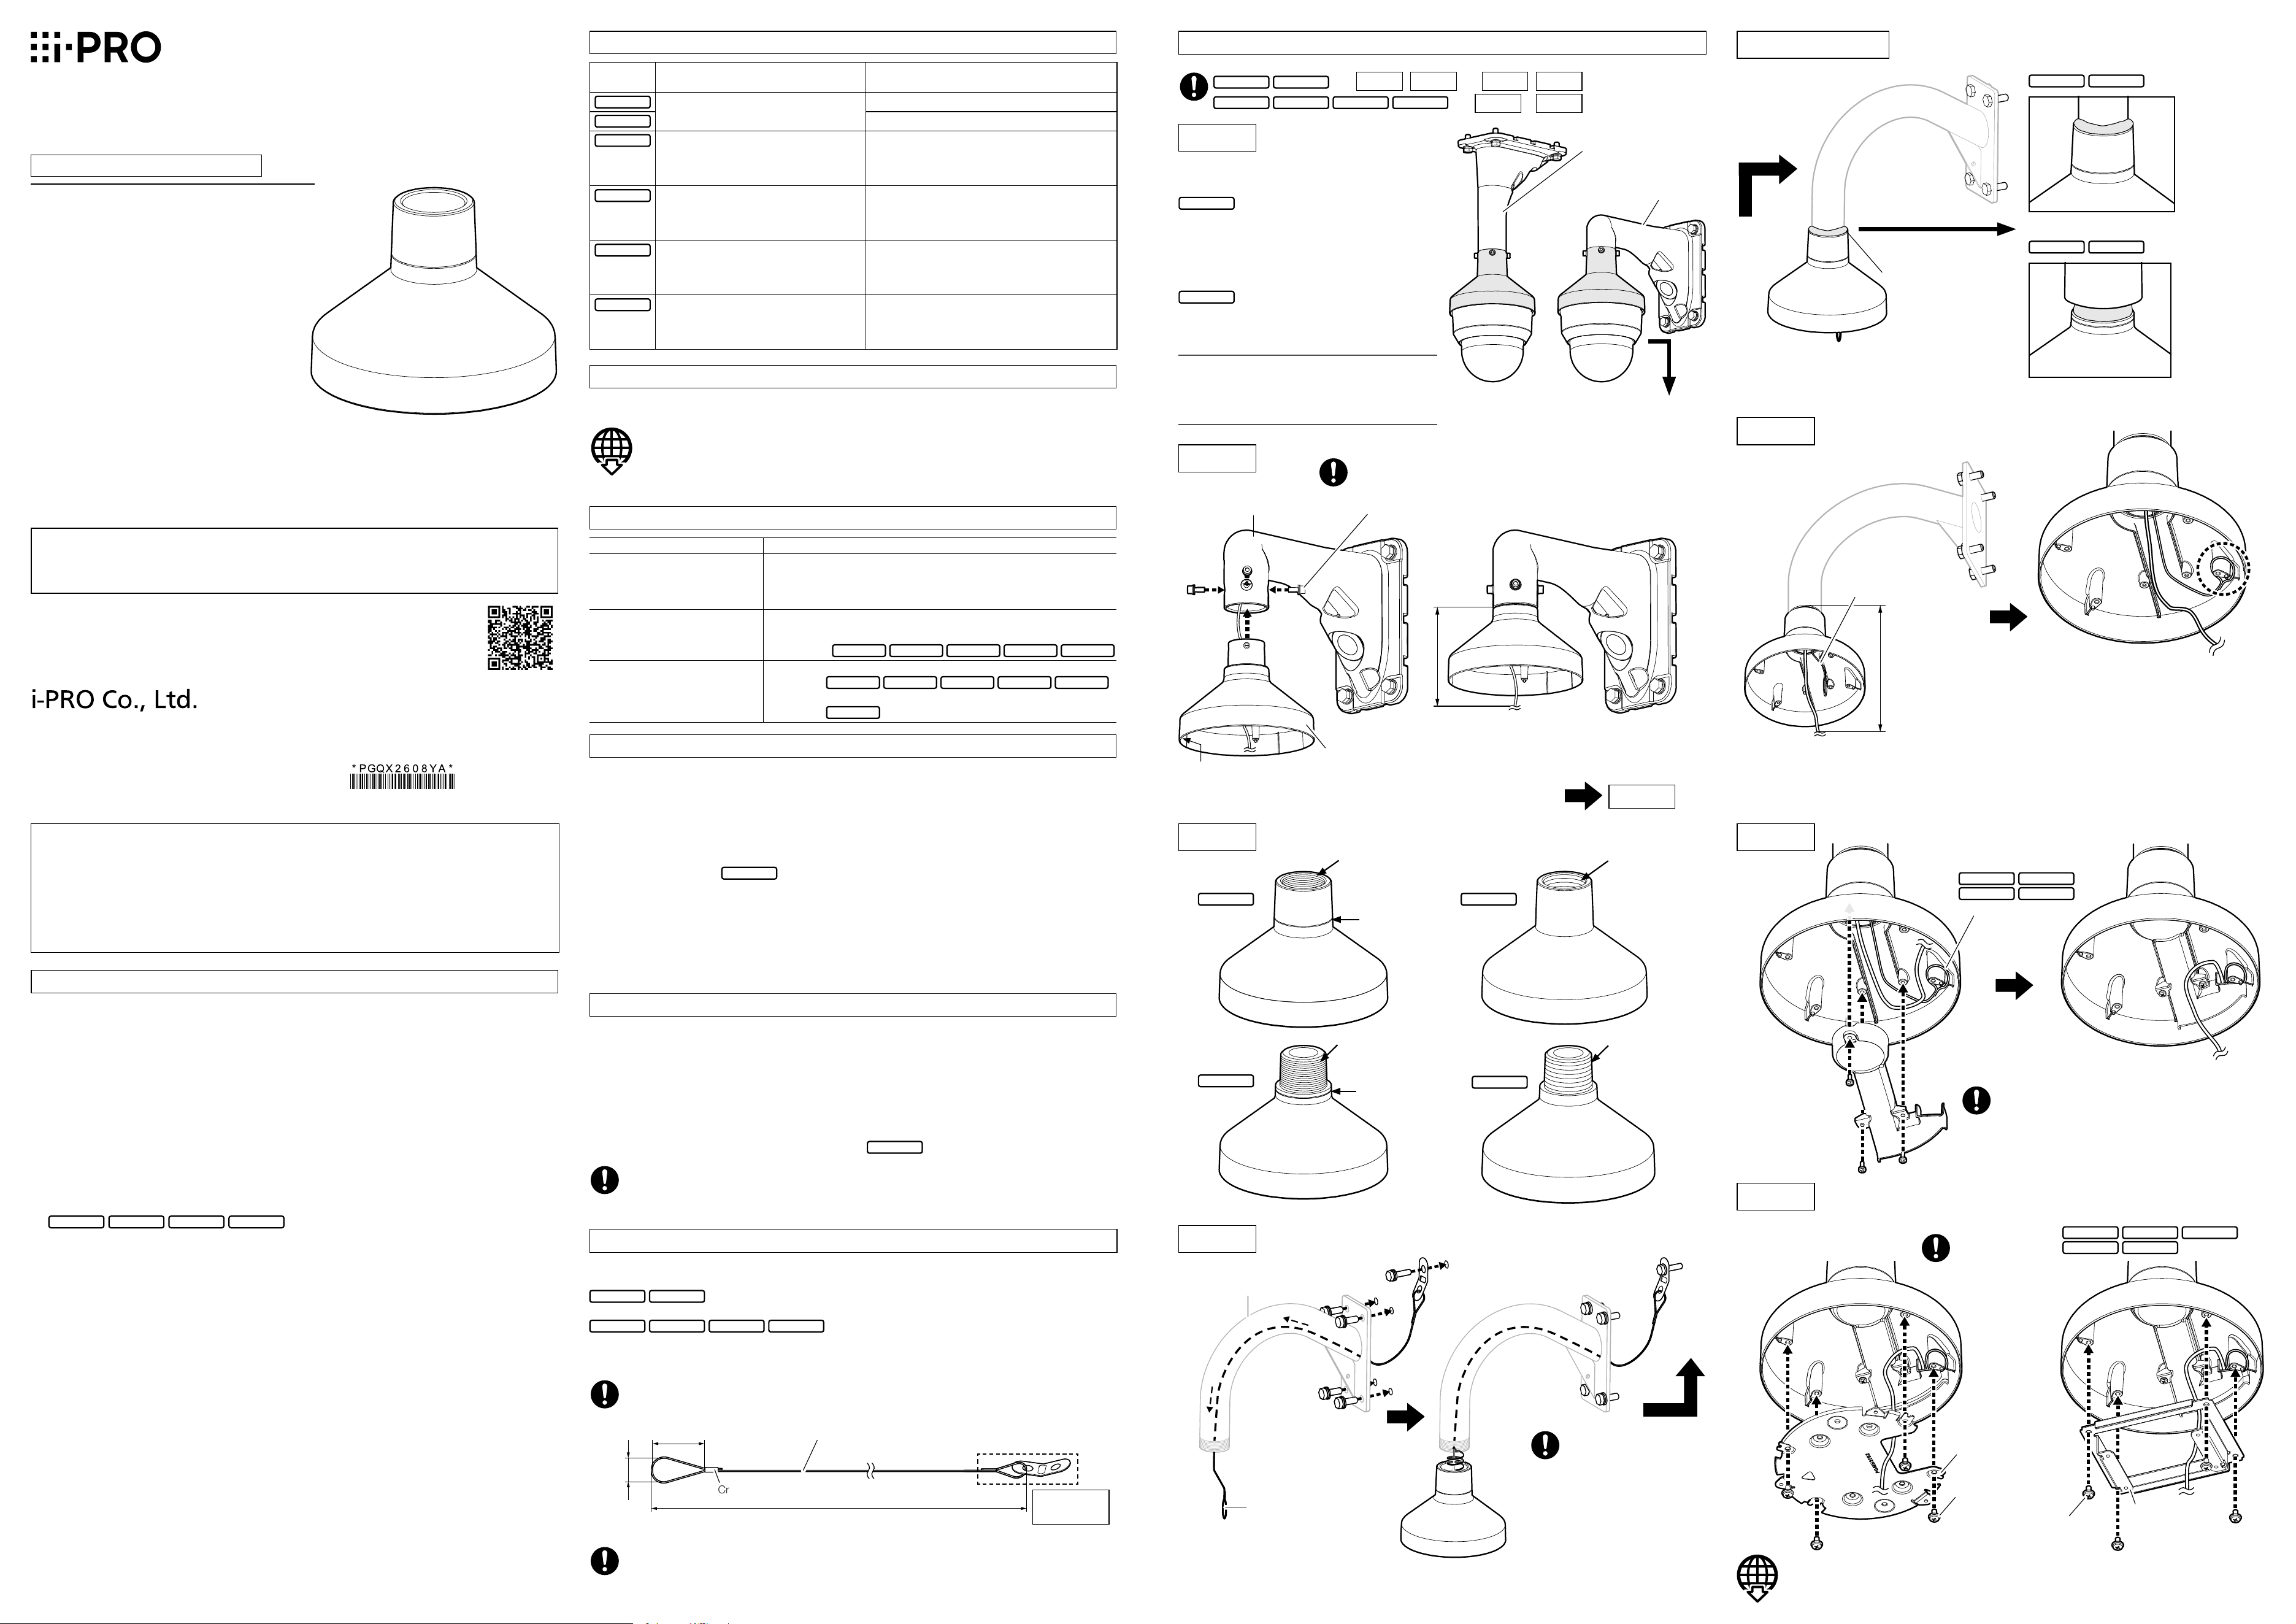
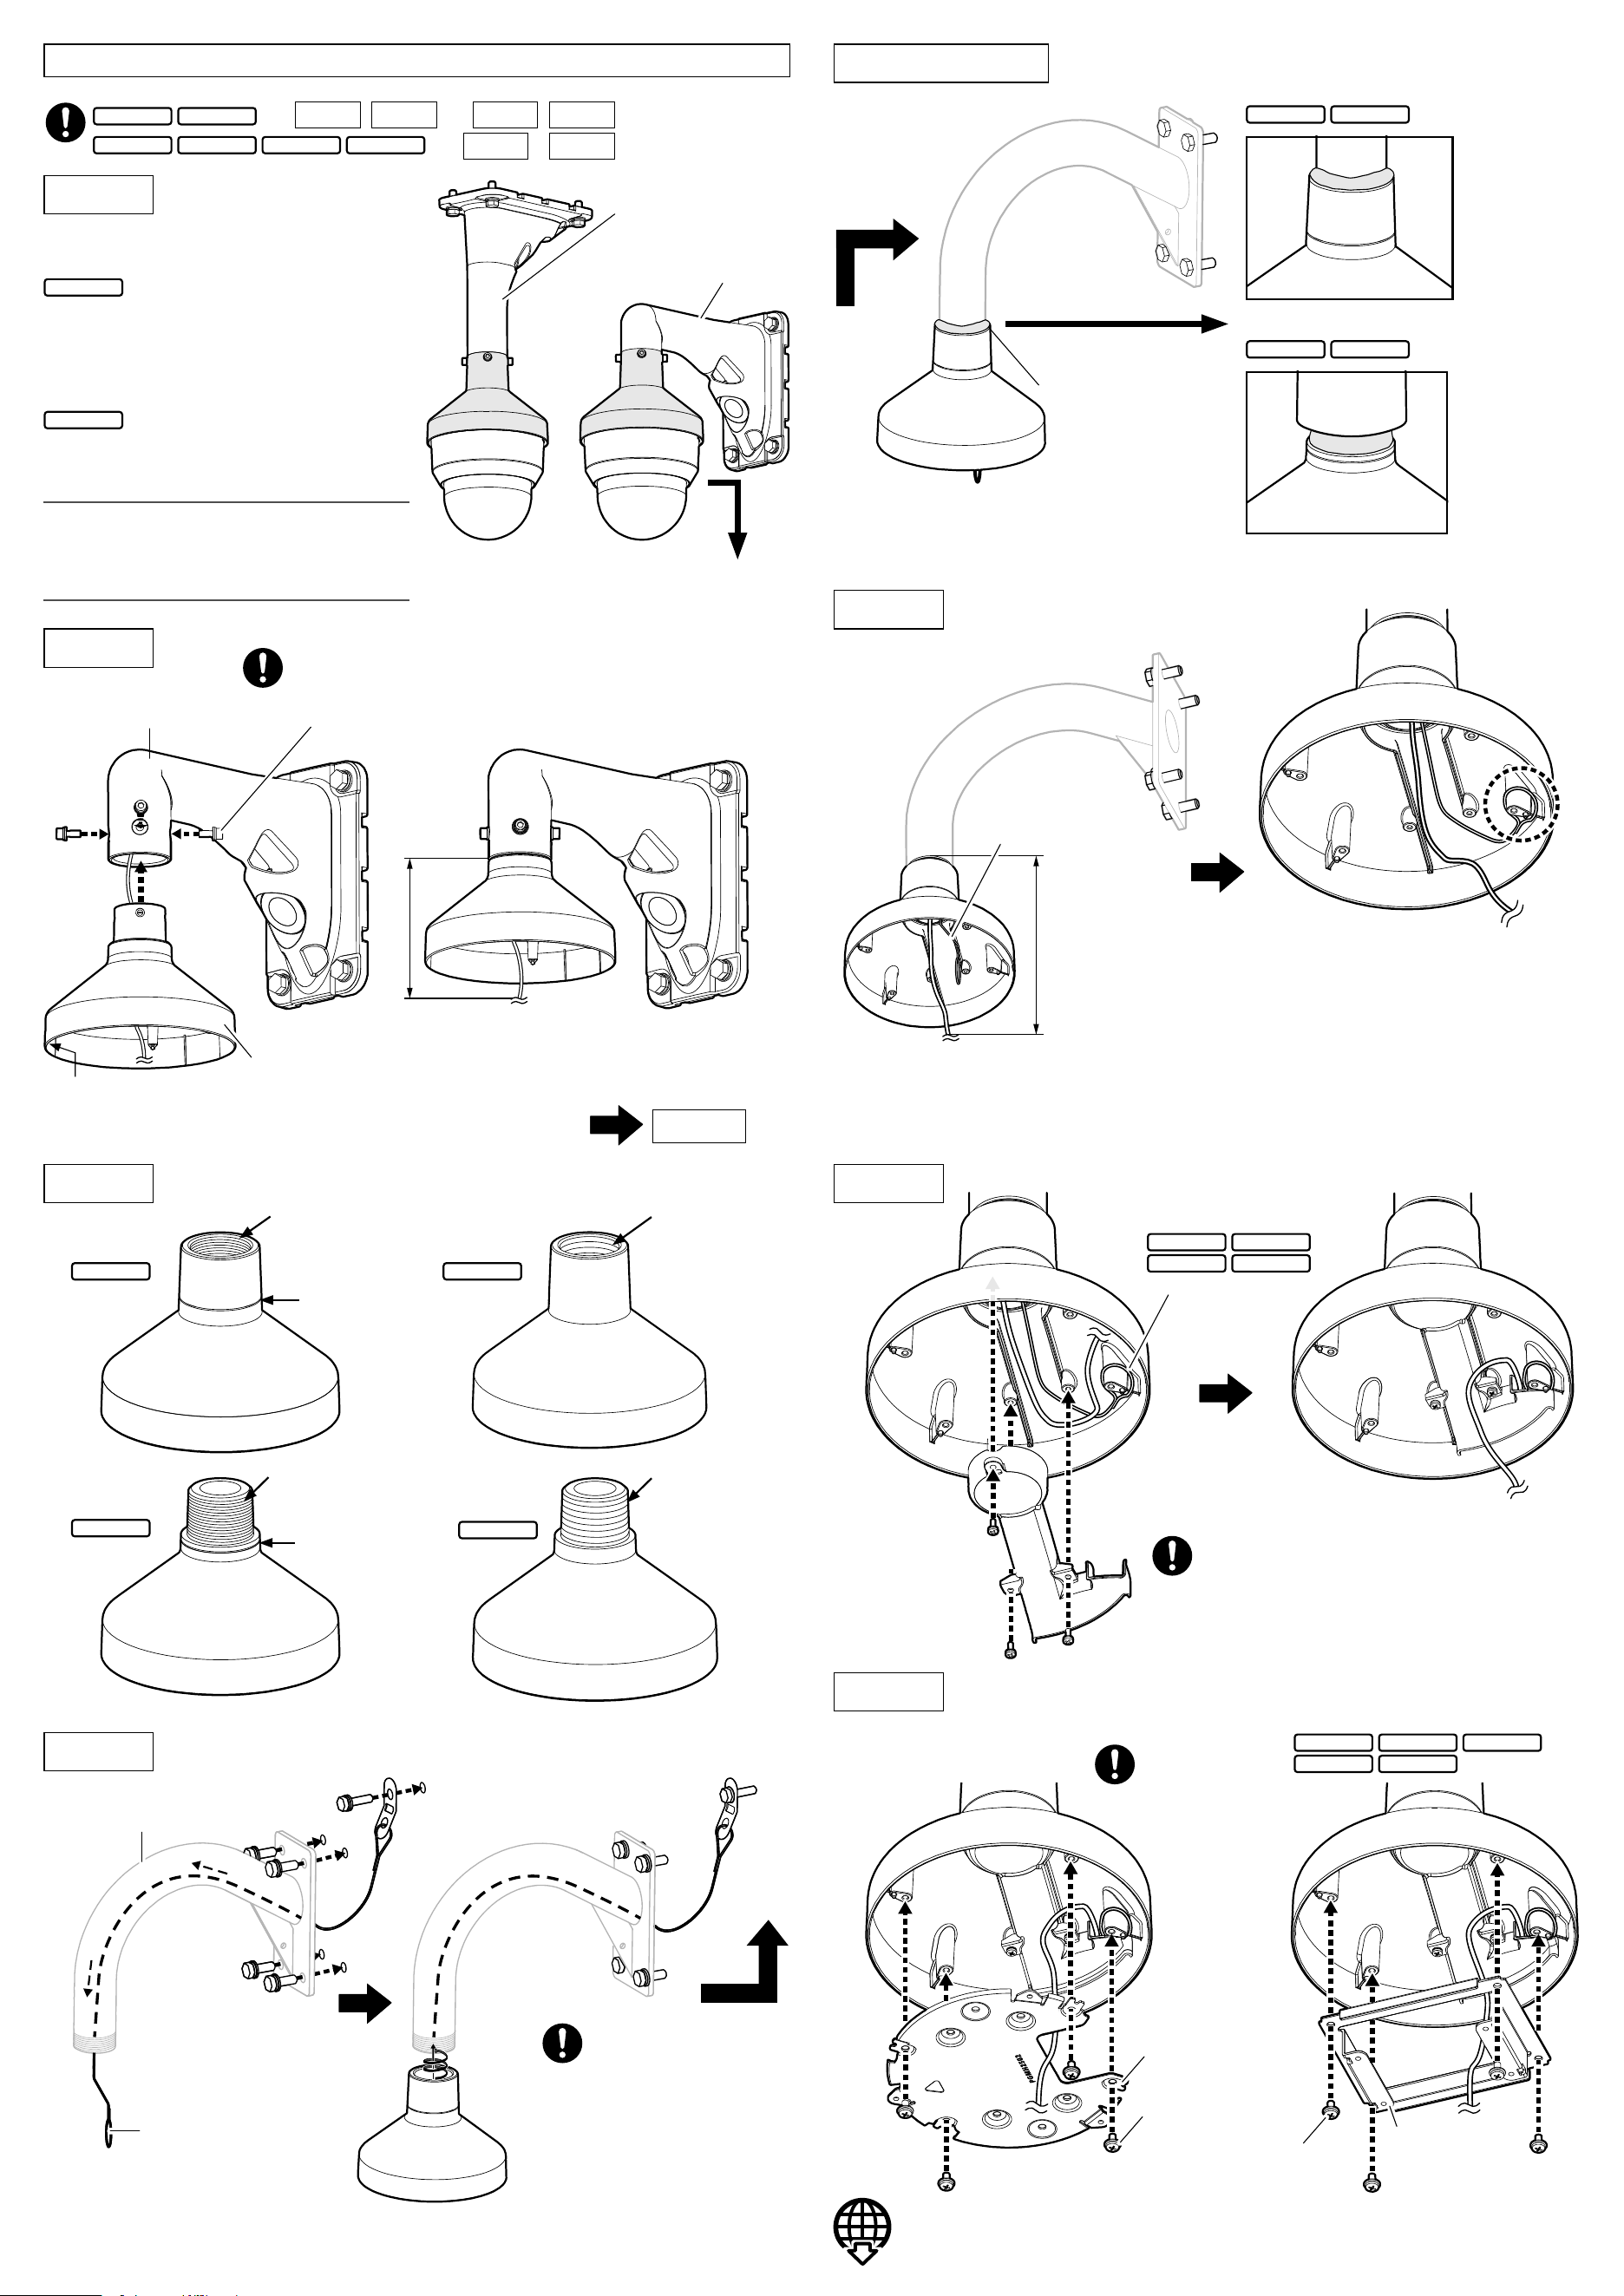
Installation
Check of combination of brackets
• Brackets with normal specification
QSR501
+ WV-QCL501
(Ceiling mount bracket)
+ WV-QWL501
(Wall mount bracket)
• Brackets with heavy salt damage resistance
specification
QSR501S
+ WV-QCL501S
(Ceiling mount bracket)
+ WV-QWL501S
(Wall mount bracket)
Note:
• Refer to the operating instructions of each
bracket for how to fix the brackets to be used
with to the installation surface.
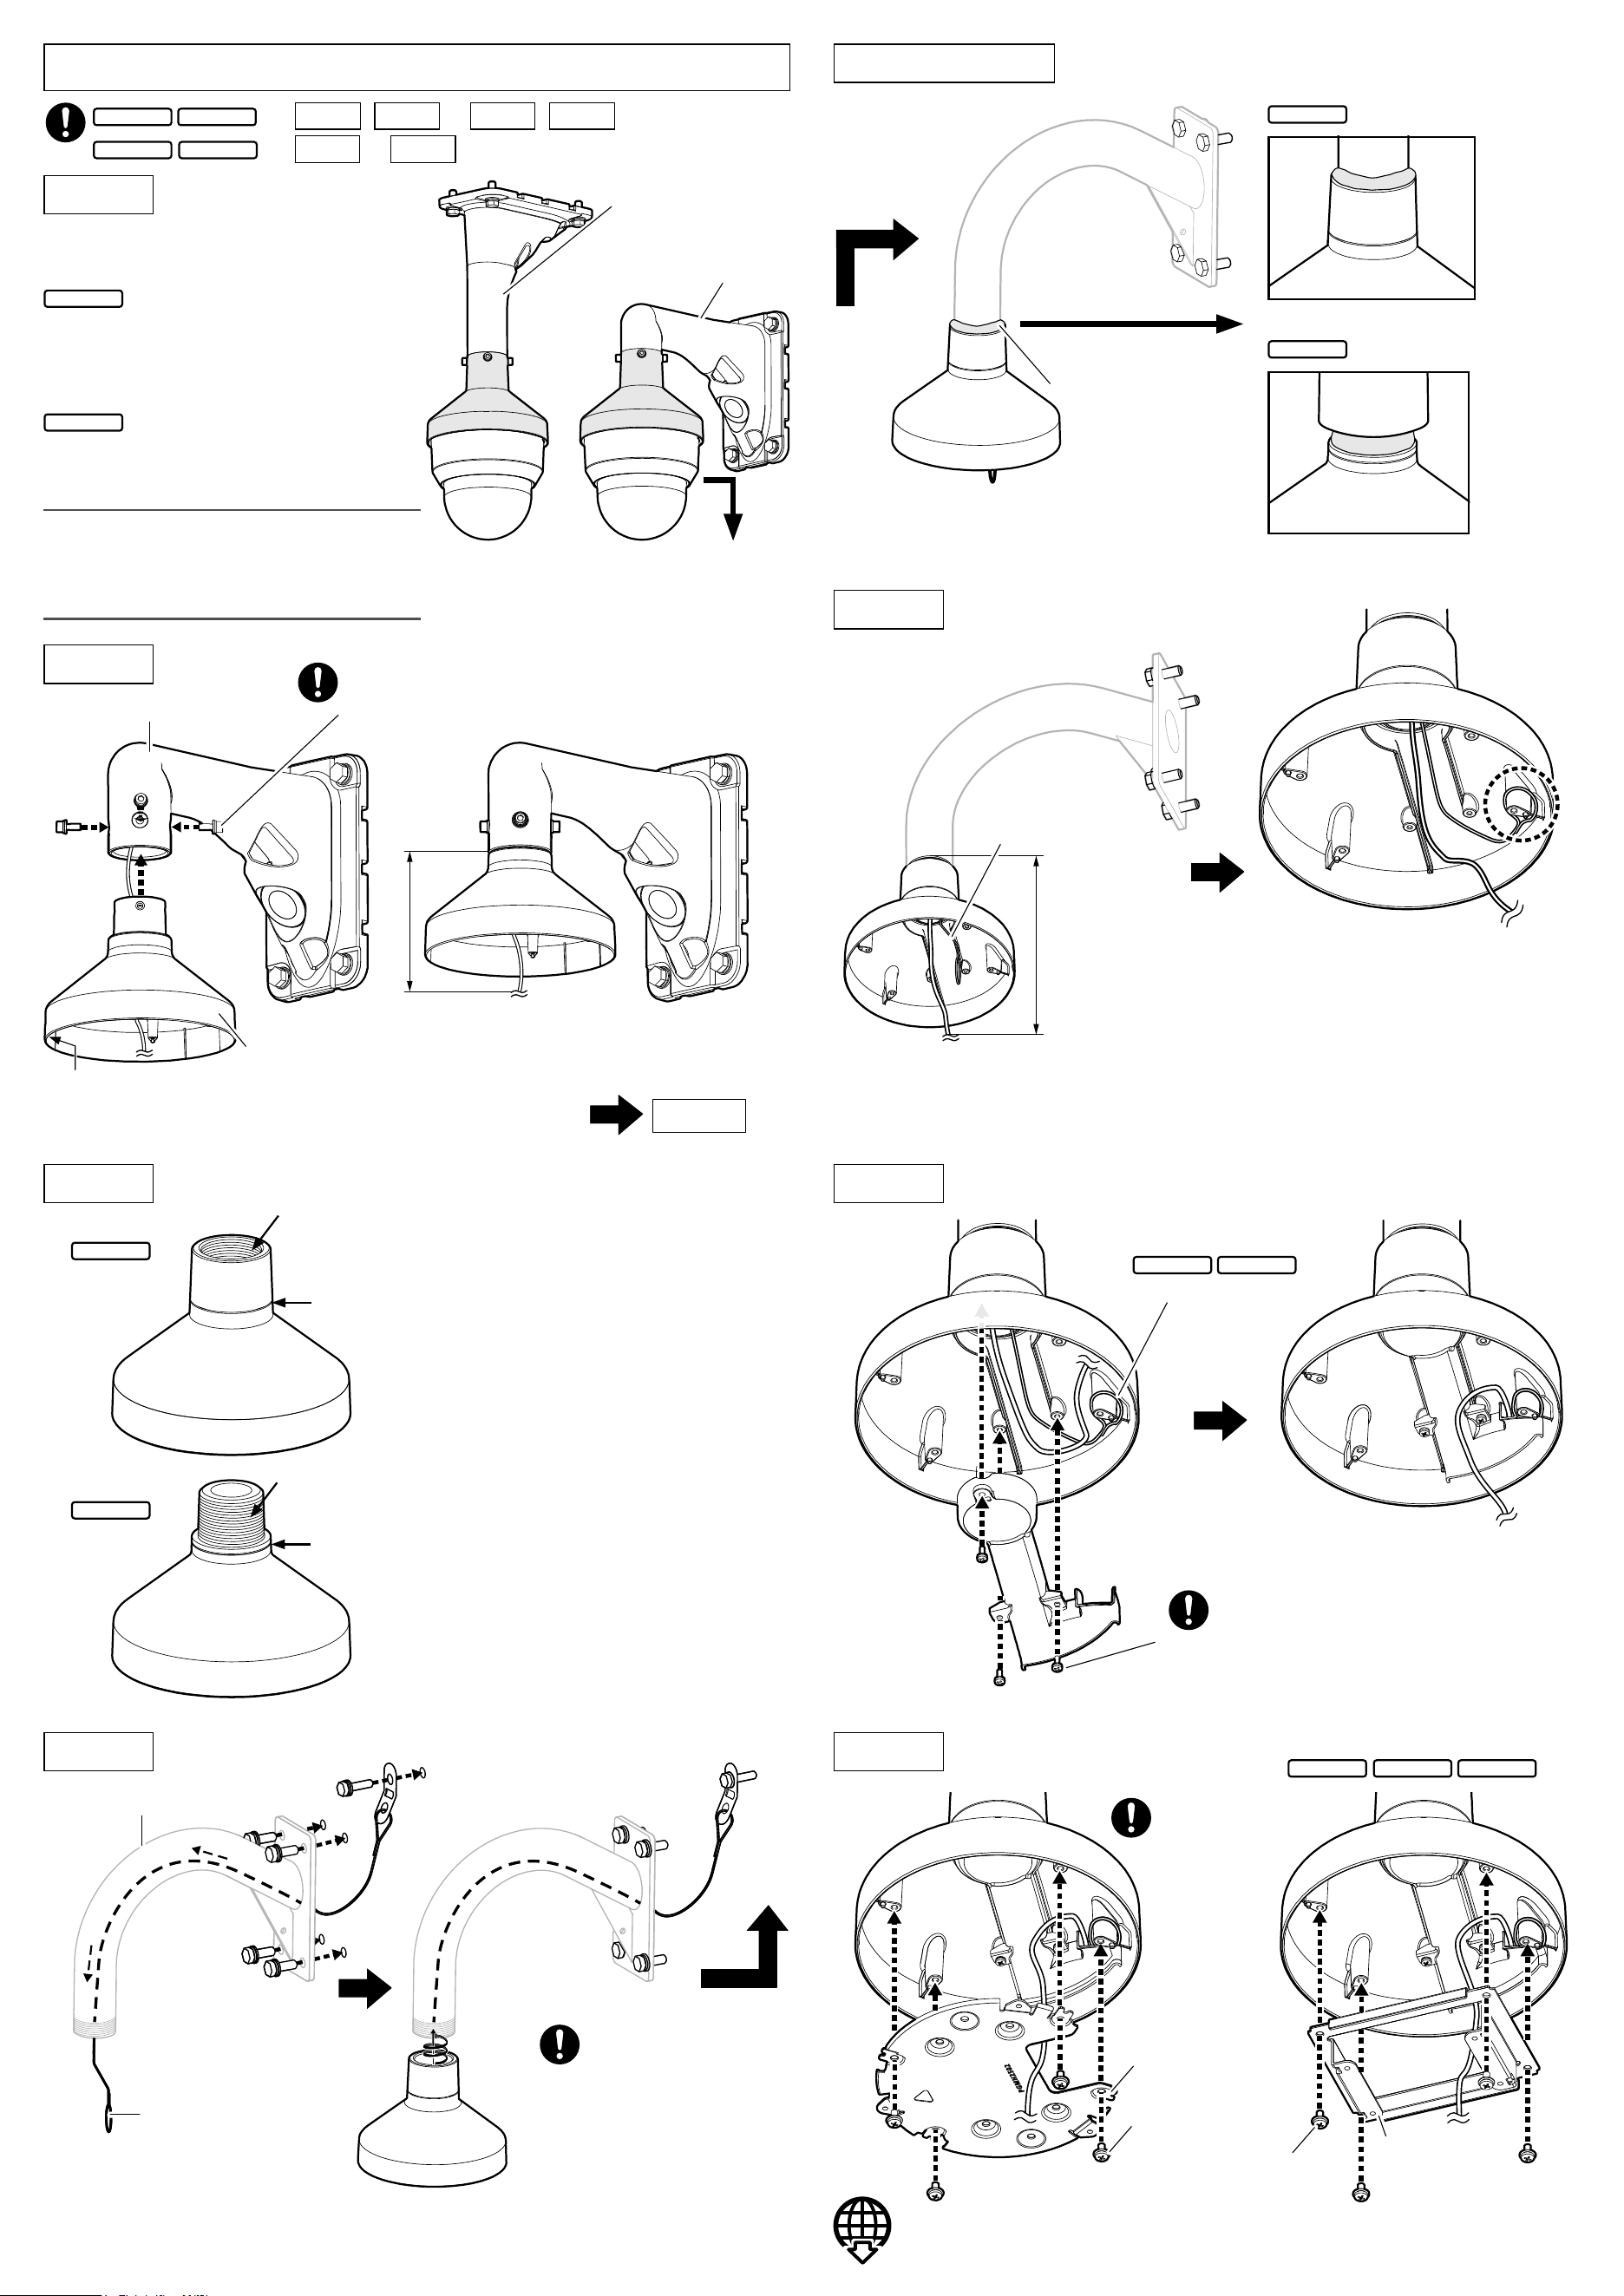
Waterproof treatment
Step 1
Step 2
Step 5
QSR501
QSR501S
→
QSR501F
QSR 501M
QSR50 1F1
QSR 501M1
→
Step 3
Step 4
Check of brackets
Step 4 (Continued)
Step 6
Step7
Hexagon screw (4 pcs.)
(M6: WV-QWL501 accessory)
Recommended tightening torque:
2.45 N·m {1.81 lbf·ft}
WV-QWL501
Example of explanation
for installation
Step3 Step7
• Select a fixing method in accordance with the installation place surface for a part where the
safety wire is to be fixed.
• Use the dedicated tool when processing the wire.
• Maximum weight of locally procured bracket: 5 kg {11 lbs}
• Use the base guide plate when fixing the camera by utilizing the installation dimension of
83.5 mm x 64 mm {3-9/32 inches x 2-17/32 inches}.
• When fixing the camera after installing this bracket, use the screw that is yet unused
among screw B and screw C.
WV-QCL501/
WV-QCL501S
WV-QWL501/
WV-QWL501S
QSR501F
QSR50 1F1
QSR 501M
QSR 501M1
Nameplate
Safety wire
⇒ Follow the installation procedure described in the installation guide or in the
installation procedure leaflet of the camera for the subsequent procedures.
①
③
②
Safety wire
When xing with the
attachment plate
When xing the camera directly
onto the installation surface
Attachment plate
(camera accessory)
Screw C (4 pcs.)
(M4: accessory)
Base guide plate
(accessory)
Screw B (4 pcs.)
(M4: accessory)
Recommended
tightening torque:
0.78 N·m {0.58 lbf·ft}
For WV-U65302-Z2/WV-U65301-Z1 series
Approx. 350 mm {13-25/32 inches}
For dome type models other than the above
Approx. 300 mm {11-13/16 inches}
For WV-U65302-Z2/WV-U65301-Z1 series
Approx. 350 mm {13-25/32 inches}
For dome type models other than the above
Approx. 300 mm {11-13/16 inches}
Step6
• Securely fasten when fixing
this product.
• Depending on the fixing posi-
tion of this product, the cam-
era may not face the front.
Perform an adjustment of the
camera direction by panning
this product.
This bracket
Screw A (3 pcs.) (M3: accessory)
Recommended tightening torque:
0.78 N·m {0.58 lbf·ft}
WV-QSR501F-W
About notations
Connection part
specifications of this product
Mount bracket
corresponding with this product
QSR501
4 holes
WV-QCL501, WV-QWL501
QSR501S
WV-QCL501S, WV-QWL501S
QSR501F
Female screw (ISO)
40A, Rp 1-1/2, 11crest
depth 25.4mm {1 inch}
(parallel thread)
Locally procured
40A, R 1-1/2, 11crest
length 25.4mm {1 inch} or more
(
taper pipe thread
)
QSR50 1F1
Female screw (ANSI)
40A, NPSC 1-1/2, 11.5 crest
depth 25.4mm {1 inch}
(parallel thread)
Locally procured
40A, NPT 1-1/2, 11.5 crest
length 25.4mm {1 inch} or more
(taper pipe thread)
QSR 501M
Male screw (ISO)
40A, R 1-1/2, 11 crest
length 25.4mm {1 inch}
(
taper pipe thread
)
Locally procured
40A, Rp 1-1/2, 11 crest
depth 25.4mm {1 inch} or more
(parallel thread)
QSR 501M1
Male screw (ANSI)
40A, NPT 1-1/2, 11.5 crest
length 25.4mm {1 inch}
(
taper pipe thread
)
Locally procured
40A, NPSC 1-1/2, 11.5 crest
depth 25.4mm {1 inch} or more
(parallel thread)
Wire specification: SUS ø1.5 mm {1/16 inches}, 7x7
Rupture strength: 1127 N {253 lbf} or higher
Inside dimension
34 mm {1-11/32 inches} or more
Crimping process
Inside
dimension
17 mm {21/32 inches}
or more
Installation
surface
Length: Distance to the wire hook on the camera through the
inside of the bracket + 50 mm {1-31/32 inches}
40A, Rp 1-1/2,
11 crest
depth 25.4 mm
{1 inch}
(parallel thread)
40A, NPT 1-1/2,
11.5 crest
length 25.4 mm
{1 inch}
(taper pipe thread)
40A, NPSC 1-1/2,
11.5 crest
depth 25.4 mm
{1 inch}
(parallel thread)
ISO mark
ISO mark
QSR501F
QSR50 1F1
QSR 501M
QSR 501M1
40A, R 1-1/2, 11 crest
length 25.4 mm
{1 inch}
(taper pipe thread)
“<Control No.: C****>” used in these documents should be used to search for information
on our technical information website (https://i-pro.com/global/en/surveillance/training-
support/support/technical-information) and will guide you to the right information.
Step1 Step2 Step6
→
https://www.i-pro.com/
© i-PRO Co., Ltd. 2022
Step7
–
QSR501F
QSR 501M
QSR50 1F1
QSR 501M1
QSR501
QSR501F
QSR 501M
QSR50 1F1
QSR 501M1
Locally procured bracket
Safety wire (locally procured)
Ns0522-1122
Printed in China
• Before attempting to connect or install this product, please read these instructions carefully and
save this manual for future use.
• The external appearance and other parts shown in this manual may differ from the actual product
within the scope that will not interfere with normal use due to improvement of the product.
Do not use this bracket except with suitable cameras.
Failure to observe this may cause a drop resulting in injury or accidents.
Refer installation work to the dealer.
Installation work requires technique and experience.
Failure to observe this may cause fire, electric shock, injury, or damage to the product.
Be sure to consult the dealer.
Install the product securely on the bracket by following the installation
instructions.
Failure to observe this may cause injury or accidents.
The screws and bolts must be tightened to the specied torque.
Failure to observe this may cause a drop resulting in injury or accidents.
The measures of protection against a fall of this product shall be taken.
QSR501F
QSR 501M
QSR50 1F1
QSR 501M1
Failure to observe this may cause a drop resulting in injury or accidents.
Be sure to install the safety wire.
Do not rub the edges of metal parts with your hand.
Failure to observe this may cause injury.
When using this product, also read the “Precautions” described in the operating
instructions for the camera to be attached.
Precautions
i-PRO Co., Ltd. assumes no responsibility for injuries or property damage resulting
from failures arising out of improper installation or operation inconsistent with this
documentation or through use of parts other than this product, such as locally
procured parts.
Caution:
• Before attempting to connect or operate this
product, please read these instructions care-
fully.
Notice:
• This product is not suitable for use in loca-
tions where children are likely to be present.
• Do not install this product in locations where
ordinary persons can easily reach.
• For information about screws and other parts
required for installation, refer to the corre-
sponding section of this document.
Mount Bracket
Model No. WV-QSR501
Operating Instructions
Included Installation Instructions
Other items that are needed (not included)
Common
• Screws to fix a locally procured bracket on the installation surface
QSR501
QSR501S
• 5 mm (distance between two parallel sides of a hexagon) hex wrench
QSR501F
QSR 501M
QSR50 1F1
QSR 501M1
• Sealant for waterproof treatment
• Safety wire
• Safety wire fixing screw
• Use a screw having a pull-out strength that is enough to hold the sum of weight of the
camera, this bracket, locally procured bracket, wire and cables.
Preface
This product is a mount bracket for a camera. Use this product when connecting a camera to a
ceiling mount bracket, wall mount bracket or a locally procured bracket.
The latest information about the supported cameras
<Control No.: C0501>
The model number is abbreviated in some descriptions in this manual.
Specifications
In order to prevent injury, this product must be securely mounted to a bracket
according to Installation Guide.
Mounting method for this product
This product is designed to be used as a pendant mount camera. If it is mounted on a desktop or at
a slant, the camera may not work correctly and its lifetime may be shortened.
Installation place
QSR501S
Salt damage prevention is applied to this product. However, it is not completely anti-corrosive.
Therefore, consider a place for installation where direct splash of seawater can be avoided.
Especially when installing this product in a seashore area or a place where a snow-melting agent is
applied, and also where rainwater is avoided, it is recommended to regularly clean and rinse off salt
with water. In case of installing this product in a seashore area, regularly check the status of equipment.
(Replace the parts as required.)
Make sure to remove this product if it will no longer be used.
Precautions for installation
Standard Accessories
Operating Instructions (this document) ....................................................................................... 1 pc.
Inner cover ................................................................................................................................ 1 pc.
Screw A (Fixing screw for the inner cover: M3 x 8 mm {5/16 inches}) .......................................4 pcs.
(of them, 1 for spare)
Base guide plate*
1
..................................................................................................................... 1 pc.
Screw B*
1
(Fixing screw for the base guide plate: M4 x 8 mm {5/16 inches}) ............................5 pcs.
(of them, 1 for spare)
Screw C (Fixing screw for attachment plate: M4 x 8 mm {5/16 inches}) ....................................5 pcs.
(of them, 1 for spare)
*1 Base guide plate and screw B are not included in
QSR501S
.
Ambient operating temperature: –50 °C to +60 °C {–58 °F to +140 °F}
Dimensions: Maximum diameter: ø176 mm {6-15/16 inches}
Height: 131 mm {5-5/32 inches}
(When base guide plate and other components installed:
Height 135.5 mm {5-11/32 inches})
Mass:
Main body: Approx. 480 g {1.06 lbs}
Base guide plate and others: Approx. 140 g {0.31 lbs}
QSR501
QSR501F
QSR 501M
QSR50 1F1
QSR 501M1
Finish:
Main body: Aluminum die cast,
QSR501
QSR501F
QSR 501M
QSR50 1F1
QSR 501M1
i-PRO white/black
QSR501S
Heavy salt damage prevention coating, i-PRO white
Installation
Check of combination of brackets
• Brackets with normal specification
QSR501
+ WV-QCL501
(Ceiling mount bracket)
+ WV-QWL501
(Wall mount bracket)
• Brackets with heavy salt damage resistance
specification
QSR501S
+ WV-QCL501S
(Ceiling mount bracket)
+ WV-QWL501S
(Wall mount bracket)
Note:
• Refer to the operating instructions of each
bracket for how to fix the brackets to be used
with to the installation surface.
Waterproof treatment
Step 1
Step 2
Step 5
QSR501
QSR501S
→
QSR501F
QSR 501M
QSR50 1F1
QSR 501M1
→
Step 3
Step 4
Check of brackets
Step 4 (Continued)
Step 6
Step7
Hexagon screw (4 pcs.)
(M6: WV-QWL501 accessory)
Recommended tightening torque:
2.45 N·m {1.81 lbf·ft}
WV-QWL501
Example of explanation
for installation
Step3 Step7
• Select a fixing method in accordance with the installation place surface for a part where the
safety wire is to be fixed.
• Use the dedicated tool when processing the wire.
• Maximum weight of locally procured bracket: 5 kg {11 lbs}
• Use the base guide plate when fixing the camera by utilizing the installation dimension of
83.5 mm x 64 mm {3-9/32 inches x 2-17/32 inches}.
• When fixing the camera after installing this bracket, use the screw that is yet unused
among screw B and screw C.
WV-QCL501/
WV-QCL501S
WV-QWL501/
WV-QWL501S
QSR501F
QSR50 1F1
QSR 501M
QSR 501M1
Nameplate
Safety wire
⇒ Follow the installation procedure described in the installation guide or in the
installation procedure leaflet of the camera for the subsequent procedures.
①
③
②
Safety wire
When xing with the
attachment plate
When xing the camera directly
onto the installation surface
Attachment plate
(camera accessory)
Screw C (4 pcs.)
(M4: accessory)
Base guide plate
(accessory)
Screw B (4 pcs.)
(M4: accessory)
Recommended
tightening torque:
0.78 N·m {0.58 lbf·ft}
For WV-U65302-Z2/WV-U65301-Z1 series
Approx. 350 mm {13-25/32 inches}
For dome type models other than the above
Approx. 300 mm {11-13/16 inches}
For WV-U65302-Z2/WV-U65301-Z1 series
Approx. 350 mm {13-25/32 inches}
For dome type models other than the above
Approx. 300 mm {11-13/16 inches}
Step6
• Securely fasten when fixing
this product.
• Depending on the fixing posi-
tion of this product, the cam-
era may not face the front.
Perform an adjustment of the
camera direction by panning
this product.
This bracket
Screw A (3 pcs.) (M3: accessory)
Recommended tightening torque:
0.78 N·m {0.58 lbf·ft}
WV-QSR501F-W
About notations
Connection part
specifications of this product
Mount bracket
corresponding with this product
QSR501
4 holes
WV-QCL501, WV-QWL501
QSR501S
WV-QCL501S, WV-QWL501S
QSR501F
Female screw (ISO)
40A, Rp 1-1/2, 11crest
depth 25.4mm {1 inch}
(parallel thread)
Locally procured
40A, R 1-1/2, 11crest
length 25.4mm {1 inch} or more
(
taper pipe thread
)
QSR50 1F1
Female screw (ANSI)
40A, NPSC 1-1/2, 11.5 crest
depth 25.4mm {1 inch}
(parallel thread)
Locally procured
40A, NPT 1-1/2, 11.5 crest
length 25.4mm {1 inch} or more
(taper pipe thread)
QSR 501M
Male screw (ISO)
40A, R 1-1/2, 11 crest
length 25.4mm {1 inch}
(
taper pipe thread
)
Locally procured
40A, Rp 1-1/2, 11 crest
depth 25.4mm {1 inch} or more
(parallel thread)
QSR 501M1
Male screw (ANSI)
40A, NPT 1-1/2, 11.5 crest
length 25.4mm {1 inch}
(
taper pipe thread
)
Locally procured
40A, NPSC 1-1/2, 11.5 crest
depth 25.4mm {1 inch} or more
(parallel thread)
Wire specification: SUS ø1.5 mm {1/16 inches}, 7x7
Rupture strength: 1127 N {253 lbf} or higher
Inside dimension
34 mm {1-11/32 inches} or more
Crimping process
Inside
dimension
17 mm {21/32 inches}
or more
Installation
surface
Length: Distance to the wire hook on the camera through the
inside of the bracket + 50 mm {1-31/32 inches}
40A, Rp 1-1/2,
11 crest
depth 25.4 mm
{1 inch}
(parallel thread)
40A, NPT 1-1/2,
11.5 crest
length 25.4 mm
{1 inch}
(taper pipe thread)
40A, NPSC 1-1/2,
11.5 crest
depth 25.4 mm
{1 inch}
(parallel thread)
ISO mark
ISO mark
QSR501F
QSR50 1F1
QSR 501M
QSR 501M1
40A, R 1-1/2, 11 crest
length 25.4 mm
{1 inch}
(taper pipe thread)
“<Control No.: C****>” used in these documents should be used to search for information
on our technical information website (https://i-pro.com/global/en/surveillance/training-
support/support/technical-information) and will guide you to the right information.
Step1 Step2 Step6
→
https://www.i-pro.com/
© i-PRO Co., Ltd. 2022
Step7
–
QSR501F
QSR 501M
QSR50 1F1
QSR 501M1
QSR501
QSR501F
QSR 501M
QSR50 1F1
QSR 501M1
Locally procured bracket
Safety wire (locally procured)
■ 金具の組み合わせ確認
通常仕様金具
QSR501
+WV-QCL501
(カメラ天井吊り下げ金具)
+WV-QWL501
(カメラ壁取付金具)
耐重塩害仕様金具
QSR501S
+WV-QCL501S
(カメラ天井吊り下げ金具)
+WV-QWL501S
(カメラ壁取付金具)
メモ
組み合わせて使用する金具の設置面への
固定方法は、それぞれの金具の取扱説明書
を参照してください。
記号について
本製品の接続部分の仕様 本製品と組み合わせる取付金具
QSR501
4穴 WV-QCL501、WV-QWL501
QSR501S
WV-QCL501S、WV-QWL501S
QSR501F
雌ねじ(ISO)
40A、Rp1-1/2、11山
深さ25.4mm(管用平行ねじ)
現地調達
40A、R1-1/2、11山
長さ25.4mm以上(管用テーパねじ)
QSR 501M
雄ねじ(ISO)
40A、R1-1/2、11山
長さ25.4mm(管用テーパねじ)
現地調達
40A、Rp1-1/2、11山
深さ25.4mm以上(管用平行ねじ)
商品概要
本金具は、カメラ用の吊り下げ金具です。カメラをカメラ天井吊り下げ金具、カメラ壁取付金具
または現地調達金具と接続して使用する際に使用します。
取り付け可能なカメラの最新情報
<管理番号:C0501 >
本書では、品番の一部を省略している場合があります。
仕様
使用温度範囲 −50℃〜+ 60℃
寸法 最大外形:φ176mm /高さ:131mm
(ベースガイド金具ほかを取り付けた場合:高さ135.5mm)
質量 本体 :約480g
ベースガイド金具ほか
:約140g
QSR501
QSR501F
QSR 501M
仕上げ 本体:
アルミダイカスト
QSR501
QSR501F
QSR 501M
i-PROホワイト/ブラック
QSR501S
耐重塩害塗装 i-PROホワイト
設置上のお願い
■ 設置工事は電気設備技術基準に従って実施してください。
本金具の設置・接続を始める前に必要な周辺機器やケーブルを確認し、準備してください。接続
する前に、カメラ、PCなど接続する機器の電源を切ってください。
■ 傷害防止のため、本金具は、設置の説明に従って取付金具にしっかりと取り付ける
必要があります。
■ カメラの取付方法について
本金具は吊り下げ専用です。据え置きや傾けた状態で使用すると、カメラが正常に動作しなかっ
たり、寿命が短くなる場合があります。
■ 設置場所について
QSR501S
本金具は、耐重塩害仕様として耐食性がありますが、腐食に対して万全ではありません。海水飛
沫が直接当たらない場所に設置するなど、設置場所には十分ご配慮ください。特に海岸地域や融
雪剤を散布される地域で雨水があたらない場所へ設置する場合は、付着した塩分を除去するため
に定期的に水で洗い流すなど清掃をお願いします。沿岸部に設置する場合は、機器の状態を定期
的に点検してください。(必要に応じて部品交換などを実施してください。)
■ 本金具を使用しなくなった場合は放置せず、必ず撤去してください。
警告
■ 専用のカメラ以外は取り付けない
(落下によるけがや事故の原因となります)
■ 工事は販売店に依頼する
(工事には技術と経験が必要です。火災、感電、けが、器物損壊の原因となります。)
⇒必ず販売店に依頼してください。
■ 設置の説明にしたがって金具にしっかり取り付ける
(けがや事故の原因となります。)
■ ねじやボルトは指定されたトルクで締め付ける
( 落下によるけがや事故の原因となります。)
■ 落下防止対策を施す
QSR501F
QSR 501M
(落下によるけがの原因となります。)
⇒落下防止ワイヤーを必ず取り付けてください。
注意
■ 金属のエッジで手をこすらない
(強くこするとけがの原因となります。)
本金具をご使用の際は、取り付けるカメラの取扱説明書に記載された「安全上のご
注意」とあわせてお読みください。
安全上のご注意
必ずお守りください
■ お守りいただく内容を次の図記号で説明しています。(次は図記号の例です)
人への危害、財産の損害を防止するため、必ずお守りいただくことを説明しています。
■ 誤った使い方をしたときに生じる危害や損害の程度を区分して、説明しています。
してはいけない内容です。
実行しなければならない内容
です。
注意:
取扱説明書をよくお読みのうえ、正しく安全にお使いください。
注記:
本金具は子供がいる可能性のある場所での使用には適していません。
一般の人が容易に触れることができる場所への設置はしないでください。
設置に必要なねじやそのほかの部材などの情報については本書の該当部分を参照してください。
取扱説明書
工事説明付き
吊り下げ金具
品番
WV-QSR501
このたびは、弊社製品をお買い上げいただき、まことにありがとうございます。
取扱説明書をよくお読みのうえ、正しく安全にお使いください。
ご使用前に「安全上のご注意」を必ずお読みください。
この取扱説明書は大切に保存してください。
製品の改良などにより、ご使用上影響のない範囲で、記載されている外観などが実際の製
品と異なる場合があります。
取扱説明書に記載されていない方法や、指定の部品を使用しない方法で施工されたこと、お
よび現地調達の部品など本機以外の要因により事故や損害が生じたときには、当社では責任
を負えません。また、その施工が原因で故障が生じた場合は、製品保証の対象外となります。
i-PRO製品の「お問い合わせ」については、以下の弊社サポートウェブサイト
を参照してください。
https://i-pro.com/jp/ja/support_portal
※「日本エリア」でお使いの場合に限ります。日本以外でお使いの場合のサービスは
いたしかねます。
取扱説明書に記載されている「<管理番号:Cxxxx>」は、以下の弊社技術情
報ウェブサイト内で該当する情報を検索する際に使用する番号です。
https://i-pro.com/jp/ja/support_portal/technical_information
付属品をご確認ください
取扱説明書(本書)..............................................................................................................................1冊
インナーカバー....................................................................................................................................1個
ねじA(インナーカバー固定用:M3×8mm)...................................... 4本(うち1本は予備ねじ)
ベースガイド金具
※1
...........................................................................................................................1個
ねじB
※1
(ベースガイド金具固定用:M4×8mm)............................. 5本(うち1本は予備ねじ)
ねじC(アタッチメント金具固定用:M4×8mm).............................. 5本(うち1本は予備ねじ)
※1ベースガイド金具とねじBは
QSR501S
には同梱されていません。
ベースガイド金具は83.5mmx64mmピッチの設置寸法を利用してカメラを固定す
る場合に使用します。
本金具を設置したあとカメラを固定する際には、ねじBまたはねじCで使用していない
方のねじをご使用ください。
付属品以外に必要なもの
共通
現地調達金具を設置面に固定するためのねじ
QSR501
QSR501S
対辺5mmの六角レンチ
QSR501F
QSR 501M
防水処理用シーリング材
落下防止ワイヤー
落下防止ワイヤー固定用ねじ
カメラ質量、本金具、現地調達金具、ワイヤー・ケーブル類の総質量に耐えうる引抜
き強度を持ったねじをお使いください。
防水処理
Step1
Step2
Step5
QSR501
QSR501S
→
QSR501F
QSR 501M
→
Step3
Step4
金具の確認
設置する
Step4(つづき)
Step6
Step7
設置面に落下防止ワイヤーを固定する部分は、設置場所に応じて固定方法を選定して
ください。
ワイヤーを加工する際は専用工具を使用してください。
現地調達金具最大質量:5㎏
六角穴付ねじ(4本)
(M6:WV-QWL501付属品)
推奨締付トルク:
2.45N・m{25kgf・cm}
本金具の固定はしっかりと締
めてください。
本金具の固定位置によっては
カメラが正面を向かない場合
があります。カメラの水平
(PAN)回転で撮影の向きを調
整してください。
WV-QCL501/
WV-QCL501S
WV-QWL501/
WV-QWL501S
銘板
⇒ 以降はカメラの設置編、または設置手順チラシの設置手順に従ってください。
WV-QWL501
「死亡や重傷を負うおそ
れがある内容」です。
「軽傷を負うことや、財産の損害が
発生するおそれがある内容」で
す。
警告
注意
設置説明事例
Step1
Step2 Step6 Step7
Step3 Step7
■WV-B65302-Z2/WV-B65301-Z1シリーズの場合
約350
mm
■それ以外のDomeタイプモデルの場合約300mm
Step6
■WV-B65302-Z2/WV-B65301-Z1シリーズの場合
約350
mm
■それ以外のDomeタイプモデルの場合約300mm
落下防止ワイヤー
ねじA(3本)(M3:付属品)
推奨締付トルク:
0.78N・m{8kgf・cm}
■ アタッチメント金具を使って
固定する場合
■ カメラを直接設置面に固定する場合
アタッチメント金具
(カメラ付属品)
ねじC(4本)
(M4:付属品)
ベースガイド金具
(付属品)
ねじB(4本)
(M4:付属品)
推奨締付トルク:
0.78N・m
{8kgf・cm}
落下防止
ワイヤー
本金具
i-PRO株式会社
i-PRO Co., Ltd. 2022
https://www.i-pro.com/
WV-QSR501F-W
ワイヤー仕様:SUSφ1.5mm7x7
破断強度 :1127N{115kgf}以上
内寸34mm以上
カシメ処理
内寸
17mm
以上
設置面
長さ:設置面から金具内部を通してカメラの
ワイヤーフックまでの距離+ 50mm
QSR501F
QSR 501M
40A、Rp1-1/2、
深さ25.4mm、11山
(管用平行ねじ)
40A、R1-1/2、
長さ25.4mm、11山
(管用テーパねじ)
ISOマーク
ISOマーク
QSR501F
QSR 501M
→
~
①
③
②
現地調達金具
落下防止ワイヤー
QSR501F
QSR 501M
QSR501
QSR501F
QSR 501M