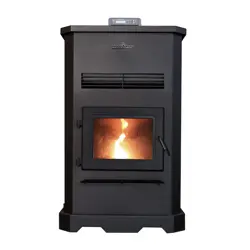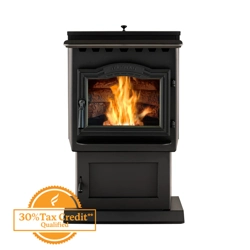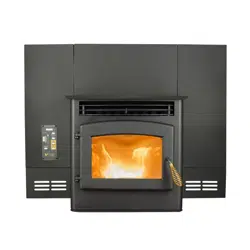
PELLET STOVE CLEANING SCHEDULE
DAILY CLEANING
Step 1:
Shut down the stove and let it cool completely.
Step 2:
Grab your ash vacuum to remove ash and debris from the firepot and surrounding area, as well as any piles of ash
or debris that you see.
Step 3:
Lift up and remove firepot – be certain this area is clear of debris. Vacuum under the firepot, taking special care to
vacuum the airway under the firepot.
Step 4:
Grab your cleaning tool and move to the firepot. Scrape any debris out of the firepot, making sure that all of the
holes in the firepot are free from any buildup.
Step 5:
Wipe down the glass. Never clean the glass with cool water or cleaner when the glass is still warm, since this can
cause the glass to crack. The method we recommend requires a damp paper towel or cloth. Dab it on to cooled
ashes and then wipe down the glass starting from the top.
Step 6:
Certain models have ash drawers. It is a good idea to empty it every time you clean your stove. You can use an
ash vacuum to clean the ashes out of the drawer.
Step 7:
The mini models have cleaning rods. Your cleaning rods should be used daily after the stove has cooled down.
These are cleaning inside of the exhaust where ash and debris can build up. When too much build up occurs your
stove will not have the proper amount of airflow.
WEEKLY CLEANING
Step 1:
Recommend letting the stove run out of pellets so the hopper is empty. Vacuum out the hopper. Clean any dust
out of the hopper and inspect your auger.
Step 2
The medium and large models have flue plates. Remove the center flue plate by sliding it up. After the center flue
plate is slid up and out you can remove the left and right plates. Vacuum and brush off the flue plates, scrape
away any clinkers and build-up. Check the walls behind the flue plates for any debris. Be sure to vacuum behind
the flue plates as well.
Step 3:
If equipped, remove the ash drawer and vacuum out the drawer. Then brush and scrape away any slag and build
up. Make sure the area under the drawer is also clean.
Step 4:
Inspect auger chute. If you notice any build-up of creosote or pellet dust, clean the chute with a wire brush.

EVERY OTHER WEEK
Go outside, and visually inspect the termination cap on the exhaust. Make sure animals are not trying to make it
their home and check for any buildup of ash on the grate.
AT LEAST ONCE A MONTH
Step 1:
Use a cleaning brush to clear out the air inlet, located beneath the fire pot going towards the back of the stove;
exact placement and size will vary from model to model.
Step 2:
For the Medium and Large models with the flue plates, the exhaust port is behind a flue plate, left of the firepot. Be
sure to clean that with a wire brush and vacuum.
Step 3:
Use a cleaning brush to clear out the air exhaust ports in your burn chamber. The number of exhaust ports varies
from model to model.
For the Mini models: There are four exhaust ports are at the top of the burn chamber.
For the Bayfront models: There are two exhaust ports on the top of the burn chamber.
Verifying they are clear will ensure optimal airflow in the chamber.
EVERY TWO (2) TONS OF PELLETS, OR EVERY OTHER MONTH
Inspect the clean out tee. Remove any ash that has built up and reseal the connection if necessary.
ANNUALLY
• It is important to remove the combustion fan, use a wire brush on creosote, and vacuum debris. This is
important for under the fan and on the fan itself. When you remove the combustion fan, if the gasket is torn
you can remove the gasket and use red RTV high temperature silicone to make a new gasket for the fan.
• You may need to remove the pipe from the back of your stove and use a wire brush and vacuum to clean that
as well.
• It may be necessary to hire a chimney sweep to clean out your venting system regularly. You must take special
care with elbows as they can build up creosote more than straight pipes.
• It is also a good idea to clean your inlet duct yearly as well.
For the Mini models: It is located behind the right-hand side panel. There is an air inlet cover that must be
removed, and the airway should be cleaned. If the gasket gets torn or damaged a new one can be made with
red RTV.
For the Bayfront models: The airways have an opening behind the ash drawer. The ash drawer will need to be
removed completely, and the covers can be removed with a 3MM Allen key. A wire brush and a vacuum can be
used to clean the airways.