
Loading ...
Loading ...
Loading ...
en-us Customer Service
14
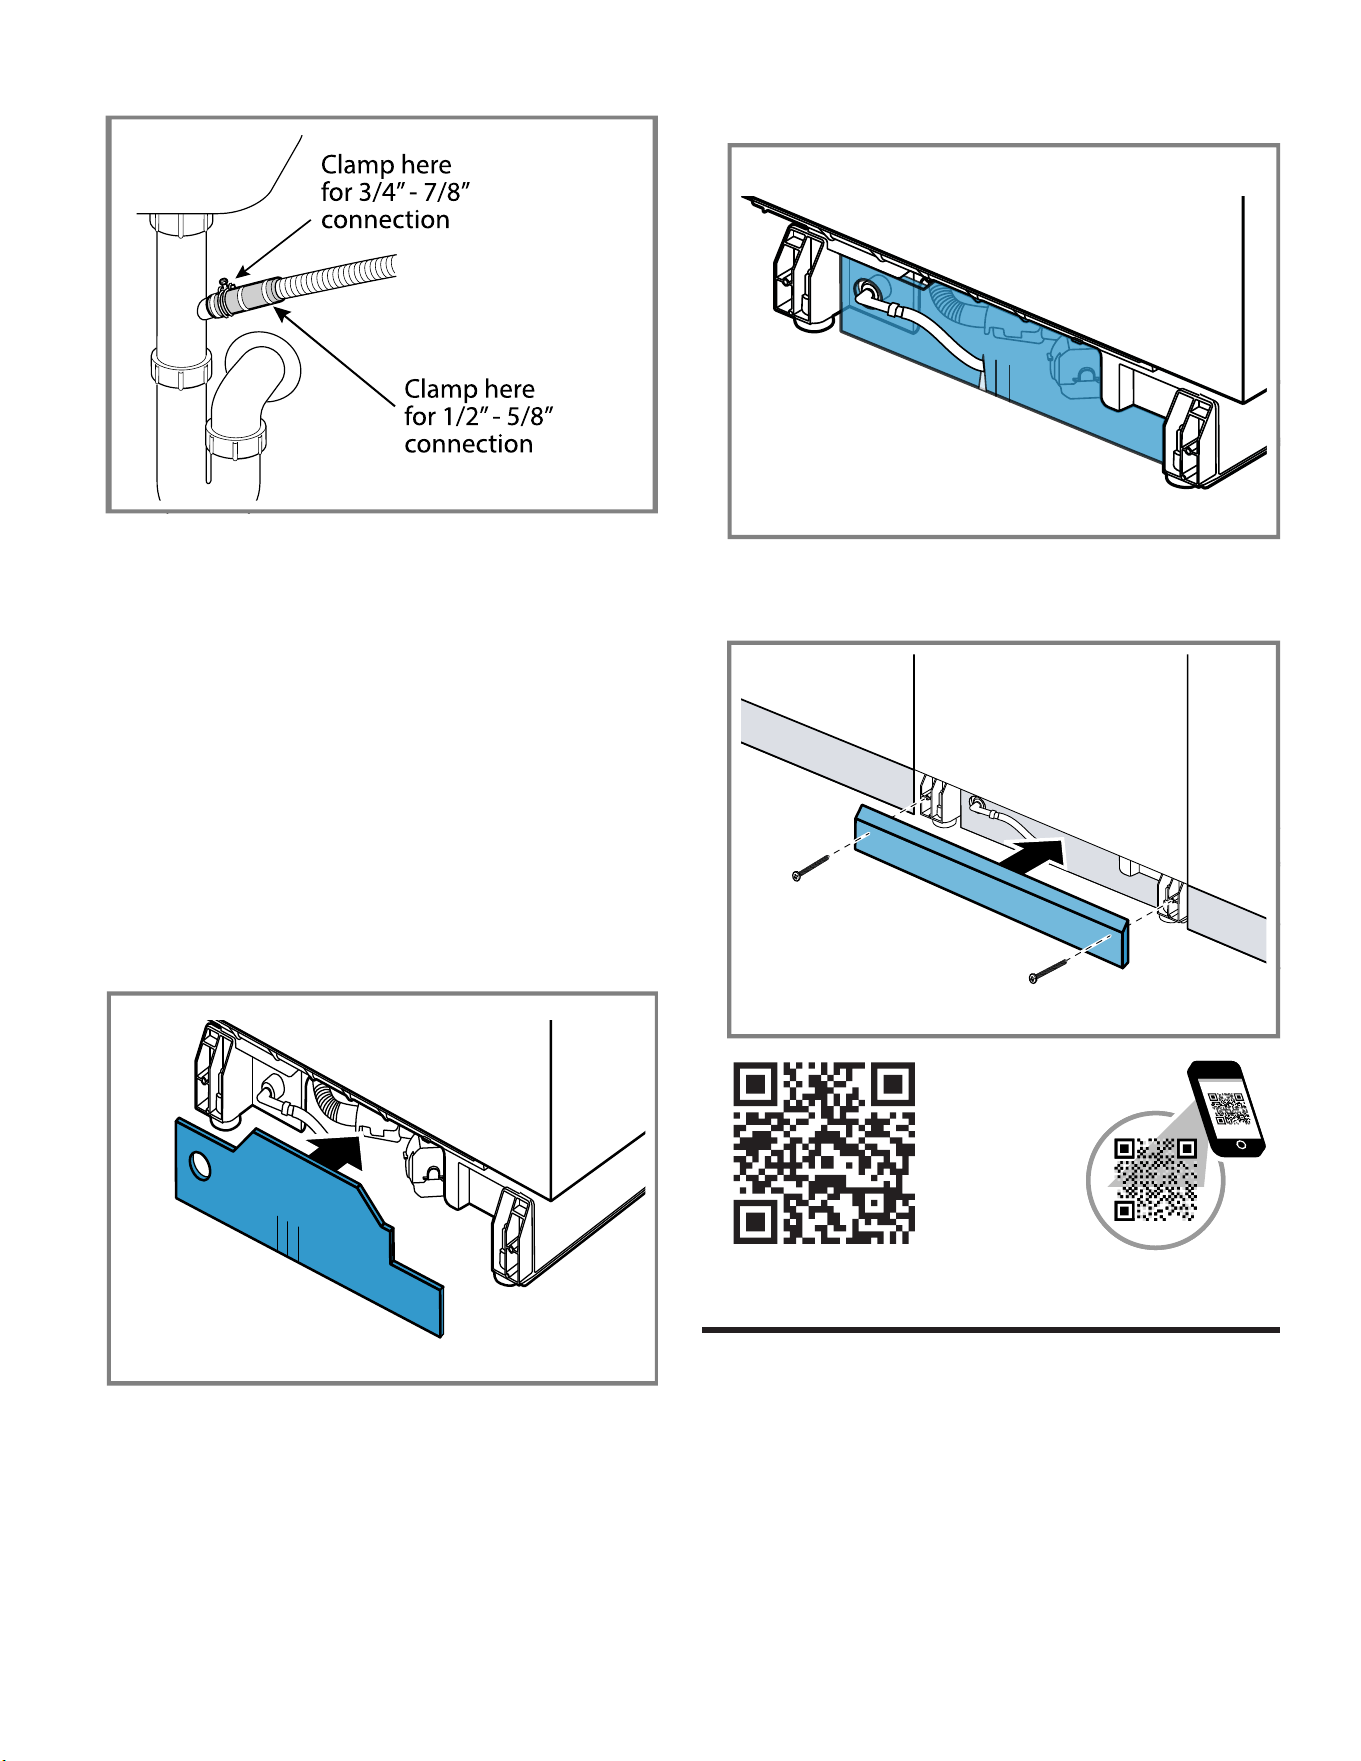
4. Tighten the hose clamp around the house plumbing.
5.3 Electrical Connection and Test Cycle
1. For wall outlet connections, plug the dishwasher into the
outlet.
2. Turn on power supply.
3. Make sure the water supply is on.
4. Turn the dishwasher on and run a test cycle for 15
minutes.
5. Check to make sure the cycle operates and there are
no leaks while it is running.
6. Stop the cycle and turn off the dishwasher.
5.4 Attach the Toe Panel
1. Remove the toe panel fleece from the packaging and
insert it at the base on the front of the dishwasher.
2. Tuck the top of the fleece into the base front opening. If
necessary, fold the lower edge under for a proper fit.
3. Attach the toe panel with the 3/4" screws so it is flush
with the floor. Use black screws for a black toe panel
and stainless for a white toe panel.
4. Your installation is complete!
Customer Service
6 Customer Service
Customer Service
With any warranty repair, we will make sure your
appliance is repaired by an authorized service provider
using genuine replacement parts. We use only genuine
replacement parts for all repairs.
Detailed information on the warranty period and terms of
warranty can be found in the Statement of Limited Product
Warranty, from your retailer, or on our website.
If you contact Customer Service, you will need the model
number (E-Nr.) and the production number (FD) of your
appliance.
USA:
Loading ...
Loading ...
Loading ...