Loading ...
Loading ...
Loading ...
57
Note: Some fields may need to be entered manually.
7. When you are finished reviewing the data for the first receipt, click Mark Reviewed.
The next receipt appears and you can review the data. Repeat for each receipt.
Note: Make sure the blue checkboxes in the receipt list are selected for the receipts you want to
export or save.
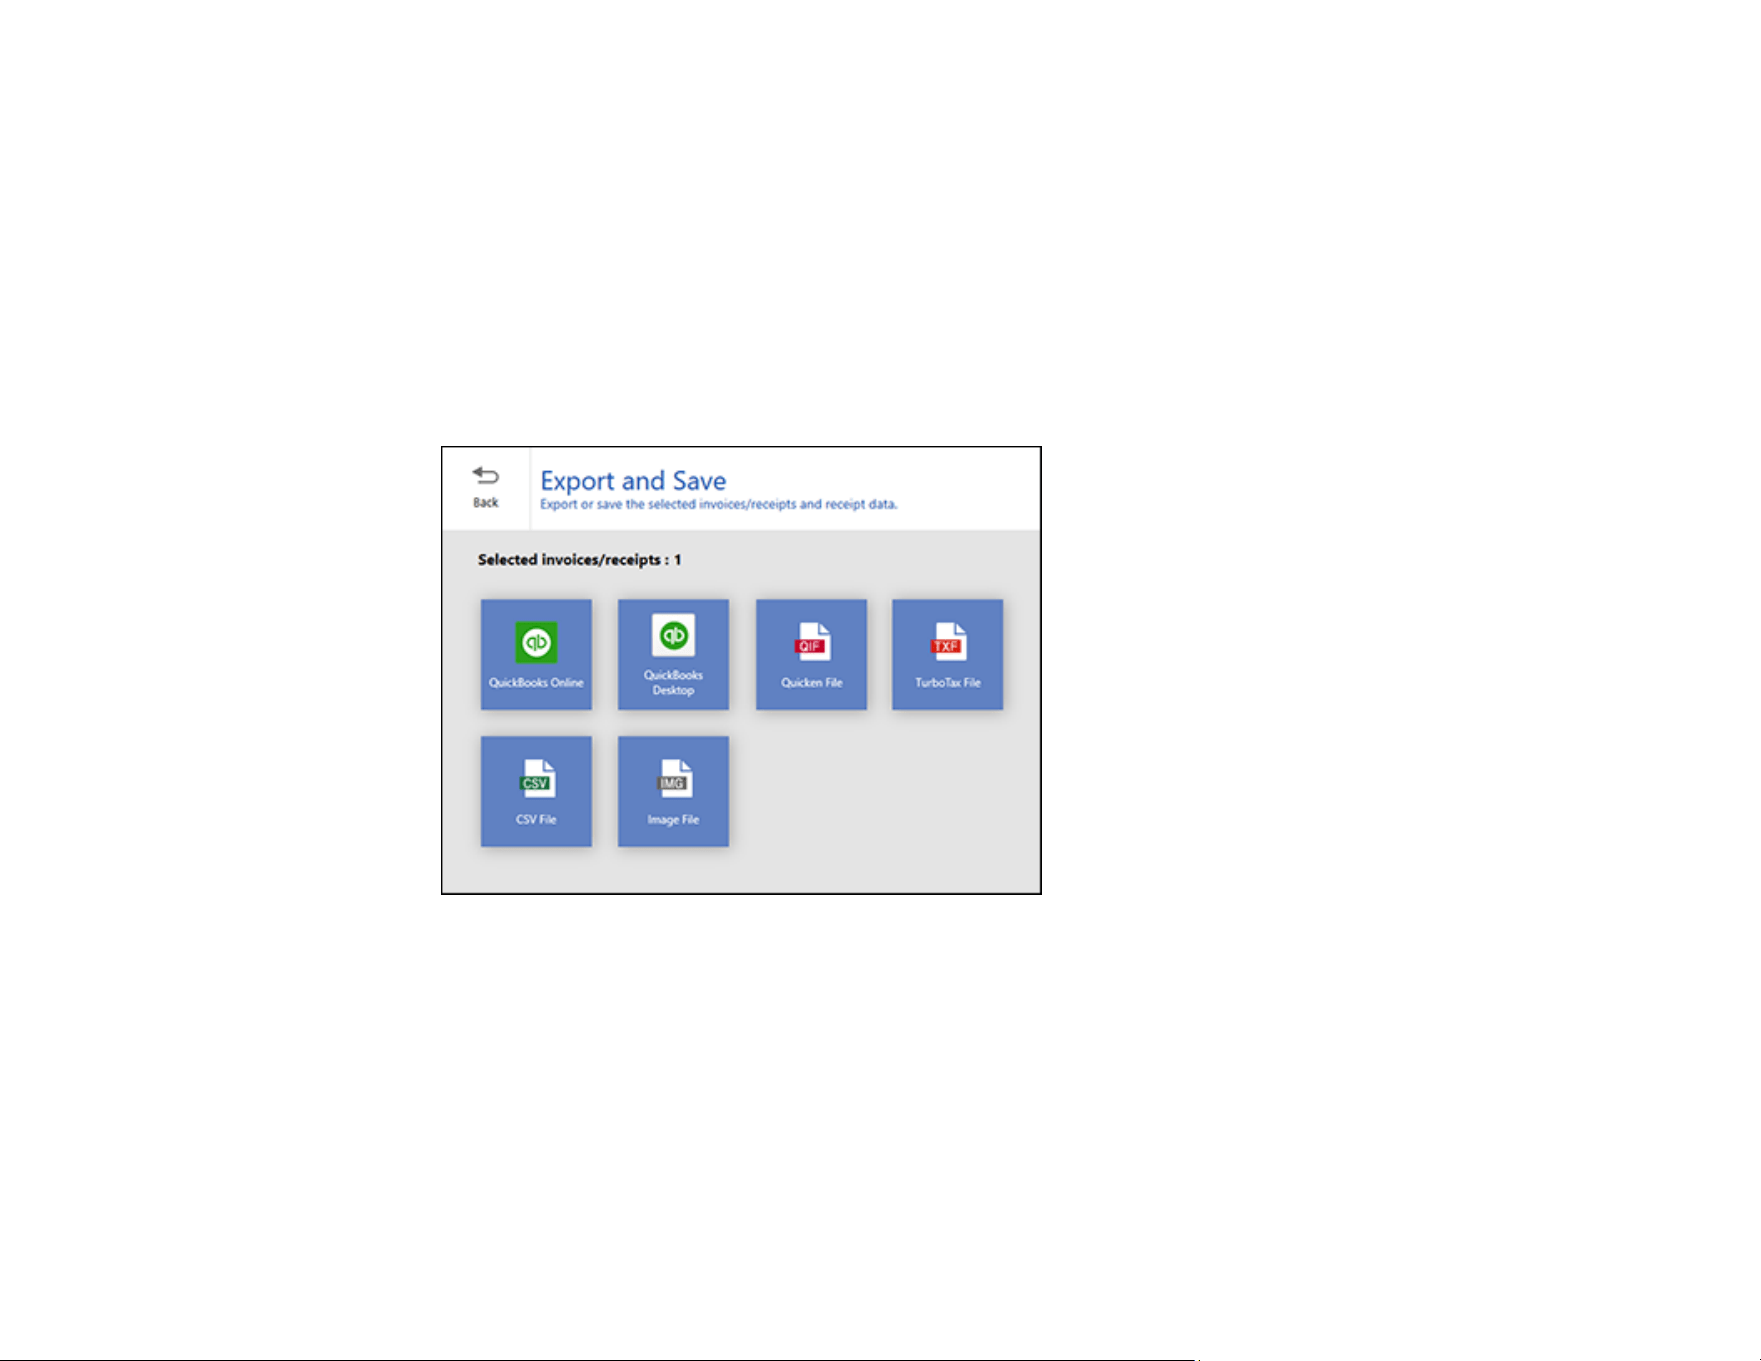
8. When you have finished reviewing data for all receipts, click Export and Save.
You see a screen like this:
9. Select an option. See the links below.
Exporting Invoices or Receipts to QuickBooks Online
Exporting Invoices or Receipts to QuickBooks Desktop
Saving or Exporting Receipts to Quicken
Saving Receipt Data as a TurboTax File
Saving Invoice or Receipt Data as a CSV File
Scanning Invoices or Receipts as an Image File
Loading ...
Loading ...
Loading ...