3-WAY FILL HEAVY-DUTY DUAL PISTON
GREASE GUN
MODEL NO: AK4402.V2
Thank you for purchasing a Sealey product. Manufactured to a high standard, this product will, if used according to these instructions,
and properly maintained, give you years of trouble free performance.
IMPORTANT: PLEASE READ THESE INSTRUCTIONS CAREFULLY. NOTE THE SAFE OPERATIONAL REQUIREMENTS, WARNINGS & CAUTIONS. USE
THE PRODUCT CORRECTLY AND WITH CARE FOR THE PURPOSE FOR WHICH IT IS INTENDED. FAILURE TO DO SO MAY CAUSE DAMAGE AND/OR
PERSONAL INJURY AND WILL INVALIDATE THE WARRANTY. KEEP THESE INSTRUCTIONS SAFE FOR FUTURE USE.
1. SAFETY
WARNING! Ensure Health & Safety, local authority and general workshop practice regulations are adhered to when using this equipment.
9 Familiarise yourself with the application and the limitations of the grease gun, as well as the potential hazards.
9 Keep the work area clean, uncluttered and ensure there is adequate lighting.
9 Keep the grease gun clean for best and safest performance.
9 Check moving parts alignment on a regular basis.
8 DO NOT use the grease gun for any purpose other than that it was designed for.
8 DO NOT operate the grease gun if any parts are damaged or missing, as this may cause failure and/or personal injury.
9 When not in use store in a safe, dry, childproof location.
WARNING! Always wear approved eye protection when operating the grease gun.
WARNING! An empty grease cartridge or grease is under pressure from the spring in the barrel, use caution when removing it.
WARNING! DO NOT apply excessive torque or over-tighten the grease gun head as this will apply undue stress to the die cast outlet and
may cause it to fracture.
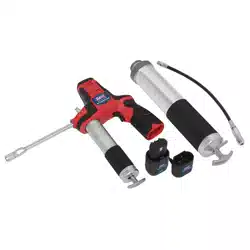
2. INTRODUCTION
Highly durable aluminium die-cast head with air release valve. Dual piston mechanism results in increased output per stroke. 3-Way
ll,withcartridge,bulkorsuction.Acceptsstandard400gcartridges.Suppliedwith150mmbentsteelextensiondeliverytubeand
35mmcoupler.Knurledgreasetubeandrubberhandleforgreaterprecision.Featuresvariablestrokeforcontrolledgreasevolume.
Dual inlet of grease ensures that the gun does not lose prime.
3. SPECIFICATION
Model No: .....................................................AK4402.V2
Capacity: ............................500cm³-400cm³Cartridges
Delivery per Stroke:.............................................2.4cm³
Delivery Pressure: .............................................6000psi
Refer to
instruction
manual
Wear eye
protection
Wear
protective
gloves
Wear
protective
clothing
AK4402.V2Issue:103/07/23
Original Language Version
© Jack Sealey Limited
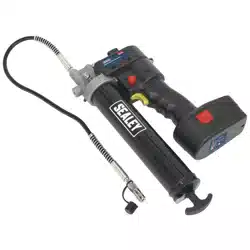
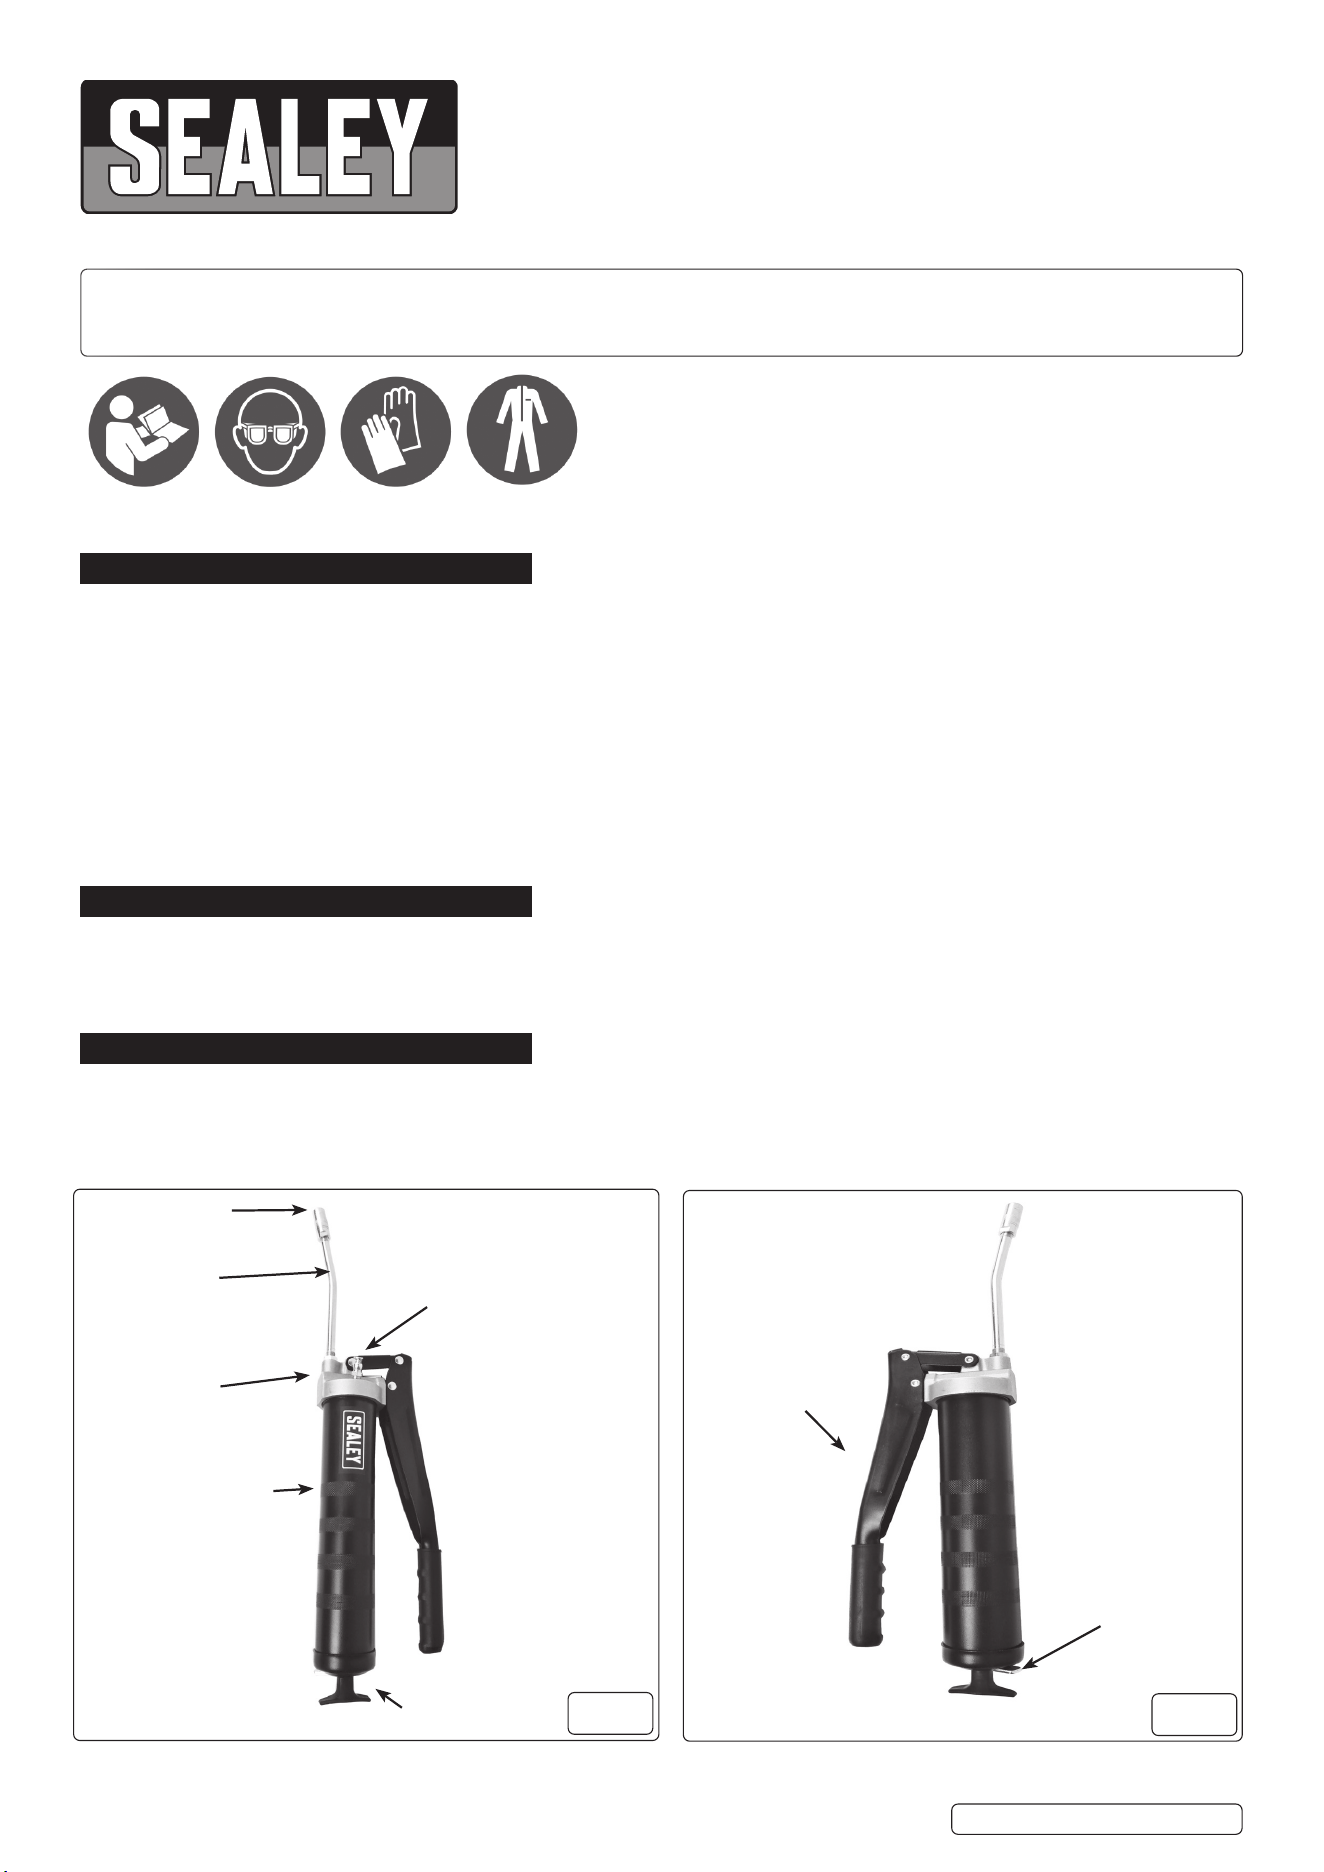
fig.
1
fig.
2
Heavy duty lever
handle
Bleed valve
Grease gun
head
Extension pipe
Barrel
Coupler
Plunger rod tab
Plunger rod handle

4. INSTALLATION
4.1. SETTING UP THE GREASE GUN HEAD (g.1)
Note: Use P.T.F.E. tape while connecting extension pipe to the grease gun head and grease coupler to the extension.
4.1.1. Connect the extension to the outlet of grease gun head.
4.1.2. Thread tighten the grease coupler to other end of extension.
4.1.3. All connections should be tight.
NOTE: Grease or empty cartridge in barrel is under pressure from the internal spring, Be alert when removing head of the barrel.
4.2. GREASE GUN LOADING
●Unscrewbarrelanticlockwise.
●Pullbackplungerrodfullyandlockoutwiththetab(exceptwhenSuctionLoading).
4.2.1. Cartridge Loading
●Removeplasticcapfromendofgreaseguncartridge,insertintobarrelofgreasegun.
●Removesealfromgreaseguncartridgeandscrewgreasegunheadbackontothebarrel.
●Depressthebleedvalve(fig.1).
●Releasetheplungerrodusingitstab,forcetherodoutandinafewtimestoejectairtrappedinthegrease,fromthebleedvalve.
When grease comes out of the valve the air has been discharged.
●Pumpthegreasegunhandleuntilgreaseflowscontinuously.Ifitdoesnot,depressthebleedvalveagainandusetheplungerrodto
expel the trapped air.
●ConnectgreasegunextensionpipeandcouplerontogreasegunoutletusingPTFEtape,DO NOT over tighten.
4.2.2. Suction Loading
●Putopenendofgreasebarrelintogreasecontainertoadepthof50mm.
●Slowlypullbacktheplungerrodtopullthegreaseintothebarrel.Locktherodwiththetab.
●Screwgreasegunheadbackontothebarrel,depressthebleedvalve(g.1).
●ConnectgreasegunextensionpipeandcouplerontogreasegunoutletusingPTFEtape,DO NOT over tighten, as it will fracture.
●Releasetheplungerrodusingitstab,forceitoutandinafewtimestoejectairtrappedinthegrease,fromthebleedvalve.When
grease comes out of the bleed valve the air has been discharged.
●Pumpthegreasegunhandle2/3timesuntilgreaseowscontinuously.Ifitdoesnotdepressthebleedvalveandusetheplungerrod
to expel the trapped air.
Bulk Loading
●Fullydrawbacktheplungerrodhandleandlockintoplace
●Removethegreasegunheadfromthegreasegunbarrelbyturningitcounterclockwise.
●Fillthegreasegunbarrelwithgreaseusingaspatula.
●Reassemblethegreasegunheadtothegreasegunbarrelbyturningitclockwise.
●ConnectgreasegunextensionpipeandcouplerontogreasegunoutletusingPTFEtape,DO NOT over tighten, as it will fracture.
●Depressthebleedvalve.
●Releasetheplungerrodusingitstab,forceitoutandinafewtimestoejectairtrappedinthegrease,fromthebleedvalve.When
grease comes out of the bleed valve the air has been discharged.
●Pumpthegreasegunhandleuntilgreaseowscontinuously.Ifitdoesnotdepresstheplungerrodtabandusetheplungerrodto
expel the trapped air.
●ConnectgreasegunextensionpipeandcouplerontogreasegunoutletusingPTFEtape,DO NOT over tighten.
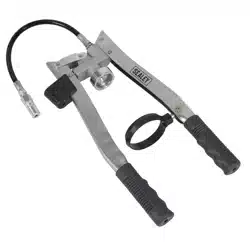
4.3. USING GREASE GUN (g.3)
4.3.1. Selecttherequiredstrokebyreleasingthetriggeronthehandle(g.1).
4.3.2. Thecouplerhasjawswhichsnapontoagreasenipple.Pushthecouplerstraightontothenippletoformagoodt.
4.3.3. Operate the grease gun as square onto the nipple as possible.
4.3.4. Oncenishedtiltthecouplertwistandpullito.
WARNING! DO NOT try to pull the coupler off straight.
5. MAINTENANCE
Grease gun and extension should be kept clean and checked for damage before each use.
fig.
3
© Jack Sealey Limited
Original Language Version
AK4402.V2Issue:103/07/23
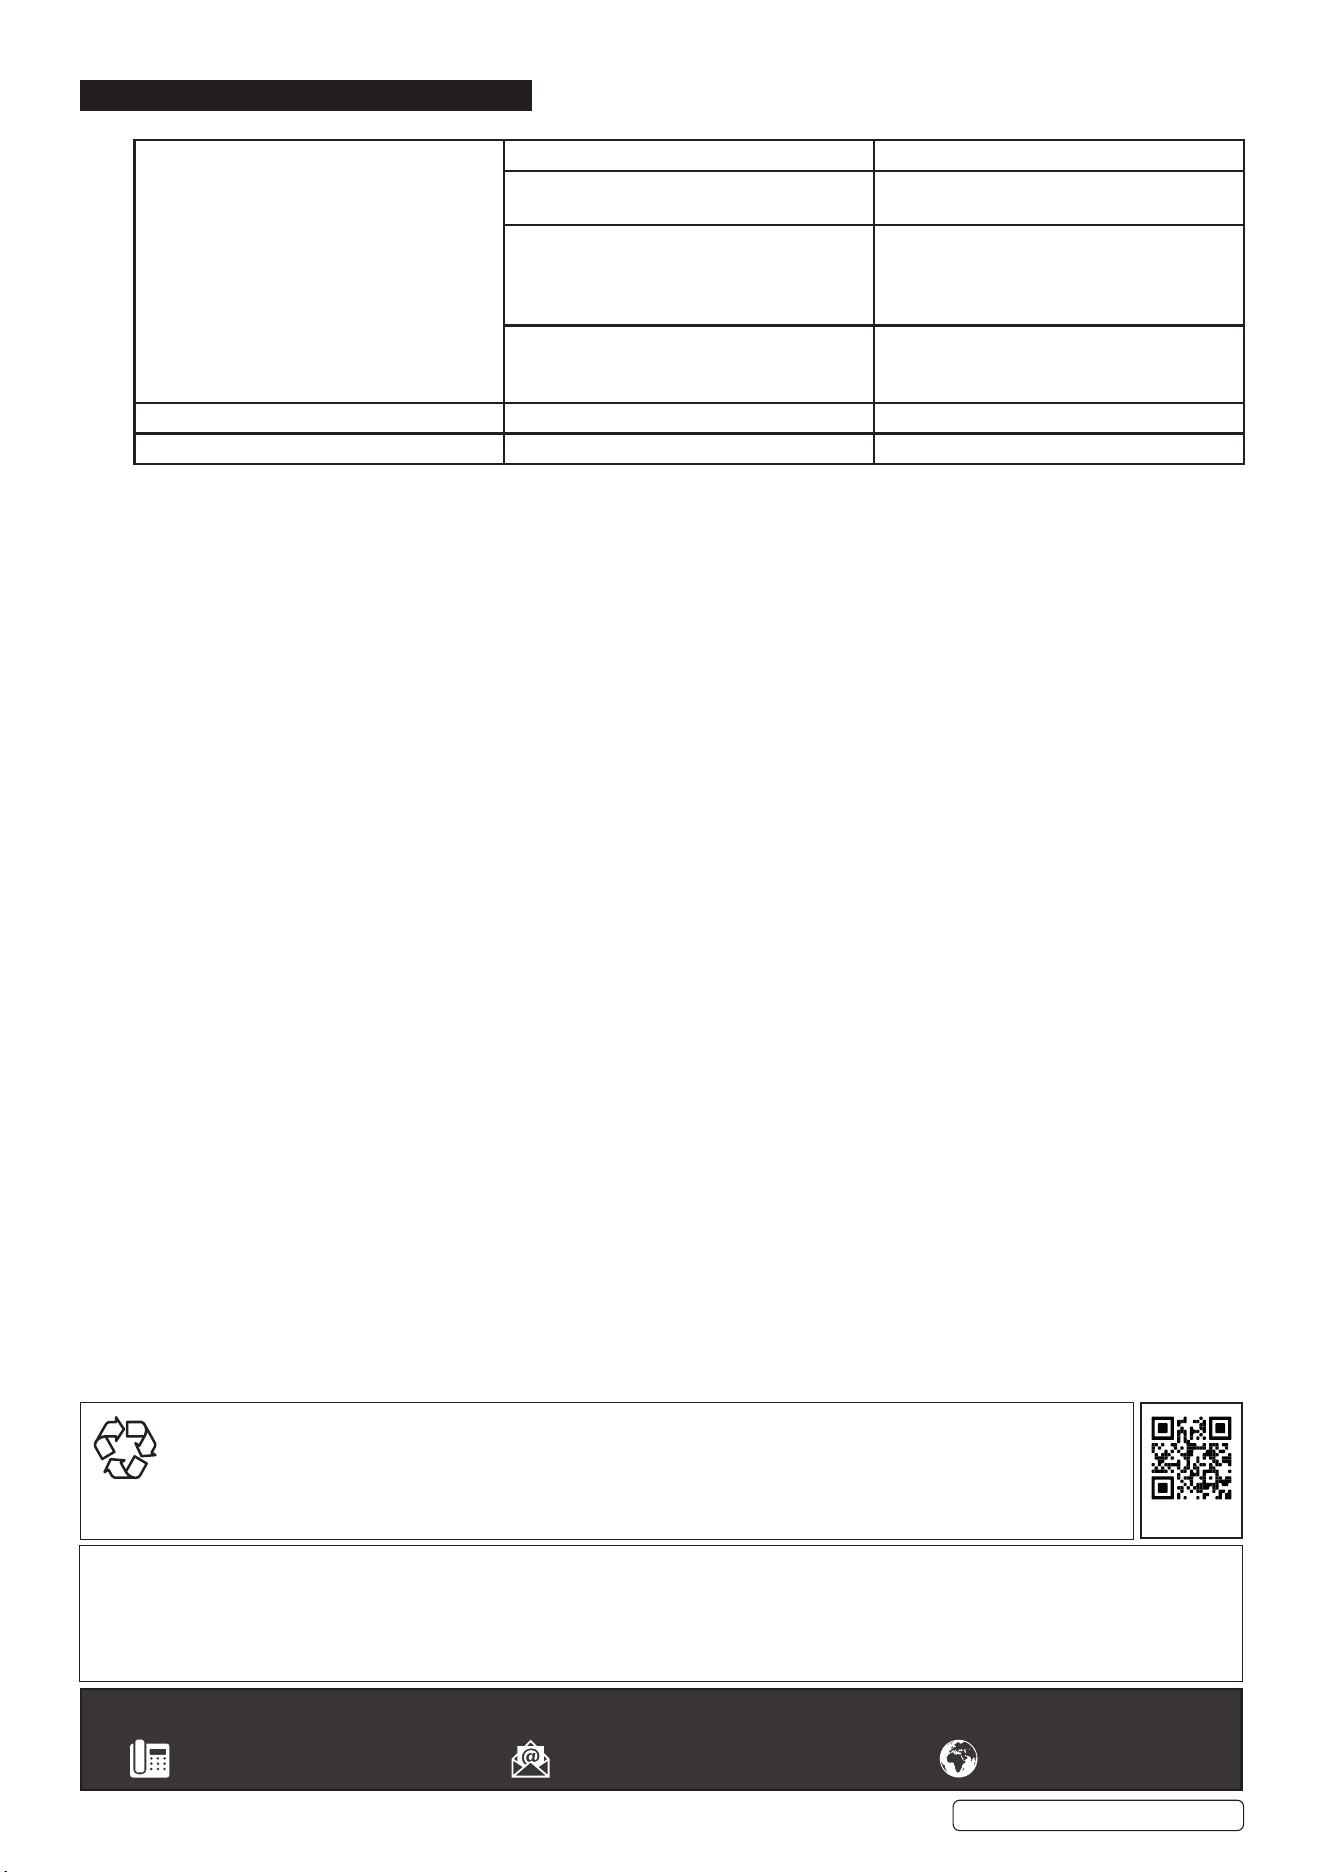
6. TROUBLESHOOTING
Grease gun pumps little or no grease. Barrel not completely tightened. Tighten the barrel completely.
Air Pockets are trapped in grease. Remove air pocket by referring to
“Removing trapped air” section.
Blocked grease gun extension. Remove the extension and operate the
greasegun.Ifthegun
Dispensesgreasethenthegunisne.
Clean or replace the extension.
Grease too thick or cold. Store grease gun and grease away from
extreme cold or use thinner
Grease.
Excessive grease leaking past the follower. Follower is damaged. Replace the grease gun.
If the gun still doesn’t operate. Contact nearest authorized service dealer.
Original Language Version
© Jack Sealey Limited
Sealey Group, Kempson Way, Suffolk Business Park, Bury St Edmunds, Suffolk. IP32 7AR
01284 757500 sales@sealey.co.uk www.sealey.co.uk
ENVIRONMENT PROTECTION
Recycle unwanted materials instead of disposing of them as waste. All tools, accessories and packaging should be sorted,
taken to a recycling centre and disposed of in a manner which is compatible with the environment. When the product
becomescompletelyunserviceableandrequiresdisposal,drainanyfluids(ifapplicable)intoapprovedcontainersand
dispose of the product and fluids according to local regulations.
AK4402.V2Issue:103/07/23
REGISTER YOUR
PURCHASE HERE
Note:Itisourpolicytocontinuallyimproveproductsandassuchwereservetherighttoalterdata,specificationsandcomponentpartswithoutprior
notice. Pleasenotethatotherversionsofthisproductareavailable.Ifyourequiredocumentationforalternativeversions,pleaseemailorcall
ourtechnicalteamontechnical@sealey.co.ukor01284757505.
Important: No Liability is accepted for incorrect use of this product.
Warranty:Guaranteeis12monthsfrompurchasedate,proofofwhichisrequiredforanyclaim.