1. SAFETY
WARNING! Ensure Health & Safety, local authority, and general workshop practice regulations are adhered to when using this product.
9 Locate product in a suitable working area.
9 Keep the work area clean, uncluttered and ensure there is adequate lighting.
WARNING! Use product on level and solid ground, preferably concrete. Avoid tarmacadam since the product may sink into the surface.
9 Keep the product clean and tidy in accordance with good workshop practice.
9 Keep children and unauthorised persons away from the working area.
8 DO NOT use the product for any purpose other than that for which it is designed.
8 DO NOT exceed maximum capacity of product.
8 DO NOT undertake work on the product without the work piece being adequately secured. Use clamps or a vice (not included) to secure the
work piece. Available from your Sealey stockist.
8 DO NOT use the product out of doors.
8 DO NOT get the product wet or use in damp or wet locations or areas where there is condensation.
8 DO NOT clean the product with any solvents which may damage the paint surface or the protective coating.
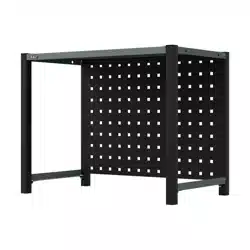
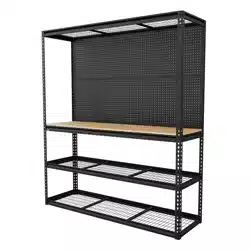
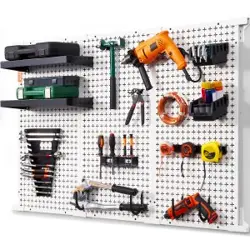
2. INTRODUCTION
The Sealey modular racking system is nished with a heavy-duty textured powder coat to prevent against rusting. Simply choose
your base, middle and top units and push together using nylon connectors to create versatile storage for the workshop, garage, home
or ofce. All drawers have ball-bearing drawer slides for smooth operation and cupboard doors are tted with spring loaded hinges
allowing them to be tted the side that suits your environment. Buy individually (see specic model number for full specs) or as one of
our pre-created combo’s.
3. SPECIFICATION
4. CONTENTS
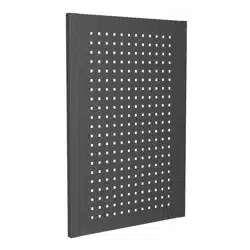
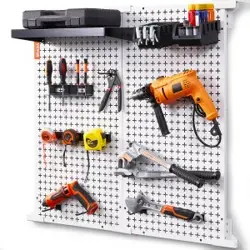
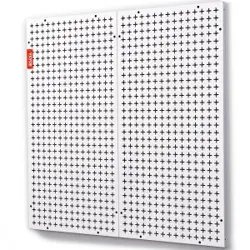
MODULAR RACKING MID UNIT PEGBOARD 580MM
Thank you for purchasing a Sealey product. Manufactured to a high standard, this product will, if used according to these instructions,
and properly maintained, give you years of trouble free performance.
IMPORTANT: PLEASE READ THESE INSTRUCTIONS CAREFULLY. NOTE THE SAFE OPERATIONAL REQUIREMENTS, WARNINGS & CAUTIONS. USE
THE PRODUCT CORRECTLY AND WITH CARE FOR THE PURPOSE FOR WHICH IT IS INTENDED. FAILURE TO DO SO MAY CAUSE DAMAGE AND/OR
PERSONAL INJURY AND WILL INVALIDATE THE WARRANTY. KEEP THESE INSTRUCTIONS SAFE FOR FUTURE USE.
APMRM6 Issue 1 06/06/24
Original Language Version
© Jack Sealey Limited
Refer to
instructions
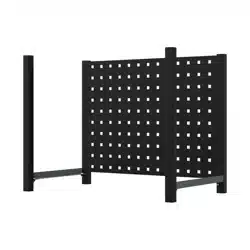
Item Part Description
1 APMRM6-01 Upright
2 APMRM6-02 Back Plate
3 APMRM6-03 Support Bar
4 APMRB1-11 Plastic Connector
5 MSP612.S Machine Screw Pan Head Phillips
M6 x 12mm
6 APMRB1-09 Self-Tapping Screw ST4.8 x 30mm
7 APMRB1-10 Expansion Plug M8 x 40mm
Wear eye
protection
Model no: APMRM6
Nett Weight: 3.2kg
Size (W x D x H): 580 x 340 x 444mm
MODEL NO: APMRM6
1
2
4
6
7
5
3
5. ASSEMBLY
APMRM6 Issue 1 06/06/24
Original Language Version
© Jack Sealey Limited
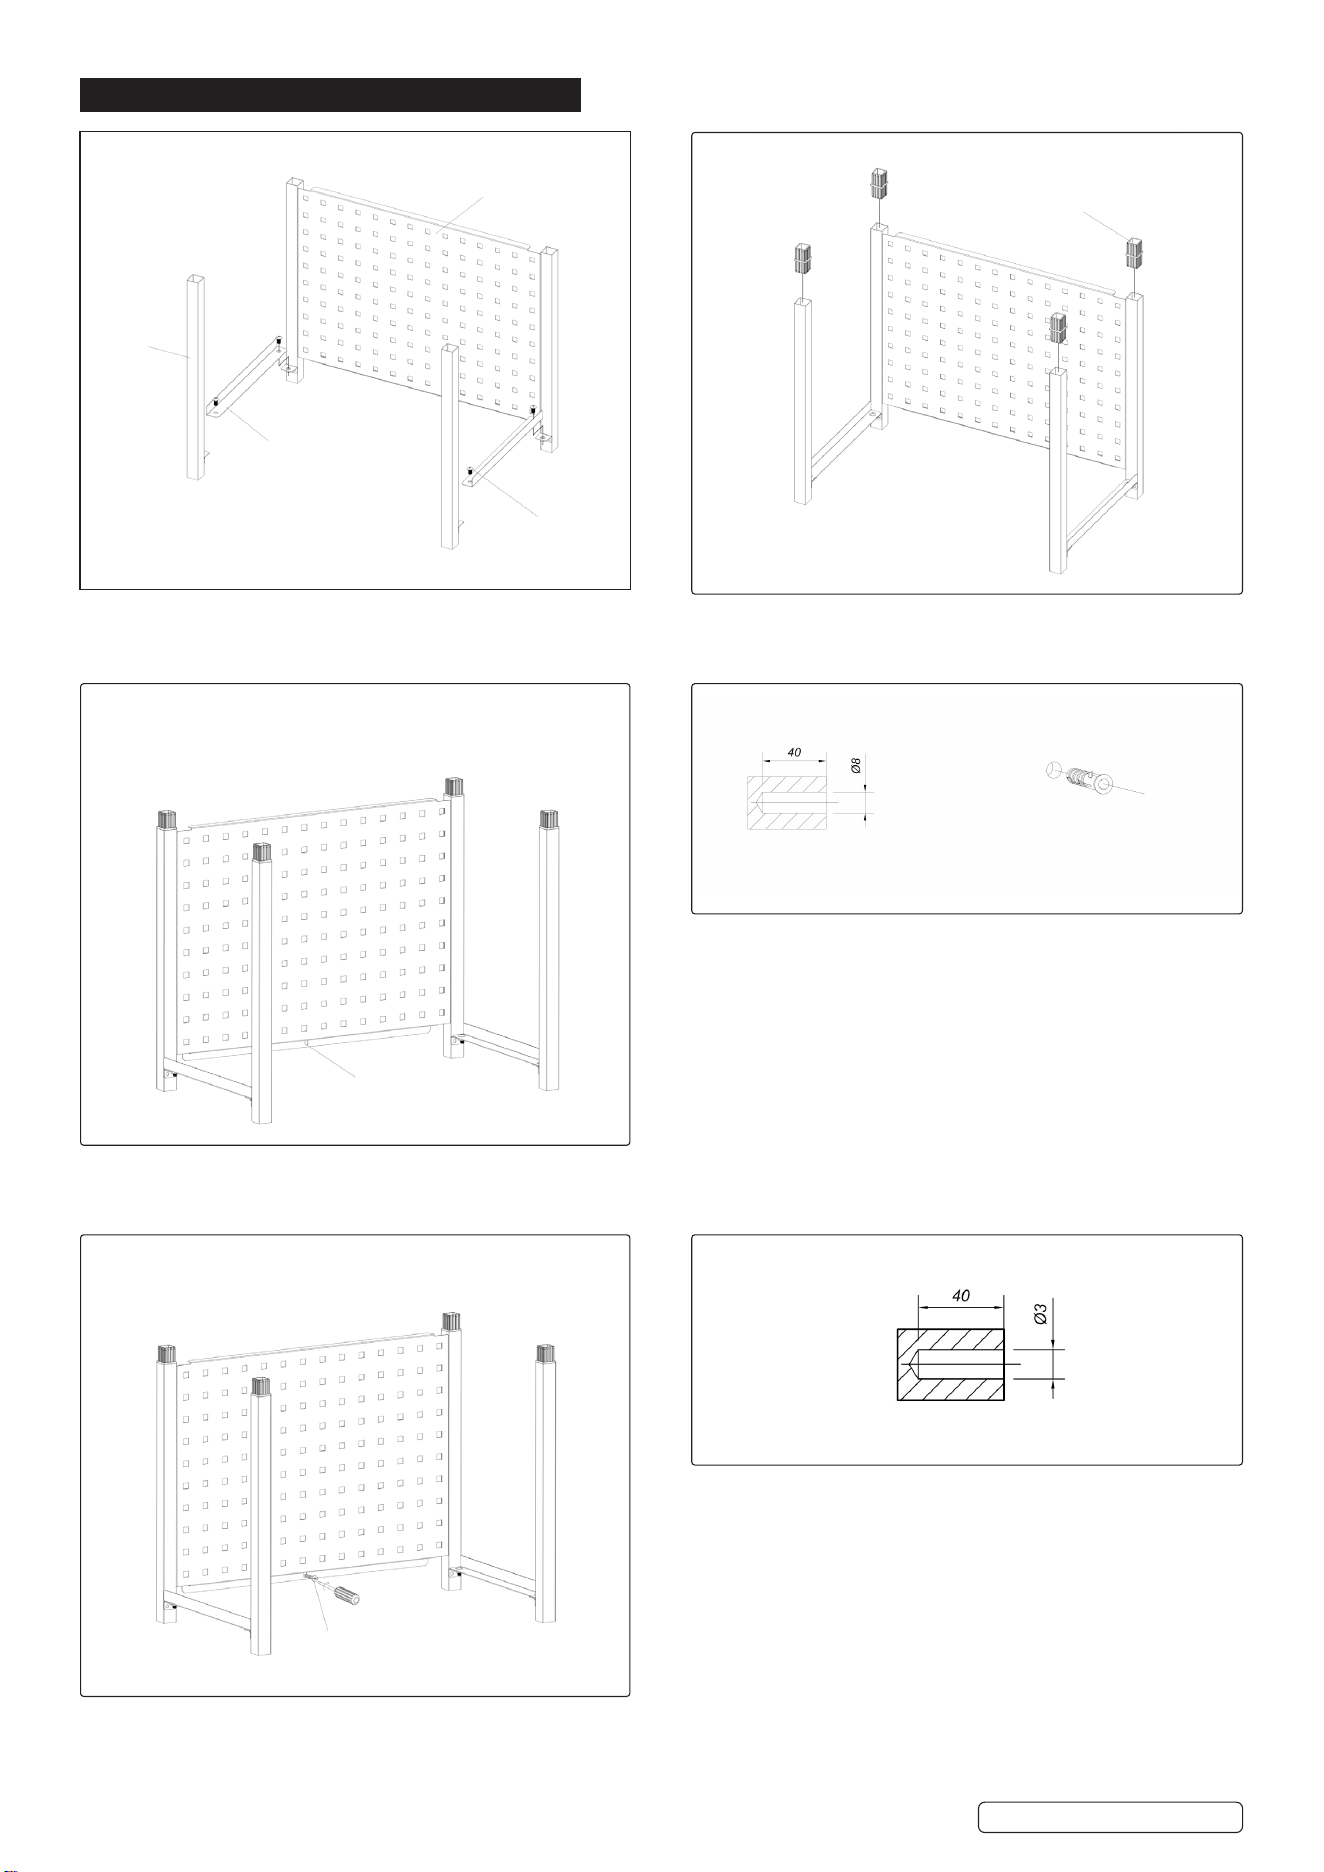
Step 1. Assemble the uprights, back plate and the support bars with
screw M6*12.
3#
2#
5#
1#
Step 2. Insert the plastic end plugs into the uprights.
4#
Step 3. To x on the wall, mark the wall according to the hole which
is at the bottom of back plate.
Hole
6#
Step 6. To x the cabinet on to a wooden wall. Mark the wall out
before drilling. After the wall has been marked, drill a hole the
correct size.
Option 2
7#
Step 4. To x the cabinet on the wall. Mark the wall out before
drilling the hole, after the wall has been marked out drill a hole the
size required see above illustration, insert the wall plug 8*40 into the
drilled hole.
Step 5. Fix the cabinet to the wall using the self-tapping screw
ST4.8*30.
Option 1

APMRM6 Issue 1 06/06/24
Original Language Version
© Jack Sealey Limited
Sealey Group, Kempson Way, Suffolk Business Park, Bury St Edmunds, Suffolk. IP32 7AR
01284 757500 sales@sealey.co.uk www.sealey.co.uk
NOTE: It is our policy to continually improve products and as such we reserve the right to alter data, specications and component parts
without prior notice.
IMPORTANT: No Liability is accepted for incorrect use of this product.
WARRANTY: Guarantee is 12 months from purchase date, proof of which is required for any claim.
ENVIRONMENT PROTECTION
Recycle unwanted materials instead of disposing of them as waste. All tools, accessories and packaging should be
sorted, taken to a recycling centre and disposed of in a manner which is compatible with the environment. When
the product becomes completely unserviceable and requires disposal, drain any uids (if applicable) into approved
containers and dispose of the product and uids according to local regulations.
Step 8. Assembly completed.
6#
Step 7. Fix the cabinet on the wooden wall with the self-tapping
screw ST4.8*30, no wall plug is required.