Loading ...
Loading ...
Loading ...

Pelco Fisheye Installation Manual
C6710M | 12/21
15
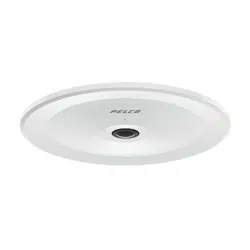
WMVE-AW Wall Mount View
1. Set screw
A 5/64" set screw for securing the pendant adapter thread.
2. 1-1/2” NPT thread mount
Female NPS thread mount for pendant camera installations.
3. NPT pipe entry hole
A 3/4" NPT threaded hole for NPT pipe conduits
4. Pendant wall mount screws
Screws for securing the pendant wall mount to the mounting surface.
Preparing the Installation
Pre-Deployment In-Box Configuration
The camera comes equipped with an RJ45 configuration cable pre-installed for users that want to configure
camera settings before installing the camera. The RJ45 connector on the configuration cable is accessible
through the small flap on the side of the camera box for easy configuration before unpacking the camera.
We recommend that you do not exceed 3 hours of leaving your camera connected during in-box
configuration with ambient temperatures between 20 °C – 25 °C (68 °F – 77 °F).
1. Locate and open the flap on the side of the camera packaging.
2. Connect a network cable to the RJ45 plug on the configuration cable. The network cable must
provide PoE. IEEE 802.3af Class 3, to power the camera during configuration.
3. Connect to the camera using a video management system, the Camera Configuration Tool, or the
camera's web browser interface to configure the camera's settings. For more information about
connecting to the camera, see Assigning an IP Address, and Accessing the Live VideoStream.
4. Once you have finished making configuration changes, unplug the network cable.
Loading ...
Loading ...
Loading ...