Loading ...
Loading ...
Loading ...
49-3000087 Rev 4 23
Raise
Lower
Installation Instructions
NOTE: Stacking
installations may
require a power
cord up to 6 feet
in length.
Power
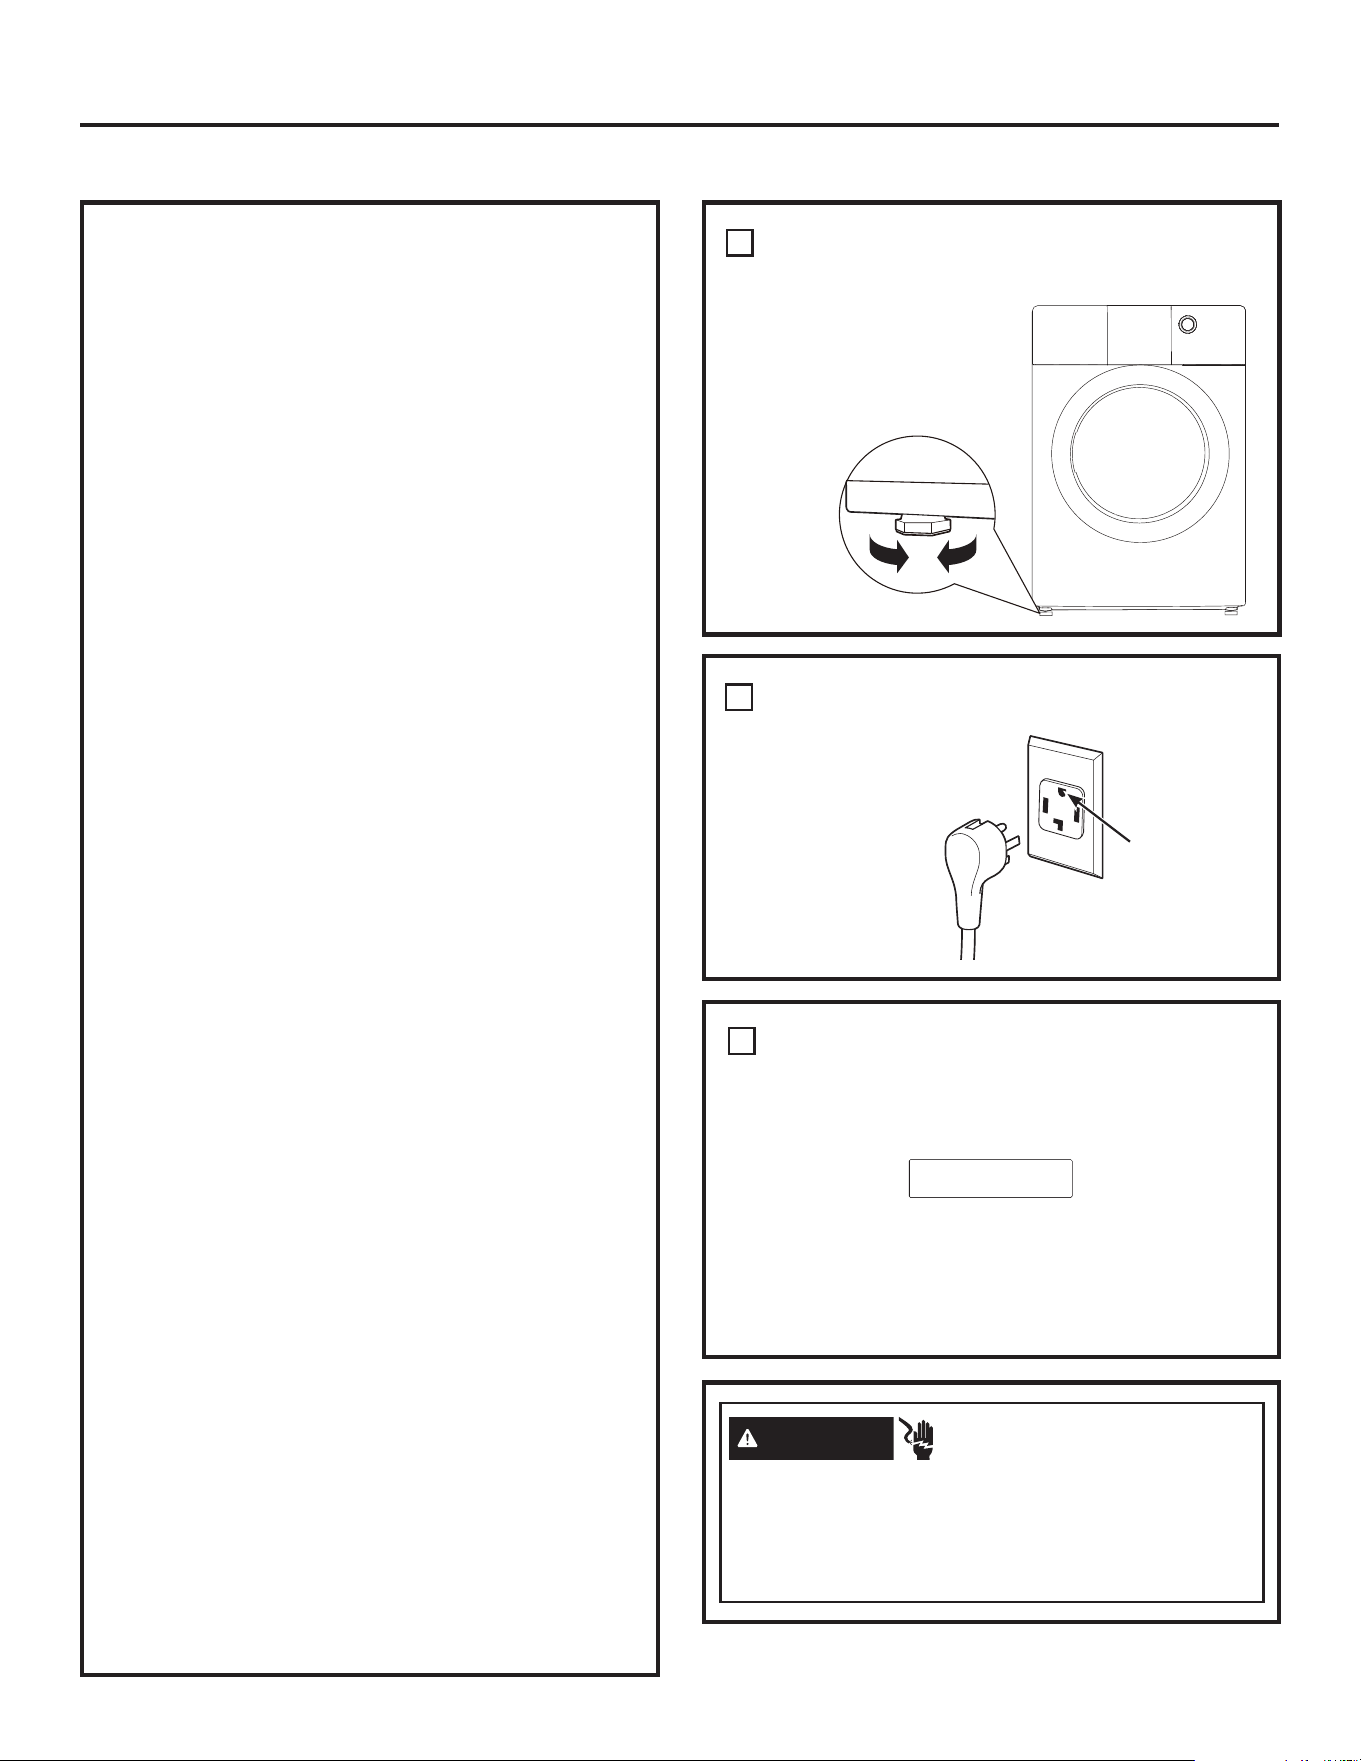
LEVEL THE DRYER
Stand the dryer upright
near the final location and
adjust the four leveling legs
at the corners to ensure
that the dryer is level from
side to side and front to
rear.
PLUG DRYER IN
1
2
DRYER START-UP
Press the Power button.
NOTE: If the dryer has been exposed to temperatures
below freezing for an extended period of time, allow it to
warm up before pressing Power. Otherwise, the display
will not come on.
The dryer is now ready for use.
3
Disconnect power supply before servicing.
Replace all parts and panels before operating.
Failure to do so can result in death or electrical
shock.
- Electrical Shock Hazard
WARNING
Ensure proper
ground exists
before use.
FINAL SETUPEXHAUSTING (CONT.)
CONNECTING THE DRYER TO
HOUSE VENT
RIGID METAL TRANSITION DUCT
• For best drying performance, a rigid metal transition
duct is recommended.
• Rigid metal transition ducts reduce the risk of
crushing and kinking.
UL-LISTED FLEXIBLE METAL CLOTHES
DRYER TRANSITION DUCT
• If rigid metal cannot be used, then UL-listed flexible
metal clothes dryer transition duct (GE Appliances
part – PM08X10085) can be used.
• Never install transition duct in walls, ceilings, floors
or other enclosed spaces.
• Total length of transition duct should not exceed 8’
(2.4 m).
• For many applications, installing elbows at both
the dryer and the wall is highly recommended (see
illustrations in next section). Elbows allow the dryer
to sit close to the wall without kinking and/or crushing
the transition duct, maximizing drying performance.
• Avoid resting the duct on sharp objects.
UL-LISTED FLEXIBLE METAL (FOIL-TYPE)
TRANSITION DUCT
• In special installations, it may be necessary to
connect the dryer to the home exhaust vent
using flexible metal (foil-type) transition duct. UL–
LISTED universal flexible dryer transition duct
(GE Appliances parts – PM8X73 or WX8X73)
may be used ONLY in installations where rigid
metal or flexible metal transition ducting cannot
be used AND where a 4” (10.2 cm) diameter can
be maintained throughout the entire length of the
transition duct.
• In Canada and the United States, only transition
ducts that comply with “UL 2158A STANDARD
FOR CLOTHES DRYER TRANSITION DUCT”
shall be used.
• Avoid resting the duct on sharp objects.
• For best drying performance:
1. Slide one end of the duct over the clothes
dryer outlet pipe.
2. Secure the duct with a clamp.
3. With the dryer in its permanent position,
extend the duct to its full length. Allow 2” (5.08
cm) of duct to overlap the exhaust pipe. Cut
off and remove excess duct. Keep the duct as
straight as possible for maximum airflow.
4. Secure the duct to the exhaust pipe with the
other clamp.
Loading ...
Loading ...
Loading ...