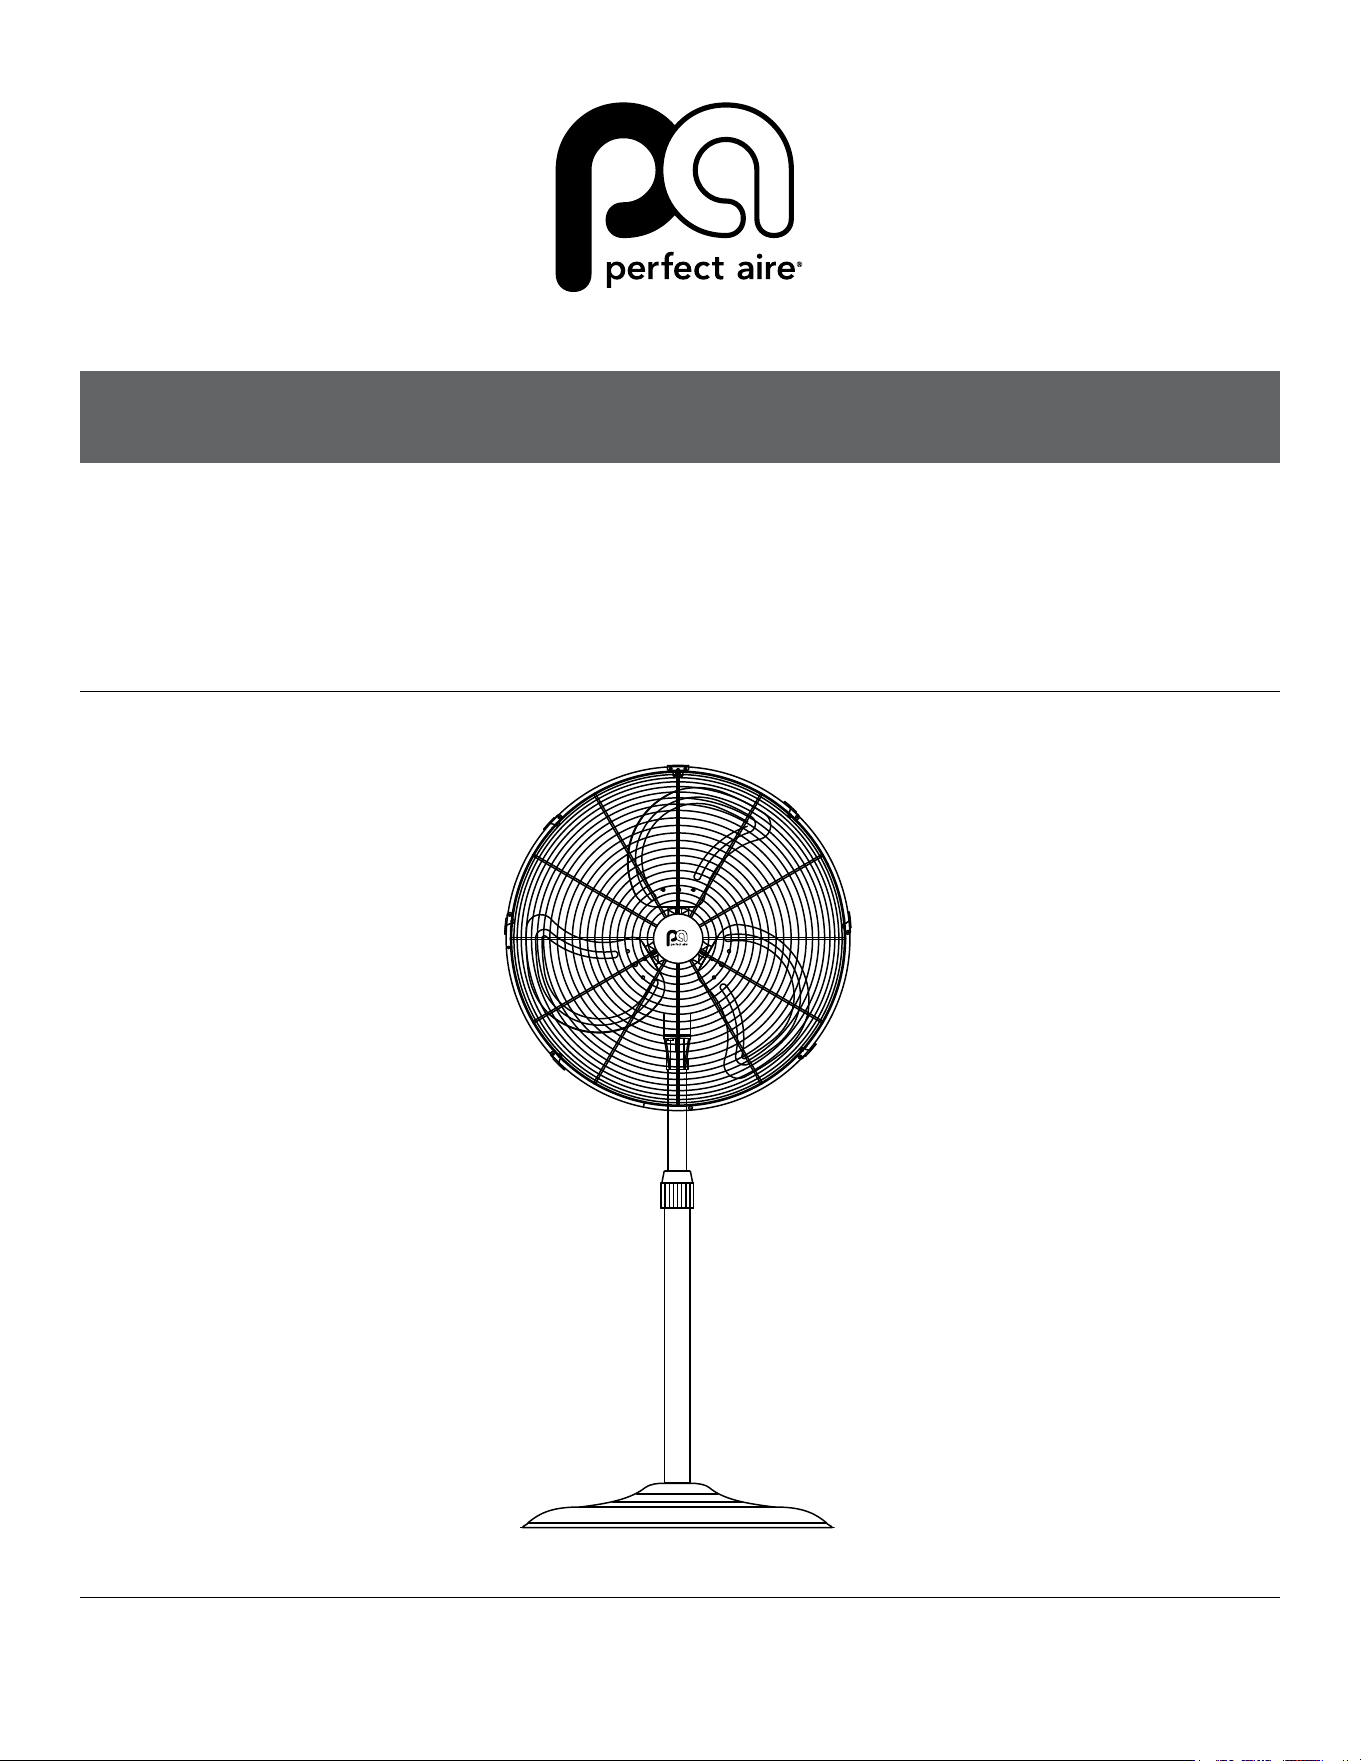
20" OSCILLATING
HIGH VELOCITY PEDESTAL FAN
MODEL 1PAFP20
OWNER’S MANUAL
2
SAFETY & PRECAUTIONS
CONTINUEDCONTINUED
RULES FOR SAFE OPERATION
READ AND SAVE THESE INSTRUCTIONS
CAUTION
Read and follow all instructions
before operating fan.
Do not use fan if any part is damaged or missing.
WARNING
• Toreducetheriskofreorelectricalshock,
do not expose to water or rain.
• Toreducetheriskofreorelectricalshock,
do not use this fan with any solid state speed
control device.
• Automatically operated device - To reduce
theriskofinjury,disconnectfrompowersupply
before servicing.
• Ifthepowersupplycordisdamaged,contact
yourlocalservicecenteroraqualied
electrician to install an appropriate replacement
cord to prevent any injury or damage.
• The appliance does not apply to be used in
locationswherespecialconditionsprevail,such
as the presence of a corrosive or explosive
atmosphere(dust,vapororgas).
• This appliance is not intended for use by
persons(includingchildren)withreduced
physical,sensoryormentalcapabilities,or
lackofexperienceandknowledge,unlessthey
have been given supervision or instruction
concerning use of the appliance by a person
responsible for their safety.
• Children should be supervised to ensure that
they do not play with the appliance.
RULES FOR SAFE OPERATION:
1
Neverinsertngersoranyotherobjects
through the grill guard when fan is in operation.
2
Disconnect the fan from its power source
when moving from one location to another.
3
Disconnect the fan from its power source
when removing guards for cleaning.
4
Besurefanisonastable,atsurface
when in operation.
5
Do not use fan in windows. Rain and moisture
may create electrical hazard.
6
Close supervision is necessary when this fan
isusednearchildren,theelderlyandpets.
7
Donotplacethefannearanopename,
cookingorheatingappliance,orhotsurface.
8
This fan should not be operated outside.
CAUTION
Do not alter the fan’s assembly.
WARNING
Be sure that both front and rear
guard screws are completely tightened in locking
position before operation.
IMPORTANT NOTE:
Read the manual carefully. Make sure to save this manual for future reference. Illustrations in this
manualareforexplanatorypurposesonly,youractualproductmaylookslightlydierent.
CLEANING
WARNING
Unplug from electrical supply source
before cleaning.
1
Use soft damp cloth then wipe
with dry cloth.
2
Do not use harmful cleaners to
paints or plastics.
3
Do not bend the blades.
Machine will need more frequent cleaning
if being used in an environment with high
particle pollution.
RATING:
120V~60Hz,1.25A,150W
3
Figure C
ASSEMBLY, OPERATING & CLEANING INSTRUCTIONS
8
1
4
5
6
7
8
9
2
7
3
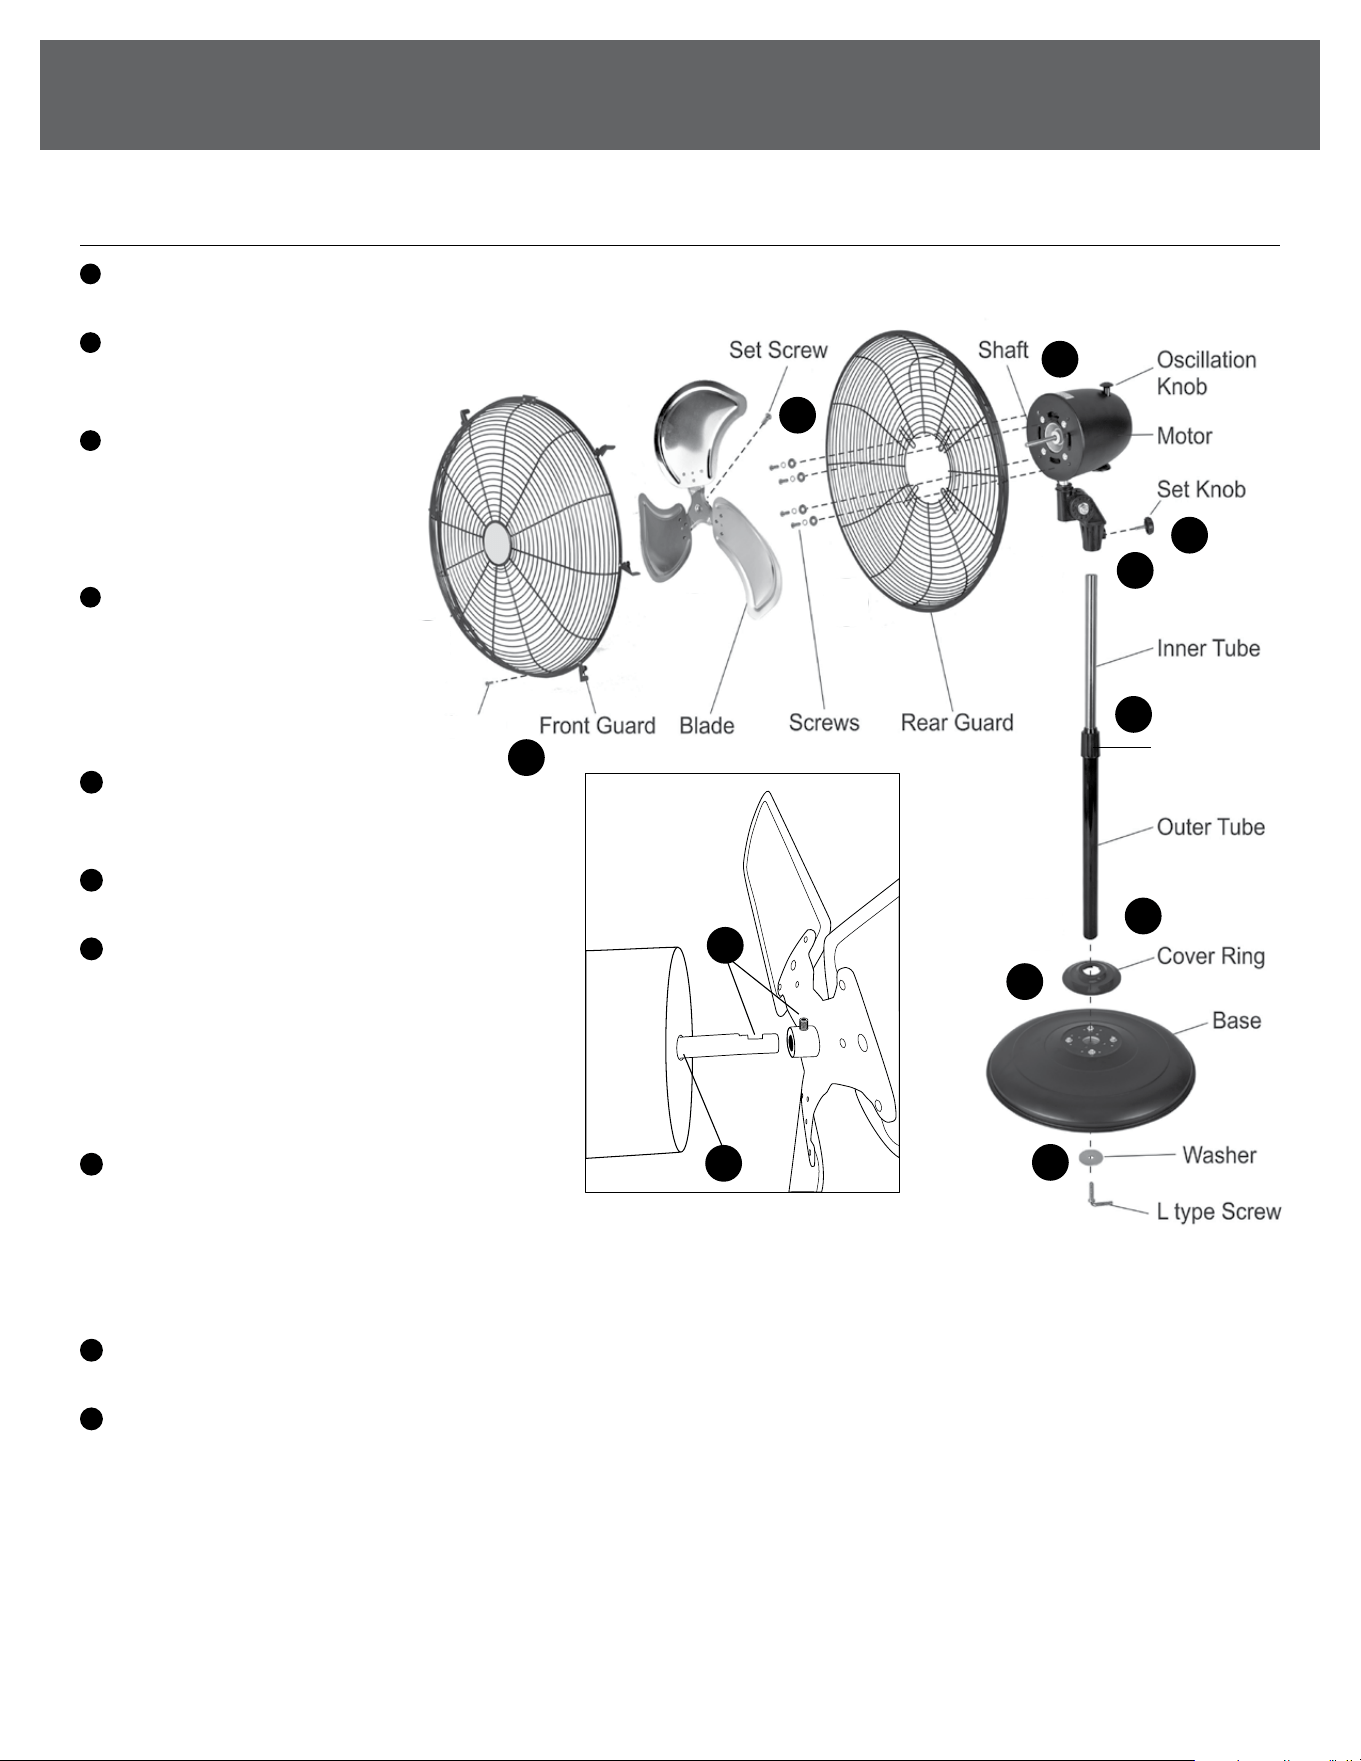
FAN ASSEMBLY INSTRUCTIONS
1
Remove the L screw and washer
from the bottom of the outer tube.
2
Slide the cover ring onto
thebottomoftheoutertube,
per the assembly diagram.
3
Attach the outer tube
assembly and the base
together by reinserting
then tightening the L
screw and washer.
4
Loosen the inner tube
by twisting the height
adapter and slide the
inner tube up to reveal
the dimpled area needed
to secure the set knob.
5
Slide the motor assembly onto
the innertube so the dimple and
set knob are aligned.
6
Tighten the set knob the secure the
motor assembly to the inner tube.
7
Slide the rear guard onto the shaft
the of the motor and secure with
the predrilled bolts on the front of
the motor. Be sure the small hole
for the grill screw is positioned on
the bottom of the rear guard before
securing it to the motor.
8
Slidethefanbladeontotheshaft,
the set screw needs to be facing
inwardandtightenedontotheat
indent of the shaft. Tighten the set screw with philips screwdriver.
Please be vigilant that the fan blade is secured correctly
and tightly to prevent safety hazards and operational failure.
9
Connectthefrontguardandrearguard,fastentheclipsrunning
along the border of the front guard to secure them together.
10
Install the screw grille to secure the front and back guards together.
Grill Screw
Height
Adapter

844-4PA-AIRE | 844-472-2473 | support@perfectaire.us
CANADA SUPPORT 877-997-2473 | supportcanada@perfectaire.us
www.perfectaire.us
5401DansherRoad
Countryside,IL60525
Printed in China | 0822_M989
THANK YOU FOR YOUR PURCHASE!
As a small business, reviews are everything!
We’dlovetohearhowyouareenjoyingyourPerfectAireproduct!
Pleasetakeaminutetotellus(andothers)aboutyourexperience.
Thanks (again!)
SCAN CODE TO
LEAVE A REVIEW
OPERATING INSTRUCTIONS
Figure C
Figure C
SETTING OSCILLATING MODE:
1
TO MAKE THE FAN OSCILLATE: Press down
the oscillation knob at the top of the fan head.
(SeeFigureA.)
2
TO STOP THE FAN OSCILLATE: Pull up the
oscillation knob at the top of the fan head.
(SeeFigureB.)
EXTENDING THE STANDING POLE:
Loosen the height
adapter on the
standing pole. Then
pull the upper inner
tube of the standing
pole to the desired
height and re-tighten
the height adapter.
(SeeFigureC.)
SPEED CONTROL:
Select air speed by setting switch to either
high(3)-medial(2)-low(1)-o.