ENGLISH | 1
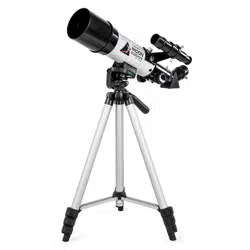
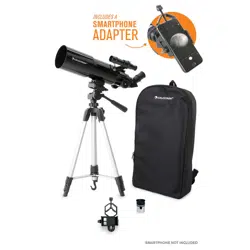
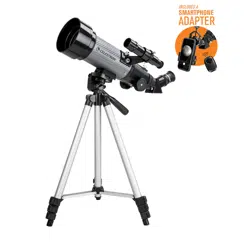
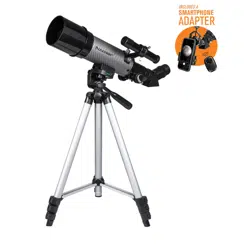
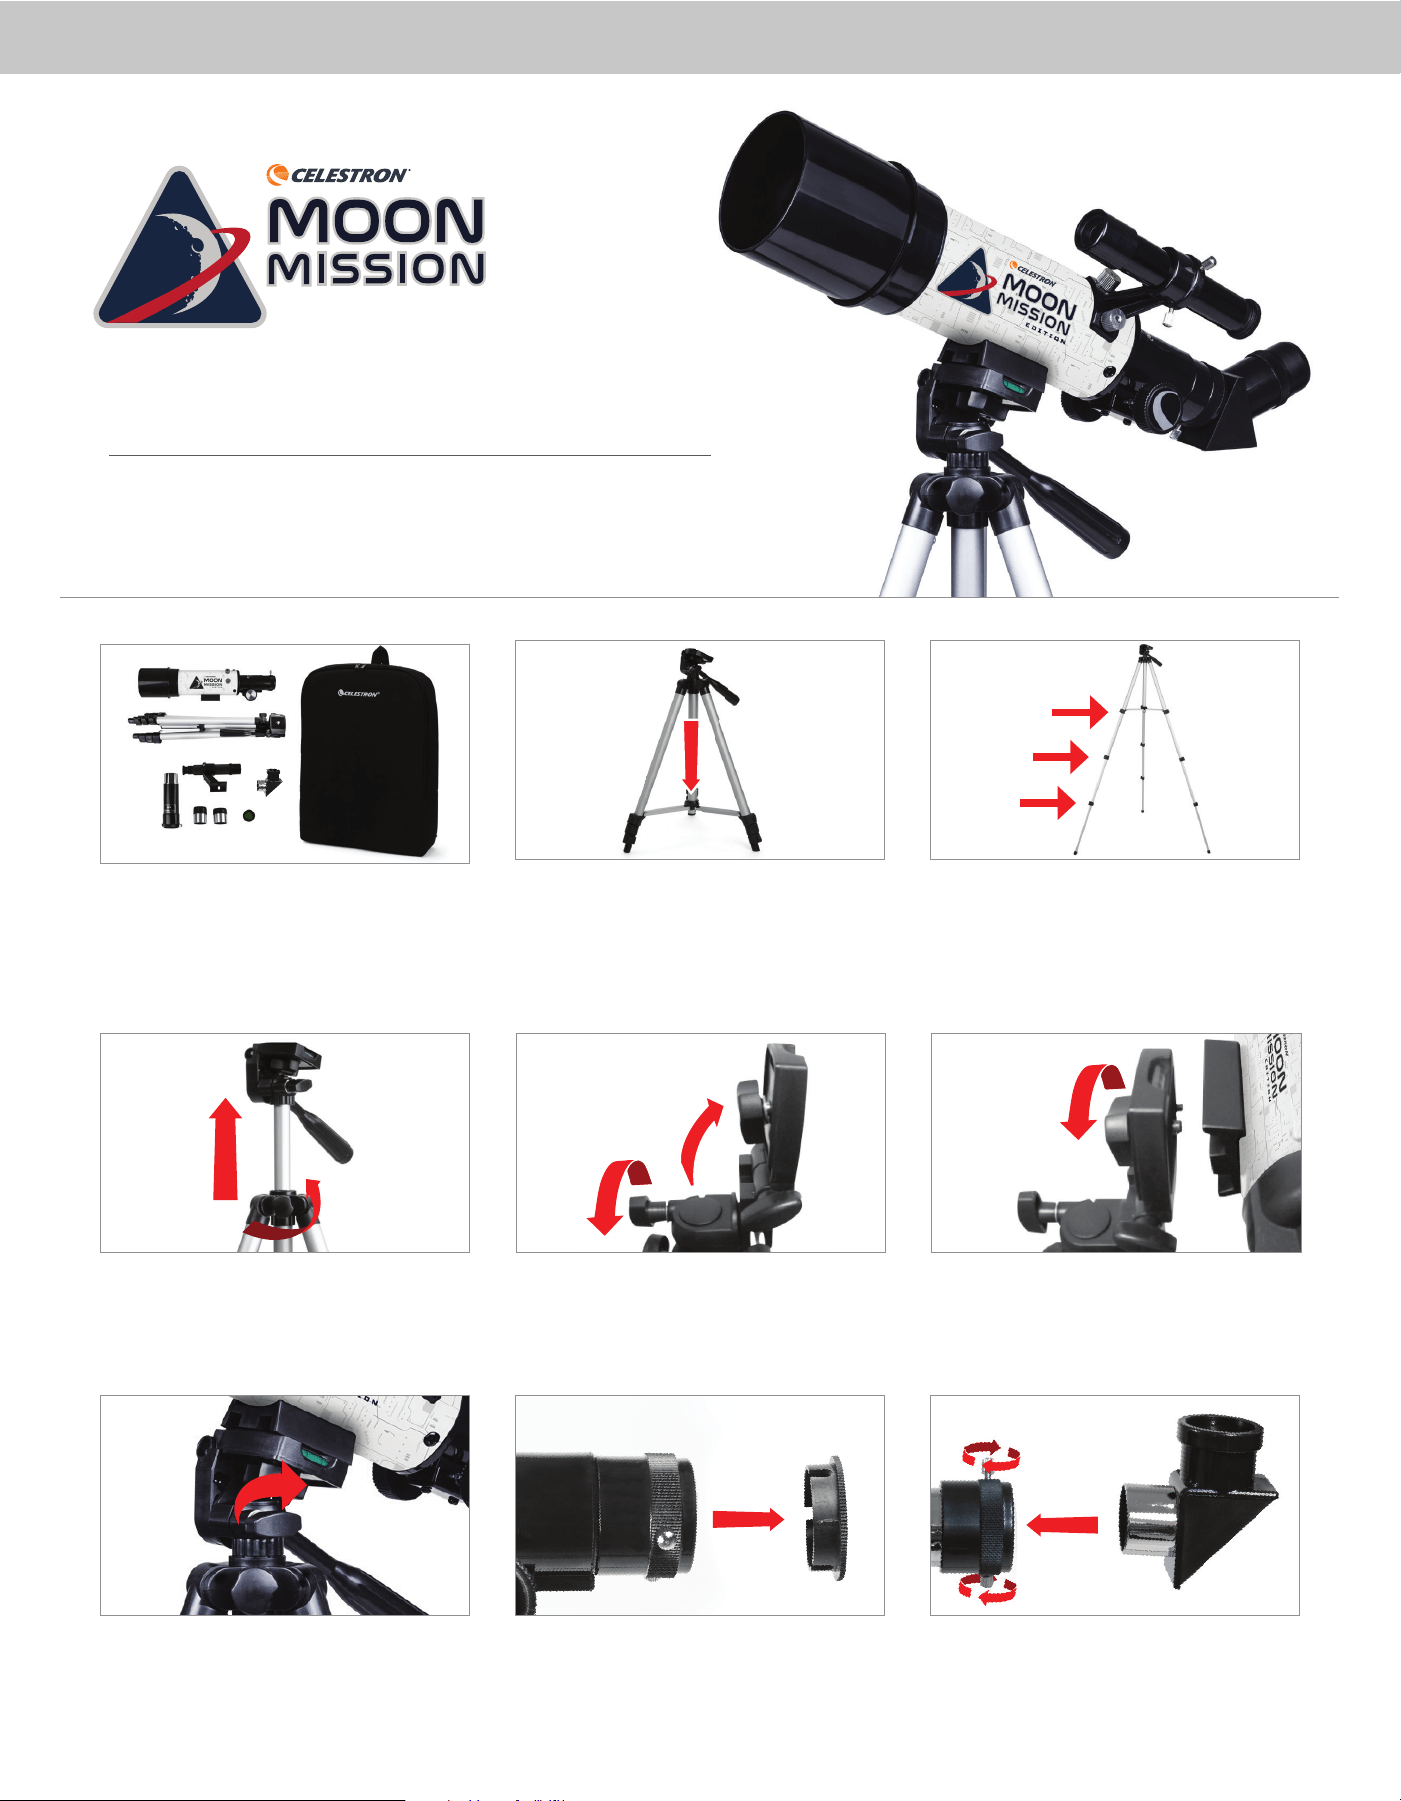
Unpack your telescope and verify that all parts are present. Your Moon
Mission Travel Scope 60 includes: a 60mm telescope tube, a tripod
and mount head, two eyepieces, a 3x Barlow lens, a finderscope, an
erect image diagonal, a Moon filter, and a Moon map.
To extend the tripod’s central column, loosen the collar on the mount
by turning the locking knob counterclockwise, lift up the tripod head
until it is at the desired height, and turn the locking knob clockwise
to secure.
Rotate the mounting platform so it is horizontal and tighten the knob
to secure it.
To set up the tripod, spread the legs outward until they are fully ex-
tended and push down on the center leg brace.
Loosen the knob on the side of the tripod head mounting platform and
rotate the platform 90 degrees so it is standing vertically.
Remove the cap from the focuser end of the telescope tube and make
sure the two thumbscrews do not protrude into the opening.
Extend the legs of the tripod by unlocking the three tripod lock levers
on each leg. Pull each leg section all the way out and push the lever
on each lock downward to secure it in place.
Match the 1/4”-20 threaded bolt in the mounting platform to the
threaded 1/4”-20 hole on the bottom of the telescope tube and thread
the two together by turning the upper mount knob clockwise. This
should be tight, but be sure to not over-tighten.
Locate the erect image diagonal and remove the plastic covers. Insert
the barrel of the diagonal into the focuser and secure it in place by
tightening the thumbscrews.
1 2 31
8 9
4 5
77
6
EDITION
ITEM #99902
ENGLISH
Quick Setup Guide
Travel Scope 60Travel Scope 60
2 | ENGLISH
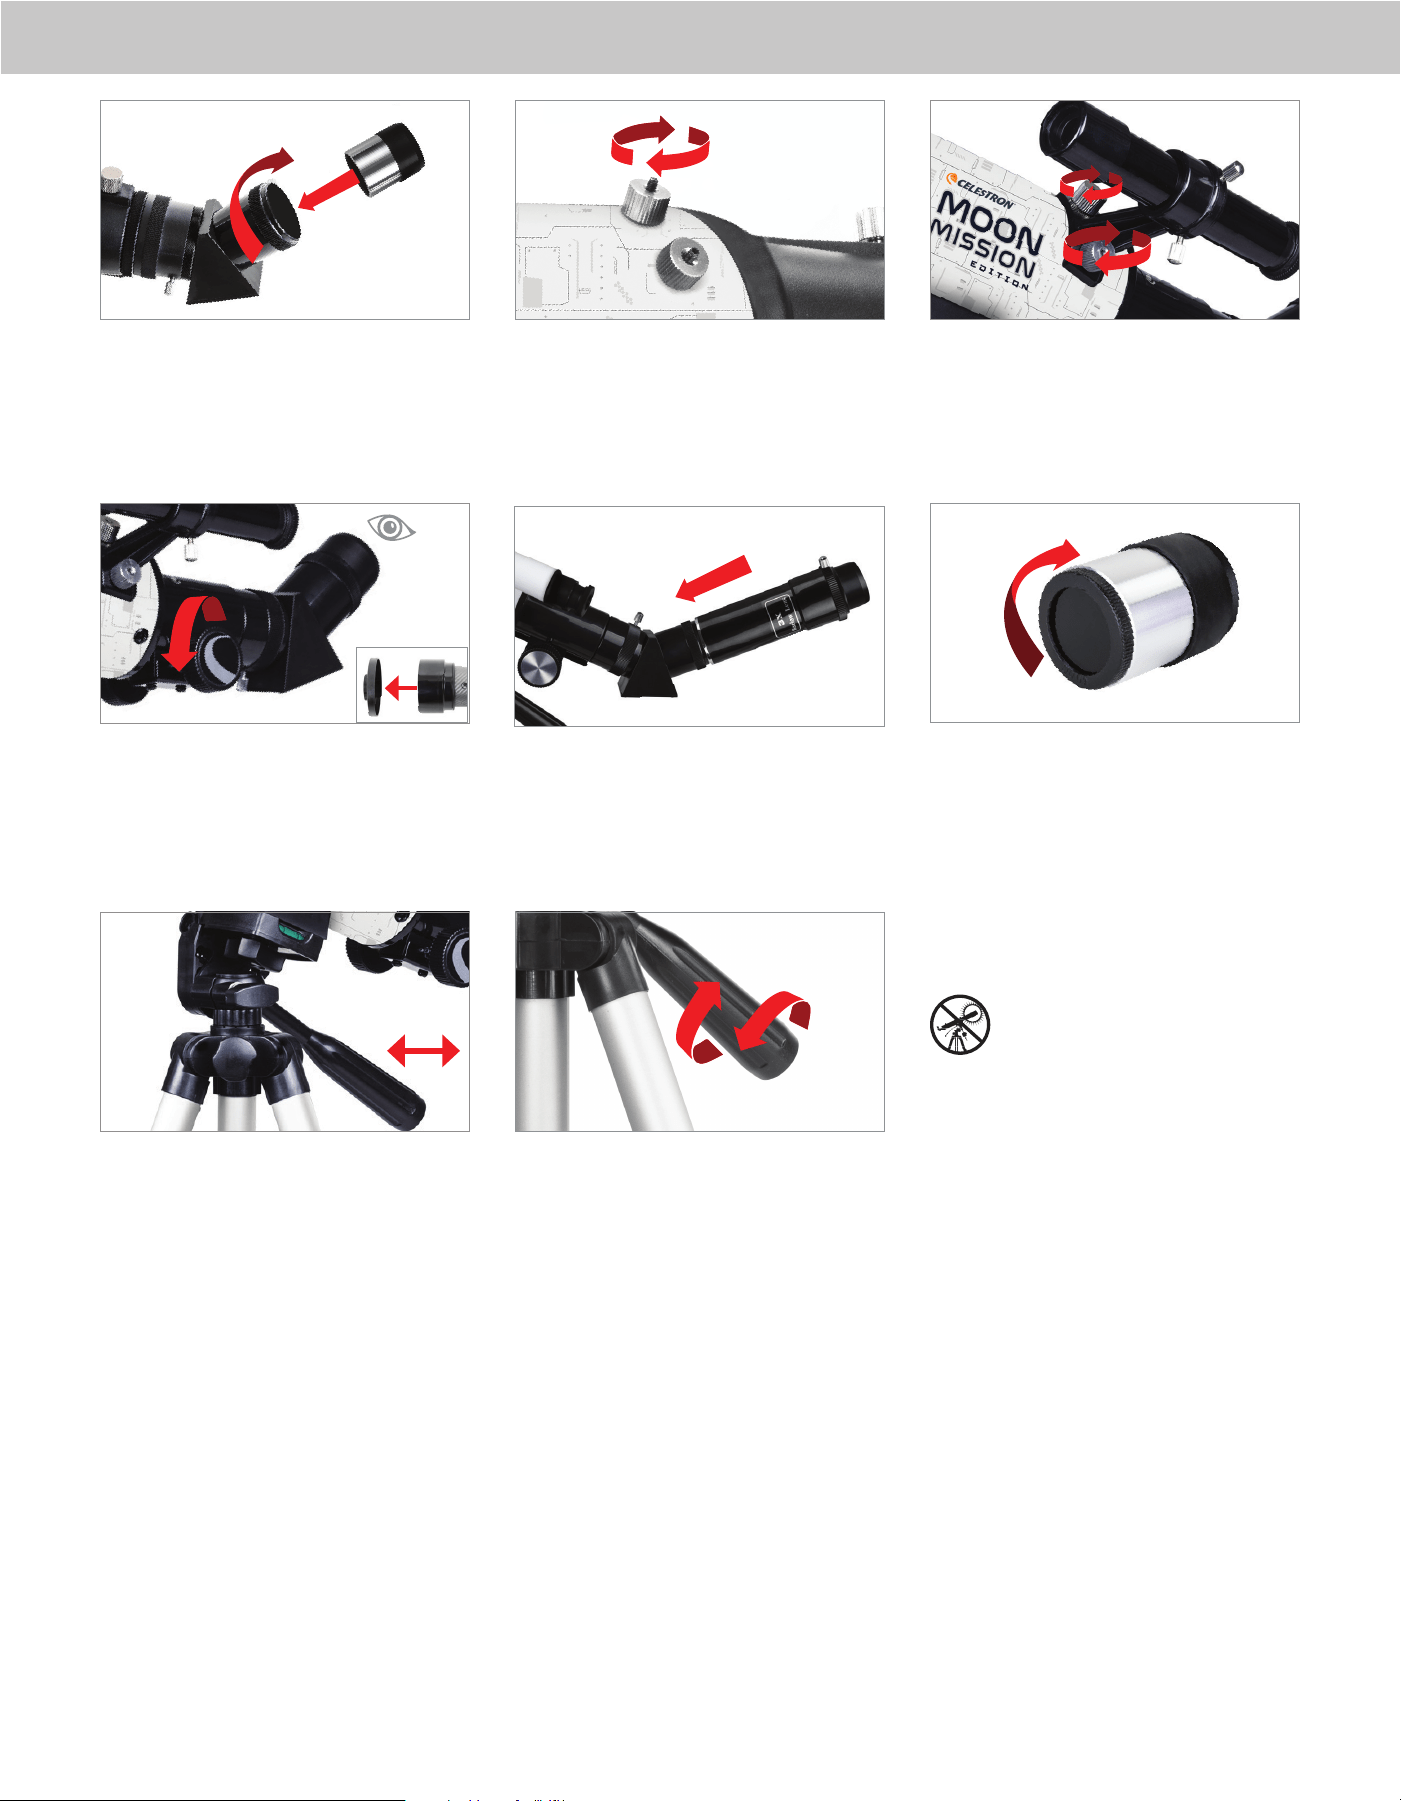
10
Insert the barrel of the 20mm eyepiece into the diagonal and tighten
the thumbscrew.
Remove the lens cap from the front of the telescope. To observe, look
through the eyepiece as shown. Focus the image by turning the knobs
below the focuser.
To move the scope right and left, hold a tripod leg with one hand
while the other hand uses the panning handle to move the scope.
The azimuth locking screw can be loosened or tightened to adjust the
tension to your preference.
Remove the knurled nuts on the threaded posts at the focuser end of
the telescope tube.
For additional magnification, you can use the included 3x Barlow lens.
Place the Barlow lens between the diagonal and the eyepiece.
To move the scope up and down, rotate the entire pan handle
counterclockwise and use the handle to point the scope in the
direction you want to view. Rotate the pan handle clockwise to
lock it in place.
Locate the finderscope and remove the plastic caps on the front and
back lens. Orient the finderscope so that the larger lens is facing
towards the front of the tube as shown. Place the finderscope over the
posts on the tube and replace the knurled nuts to secure it in place.
To use the Moon filter, remove the eyepiece from the diagonal or
Barlow lens. Thread the filter onto the bottom of the eyepiece and
re-insert the eyepiece into the diagonal or Barlow.
For more information on this product or to download
the instruction manual, please visit its product page
on celestron.com
SOLAR WARNING: Never attempt to view the Sun
through any telescope without a proper solar filter.
NEED ASSISTANCE?
Contact Celestron Technical Support
celestron.com/pages/technical-support
04-24
13 1414 15
1716
12
11
ENGLISH | 3
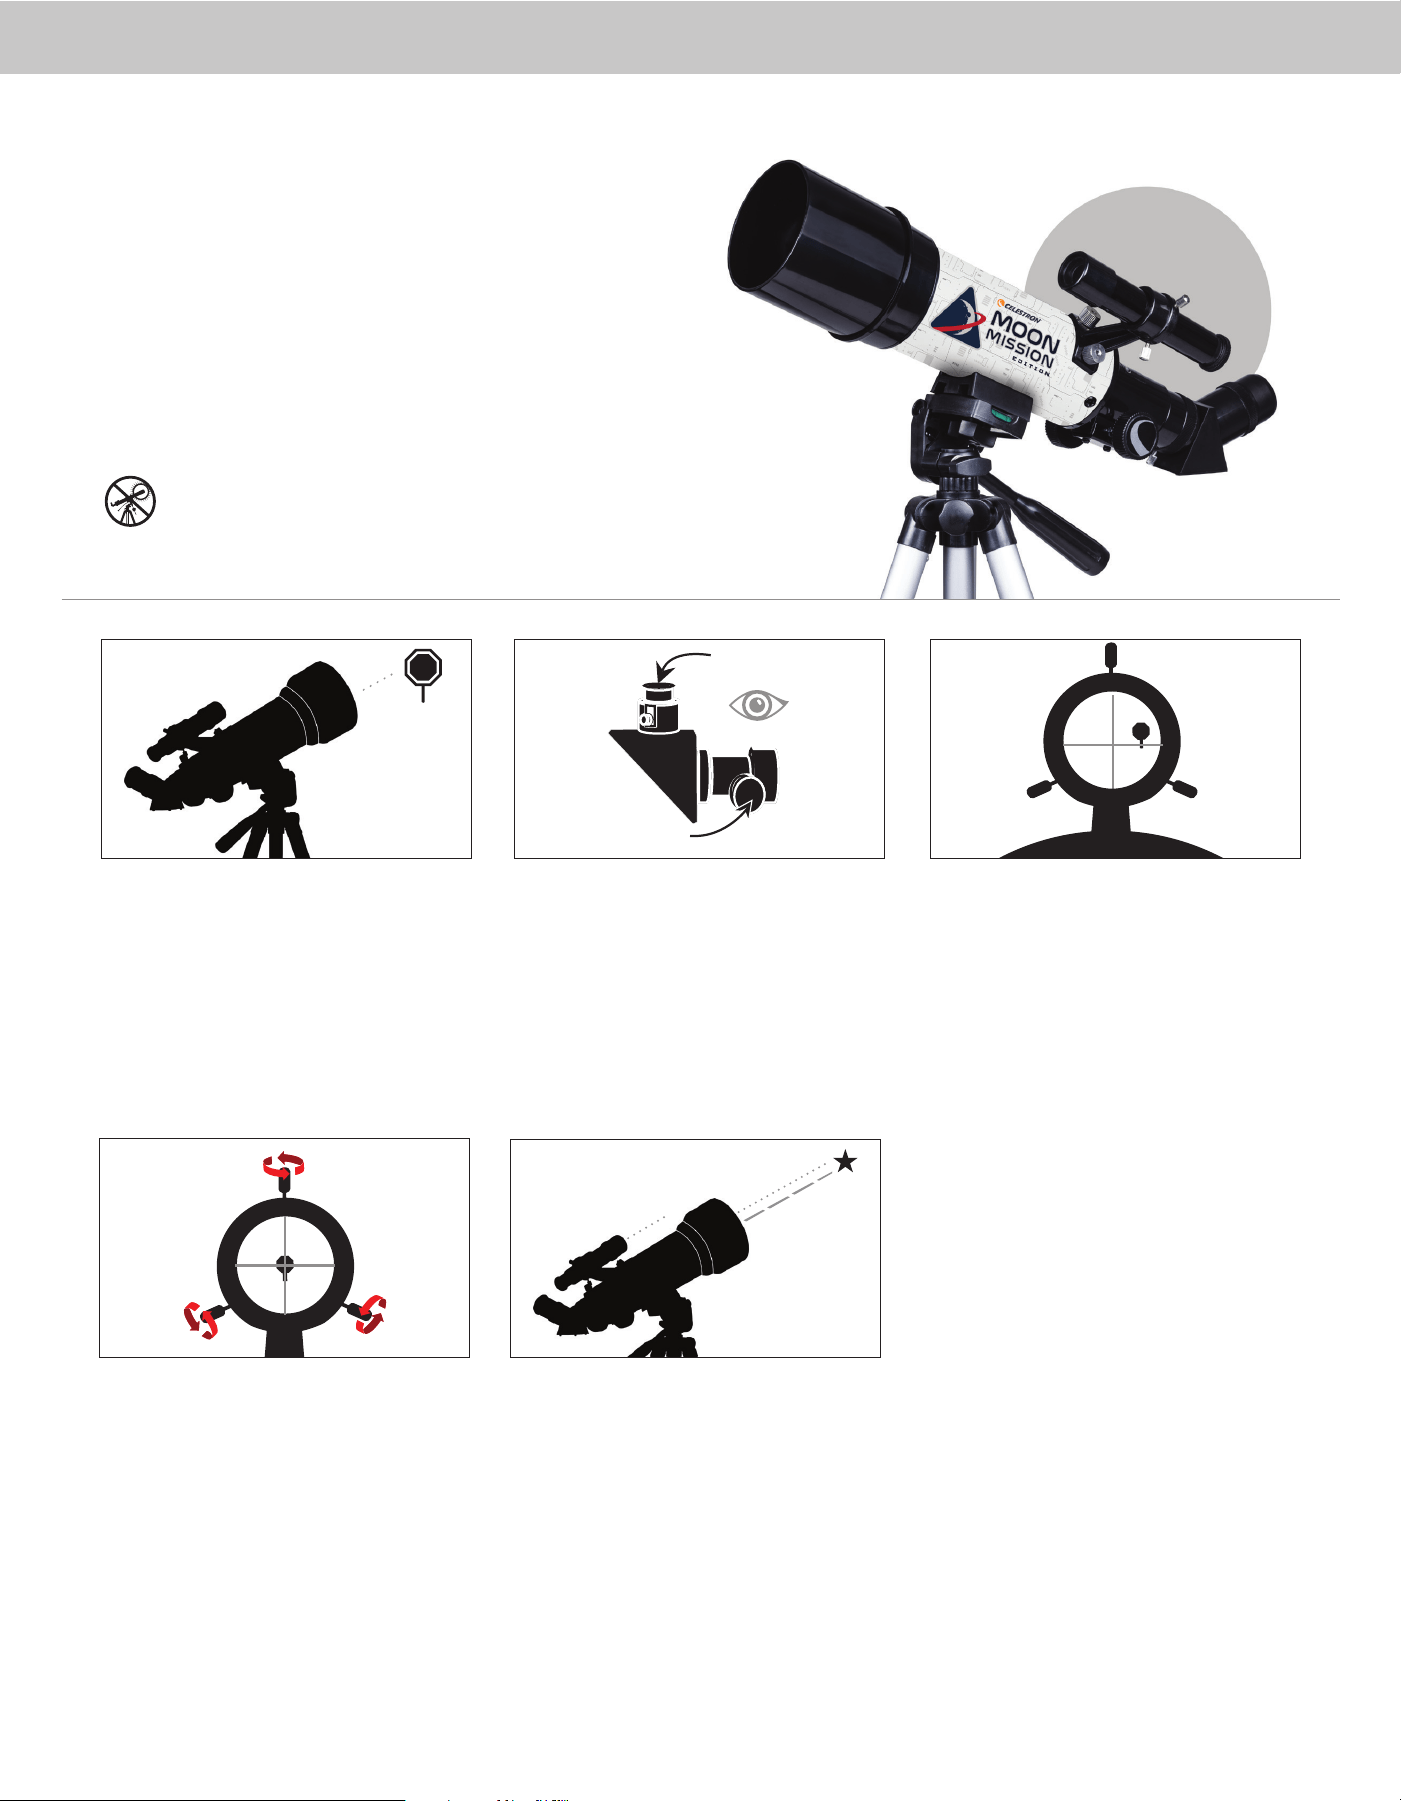
CENTER THE TARGET
IN THE EYEPIECE
Look through the telescope using your lower powered
eyepiece. Move the telescope until the object you
chose lies in the center of the view. If the image is
blurry, gently turn the focus knobs until it comes into
sharp focus.
LOOK THROUGH FINDERSCOPE
Once the object is centered in your 20mm eyepiece, look
through the finderscope and locate the crosshair reticle.
3
ADJUST THE FINDERSCOPE
Without moving the telescope, use the three finger
knobs on the finderscope bracket to move the finder
around in the bracket until the crosshair appears over
the same object you are observing in the telescope’s
20mm eyepiece.
TIP: Try adjusting one screw at a time. Loosen
one screw by half a turn and tighten
another by the same amount to ensure the
finderscope is securely held in place.
YOUR FINDERSCOPE IS
NOW ALIGNED!
It should not require realignment unless it is bumped
or dropped.
4
The finder is one of the most important parts of your telescope. It helps you
locate objects and center them in the eyepiece. The first time you assemble your
telescope, you need to align the finder to the telescope’s main optics. It’s best to
do this during the day*.
* SOLAR WARNING! Never attempt to view the Sun through any telescope
without a proper solar filter
!
ALIGNING THE
FINDERSCOPE
CHOOSE A TARGET
Take the telescope outside during the day and find an
easily recognizable object like a streetlight, license
plate or sign. The object should be as far away as
possible, but at least a quarter mile away.
2
Low Power Eyepiece
Focus Knobs
1
5
4 | ENGLISH
ASTRONOMY MOBILE APP & DESKTOP SOFTWARE
Your purchase includes Starry Night Celestron
Software for PC and Mac, plus our SkyPortal Powered
by SkySafari
TM
planetarium app for iOS and Android.
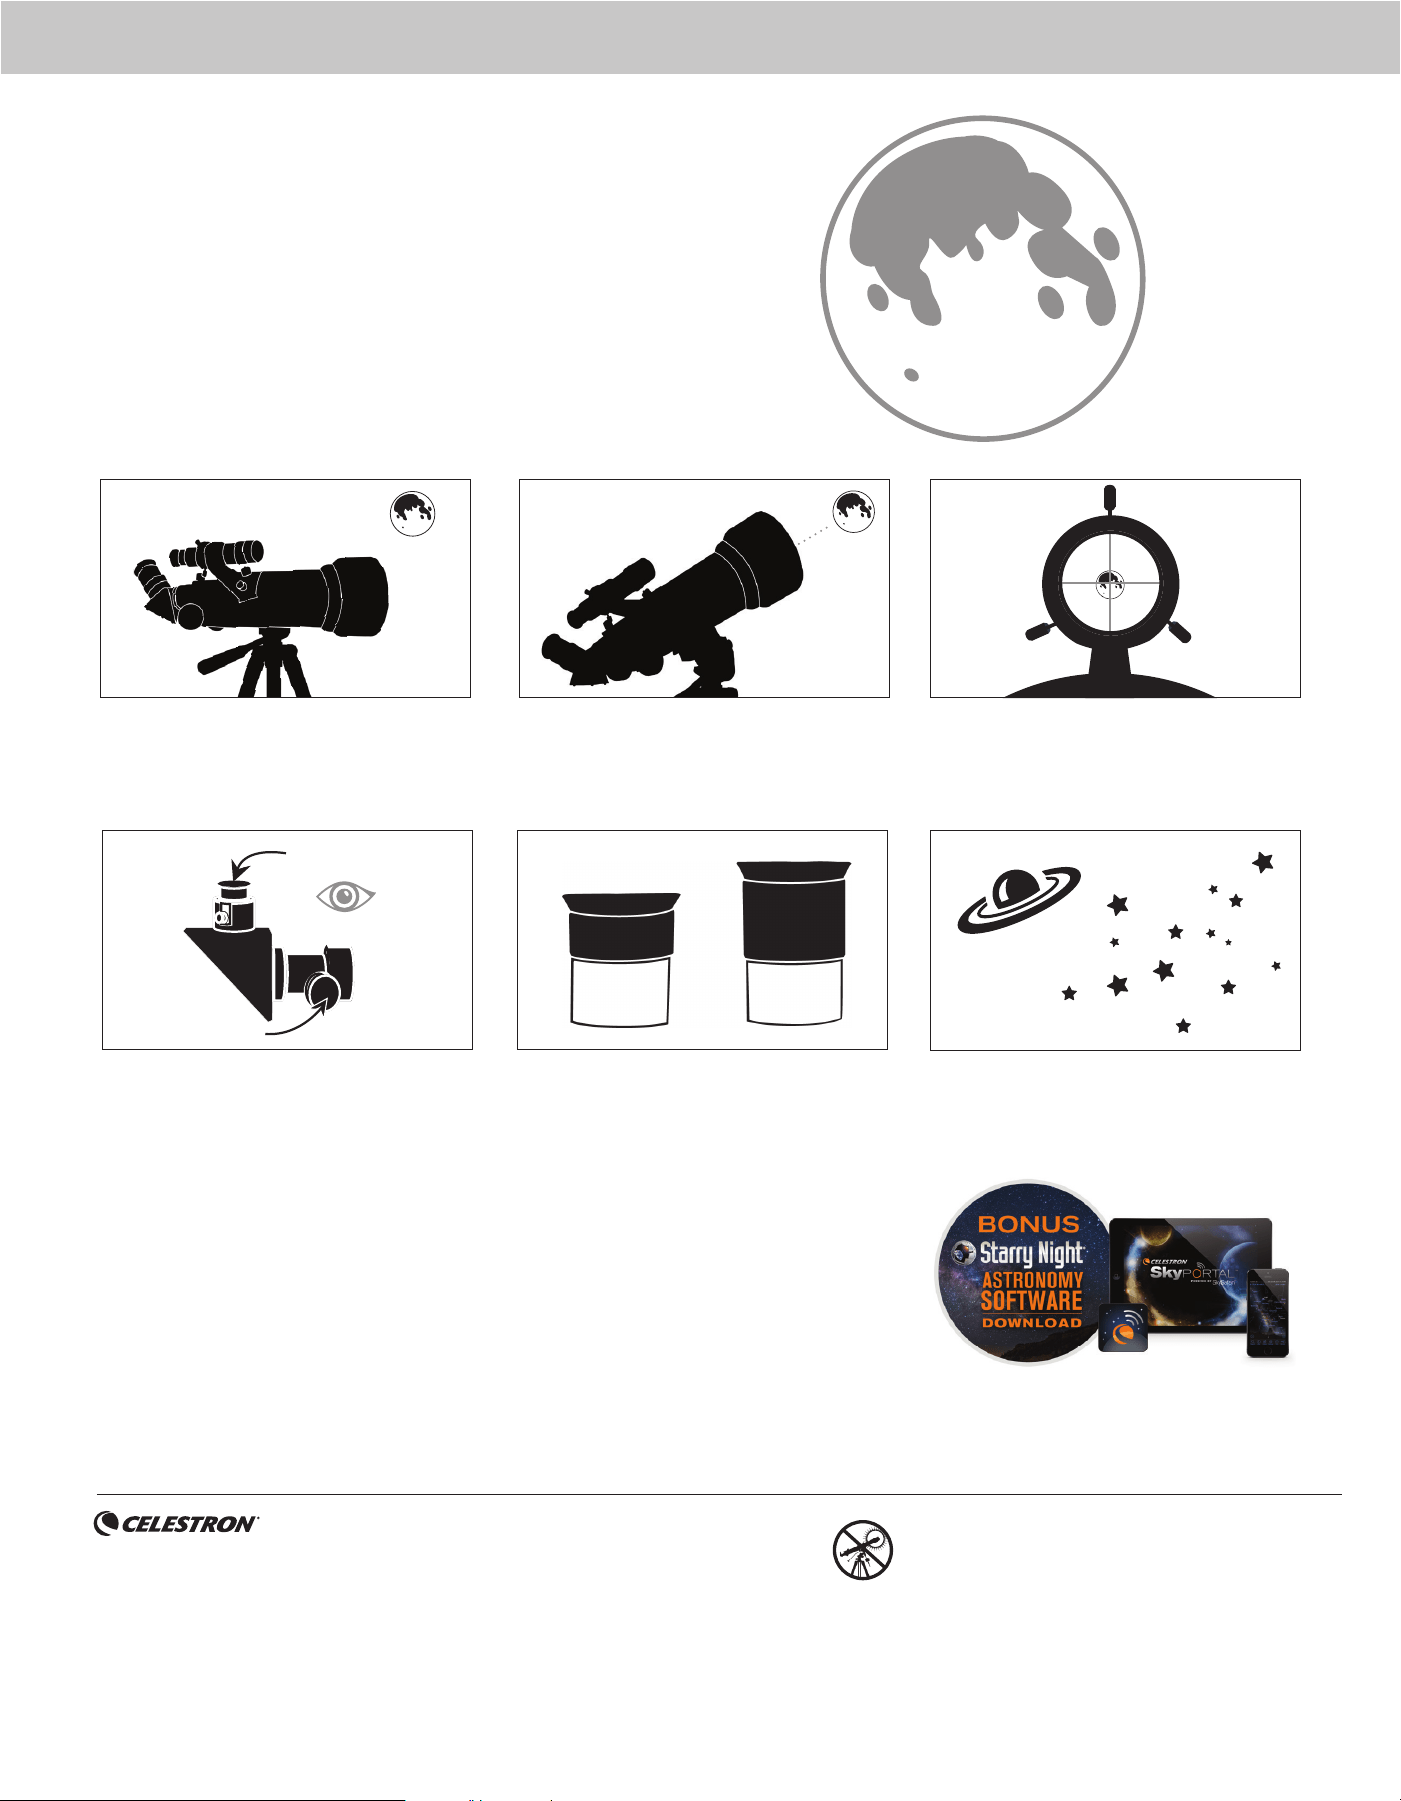
With the Moon visible in the sky, set up your telescope
with the 20mm eyepiece installed.
Look through the telescope’s 20mm eyepiece. Gently
turn the focus knobs to adjust the sharpness of the
image.
You can view many other celestial objects, such as
planets, star clusters and nebulae using this same
technique if you know where to fi nd them in the
night sky.
The best and easiest target for you to try to view fi rst is the Moon. Try
observing the Moon at different points in its phase cycle. The best time
to view the Moon is from two days after a New Moon up to a few days
before a Full Moon. During this period, you will be able to see the most
detail in the craters and lunar mountain ranges.
YOUR FIRST NIGHT OUT
THE MOON
To get a closer view of the Moon, loosen the
thumbscrews on the focuser and remove the 20mm
eyepiece. Replace it with your 8mm eyepiece and
tighten the thumbscrews to secure it in place. The
8mm eyepiece will give you signifi cantly more
magnifi cation, making the Moon appear much larger.
NOTE: You may need to adjust the focus knobs when
you change eyepieces to make sure you are
getting the sharpest image possible.
Move the telescope so that it is roughly pointing
toward the Moon.
Look through the fi nderscope and locate the crosshair
reticle. Continue moving the telescope until the
crosshair appears over the Moon.
1
6
3
CONGRATULATIONS!
YOU HAVE NOW OBSERVED YOUR
FIRST CELESTIAL OBJECT!
2
Low Power Eyepiece
Focus Knobs
4 55
8mm
20mm
©2024 Celestron. • Celestron and Symbol are trademarks of Celestron, LLC.
All rights reserved. • Celestron.com
2835 Columbia Street, Torrance, CA 90503 USA
This product is designed and intended for use by those 14 years of age and older.
(Products or instructions may change without notice or obligation.)
Printed in China • 04-24
NEED ASSISTANCE?
Contact Celestron Technical Support
celestron.com/pages/technical-support
SOLAR WARNING: Never attempt to view the Sun through any telescope
without a proper solar fi lter.