Loading ...
Loading ...
Loading ...
Important Safety Instructions
SELF CLEANING OVENS
• Clean in the self-cleaning cycle only the parts listed in this
Use & Care Guide. Before self cleaning the oven, remove the
broiler pan and any utensils or foods from the oven.
• Do Not Use Oven Cleaners--No commercial oven cleaner or
oven liner protective coating of any kind should be used in or
around any part of the oven.
• Do Not Clean Door Gasket--The door gasket is essential for
a good seal. Care should be taken not to rub, damage or
move the gasket.
IMPORTANT SAFETY NOTICE
The California Safe Drinking Water and Toxic Enforcement Act
requires the Governor of California to publish a list of
substances known to the state to cause cancer, birth defects or
other reproductive harm, and requires businesses to warn
customers of potential exposure to such substances.
GROUNDING INSTRUCTIONS
See the INSTALLATION INSTRUCTIONS packaged with this range for complete installation and
grounding instructions.
For personal safety, the range must be properly grounded. For maximum safety, the power cord
must be plugged into an electrical outlet that is correctly polarized and properly grounded.
Product Record
(See Serial Plate Location below)
Model No. 790.
Serial No.
Date of Purchase
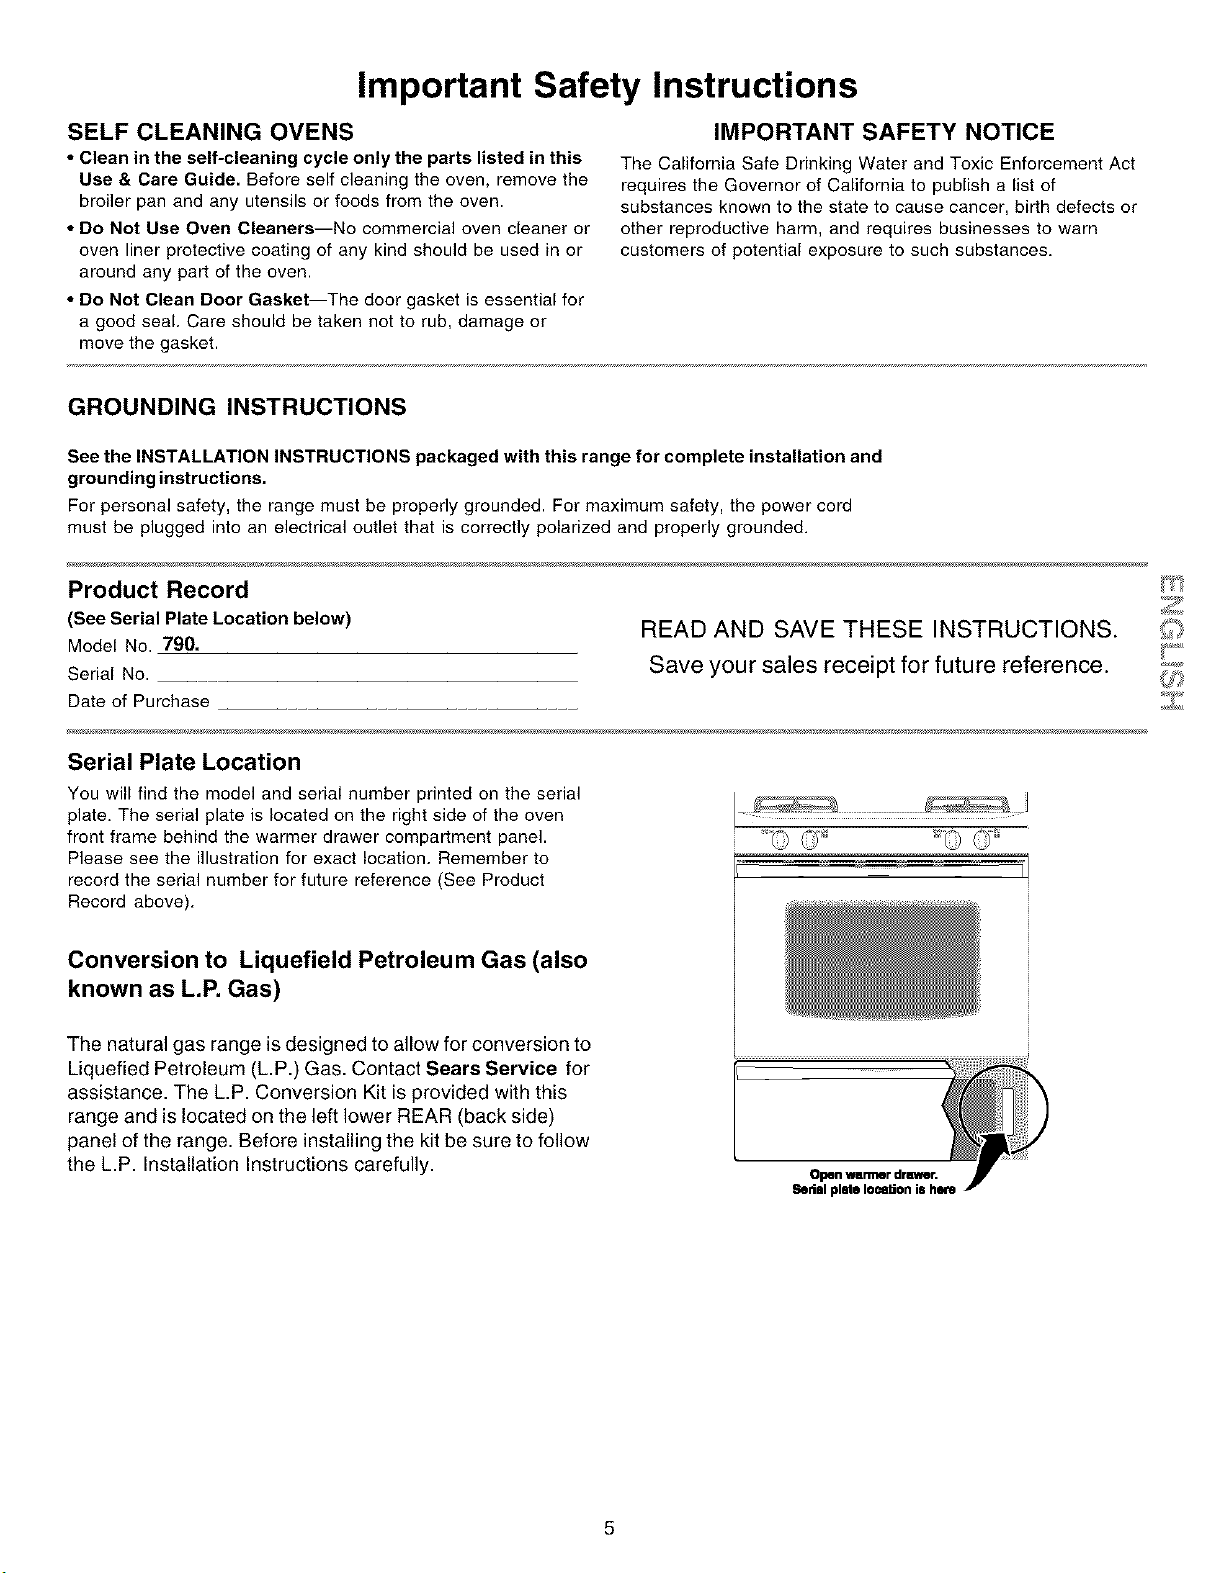
Serial Plate Location
You will find the model and serial number printed on the serial
plate. The serial plate is located on the right side of the oven
front frame behind the warmer drawer compartment panel.
Please see the illustration for exact location. Remember to
record the serial number for future reference (See Product
Record above).
READ AND SAVE THESE INSTRUCTIONS.
Save your sales receipt for future reference.
Conversion to Liquefield Petroleum Gas (also
known as L.P. Gas)
The natural gas range is designed to allow for conversion to
Liquefied Petroleum (L.P.) Gas. Contact Sears Service for
assistance. The L.P. Conversion Kit is provided with this
range and is located on the left lower REAR (back side)
panel of the range. Before installing the kit be sure to follow
the L.P. Installation Instructions carefully.
5
Loading ...
Loading ...
Loading ...