Loading ...
Loading ...
Loading ...
— 11 —
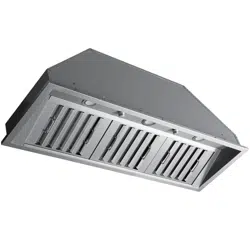
Installation
STEP 6
Preparations
NOTE: To avoid damage to your hood, prevent debris from entering the vent opening.
• Determine and mark the centre line on the ceiling or wall where the range hood will be installed.
• Make sure there is proper clearance within the ceiling or wall for exhaust vent.
• Duetotheweightandsizeofthisunit,pleasemakesurethatthesupportsystemorframeworkbeingusedisstableand
secure in the ceiling or wall.
• Put a thick, protective covering over counter top, cooktop or range to protect from damage or dirt.
• Removeanyhazardousobjectsaroundtheareawheninstalling.
CAUTION
If moving the cooking range is necessary to install the hood, turn OFF the power on an electric range at the main
electrical box. SHUT OFF THE GAS BEFORE MOVING A GAS RANGE.
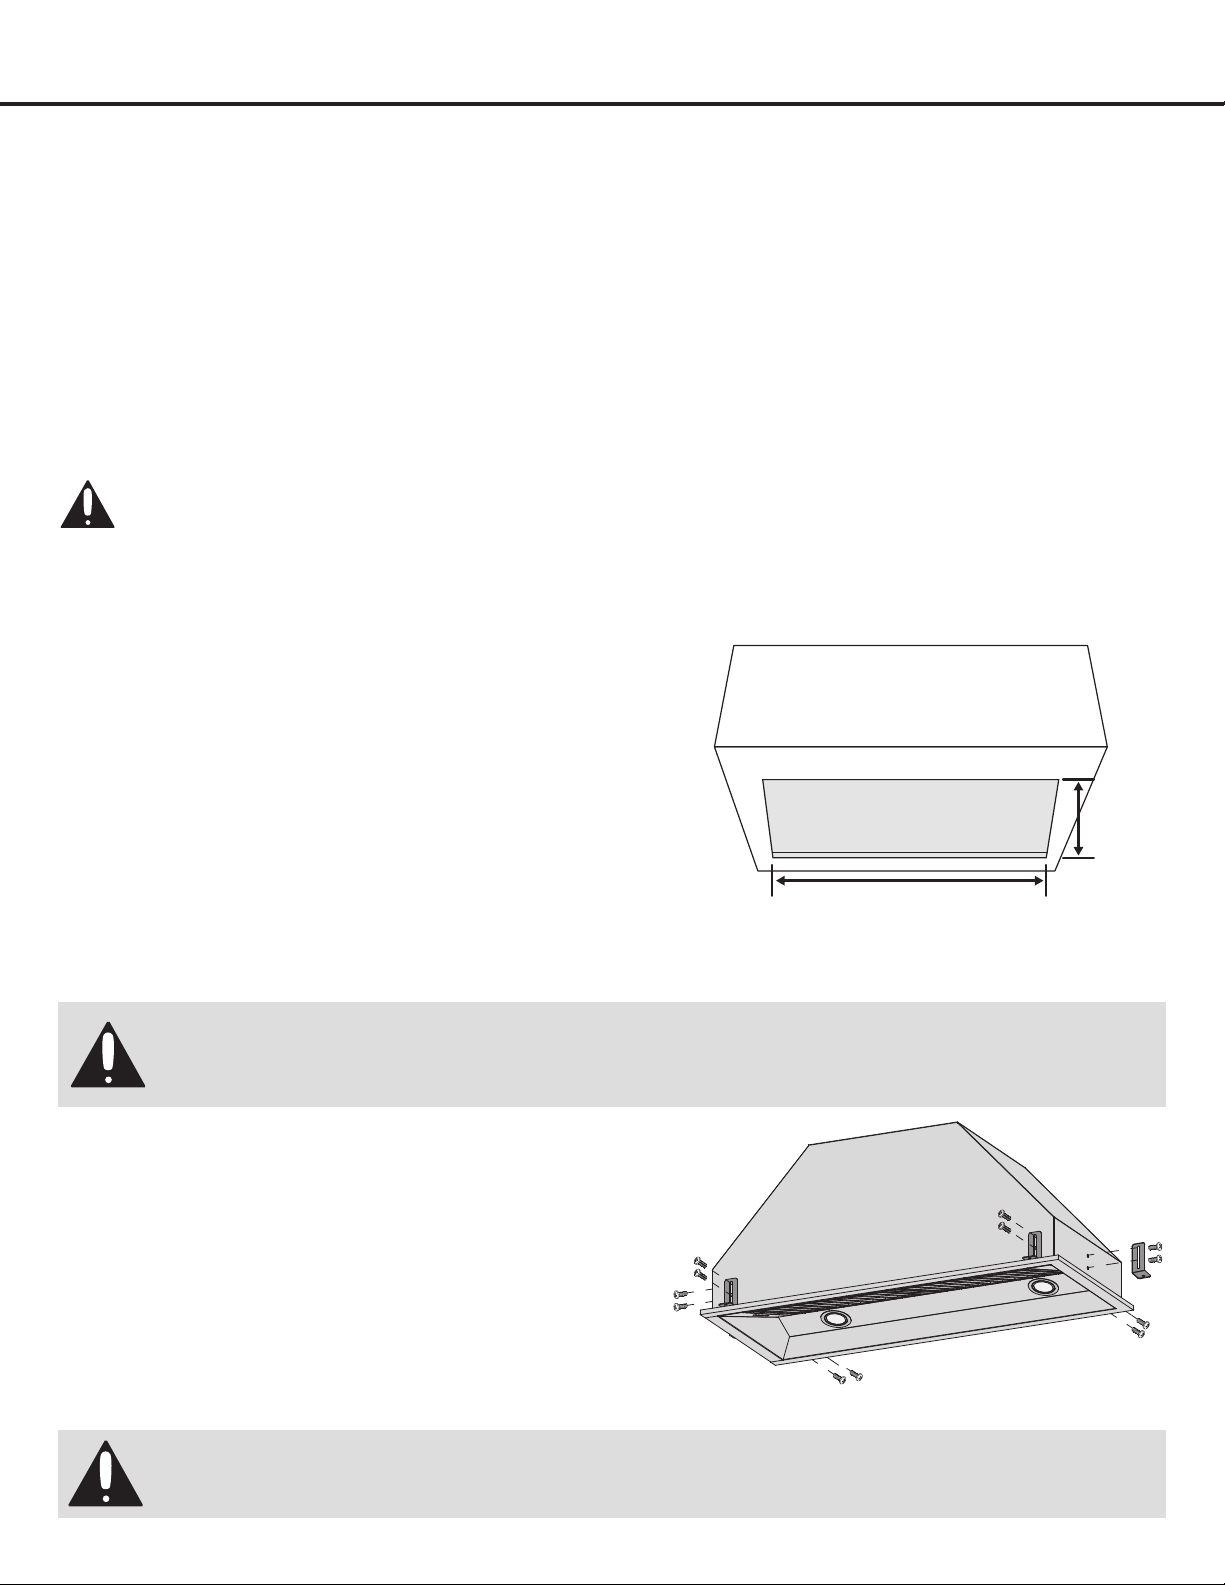
Figure 1
STEP 7
Cabinet Preparations
• Start with the custom hood base, because its position will
determine the height of the insert.
• We recommend the base of the custom hood should be 3/4 inch
thick plywood. If an optional custom hood liner will be installed,
we recommend the sides and front of the custom hood to be
3/4 inch thick, assuming standard cabinet widths. If the optional
custom hood liner will not be installed, the custom hood side and
front thickness is at the installer’s discretion.
• Cut a hole in the bottom of the cabinet, using the dimensions
shown on gure 1.
14 in./
35.5 cm
26.9 in. / 68.3 cm (28 in.)
32.8 in. / 83.3 cm (34 in.)
44.6 in. / 113.2 cm (46 in.)
Warning: The framework must be positively secured to wall studs or other wooden framework behind the
drywall. Make sure it is capable of supporting its own weight. Failure to do so may cause personal injury or
damage to countertop or cooktop.
STEP 8
Installation of Brackets
• L shaped bracket mounting screws are provided for convenient
installation
• Using screws and L shaped brackets provided, install each L
shaped bracket through pre-drilled mount holes (See gure 2).
Figure 2
Due to some installation differences with custom hoods, the L brackets may not work. Before
installing insert please determine if brackets will work for your installation needs.
Loading ...
Loading ...
Loading ...