ASSEMBLY & INSTRUCTION MANUAL
IMPORTANT, RETAIN FOR FUTURE REFERENCE: READ CAREFULLY
INcjd078_US_820-249V80
INcjd078_US_820-249V80
1
WHEN USING ELECTRICAL APPLIANCES, BASIC PRECUATIONS SHOULD ALWAYS BE
FOLLOWED TO REDUCE THE RISK OF FIRE, ELECTRIC SHOCK AND INJURY TO
PERSON, INCLUDING THE FOLLOWING:
● Read all instructions before using this heater.
● This heater is hot when in use. To avoid burns, do not let bare skin touch hot surfaces.
Use grip handle when provided.
● Keep combustible materials such as drapes, furniture, pillows, bedding, papers,
clothes, and curtains at least three (3) feet (0.9m) from the front of heater and keep them
at least 1 foot (0.3m) the sides and rear of the heater.
● Extreme caution is necessary when heater is used by or near children or invalids and
whenever the heater is left operating and unattended.
● Always unplug heater when not in use.
● Do not use any heater with a damaged cord or plug or after the heater malfunctions or
has been dropped or damaged in any manner. Return heater to manufacturer for
examination, electrical or mechanical adjustment, or repair. (See Warranty for
information).
● Do not use outdoors.
● This heater is not to be used in bathrooms, laundry areas or other similar indoor
locations. Never locate heater where it may fall into a bathtub or other water container.
● Do not run cord under carpeting. Do not cover cord with throw rugs, runners or the like.
Arrange cord away from traffic area where it will not be tripped over.
● To disconnect heater, turn control to OFF then remove plug from outlet.
● Do not insert or allow foreign objects to enter any ventilation or exhaust opening as this
may cause electric shock or fire or damage the heater.
● To prevent possible fire, do not block air intakes or exhaust in any manner. Do not use on
soft surfaces, like a bed, where openings may become blocked.
● A heater has hot and arcing or sparking parts inside. Do not use it in areas where
gasoline, paint or flammable liquids are used or stored.
● Use this heater only as directed in this manual. Any other use not recommended by the
manufacturer may cause fire, electric shock or injury to persons.
● Always plug heaters directly into a wall outlet/receptacle. Never use with an extension
cord or relocatable power tap (outlet/power strip).
● If the heater will not operate: See specific instructions in Safety Feature explained in this
manual.
CLEANING/ MAINTENANCE INSTRUCTIONS:
During Season Care:
● Before cleaning, be sure to turn off and unplug the heater.
● Carefully wipe the unit with a soft, damp cloth. Please be very cautious near the motor
and heating elements.
● Do not immerse the heater in water.
● Never use gasoline, benzene or thinner. This will damage the surface of the heater.
● After cleaning, be sure to completely dry the unit with a cloth or towel.
After Season Care:
● Store heater in a cool and dry location with power cord properly secured.
● Please store the unit in its original carton or suitable container.
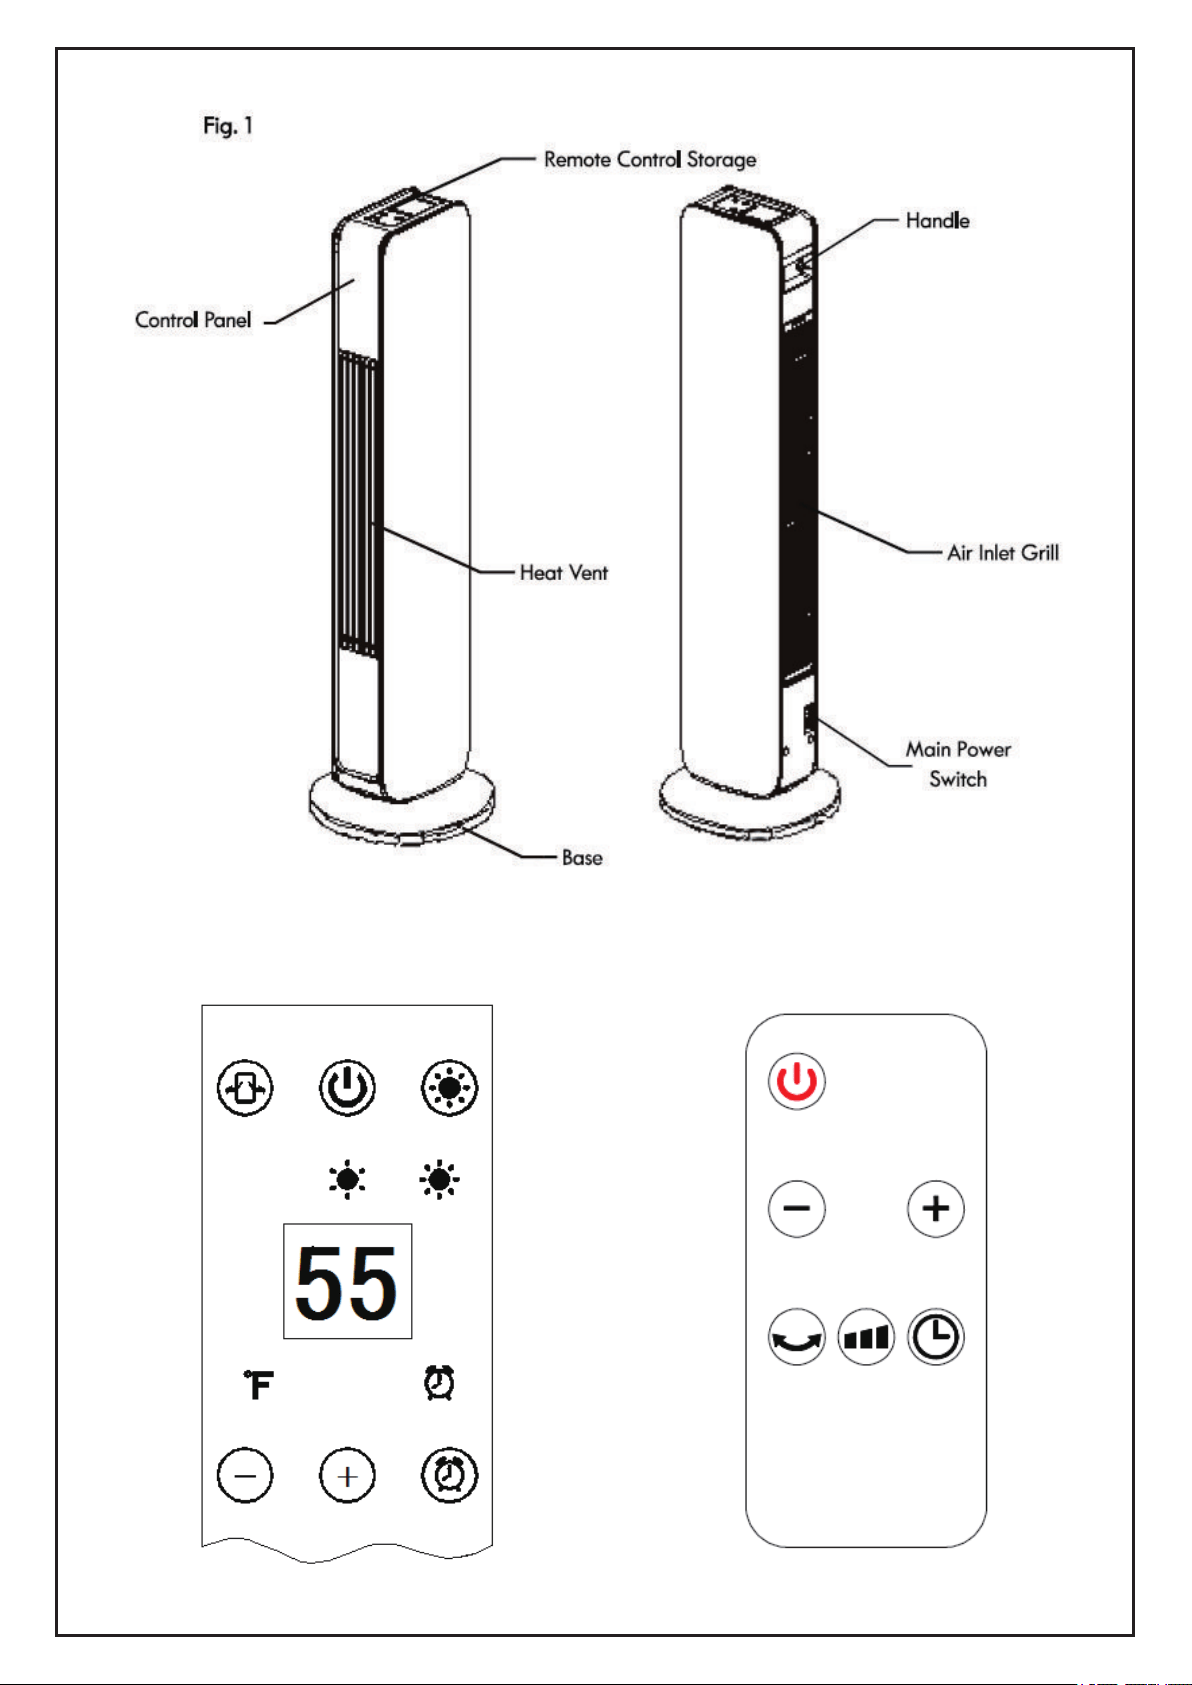
PARTS AND FEATURES
It is important to know your heater's parts and features to ensure its proper and safe
use.Review these before using your heater.
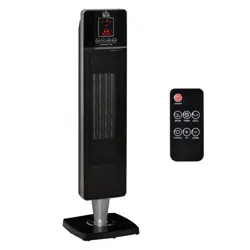
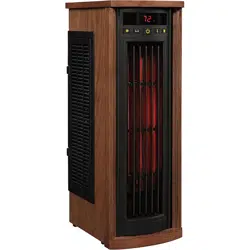
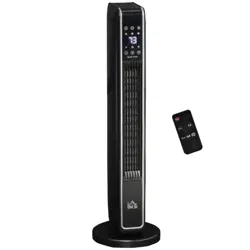
TOWER HEATER
2
Fig. 2 Fig.3
3
USING THE HEATER
HEATER OPERATION
Always operate the heater in the upright position following all instructions and
recommendations listed in this manual.
HEATER LOCATION
Place the heater in the area of the room that is coldest.
HEATER CONNECTION
Plug heater directly into 120 volt A.C. 60Hz outlet.Be sure the plug fits tightly in outlet.A
loose connection may cause overheating and damage to the plug or heater.
NOTE:To prevent overloading a circuit, do not plug the heater into a circuit that is serving
other electrical needs.
The heater may be operated by the controls located on the heater (see Fig.2) or by the
remote control(see Fig.3)
1.Carefully remove the heater from the plastic bag and the carton.
2.Place the heater on a firm level surface.
3.Power On the unit by switching on the Main Power Switch(Fig.1).The control panel will
display the factory default temperature of 77 °F for one second, and then show the current
room temperature.
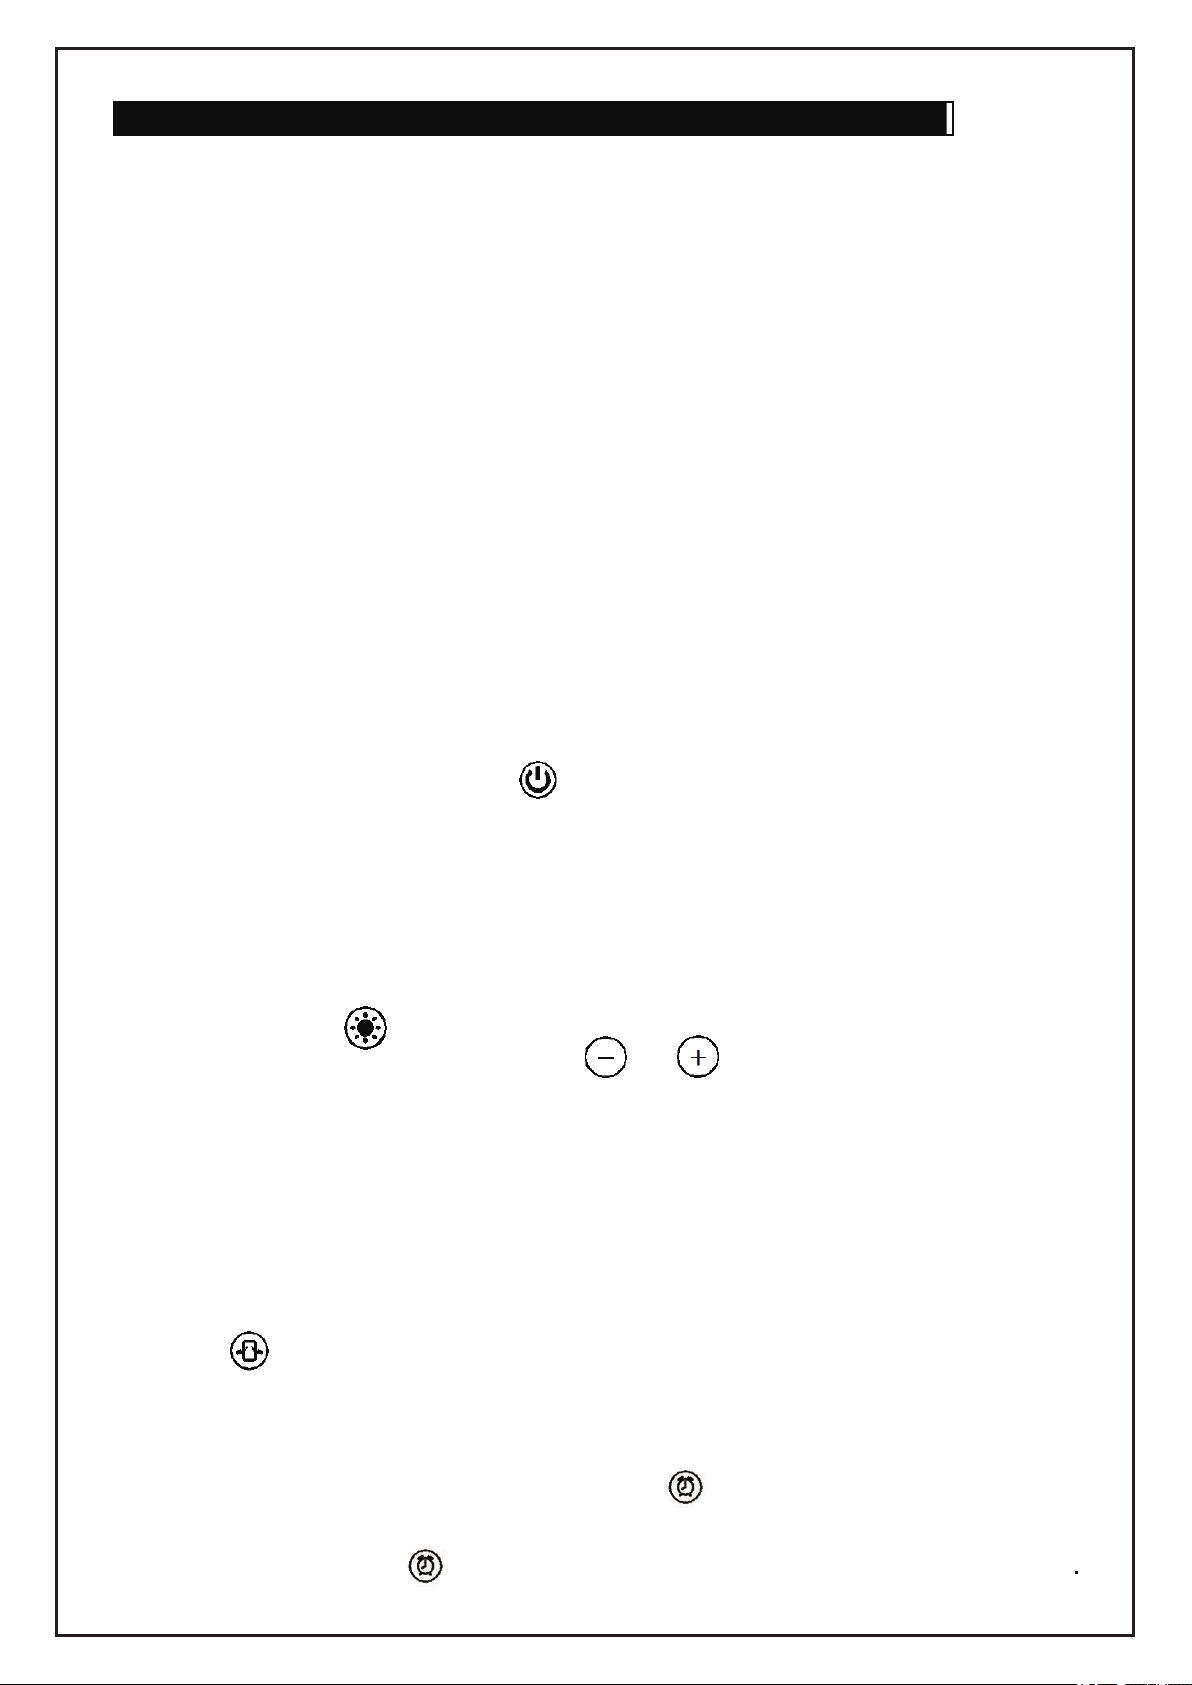
4.Turn the heater ON by pressing the on the control panel or remote control.
- If the room temperature is less than 2°F lower than the set temperature,the heater will
go into FAN MODE and blow unheated air.
- If the room temperature is less than 2°F-4°F lower than the set temperature,the
heater will go into LOW HEAT MODE and blow warm air.
- If the room temperature is more than 4°F lower than the set temperature,the
heater will go into HIGH HEAT MODE and blow hot air.
5.Regardless of the difference between room temperature and heater settings,you may
repeatedly press the button to force the heater to advance to LOW,HIGH or FAN
mode.
NOTE: Once in a particular mode, using the or buttons to adjust the heater
setting will also advance the mode according to the temperature differences specified in
step 4 above.
6.To turn the heater off,press the POWER button.
NOTE: When the unit is powered off on the control panel, the fan may continue to run to
cool off the ceramic elements and dispense any retained heat.The unit shut off
automatically when sufficiently cooled down.
OSCILLATING FUNCTION
The Oscillating function will work in any mode.
Press the button to oscillate the heater fan from left to right across a wide
degree arc.To turn the oscillation off,press this button again.
TIMER FUNCTION
The Timer function will work in any mode.The timer function allows you to set the
length of operation from 1 to 8 hours.Each time the button is pressed the
length of operation will increase 1 hour.The duration the timer is set for will be
displayed on the LED screen in hour increments.TO TURN THE TIMER
FUNCTION OFF: Press the button continuously until the LED screen
displays “ 0 H”
4
USING THE HEATER
TEMPERATURE SETTING
1. You may adjust the desired temperature setting in any heater operation
mode.The temperature can be set from 50°F to 95°F.
2. Press the or button to adjust the temperature setting.
- The heater will operate in LOW HEAT mode and blow warm air when the set
temperature is 2°F-4°F higher than the room temperature.
- The heater will operate in HIGH HEAT mode and blow hot air when the set
temperature is more than 4°F higher than the room temperature.
- When the room temperature reaches the set temperature the heater will
automatically go into FAN MODE and blow unheated air.
NOTE:The heater will cycle between FAN MODE and LOW HEAT MODE as it
maintains the set temperature.
SAFETY FEATURES
A thermal overload protector is built into the heater to automatically shut the heater
off if it becomes overheated. The heater must cool down and be reset before it will
operate again.To reset,turn the Main Power Switch button to Off and then back
ON.Press the button on the control panel to resume normal operation.Be sure
that the heater is on a smooth level surface with no obstructions.The heater is also
equipped with a safety tip-over switch to turn power off to the heater when the heater
tip over.To resume heater functions simply stand heater upright.With tip over
protection, the heater will only operate when placed upright on a level surface.
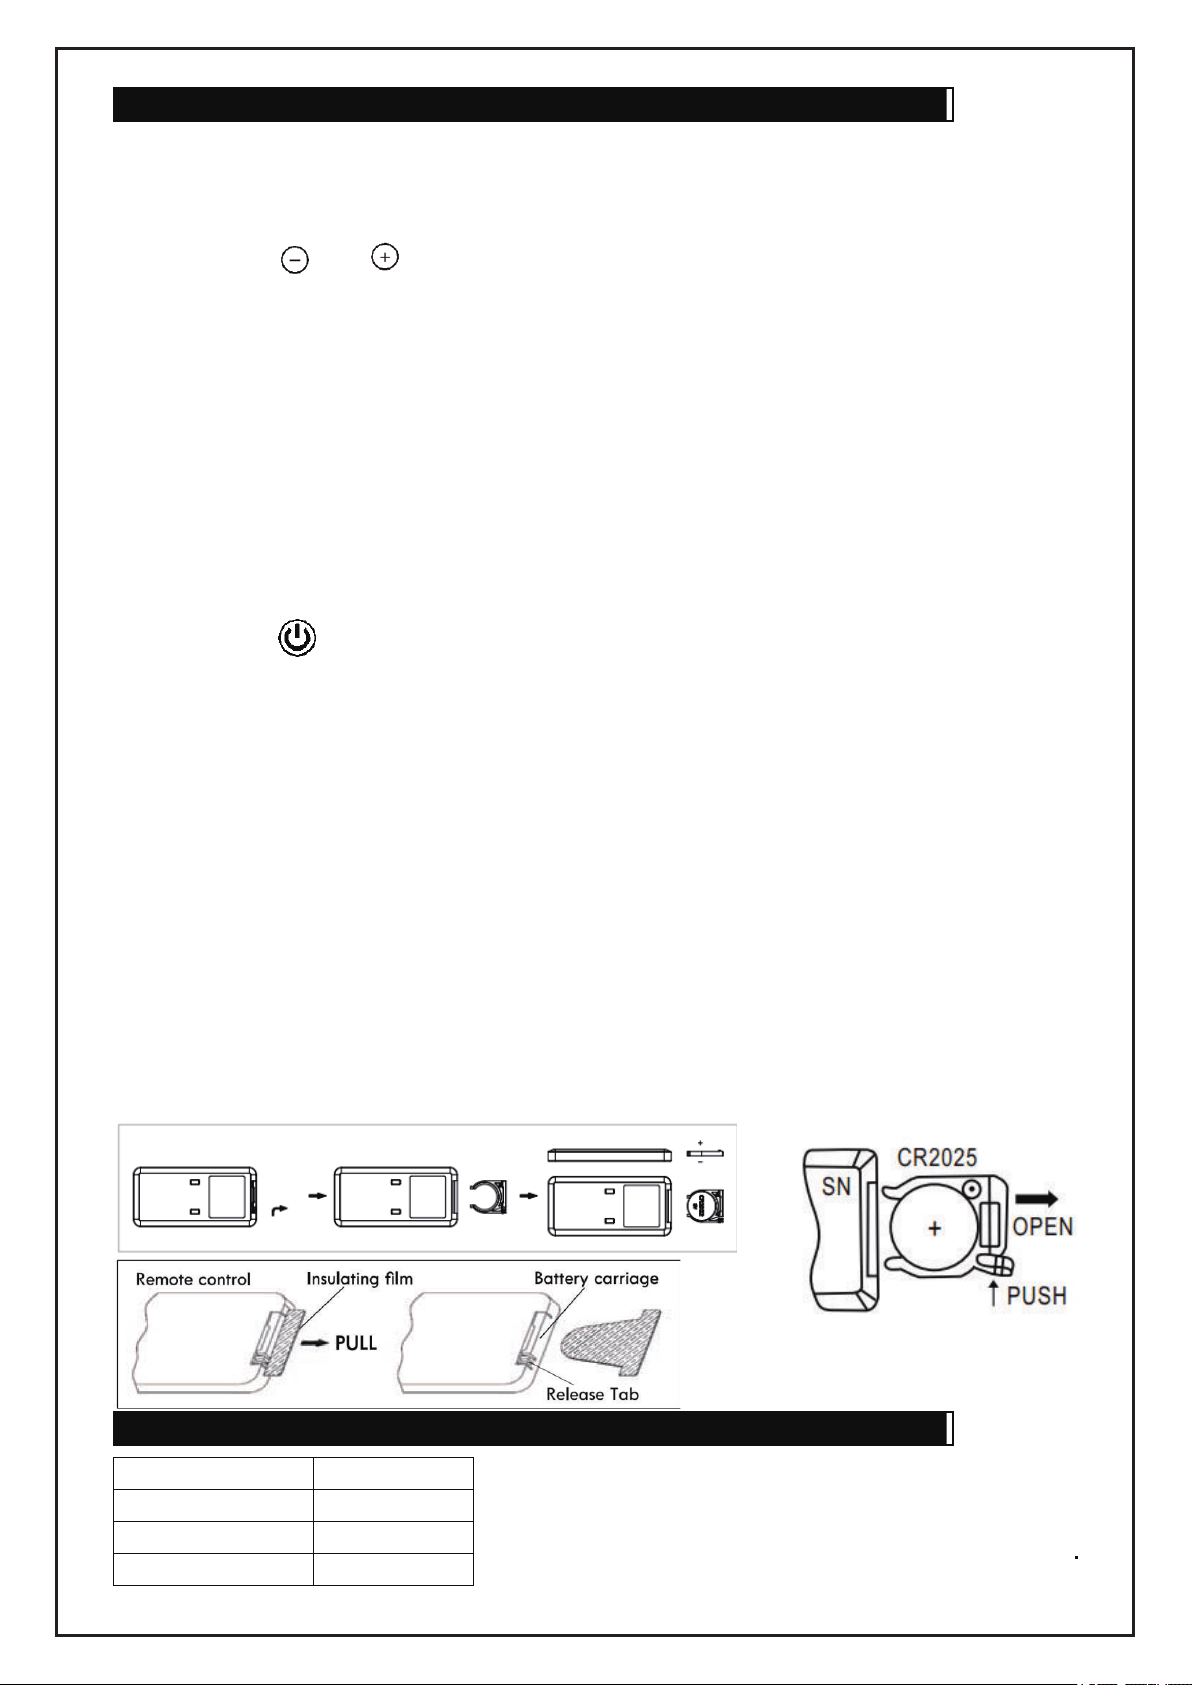
REMOTE CONTROL
The remote control uses on button cell battery,type CR2025(3V).To remove the
battery carriage use your thumb to squeeze the release tab to the right and then pull
the carriage out.Place the battery into the carriage and slide the carriage back into
the remote.See Fig.4. We recommend the use of a Lithium-ion battery for longer
use.NOTE:Follow battery disposal instruction on battery packaging, or contact your
local safety council for safely disposal of batteries.
Before using the remote control,you must remove the insulating film as shown in the
figure below.
1. All functions performed with remote control work identically to the heater control
panel.
2. Aim the remote control at the heater control panel to operate the heater.
SPECIFICATIONS
Model No 820-249V80
Voltage 120V AC
Frequency 60Hz
Output Power (W) 1500W
Fig. 4