Loading ...
Loading ...
Loading ...
15
- All Markets
NOTE: (*) Measure burner operating pressure at the manifold pressure test point with the main burner
operating at 'High Flame' setting. Operating pressure is ex-factory set, through the appliance
regulator and is not to be adjusted, apart from when carrying out gas conversion, if required. Refer
to the details in this section for further details.
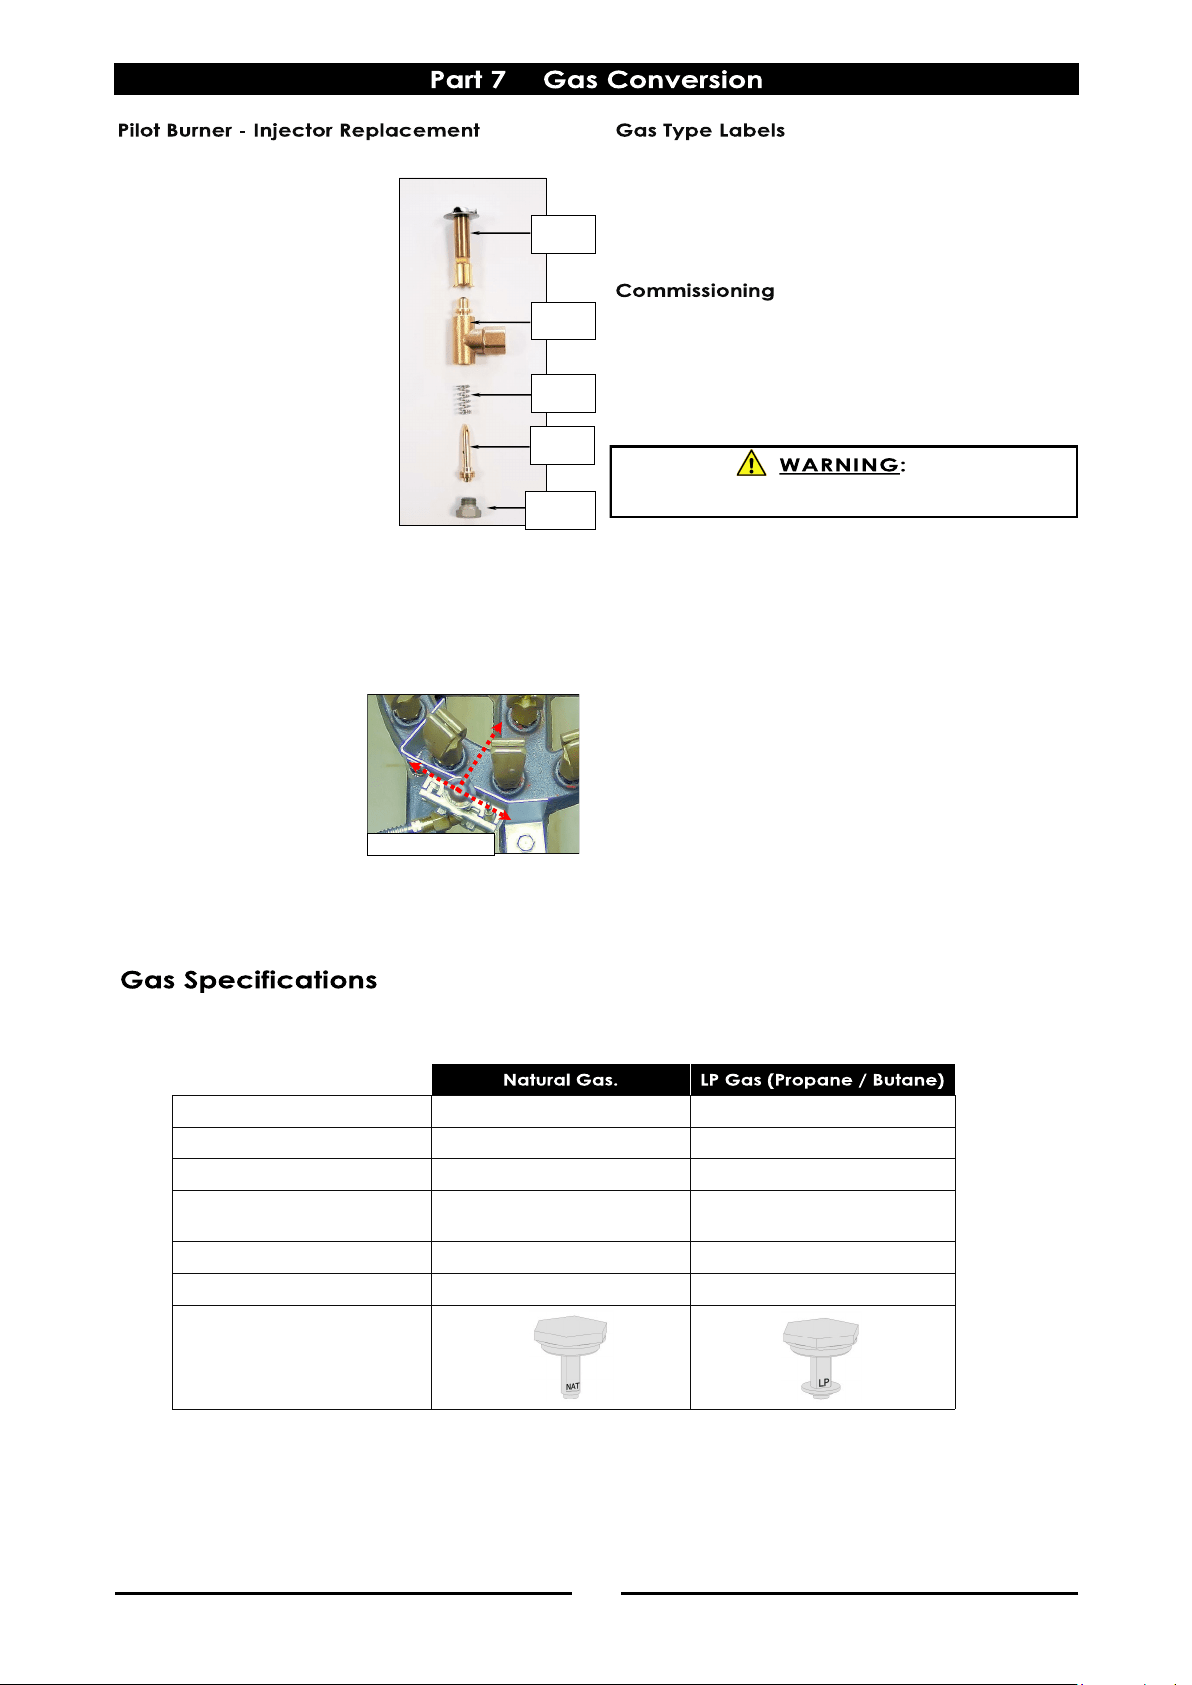
Main Burner Injectors
Ø 1.00mm Ø 0.65mm
Main Burner Injectors (Qty)
18 18
Main Burner Primary Air
6.0mm 6.0mm
Pilot Burner Injector
0.35mm
Fully In (C.W)
0.35mm
Fully In (C.W)
Supply Pressure
1.13 - 3.40 kPa 2.75 - 4.50 kPa
Burner Operating Pressure (*)
1.00 kPa 2.65 kPa
Gas Regulator Cap Screw
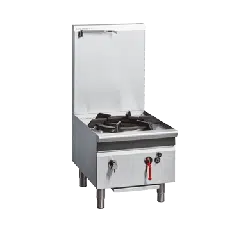
1. Unscrew and remove the
blanking screw at base of
the pilot burner assembly.
2. Remove the pilot injector
and spring, taking care not
to lose the spring.
3. Fit the spring to the
replacement pilot injector
and using a small flat
bladed screwdriver, screw
the pilot injector fully home.
4. Light the pilot burner and
ensure the flame is the
correct size.
5. Turn ‘Off’ pilot burner and
refit the blanking screw to
the base of the pilot
assembly.
6. On completion, refit the Pilot Shield to the Pilot
Bracket, (this is a push-fit onto the pilot bracket).
NOTE:
It is critical that when
re-fitting the pilot burner,
the pilot burner is correctly
orientated in the pilot
bracket as shown below so
that the pilot flame strikes
the thermocouple and also
ignites the main burner
otherwise the pilot burner
will not operate correctly.
On completion of gas conversion, replace gas type
labels located at:-
- Rear of unit, above the gas connection.
- Beside the rating plate.
Before leaving the installation;
1. Check all gas connections, including the pilot
burner injector base connection, for leakage
using soapy water or other gas detecting
equipment.
2. Carry out a ‘Commissioning’ check of the
appliance as shown in Installation Section of this
manual.
3. Ensure any adjustments done to components
that have adjustments / settings paint sealed,
these are to be re-sealed.
NOTE: If it is not possible to get the appliance to
operate correctly, shut ‘Off’ gas supply and
contact supplier of this appliance.
DO NOT USE A NAKED FLAME TO CHECK FOR GAS LEAKAGES.
Pilot
Burner
Pilot
Injector
Blanking
Screw
Injector
Spring
Injector
Body
Duckbill Burner
Loading ...
Loading ...
Loading ...