Loading ...
Loading ...
Loading ...

14
NOTE:
These conversions should only be carried
out by qualified persons. All connections
must be checked for leaks before
re-commissioning the appliance.
Adjustment of components that have
adjustments / settings sealed (e.g. paint
sealed) can only be adjusted in
accordance with the following instructions
and shall be re-sealed before
re-commissioning this appliance.
For relevant gas specifications refer to ‘Gas
Specifications Tables’ at rear of this section.
- NAT Gas / LPG / Butane Only.
1. Unscrew cap on regulator and rotate pin to the
setting shown in ‘Gas Specifications’ tables
overleaf.
2. Refit cap to regulator.
NOTE:
Gas regulator supplied is convertible
between Natural Gas and LP Gas, but it’s
outlet pressure is fixed ex-factory and is NOT
to be adjusted.
NOTE, Pin rotated
for Natural Gas.
NOTE, Pin rotated
for LPG / Butane.
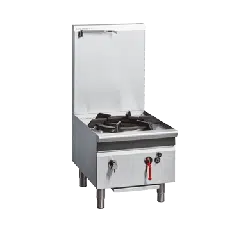
1. Lift out and remove the Stock Pot Stand and
Burner Tube from the appliance.
2. Unscrew the screw securing the pilot burner
mounting bracket to the main burner and pull
the bracket, complete with pilot burner, away
from the main burner.
3. Unscrew the main burner from the gas supply
pipe and remove the burner complete.
4. Replace with correct main burner for gas type
being used. Refer to Gas Specifications Table.
5. Re-secure pilot burner mounting bracket to the
main burner.
6. Refit the Stock Pot Stand, ensure it is correctly
located onto the burner frame with the wide
part of ring at the front of the Stock Pot.
Stock Pot
Stand
Burner Tube
Pilot Shield
Pilot Burner
Main Burner
Unscrew Gas
Connection Here
Pilot Burner
Bracket Screw
Loading ...
Loading ...
Loading ...
