Loading ...
Loading ...
Loading ...
-7-
-8-
HOW TO USE YOUR JOINT WRAP FOR HEAT THERAPY
1. Ensure that the Gel Pack (Figure 1, number 9) is not inserted in the Mesh Gel Pack Pouch
(Figure 1, number 3).
2. Make sure Cord Connector (Figure 4, letter A) is securely attached to the Pad Connector
(Figure 4, letter B) by pushing both connector parts together until the Connector Release
Tab (Figure 4, letter C) clicks into place for a tight fit.
NOTE: Controller must be connected to heating pad before plugging unit into outlet.
3. After controller is connected to pad, plug into 120V AC electrical outlet.
4. To turn the pad on, press the Control Button (Figure 5, letter A).
5. Select from 3 heat settings: low, medium, or high, by repeatedly pressing the control
button until the desired Heat Setting Indicator (Figure 5, letter B) lights up.
6. To turn the pad off, press the Control Button repeatedly until all of the Heat Setting
Indicator lights turn off.
CAUTION:
• DO NOT SIT ON, LEAN AGAINST, CRUSH OR FOLD PAD DURING USE.
• DO NOT USE WHILE SLEEPING.
• SEE ADDITIONAL WARNINGS IN THE IMPORTANT SAFETY INSTRUCTIONS SECTION.
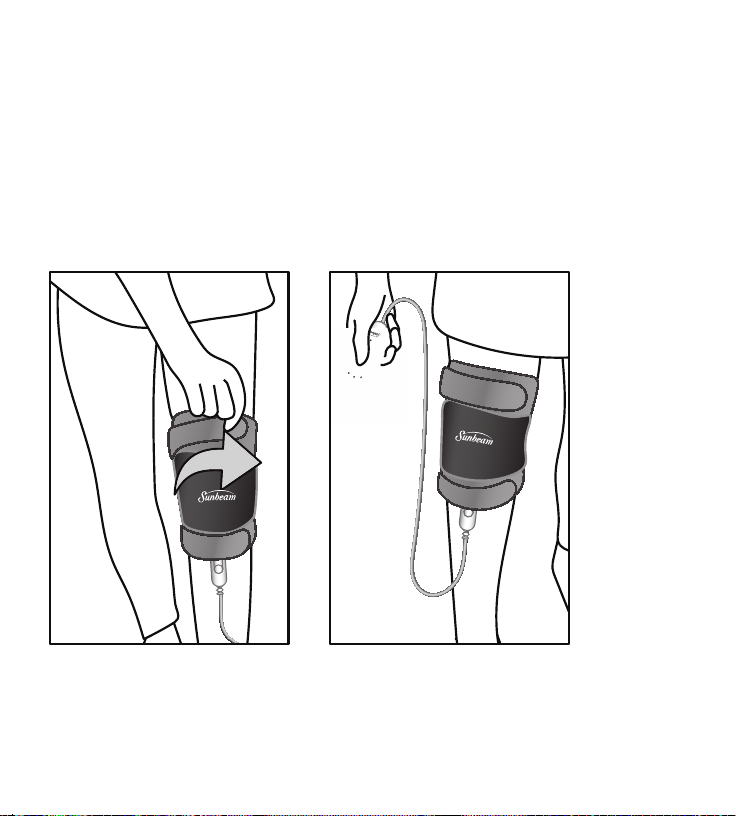
HOW TO APPLY TO KNEE – SEE FIGURE 3
1. Position the wrap over the knee so the Sunbeam logo is aligned to the knee cap. The
Fabric Sleeve (Figure 1, number 2) is not required for application to the knee.
2. Wrap each of the Elastic Fastening Straps (Figure 1, number 5) around the leg and secure
in place by attaching the Strap Hook Fastener (Figure 1, number 6) directly to the Exterior
Pad Fabric (Figure 1, number 1) or onto the strap itself. See Figure 3A.
3. To remove wrap, detach and unwrap Elastic Fastening Straps.
Low
Med
Auto-Off
2 Hours
Hi
Select / Off
Figure 3
3A 3B
A
A
B
B
C
C
Figure 4
A. Cord Connector
B. Pad Connector
C. Connector Release Tab
Low
Med
Auto-Off
2 Hours
Hi
Select / Off
Figure 5
A. Control Button
B. Heat Setting Indicator
C. Auto-Off Indicator
FlexTemp Joint Wrap 901-825_19ESM1 (US).indd 7-8 3/25/19 9:48 AM
Loading ...
Loading ...
Loading ...