Loading ...
Loading ...
Loading ...
– 12 –
EN
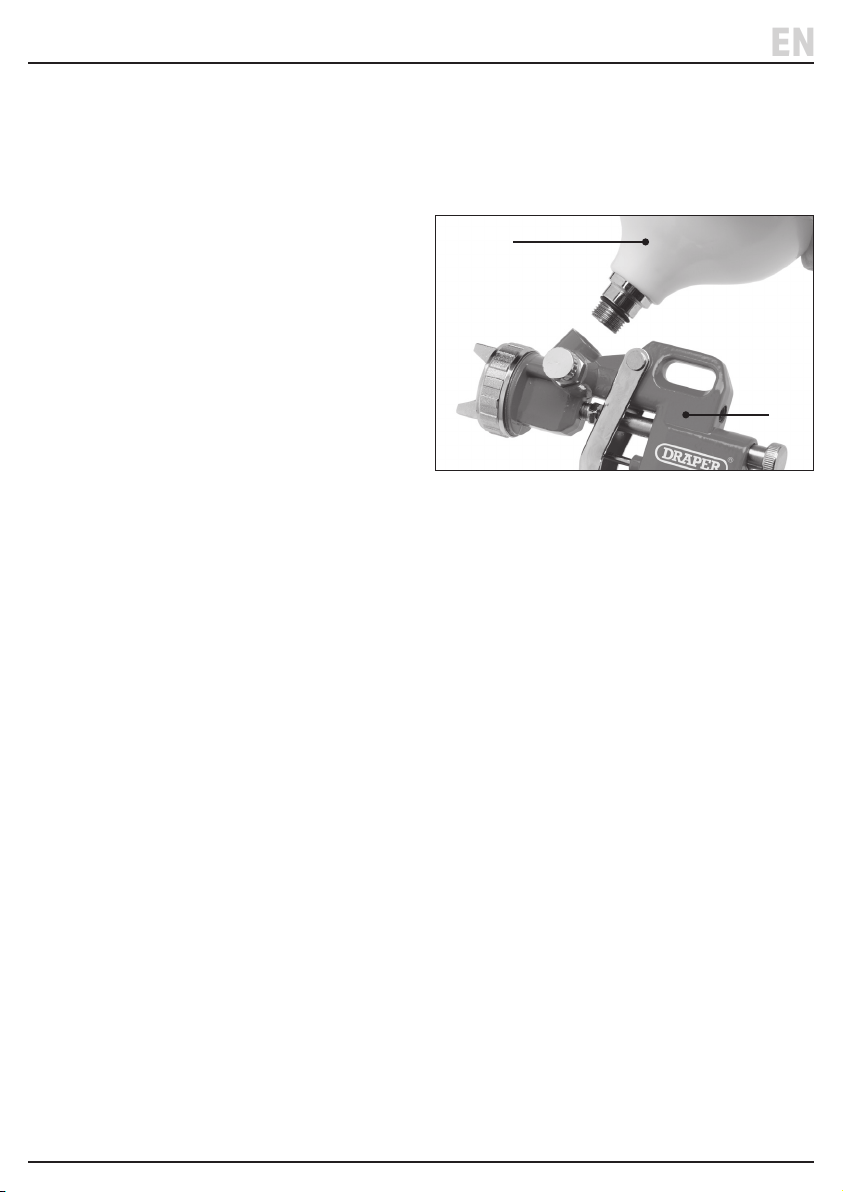
2 Fig.
7. Preparation Instructions
7.2 Cleaning the Paint Spray Gun Before
First Use
Before rst use, the paint spray gun must be cleaned
thoroughly to remove any oil, grease and the protective
lm applied before shipment.
1. Disassemble the tool and immerse all parts in spray
gun cleaning uid.
2. Soak the parts for a few minutes.
3. Allow the parts to dry and then wipe them clean with
a damp cloth.
4. Assemble the tool (see 7.4) and half-ll the spray gun
paint cup (10) with thinners.
5. Squeeze the trigger to ush the thinners through the
tool until the paint cup is empty.
6. Immerse and soak the assembled tool in the cleaning
uid for a few more minutes.
7. Allow the parts to dry and wipe them clean.
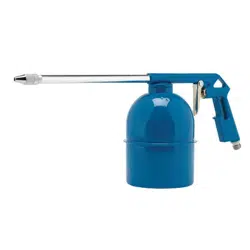
7.3 Cleaning the Cleaning Gun, Air Gun
and Tyre Inator Before First Use
Before rst use, clean the cleaning gun, air gun and tyre
inator inside and out using compressed air. When
connected to the air line, blast a few jets of compressed
air through the tools before operation.
7.4 Assembly, Filling and Connection to
the Air Supply
Important: It is recommended to use a 1/4" BSP thread
whip hose (Stock No. 54438) to connect the spray gun to
an air line in order to reduce vibration.
1. Attach the appropriate cup to the correct thread on
the tool body (Fig. 2):
a. When using the spray paint gun (A), attach the
paint cup (F) to the uppermost thread on the tool
body.
b. When using the cleaning gun (B), attach the
suction cup (G) to the downward thread at the top
of the tool body.
c. Neither the air gun nor the tyre inator requires a
cup attachment.
(F)
(A)
Loading ...
Loading ...
Loading ...