


4.
18
16.
15.
8.
12.
13.
• Important Safeguards
• What’s in the Box
• Control Panel
• Preset Temps
• Using Your Aria Oven
• Dehydration
• Cleaning, Care & Storage
• Troubleshooting
• Warranty/Support Info
Table of Contents
10
21.

healthy
starts
here
ARIAAIRFRYERSARIAAIRFRYERS
For video tutorials, recipes, and more!
Follow us on Socials

4
• WARNING! Always follow the Safety Instructions below before, during,
and after using your Aria Oven. As your Air Fryer is a powerful electrical
appliance with heating elements and fans, be sure to follow all safety pre-
cautions and read all instructions fully and carefully before using. Failure
to do so could result in serious electrical shock, burns from heat, other
injury, or physical damage.
Read All Instructions Before Use And Save
•
Some parts of the Air Fryer are extremely hot during and after operation
such as the exterior, interior, trays, and all accessories. Do not touch hot
surfaces, parts, accessories, interior or exterior while cooking or before
it’s cooled down. Use a heat-resistant oven glove instead of touching the
Air Fryer or its accessories directly to avoid bodily injury.
• The Air Fryer contains both electronic and heating elements. To avoid
electrical shock, do not immerse the power cord, plug, or housing in water
or put them under the tap during cleaning.
• Make sure that your outlet’s voltage corresponds to the voltage stated on
the label of the appliance, and only use with a properly grounded outlet.
• Unplug from outlet when not in use and before cleaning. Allow to cool
before cleaning, handling, or moving accessories.
• This appliance Should not be used by or near children.
• As the plug is polarized (one prong is larger than the other), be sure to in-
sert into a polarized outlet the correct way. If the plug does not t, reverse
the plug and try again, or contact a certied electrician.
• Use the Cord Wrap on the Back of the Oven and Do Not let the cord hang
Important Safeguards

5
over the edge of the table or countertop, where it could be pulled on by
children or pets, or touch hot surfaces, which could damage the cord.
• Do not place on or near a hot gas or electric burner.
• Do not use this appliance for other than intended or modify in any way.
• Extreme caution should be exercised when using containers constructed
of materials other than metal or glass in the Air Fryer Toaster Oven.
• Do not cover Crumb Tray or any part of the Oven with metal foil. This will
cause overheating of the Air Fryer Toaster Oven.
• Oversized foods, metal foil packages, or utensils must not be inserted in
the Aria Oven as they may involve a risk of re or electric shock.
• A re may occur if the appliance is covered or touching ammable mate-
rials such as curtains, draperies or walls. Do not store any items on top of
the appliance when in operation. Do not operate under wall cabinets.
• Do not clean with metal scouring pads. Pieces can break o the pad and
touch electrical parts, involving a risk of electric shock.
• Warning: To avoid possibility of re, Never leave the appliance unattend-
ed during use.
• Do not rest cooking utensils or baking dishes on glass door.
• Do not operate your appliance in an appliance garage or under a wall
cabinet. When storing in an appliance garage, always unplug the unit from
the electrical outlet. Not doing so could create a risk of re.
• Prevent any water or other liquids from entering the Air Fryer.
• Before using, check the power cord of appliance and the accessories. Do

6
not use if any part shows any damage. Contact Customer Care if this is
the case for warranty assistance.
• Before each use, ensure the heating element on top of the Air Fryer and
the fan are both clean and clear from any ingredients or food from the
previous cooking cycle.
• Never use the Oven without the Drip Tray in place to protect excess
grease that may fall onto the heating coils.
• Immediately unplug the Air Fryer if you see dark smoke coming out of it.
Wait for the smoke to stop being released before pulling out the Racks,
Trays, or other accessories.
• Children over 10 years, anyone with a physical or mental disability, and
anyone with a lack of experience and knowledge on how to use the Air
Fryer should read the User Guide completely and be guided by someone
who has prior experience with using the appliance.
• As the Air Fryer gets extremely hot during use, prevent re hazards and
Do not put plastic protective lm, or non-oven-safe dishes, bowls, or tools
into the Oven.
• Do not place paper, cardboard, or any similar materials into the Oven. If
using parchment or baking paper, place your food securely on top of the
paper before putting it in the Oven. The extremely light paper could be
lifted by the fan and touch the heating elements, causing a re hazard.
• In the case of a re, never attempt to extinguish the ames with
water. Immediately unplug the Oven. If safe, close the lid and smother
ames with a damp cloth.

7
Short Cord Instructions:
Do not use with an extension cord. A short power supply cord is provided
to reduce the risks resulting from being entangled in or tripping over a long
cord.
Overheat Protection:
Should the inner temperature control system fail, the overheating protection
system will be activated, and the appliance will not function. Should this
happen, unplug the power cord. Allow time for the appliance to cool
completely before restarting or storing.
Electric Power:
If the electrical circuit is overloaded with other appliances, your unit may not
operate properly. It should be operated on a dedicated electrical circuit (pow-
er point).
Automatic Shut-O:
This appliance has a built-in shut-o device that will automatically shut down
the unit. When the timer LED reaches zero. You can manually switch o the
appliance by selecting the power button. The fan will continue running for
about 3 minutes to cool down the appliance.
8
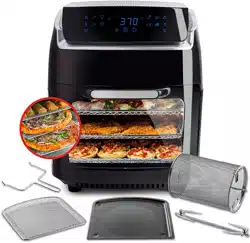
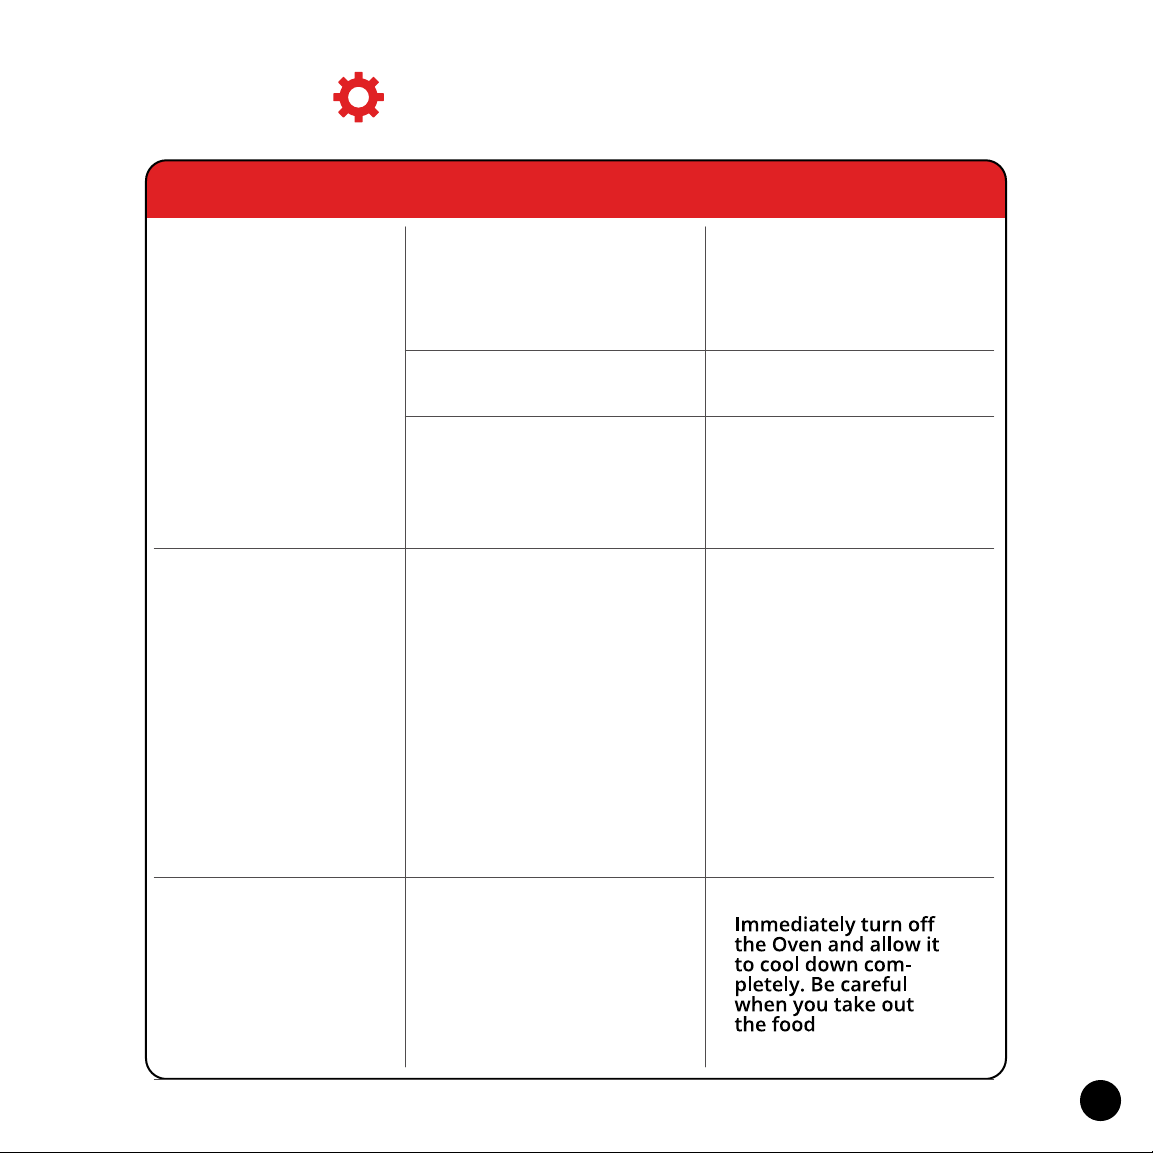
Drip Tray or Baking Pan
Mostly used as a Drip Tray to protect the
lower heating coils and catch excess oil
and grease for easy cleanup. It can also be
used for baking cookies and desserts.
What’s In The Box
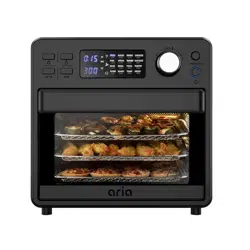
Oven Rack
Ideal for toasting, grilling meats & vegetables,
pizzas, snacks, and more.
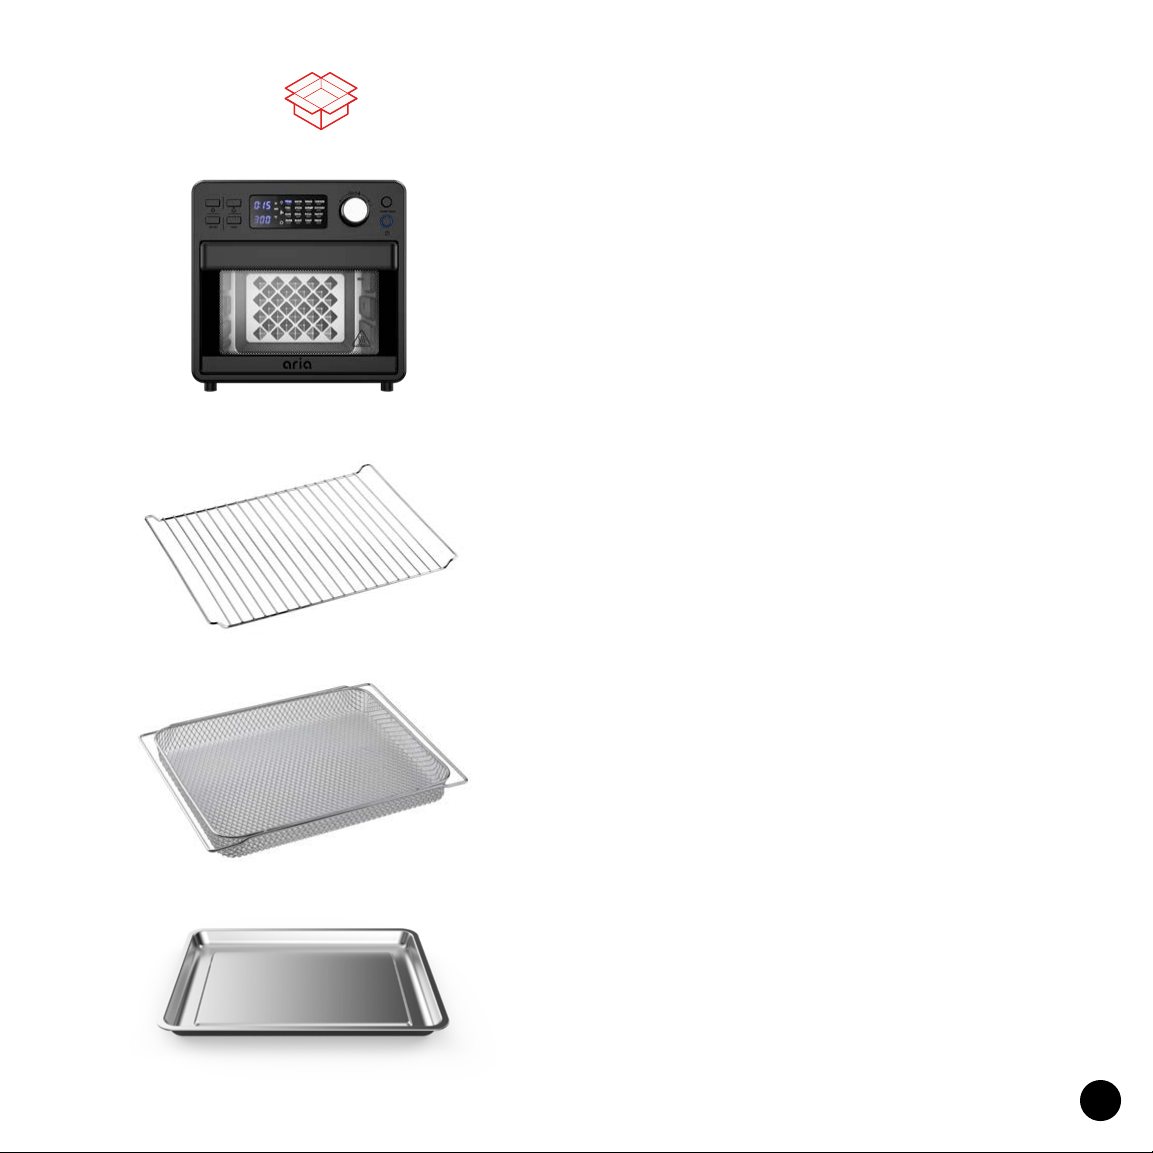
Air Fryer Basket
Ideal for smaller foods like fries, wings,
other vegetables, snacks, and dehydrating
fruits, meats, and herbs.
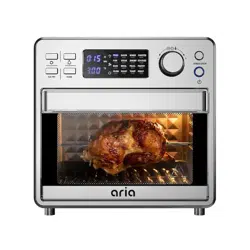
Ariawave Mini
Tap the “Light” button to turn the Light on
or o. To save energy, the Light will turn
o automatically after 5 minutes.
Tip: Tap the “Light” button again to turn the
light back on.

9
Handle
The included Handle helps with retrieving
the rotating attachments with ease.
Rotisserie Fork
Gently spin your food 360° while cooking.
Savor tender chicken dinners, pork-roasts,
trail mix, and more faster than ever!
What’s In The Box
Using Rotisserie Fork

9
Handle
The included Handle helps with retrieving
the rotating attachments with ease.
Rotisserie Fork
Gently spin your food 360° while cooking.
Savor tender chicken dinners, pork-roasts,
trail mix, and more faster than ever!
What’s In The Box
Using Rotisserie Fork

11
9. 10.
11.
7.
8.
5.
6.
Light Indicator
When using the light function this
lights up to let you know its on.
Light Button
Tap the Light icon to turn the Oven
Light On/O. Note: To conserve
energy it will turn o after 5min
Simply tap icon again to turn it back
on.
Oven Button
Tap button to select the
desired OVEN cooking
function.
Start/Stop
Tap the Start/Stop
icon to start or stop the
cooking process.
Power On/O
Tap the Power icon to
turn the Oven On/O.
Rotating Button
Tap this button to start the rotisserie
function.
Air Fry Button
Press the button to select the desired
AIR FRY cooking function. The corre-
sponding cooking functions will light
up in the LED screen.

12
12.
Note: The times and temperatures above are suggestions - they may vary on the amount
of your food, the source, thawness, and other factors. You can also ne-tune time and
temperature after selecting Preset. Always keep an eye on your food as it cooks so it
turns out exactly how you prefer.
Selection Dial
Press the AIR FRY or OVEN button, rotate the
dial to select the desired cooking function.
The corresponding cooking function will ash
in the LED screen. Press the center of the dial
to conrm the selection.

13
Remove and discard all packaging
around and inside the oven. Be sure
to peel o all protective lms.
Setting Up Your Aria Oven
1.
Wash all accessories and wipe clean
the interior of the Oven. Dry and
place accessories back in oven.
During rst use, the Oven may
emit odor or smoke, which is
caused by the protective lm.
This is normal. Simply run the
Oven empty for 15 minutes
at the highest temperature to
sterilize and remove odor.
Place on a stable, level, heat-resistant
surface, away from anything that can
be damaged by heat. Keep at least 6in
distance between the Oven and
walls, furniture, etc.
2.
3.
4.

14
WARNING! When the Air Fryer is cooking, the inside and outside of the Oven
will get extremely hot and steam may be released from the air vent openings.
Be sure to keep your hands, face, and all other body parts away to avoid in-
jury. Also be careful of hot steam and air as you open the Door, adjust food,
and move any accessories. Use heat-resistant oven gloves while handling
parts and tongs to ip food when applicable.
Tip: When cooking using 2 trays, you may use a heat-resistant oven glove to
switch the position of the trays midway through cooking for more even re-
sults. We do not recommend cooking with more than two trays at once.
Tip: When cooking using 2 slots, the higher rack will cook more quickly than
the lower tray. Keep this in mind while cooking and also be sure not to over-
crowd the higher rack, as this will block some air ow.

15
You can use your Aria Air Fryer to dehydrate and preserve your favorite
fruits, vegetables, and meats conveniently at home, Make delicious snacks,
create meat jerky, dry herbs, and more that you can store for later!
Tips for Best Results
• Be sure to consistently cut the fruits and vegetables as thin as possible, pat
dry fruits and vegetables before dehydration.
• Prevent fruits like apples from browing by rst soaking in water with a splash
of lemon for 5 mins.
• Always trim the fat o all meats rst as it will not dry properly.
• To ensure maximum air ow, Do Not overlap any pieces.
• Please be cautious that setting the time or temp too high (use guidelines
below) may lead to your ingredients not dehydrating properly, and moisture
may be sealed inside your food.
Dehydration

16
Before cleaning, unplug the Aria Oven from the power outlet. Allow
the oven and all accessories to cool completely before disassembling
and cleaning.
Cleaning the Outer Oven and Door
•
Wipe the outer body with a soft, damp sponge. A non-abrasive liquid
cleanser or mild spray solution may be used to avoid build-up of stains.
Apply the cleanser to the sponge, not the oven surface, before wiping.
• To clean the glass door, use a glass cleaner or mild detergent and a soft,
damp sponge or soft plastic scouring pad. Do not use an abrasive cleans-
er or metal scouring pad as these can scratch the glass surface.
• Wipe the LED screen with a soft damp cloth. Apply cleanser to the cloth
not the LED surface. Cleaning with dry cloth or abrasive cleaners may
scratch the touchscreen.
• Let all surfaces dry thoroughly prior to inserting the power plug into a
power outlet and turning the oven on.
• WARNING: Do not immerse the Oven, power cord or power plug in water
or any other liquid as this may cause electrocution.
Cleaning the Interior
•
Wipe the walls with a soft, damp sponge. A non-abrasive liquid cleanser
or mild spray solution may be used to avoid build-up of stains. Apply the
cleanser to the sponge, not the oven surface, before cleaning.
• Let all surfaces dry thoroughly prior to inserting the power plug into a
power outlet and turning the Oven on.
Care, Cleaning, & Storage

17
• WARNING: Use EXTREME caution when cleaning the heating elements as
they can get very hot and are fragile. Allow the oven to cool completely,
and then gently wipe a soft, damp sponge or cloth along the length of the
heating element. Do not use any type of cleanser or cleaning agent. Let
all surfaces dry thoroughly prior to inserting the power plug into a power
outlet and turning the oven on.
Cleaning the Crumb Tray
•
After each use, slide out the Crumb Tray and discard crumbs. Wipe the
tray with a soft, damp sponge. A non-abrasive liquid cleanser or mild
spray solution may be used to avoid build-up of stains. Apply the cleanser
to the sponge, not the tray, before cleaning. Dry thoroughly.
• To remove any baked-on grease, soak the tray in hot soapy water then-
wash with a soft sponge or soft plastic scouring pad. Rinse and dry thor-
oughly.
• Always re-insert the crumb tray into the Oven after cleaning and prior to
turning the Oven on.
Cleaning the Accessories
•
Wash all accessories in warm soapy water with a soft sponge or soft plas-
tic scouring pad. Rinse and dry thoroughly. Do not use abrasive cleansers,
metal scouring pads or metal utensils to clean any of the accessories as
they may damage the surfaces.
Storage
•
Always allow Oven and all accessories to cool completely before disas-
sembling and cleaning.
18
Troubleshooting
The Oven
Doesn't Turn On
Dark Smoke Is
Coming Out Of
The Oven
Steam Is Coming
Out From The
Top Of The Oven
Door
Issue
Cause Solution
Oven is not on
The Door is not closed
properly
You are cooking high
moisture content
foods
Reinsert the power
plug and make sure
the oven is plugged in
This is normal. The
Door is vented to
release steam created
from high-moisture
content foods such as
frozen breads. Cool
surfaces like the Door
may gather this steam
Make sure the Door is
completely closed
Food is burning
The Oven is not
plugged in properly
Tap “ON/OFF" icon to
power on

19
White Smoke Is
Coming Out Of
The Oven
Foods Are Not
Crispy After Air
Frying
Issue
Cause Solution
Cooking food with
high oil, fat, or grease
Baking Pan/Drip Tray,
Crumb Tray, or
heating coils still
contain grease
residues or oil from
previous use
Always clean all
accessories and parts
between cooking
cycles to not burn old
grease or oil
Ingredients have high
moisture
Use oven snacks or
brush a thin layer of
oil on the surface of
the ingredients
before cooking for
crispier results

20
Troubleshooting (continued)

To make a warranty claim, do not return this
appliance to the store.
Please call 1.312.498.9334
Between 10:00am - 5:00pm (CST) Monday through Friday
or email help@ariaairfryer.com

16QT / 1600 Watts ARIAAIRFRYERSARIAAIRFRYERS
For video tutorials, recipes, and more!
Follow us on Socials
fryer.com