BATTERY INSTALLATION
Puck: To open, twist back cover of puck light counterclockwise
and remove. Insert 3 AAA baeries per puck (noting polarity). To
close, replace cover and twist clockwise.
IMPORTANT: Dierent types of baeries or new and used baeries
should not be mixed. Exhausted baeries should be removed from the
fixture and disposed of properly.
Remote: To replace exhausted baery, remove the screw and
baery cover, on the back of the remote. Insert 1 CR2032 baery,
noting polarity. Replace the cover and screw.
Note: Remove baery isolation tab before first time use.
MOUNTING INSTRUCTIONS:
1. Remove baery cover and use pre-
installed double-sided tape to mount
in desired location.
Note: For a more permanent
installation, screw through the two
holes using counter sunk screws.
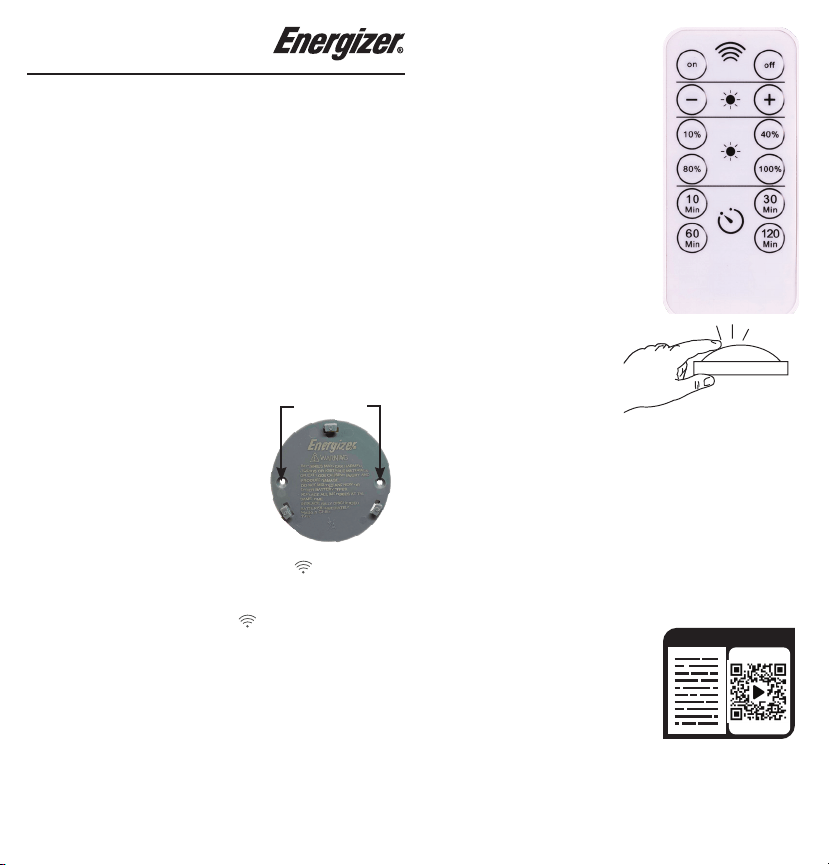
Note: Ensure one of the two wireless icons ( ) remains
unobstructed and facing desired direction for remote to reach
interior sensor. The remote will work beer with direct line of
sight access to the wireless icons ( ).
2. Reaach light to mounted baery cover by aligning tabs and
twisting clockwise.
Note: Baery door may remain mounted when
changing baeries.
Screw holes
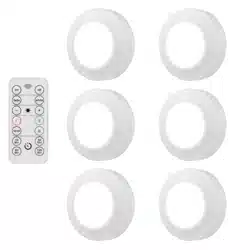
REMOTE OPERATION:
1. On the remote, press the ON buon
to turn the lights on, or press the OFF
buon to turn them o.
2. Use the + and - buons to brighten or
dim the lights.
3. The 10%, 40%, 80% and 100%
buons allow you to go directly to your
desired output level
4. The 10min, 30min, 60min and
120min buons automatically turn the
lights o aer the number of minutes
indicated on the buon.
Note: When using the remote,
point directly at the puck for proper
connection.
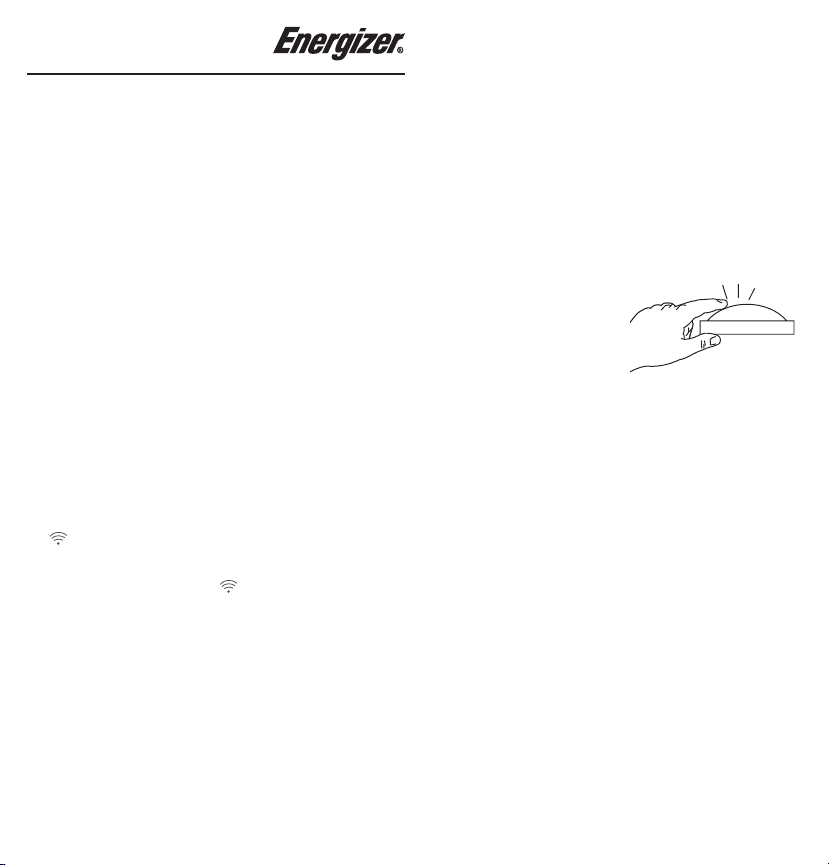
MANUAL OPERATION:
1. First press: turns the light on
2. Second press: turns light o
Functional range may be adversely aected by one or more of
the following factors: weather, radio frequency interference, low
baery or obstructions between the transmier and receiver.
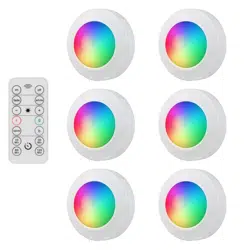
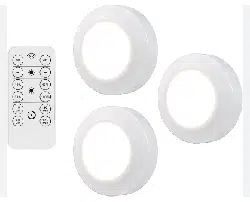
Remote Control Puck Lights
47609 EnSp Manual v1
6/10/2020
©2020 Energizer. Energizer and certain graphic designs are
trademarks of Energizer Brands, LLC and related subsidiaries
and are used under license by Jasco Products Company, LLC. All
other brand names are trademarks of their respective owners.
Neither Jasco Products Company, LLC nor Energizer Brands, LLC
is aliated with the respective owners of their trademarks.
Contact our U.S.-based Consumer Care at 1-800-654-8483
between 7AM-8PM CST.
90-day warranty. Visit www.byjasco.com for warranty details.
MADE IN CHINA/HECHO EN CHINA
READ IT
OR WATCH IT
Read instRuc tions oR watch
easy-to-follow video.
scan QR code oR visit
http://bit.ly/2tQmugg
COLOCACIÓN DE LAS PILAS
Disco: Para abrirlo, gire hacia la izquierda la tapa trasera de la luz de
disco y retírela. Inserte 3 pilas AAA por disco (teniendo en cuenta los
polos). Para cerrar, vuelva a colocar la tapa y gire hacia la derecha.
IMPORTANTE: No se deben mezclar distintos tipos de pilas ni
pilas nuevas con usadas. Debe sacar las pilas sin carga de la luz y
eliminarlas debidamente.
Control remoto: Para cambiar una pila, retire el tornillo, la tapa del
compartimiento de las pilas, en la parte posterior del control remoto.
Inserte 1 pila CR2032, teniendo en cuenta los polos. Vuelva a colocar
la tapa y el tornillo.
Nota: Retire la lengüeta de aislamiento de las pilas antes del
primer uso.
INSTRUCCIONES DE MONTAJE:
1. Retire la tapa del compartimiento de las pilas y use la cinta
adhesiva de doble cara preinstalada para montarla donde desee.
Nota: Para una instalación más permanente, use tornillos
avellanados en los dos orificios.
Nota: Asegúrese de que los dos íconos de conexión inalámbrica
(
) se mantengan sin obstrucciones y hacia la dirección deseada
para que el control remoto llegue al sensor interior. El control
remoto funcionará mejor con línea visual de acceso directa a los
íconos de conexión inalámbrica (
) .
2. Vuelva a colocar la luz en la tapa del compartimiento de las pilas
montada alineando las pestañas y girando hacia la derecha.
Nota: La tapa del compartimiento de las pilas puede permanecer
montada cuando cambie las pilas.
FUNCIONAMIENTO CON EL CONTROL REMOTO:
1. En el control remoto, presione el botón ON (encendido) para
encender la luz o el botón OFF (apagado) para apagarla.
2. Use los botones + y - para aumentar el brillo o atenuar las luces.
3. Los botones 10%, 40%, 80% y 100% le permiten ir directamente al
nivel de salida deseado.
4. Los botones 10min, 30min, 60min y 120min apagan
automáticamente las luces después de que transcurren los minutos
indicados en el botón.
Nota: Cuando use el control remoto, apunte directamente al disco
para asegurar una conexión correcta.
FUNCIONAMIENTO MANUAL:
1. Presionar el botón una vez: enciende la luz.
2. Presionar el botón una segunda vez: apaga la luz.
El rango funcional puede verse
afectado negativamente por uno o
más de los siguientes factores: clima,
interferencia de radiofrecuencia, pila
con poca carga u obstrucciones entre
el transmisor y el receptor.
©2020 Energizer. Energizer y algunos diseños gráficos son marcas
comerciales de Energizer Brands, LLC y subsidiarias relacionadas, que se
utilizan bajo la licencia de Jasco Products Company, LLC. Todos los demás
nombres de marca que aparecen son marcas comerciales pertenecientes a
sus respectivos propietarios. Ni Jasco Products Company, LLC ni Energizer
Brands, LLC están relacionados con los propietarios respectivos de sus
marcas comerciales.
¿Preguntas? Comuníquese al 1-800-654-8483 entre las 7:00 a.m. y las 8:00
p.m. CST (hora central estándar)
Garantía de 90 días. Visite www.byjasco.com para conocer los detalles de
la garantía.
Remote Control Puck Lights