Loading ...
Loading ...
Loading ...
Top Grille Panel
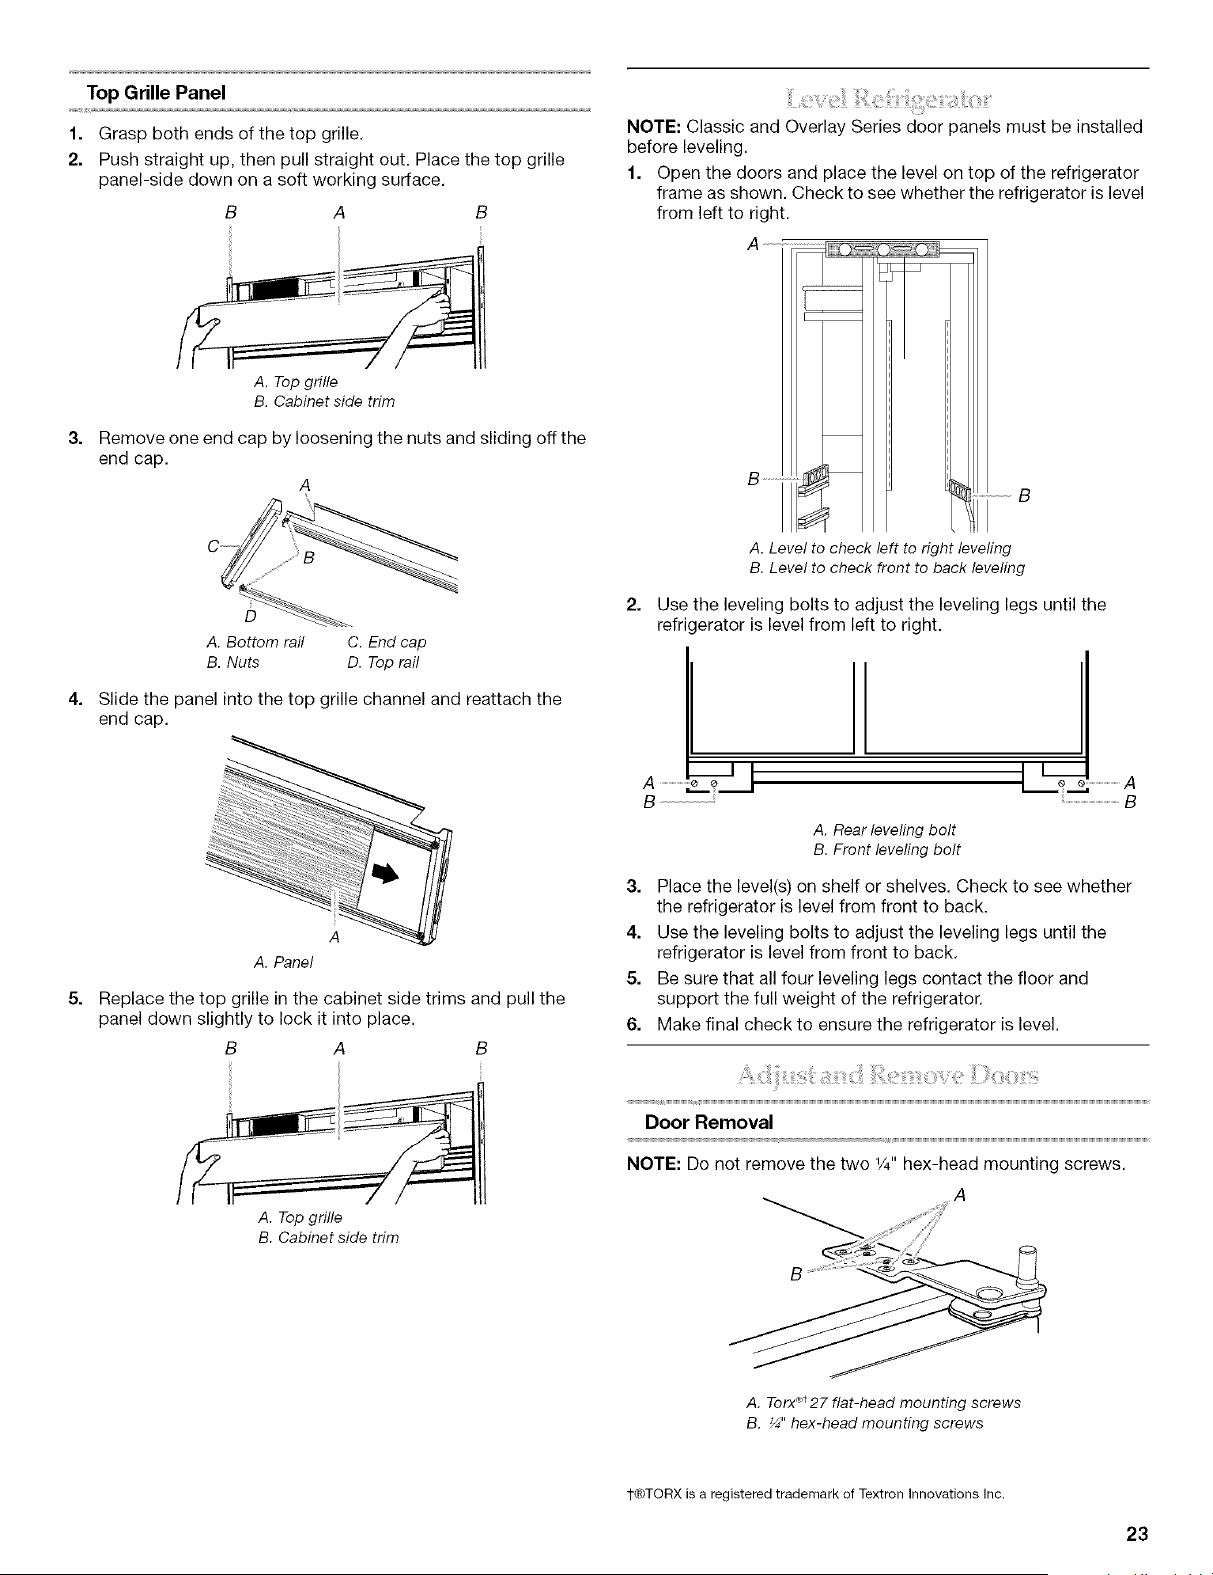
1. Grasp both ends of the top grille.
2. Push straight up, then pull straight out. Place the top grille
panel-side down on a soft working surface.
B A B
3=
A. Top grille
B. Cabinet side trim
Remove one end cap by loosening the nuts and sliding off the
end cap.
A
4=
5=
D
A. Bottom rail C. End cap
B. Nuts D. Top rail
Slide the panel into the top grille channel and reattach the
end cap.
A. Panel
Replace the top grille in the cabinet side trims and pull the
panel down slightly to lock it into place.
B
NOTE: Classic and Overlay Series door panels must be installed
before leveling.
1. Open the doors and place the level on top of the refrigerator
frame as shown. Check to see whether the refrigerator is level
from left to right.
B
A. Level to check left to right leveling
B, Level to check front to back leveling
Use the leveling bolts to adjust the leveling legs until the
refri( erator is level from left to right.
A......................
x_
B--
A. Rear leveling bolt
B. Front leveling bolt
3. Place the level(s) on shelf or shelves. Check to see whether
the refrigerator is level from front to back.
4. Use the leveling bolts to adjust the leveling legs until the
refrigerator is level from front to back.
5. Be sure that all four leveling legs contact the floor and
support the full weight of the refrigerator.
6. Make final check to ensure the refrigerator is level.
Door Removal
NOTE: Do not remove the two 1/4"hex-head mounting screws.
A. Top grille
B. Cabinet side trim
A. Torx'_t27 flat-head mounting screws
B. ¼" hex-head mounting screws
1-CeTORXis a registered trademark of Textron Innovations Inc.
23
Loading ...
Loading ...
Loading ...