Loading ...
Loading ...
Loading ...
41
Preparing the Camera
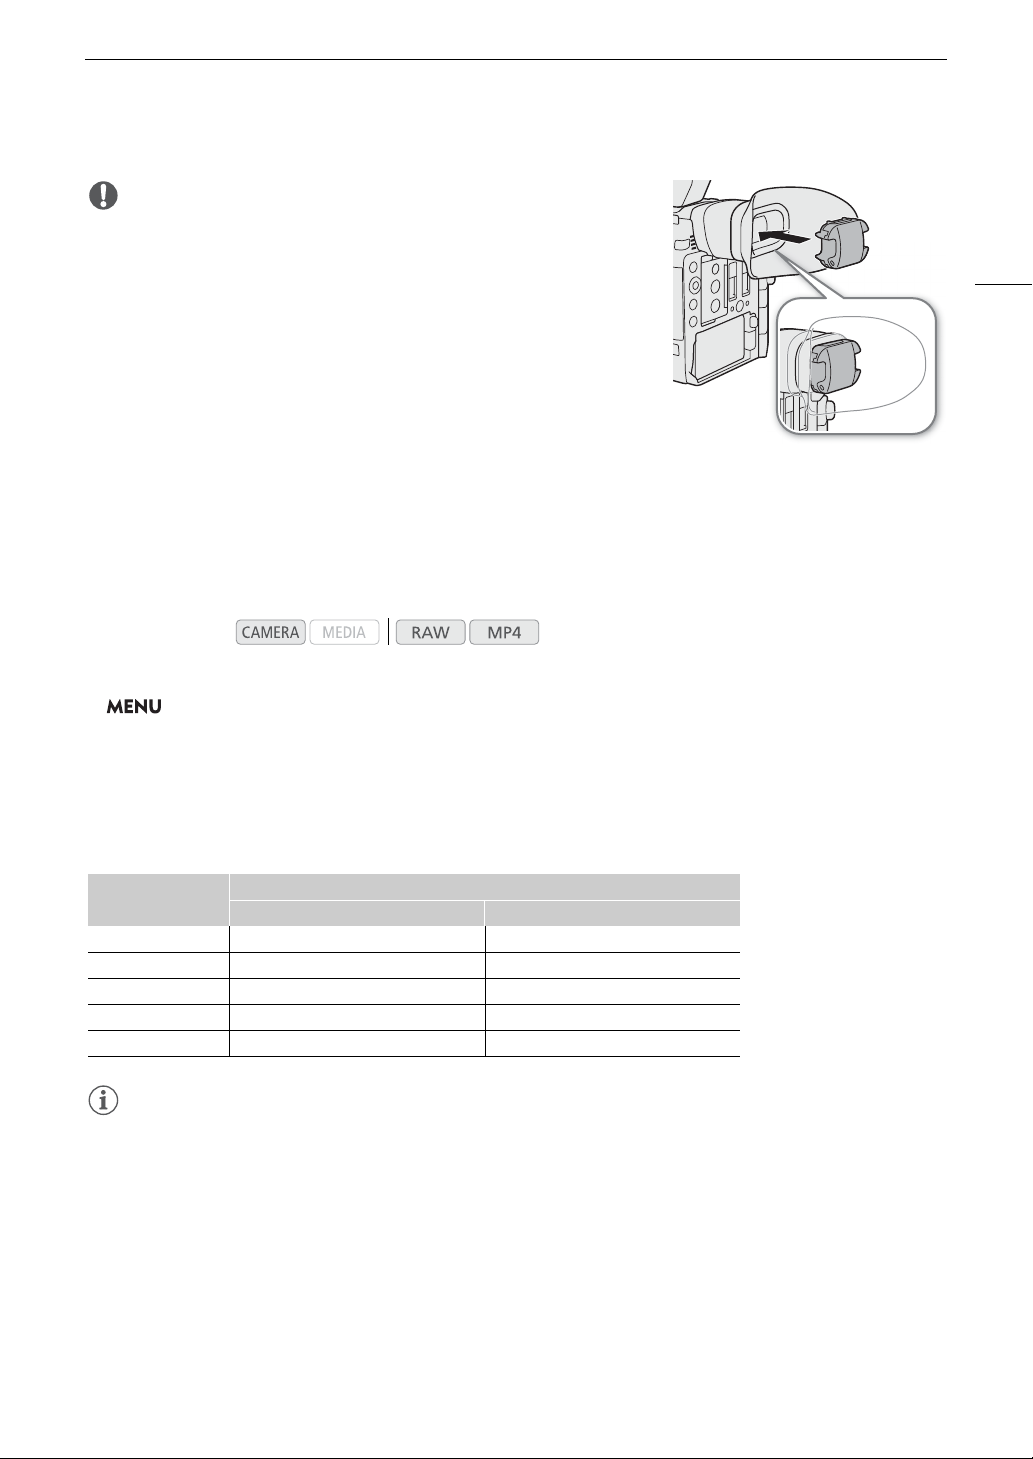
IMPORTANT
• Pointing the viewfinder lens at the sun or other strong light sources
may cause damage to internal components. When you are not using
the viewfinder, make sure to attach the viewfinder cap to the
viewfinder. This will also protect the viewfinder from scratches and
dirt. Attach the viewfinder cap by inserting it into the rubber rim of the
viewfinder unit.
Adjusting the LCD Screen or Viewfinder (
k
only)
You can adjust the brightness, contrast, color, sharpness, and luminance level of the LCD screen and viewfinder
independently of each other. These adjustments will not affect your recordings.
1 Open the setup menu for the LCD screen or viewfinder.
> [
¢
! Monitoring Setup] (for the LCD screen) or [
¢
" Monitoring Setup] (for the viewfinder)
2 Select the desired brightness, contrast, color, sharpness or luminance setting and then press the joystick.
• When the viewfinder is turned off, the menu items will appear grayed out.
3 Select the desired level and then press the joystick.
• Repeat steps 2 and 3 to adjust other settings as necessary.
Menu items by setting
NOTES
• If you set an assignable button to [LCD LM-V1 Setup] or [Viewfinder Setup] (A 119), you can press the
button to open the [
¢
! Monitoring Setup] menu or [
¢
" Monitoring Setup] menu, respectively.
• About the LCD and viewfinder screens: The screens are produced using extremely high-precision manufacturing
techniques, with more than 99.99% of the pixels operating to specification. Very rarely, pixels may misfire or
may light up permanently as white dots. This has no effect on the recorded image and does not constitute a
malfunction
Operating modes:
Setting
Menu item
LCD screen Viewfinder
Brightness [LCD LM-V1 Brightness] [VF Brightness]
Contrast [LCD LM-V1 Contrast] [VF Contrast]
Color [LCD LM-V1 Color] [VF Color]
Sharpness [LCD LM-V1 Sharpness] [VF Sharpness]
Luminance [LCD LM-V1 Luminance] [VF Luminance]
Loading ...
Loading ...
Loading ...