Loading ...
Loading ...
Loading ...
TASCAM MiNiSTUDIO CREATOR
17
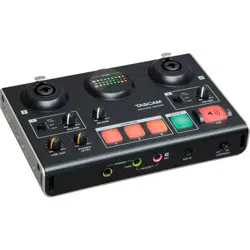
3. Click the “OK” button to reset all the scene
memories.
NOTE
Click the “Cancel” button to return to the
Settings Panel without initializing the five scene
memories.
8
Extra Effects
i Ducking
Open the ducking setting screen where the
ducking function can be set. (See “Using the
ducking function” on page 22.)
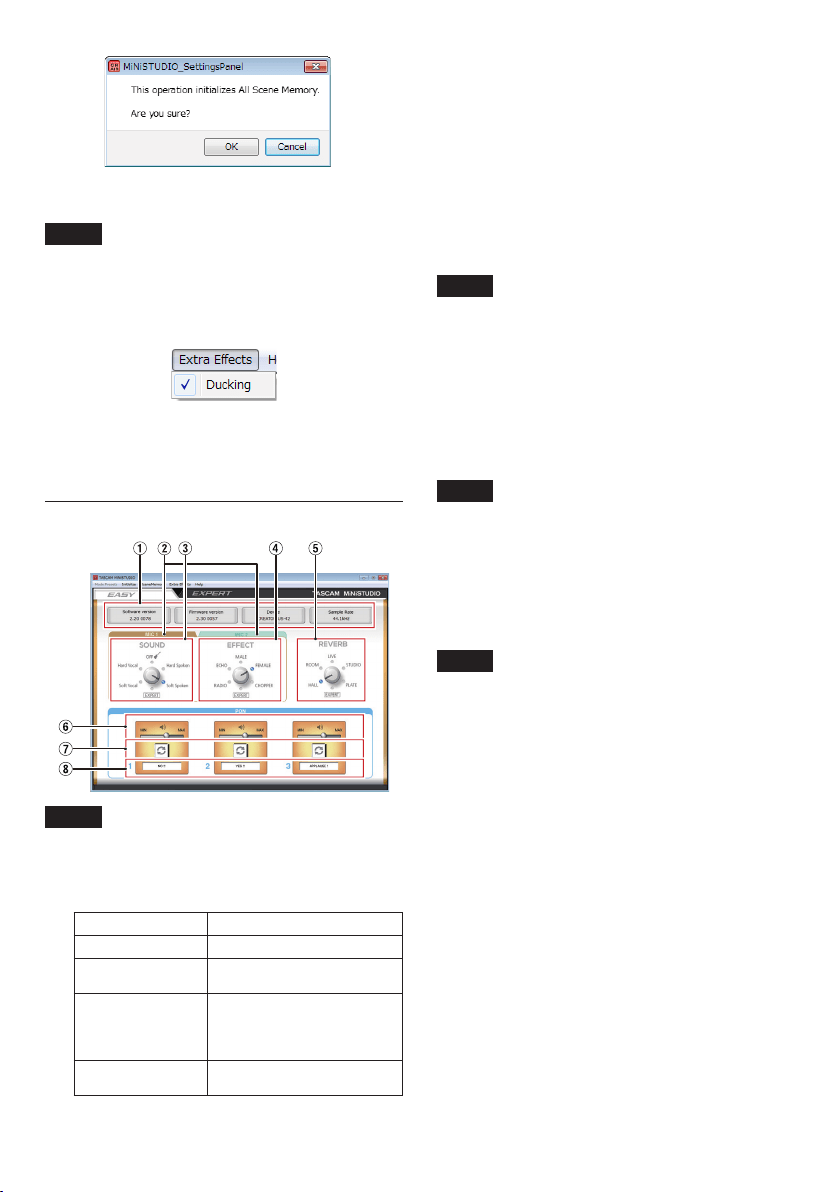
EASY page
NOTE
Click buttons with the mouse to turn them on
and off.
1 Status area
This shows the current status of the software.
Item displayed Meaning
Software version This is the software version.
Firmware version
This is the firmware version
used by the connected unit.
Device
This shows the name of
the connected unit. (“No
Device” is shown when no
device is connected.)
Sample Rate
This shows the sampling
frequency.
2 MIC 1/MIC 2 tabs
Use these to switch between showing the
SOUND and EFFECT controls for the MIC 1 (1, y,
u) input jacks and the MIC 2 input jack (3).
3 SOUND area
Use this to select a preset sound quality to apply
to the signals input through the inputs (1, 3, y
and u).
The indicator lights for the selected sound quality.
Options: Soft Vocal, Hard Vocal, OFF, Hard
Spoken, Soft Spoken, EXPERT
NOTE
If the “EXPERT” is selected, the Compressor and
Equalizer settings on EXPERT page would be
assigned.
4 EFFECT area
Use this to select a preset effect to apply to the
signals input through the inputs (1, 3, y and u).
The indicator lights for the selected effect.
Options: RADIO, ECHO, MALE, FEMALE,
CHOPPER, EXPERT
NOTE
If the “EXPERT” is selected, the EFFECT settings
on EXPERT page would be assigned.
5 REVERB area
Use this to select a preset reverb to apply to the
signals input through the inputs (1, 3, y and u).
The indicator lights for the selected reverb.
Options:
HALL, ROOM, LIVE, STUDIO, PLATE, EXPERT
NOTE
If the “EXPERT” is selected, the REVERB settings
on EXPERT page would be assigned.
6 Triggered sound output volume sliders
Use these to adjust the volume of triggered sounds.
Slide to MIN to mute or toward MAX to amplify the sound.
7 Repeat buttons
When a repeat button is on, the arrows light and the
repeat function for the triggered sound is enabled.
8 Trigger sound status
Drag and drop audio files to load them.
i When a PON trigger pad (1/2/3) has an audio
file loaded, the name of that file is shown in the
trigger sound status area and it lights orange.
i When there is a problem with a loaded audio
file, the name of that file is shown in the trigger
sound status area but the area appears gray.
i When no audio file is loaded, the trigger sound
status area appears gray.
Loading ...
Loading ...
Loading ...