Loading ...
Loading ...
Loading ...
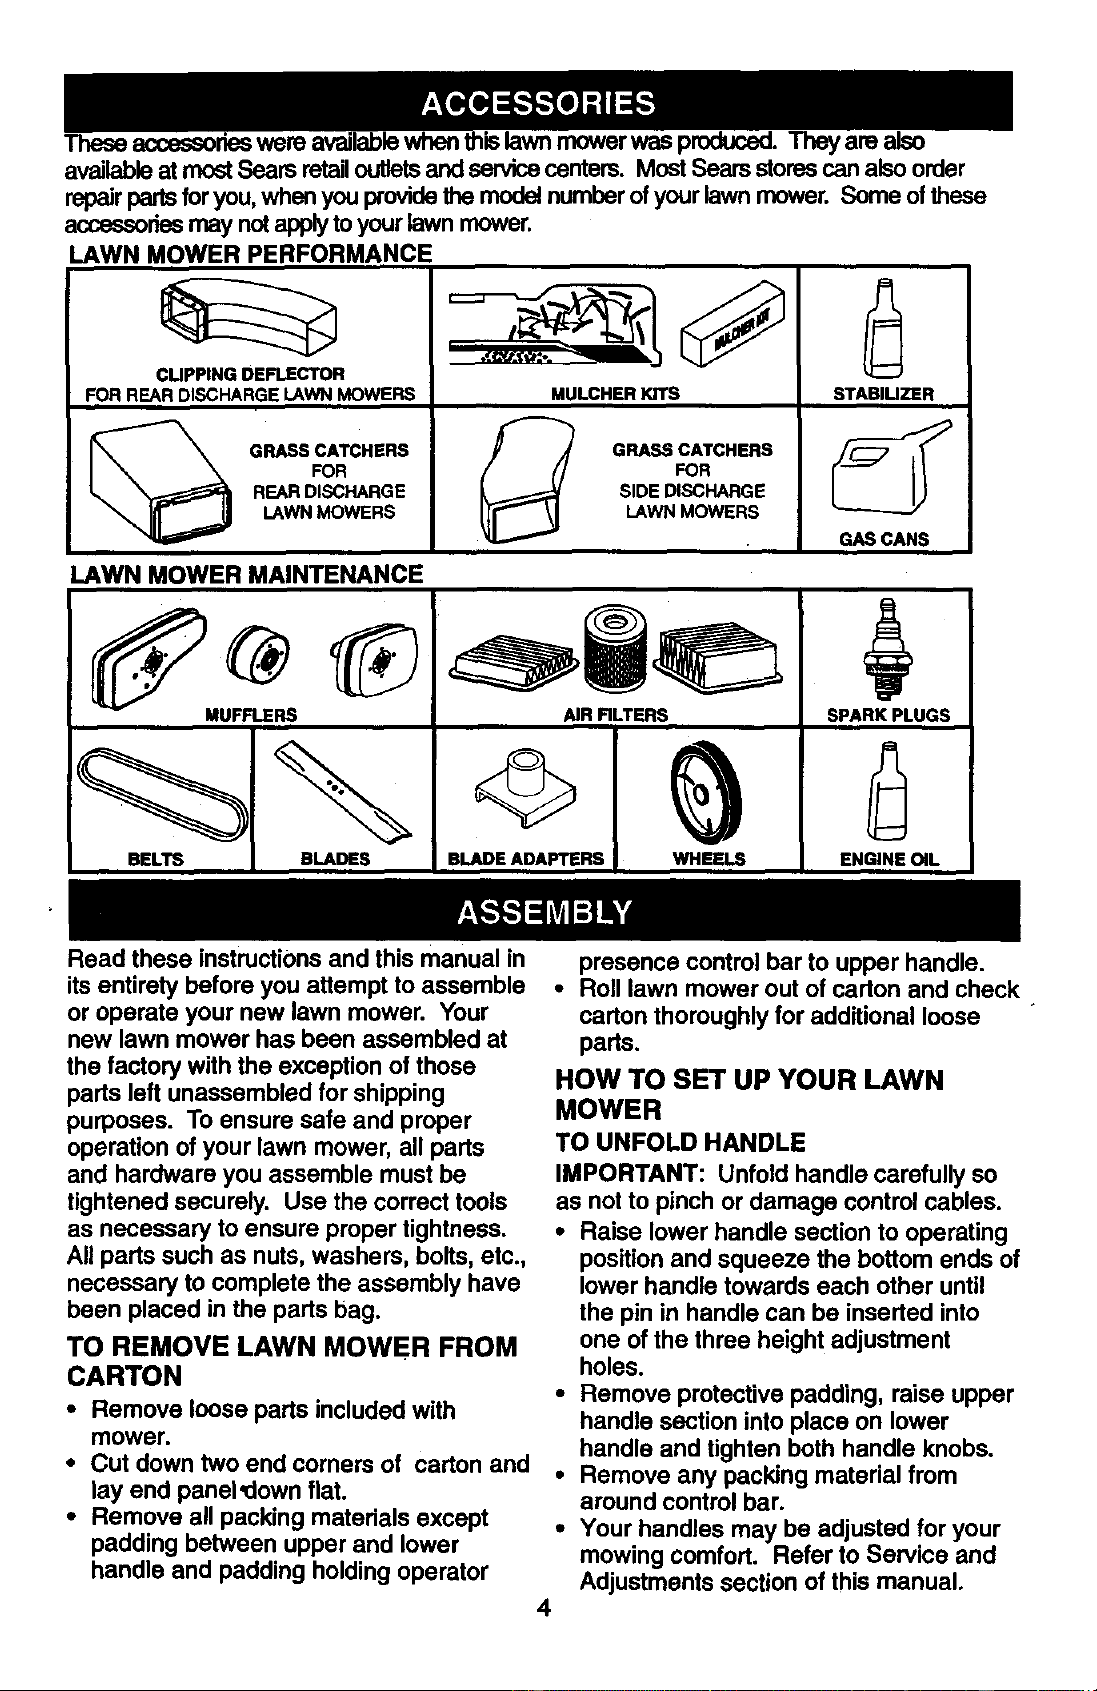
Theseaccessoneswereavailablewhen1
availableatmostSearsretailoutletsandservicecenters.MostSearsstorescanalsoorder
repairpartsfor you,whenyouprovidethe modelnumberofyourlawnmower. Someofthese
accessories may not apply to your lawn mower.
LAWN MOWER PERFORMANCE
CUPPING DEFLECTOR
FOR REAR DISCHARGE LAWN MOWERS
GRASS CATCHERS
FOR
REAR DISCHARGE
LAWN MOWERS
MULCHERKITS
GRASS CATCHERS
FOR
J_ SIDE DISCHARGE
LAWN MOWERS
LAWN MOWER MAINTENANCE
MUFFLERS AIR RLTERS
BELTS BLADES BLADE ADAPTERS WHEELS
STABIUZER
SPARK PLUGS
ENGINE OIL
Read these instructionsand this manual in
its entirety before you attempt to assemble
or operate your new lawn mower. Your
new lawn mower has been assembled at
the factory with the exception of those
parts left unassembled for shipping
purposes. To ensure safe and proper
operation of your lawn mower, all parts
and hardware you assemble must be
tightened securely. Use the correct tools
as necessary to ensure proper tightness.
All parts such as nuts, washers, bolts, etc.,
necessary to complete the assembly have
been placed in the parts bag.
TO REMOVE LAWN MOWER FROM
CARTON
• Remove loose parts included with
mower.
• Cut down two end corners of carton and
lay end panel'down flat.
• Remove all packing materials except
padding between upper and lower
handle and padding holding operator
presence control bar to upper handle.
• Roll lawn mower out of carton and check
carton thoroughly for additional loose
parts.
4
HOW TO SET UP YOUR LAWN
MOWER
TO UNFOLD HANDLE
IMPORTANT: Unfold handle carefully so
as not to pinch or damage control cables.
• Raise lower handle section to operating
position and squeeze the bottom ends of
lower handle towards each other until
the pin in handle can be inserted into
one of the three height adjustment
holes.
• Remove protective padding, raise upper
handle section into place on lower
handle and tighten both handle knobs.
• Remove any packing material from
around control bar.
• Your handles may be adjusted for your
mowing comfort. Refer to Service and
Adjustments section of this manual.
Loading ...
Loading ...
Loading ...