Loading ...
Loading ...
Loading ...
14 www.dimplex.com
Relay Board Replacement
Tools Required: Phillips-Head Screwdriver
Pliers
1. Follow the instructions for Preparing Firebox for Service on page 10.
2. Remove the screw on each corner of the relay board (4 total) (Figure 7 / Figure 8).
3. Disconnect the wires from the relay board, noting their original locations.
4. Secure the new relay board using the previously removed screws.
5. Connect the wires on the new relay board in the correct locations.
6. Ensure wires are not too close to the mirrored glass.
7. Reassemble the rebox.
Adapter Board Replacement (XLF8817-XD & XLF10017-XD)
Tools Required: Phillips-Head Screwdriver
1. Follow the instructions for Preparing Firebox for Service on page 10.
2. Remove the screw on each corner of the adapter board (4 total) (Figure 8).
3. Disconnect the wires from the adapter board, noting their original locations.
4. Secure the new adapter board using the previously removed screws.
5. Connect the wires on the new adapter board in the correct locations.
6. Ensure wires are not too close to the mirrored glass.
7. Reassemble the rebox.
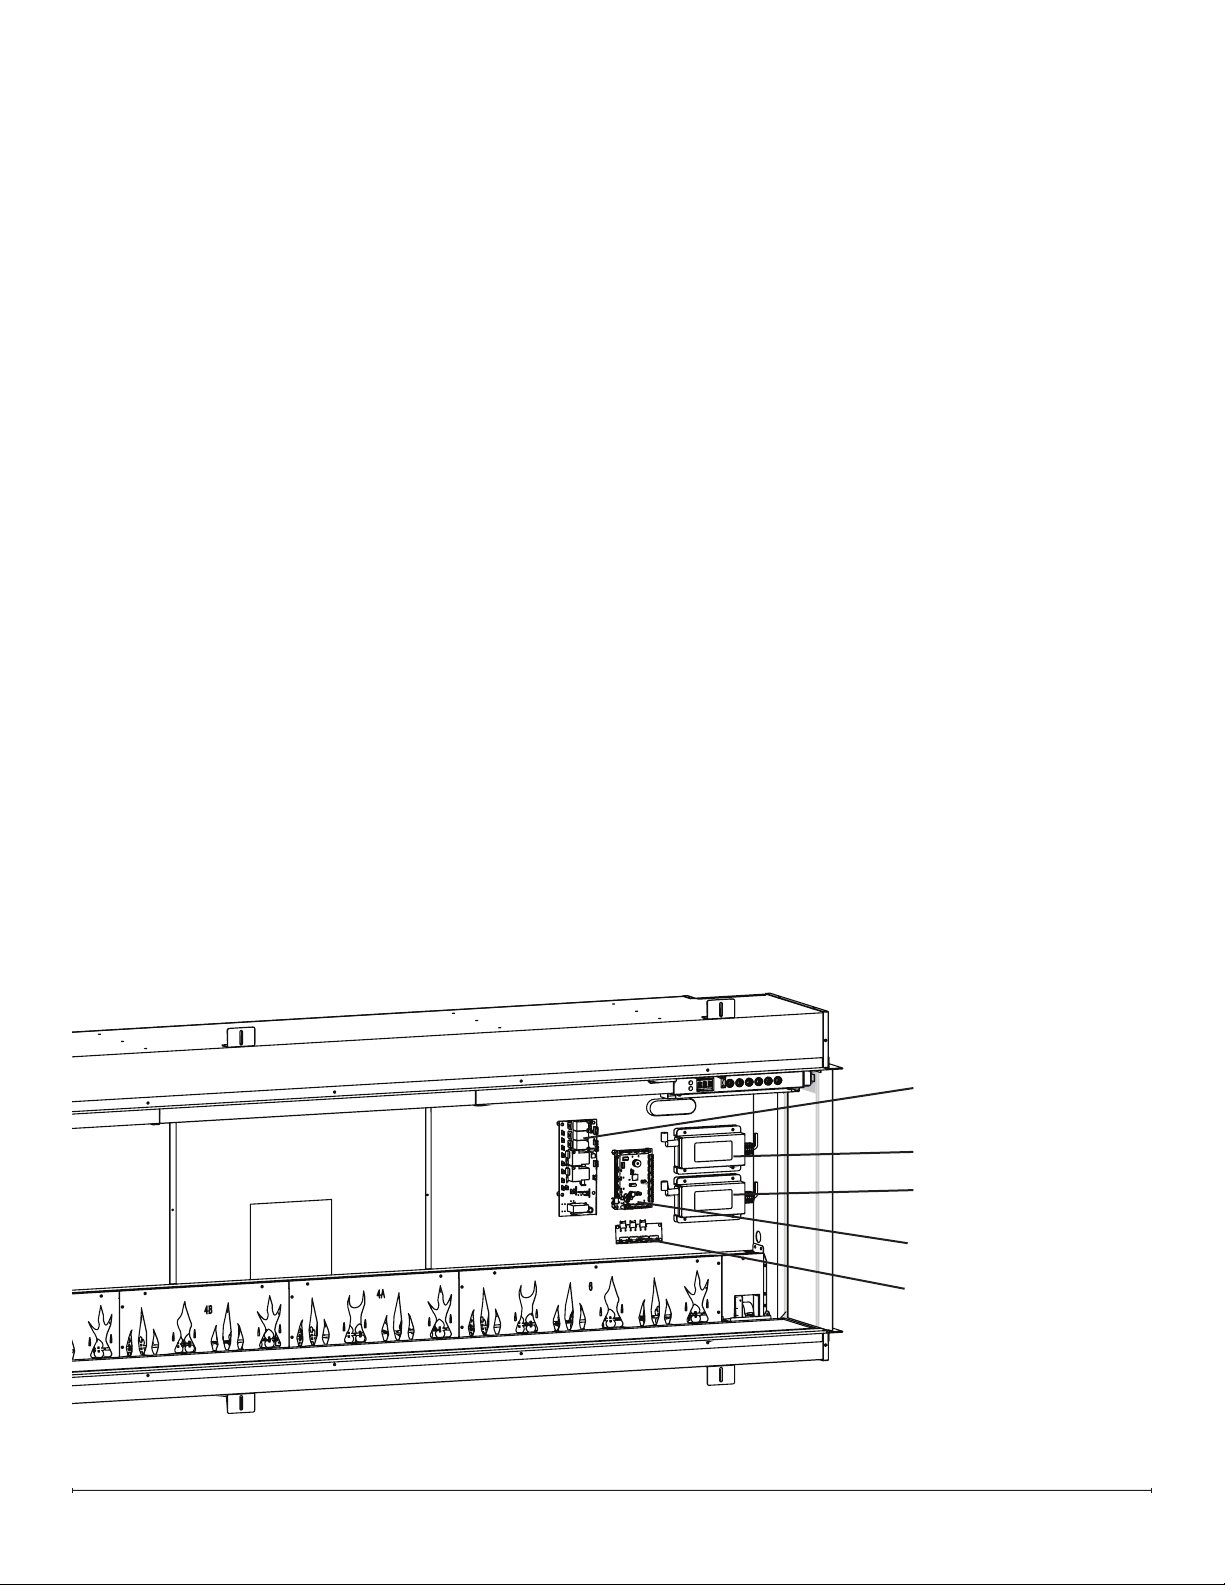
Relay Board
5 Amp Power Supply
3 Amp Power Supply
Main Control Board
Adapter Board
Figure 8 Models XLF8817-XD and XLF10017-XD Electronics
Loading ...
Loading ...
Loading ...