Loading ...
Loading ...
Loading ...
POLAR 12 1.1
6
●
12
LCD Display
In normal operating mode, this display indicates the input channels’ levels
and the master volume.
In DSP mode, it shows the parameters of the currently selected DSP menu.
See section 3.2, DSP Settings, for more on this.
Level Indicators
The four level indicators show the input channels’ levels. The Overload
section tells you the incoming signal is saturating the input because its
level is too high. If Overload lights up, turn down the channel’s input gain
and/or the connected device’s output level.
Heads up: POLAR has enough dynamic range to handle occasional
spikes where the signal peaks out. However, if an Overload indicator
lights up continuously or it sounds like the signal is clipping, turn the
given channel’s volume down to prevent the distortion produced by an
overloaded system.
Good to know: It is important to dial in the proper signal levels to
minimize noise. The best way to do this is by maxing out the channel
levels: turn up the input channels’ volume until the Overload indicator
lights up at the loudest signal peak, and then back it o just enough so
the Overload indicator no longer lights up. Then turn the Master knob up
only as far as you need it to go.
●
13
Master (push to edit)
The Master knob on the right of the display serves primarily to adjust the
system’s overall volume. The display indicates the current value; the control
range sweeps from -60 to +10 dB in 1 dB increments.
3 DSP Menu
Press the Master knob (push to edit) to access and edit various DSP
parameters listed in a menu. The display shows the currently selected
parameter.
• Turn the Master knob to navigate the menu. Press it to select the current
menu option or confirm your entry.
Note: POLAR will exit the selected menu option and automatically
return to the main Master Volume window if you do not make or confirm
an entry within eight seconds. It does this to prevent inadvertent
operating errors.
Heads up: The system’s memory stores all current DSP settings when
you power it down and reloads those settings when you power the
system back up again.
The following functions are available:
3.1 Bluetooth
Pairing: activate Bluetooth connection
(push again to activate pairing process)
Bluetooth
POLAR can stream audio via Bluetooth, which is a wireless way of rendering
music on mobile Bluetooth-enabled players such as smartphones and tablet
PCs.
Connecting to a Bluetooth device
• Press the master knob once. The display will show the menu option
"Bluetooth".
• Press the Master knob again ("Pairing") to start the Bluetooth connection
process known as pairing. Bluetooth-enabled devices should now be able
to discover POLAR. The Bluetooth icon in the display flashes slowly for 120
seconds, indicating that you can pair the system with a Bluetooth-enabled
device during this two-minute window.
• Go to the Bluetooth menu of your player and select "HK Audio POLAR" to
pair the two devices.
• The Bluetooth symbol lights up continuously in the POLAR display as soon
as the two are properly paired.
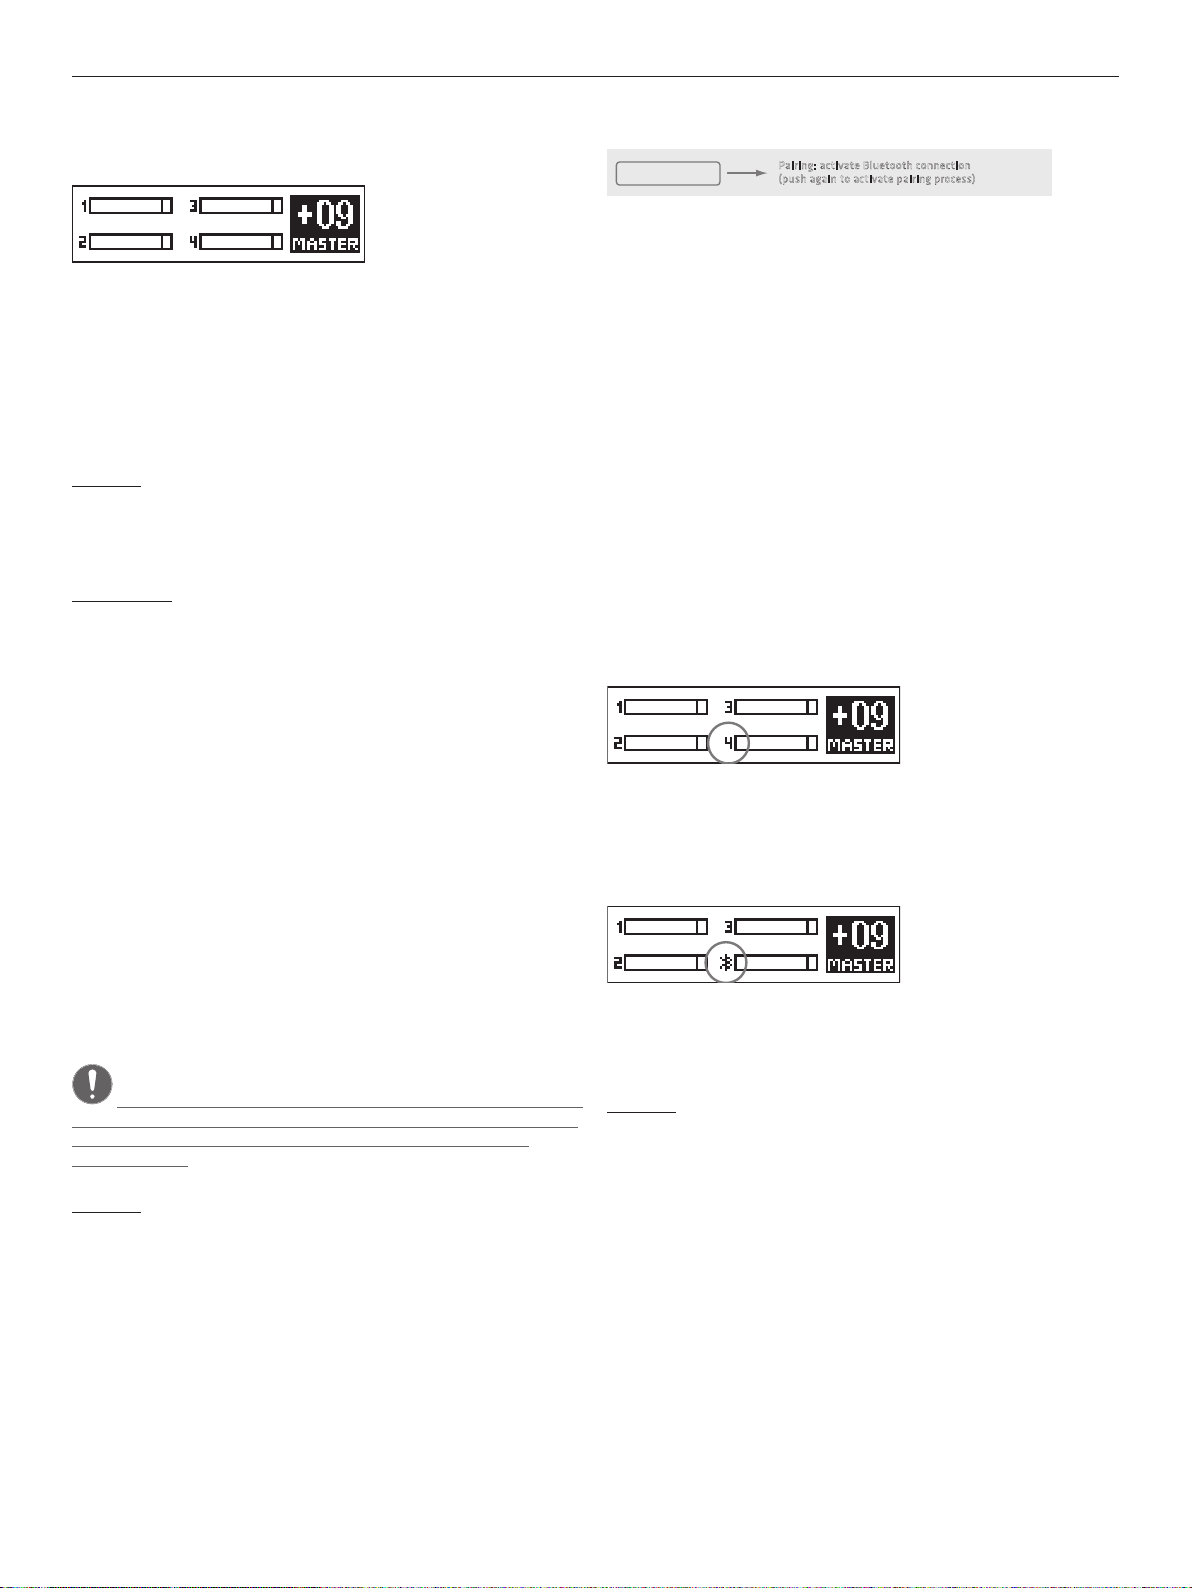
The display indicates the Bluetooth status:
• Display shows the number 4 rather than a Bluetooth icon
Bluetooth is o
• Icon flashes slowly
You have 120 seconds to pair devices
• Bluetooth icon lights up continuously
Devices are connected
• Icon flashes quickly
Bluetooth pairing failed or the connection dropped out (e.g. out of
Bluetooth range)
Heads up: If the Bluetooth icon flashes quickly, check if your Bluetooth
device is within range, Bluetooth is enabled, and POLAR is selected in
the list of Bluetooth devices. If POLAR does not appear in the list of
Bluetooth devices, try Bluetooth Pairing again to reconnect.
Channel 4 renders audio signals sent from the Bluetooth device. Adjust the
level with channel 4’s Volume knob or with the control on the Bluetooth
device. We strongly recommend turning channel 4’s volume down before
you hit the play button on your Bluetooth device.
Read chapter 4 to learn more about Bluetooth.
Loading ...
Loading ...
Loading ...