Loading ...
Loading ...
Loading ...
– 12 –
EN
7 Fig.
6 Fig.
5 Fig.
3. Rotate the uid control dial (3) anticlockwise until it
comes away from the spray gun body (Fig. 4).
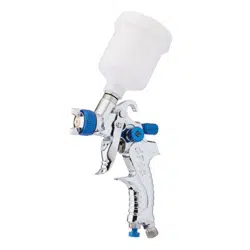
4. Remove the spring (14) and uid needle (5) from the
chamber via the back of the spray gun.
5. Screw the new nozzle head onto the front of the spray
gun.
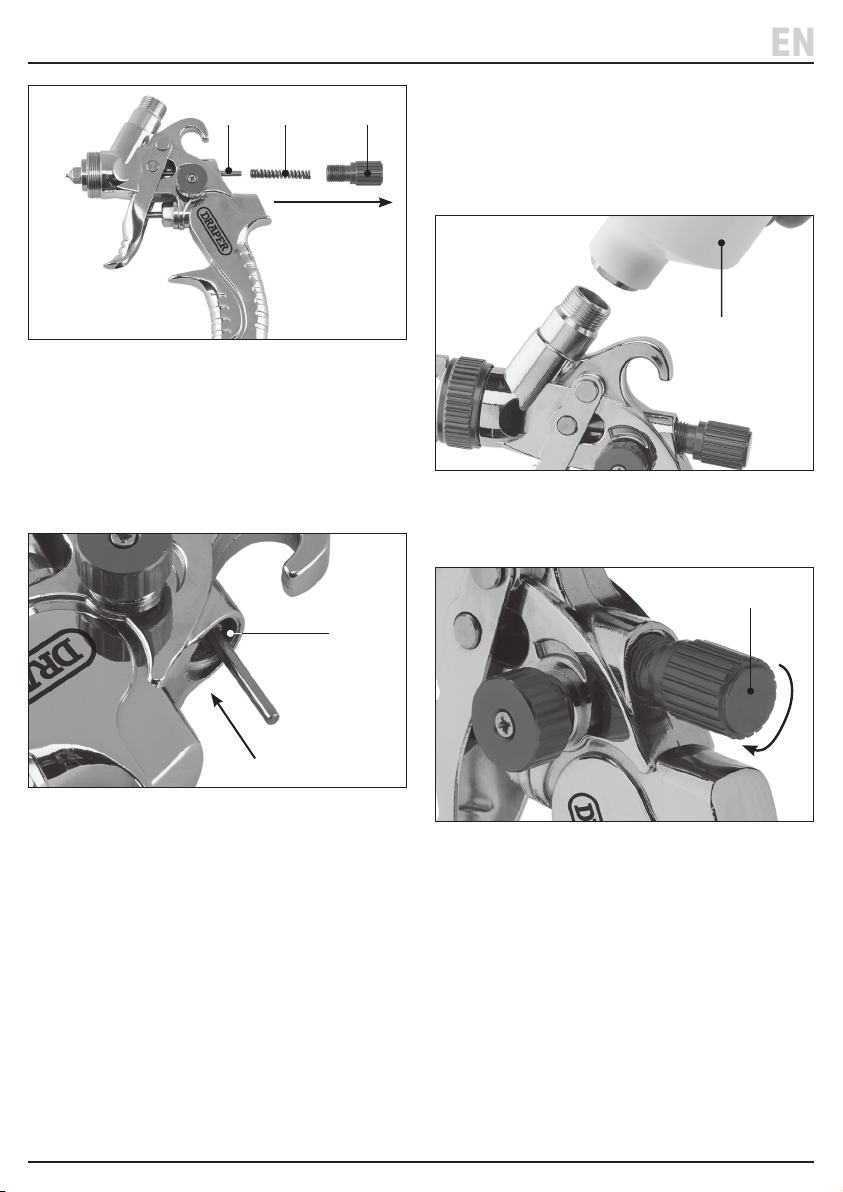
6. Ensure that the new uid needle is free from debris
and insert it point-rst into the needle chamber
through the back of the spray gun body (Fig. 5).
Important: Ensure that the needle point aligns with
and passes through the trigger cylinder (15) when it is
inserted.
7. Pass the spring onto the at end of the uid needle
and screw the uid control dial back into place.
8. Screw the air cap onto the spray gun body.
9. Test the trigger to ensure smooth operation.
7.4 Assembly, Filling and Connection to
the Air Supply
Important: It is recommended to use a 1/4" BSP thread
whip hose (Stock No. 54438) to connect the spray gun to
an air line in order to reduce vibration.
1. Attach a paint cup (B) to the threaded socket at the
top of the spray gun body (Fig. 6).
2. Rotate the uid control dial (4) clockwise as far as
possible to close the uid valve (Fig. 7).
7. Preparation Instructions
(15)
(B)
(4)
4 Fig.
(14)(5) (3)
Loading ...
Loading ...
Loading ...