ASSEMBLY INSTRUCTION
INcsb030_US
800-092
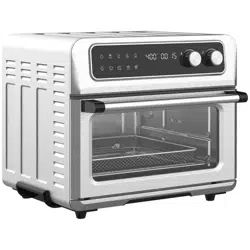
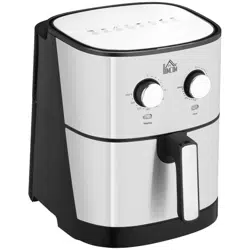
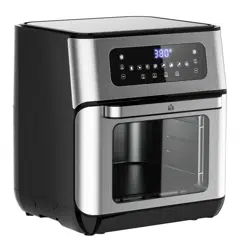
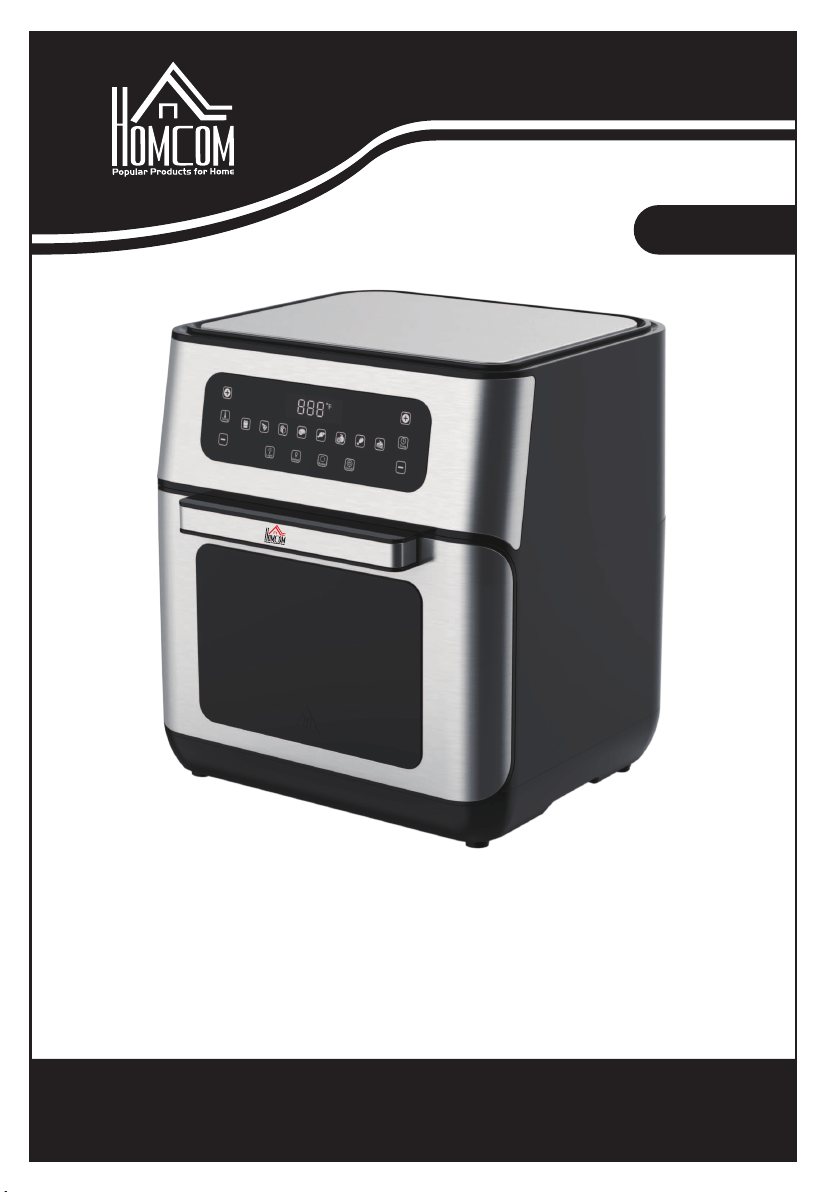
AIR FRYER OVEN
(120V 1500W 10L)
Manufacturer:Zhejiang Tianxi Kitchen Appliance Co.,Ltd
IMPORTANT, RETAIN FOR FUTURE REFERENCE: READ CAREFULLY
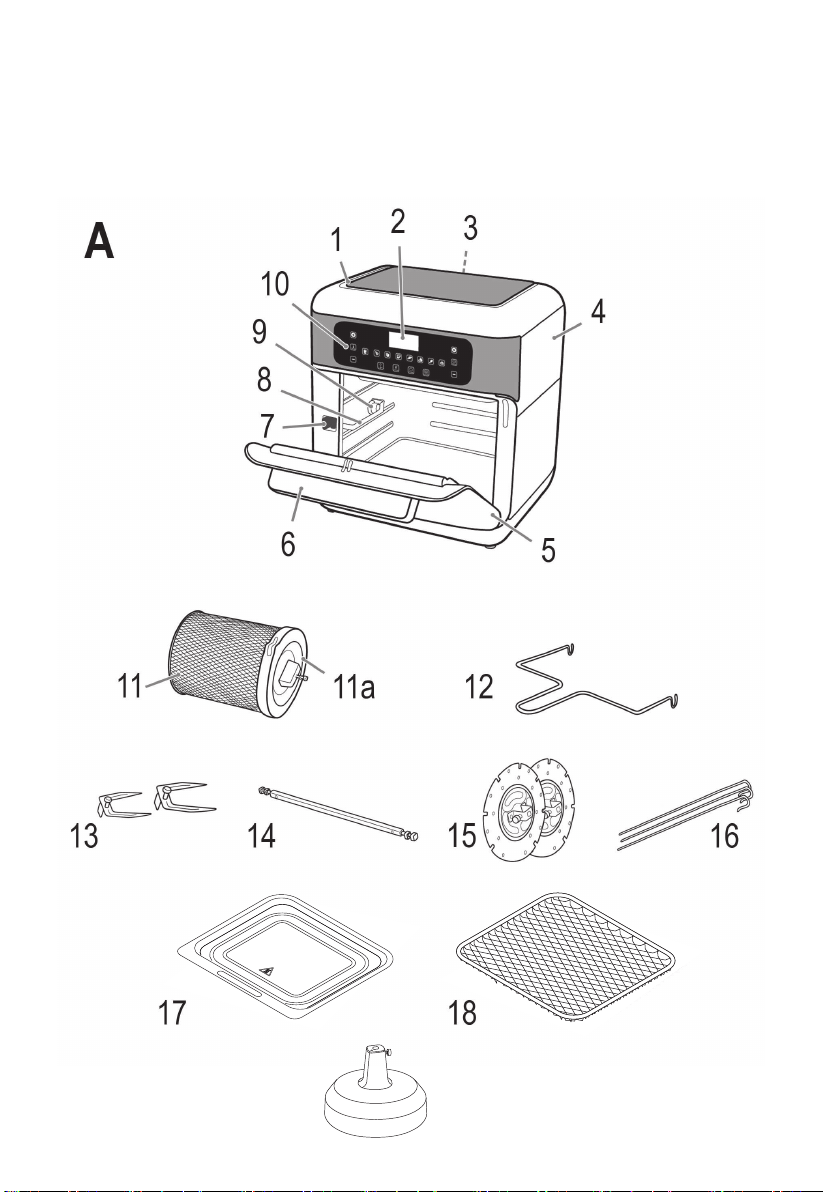
Overview of the Components
2
19
3
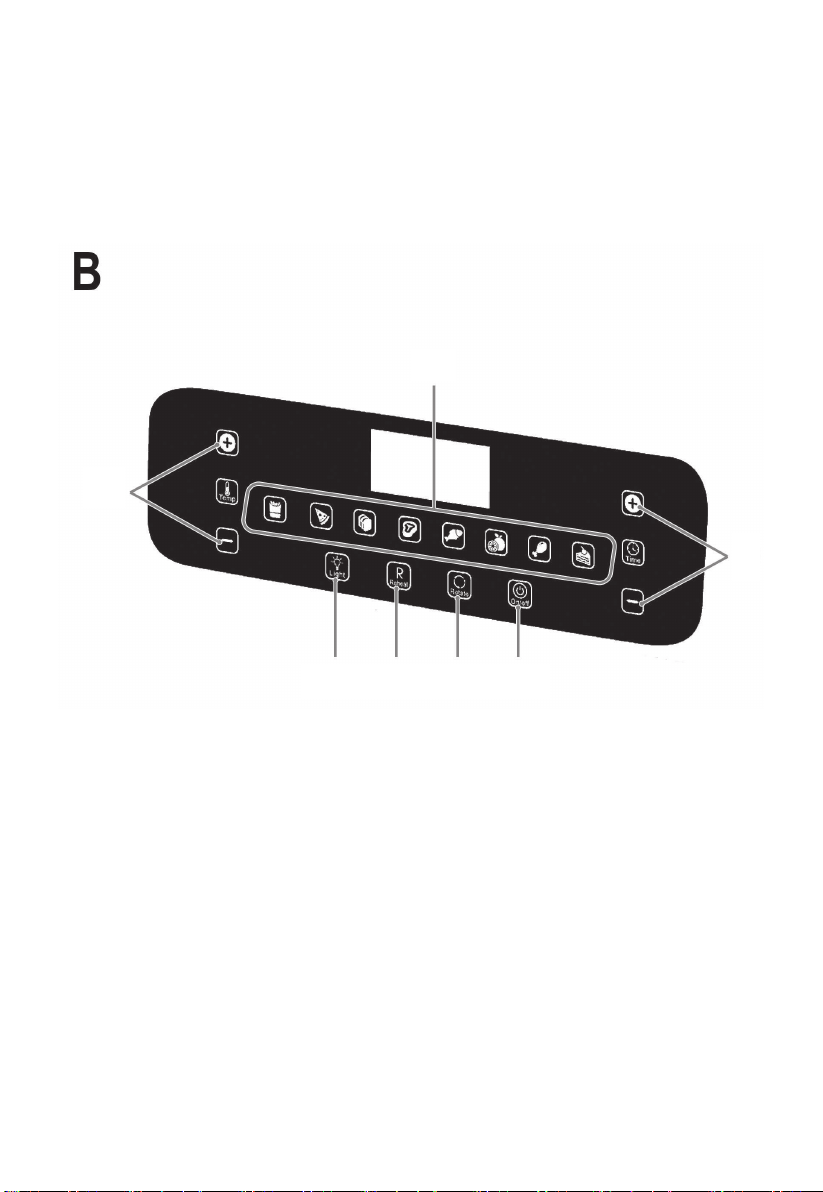
Control Panel
20
21
22232425
26
4
Instruction Manual
Symbols in these Instruction Manual
WARNING:
CAUTION:
objects.
NOTE:
Contents
Overview of the Components ............................................2
Control Panel .......................................................................3
General Notes ......................................................................4
Special Safety Precautions for this Appliance ................5
Unpacking the Appliance ...................................................6
Scope of Delivery ................................................................6
Overview of the Components ............................................6
Notes for Use .......................................................................6
............................................................................6
Electric Connection ..........................................................7
.................................................7
8
8
8
8
8
8
8
9
......................................7
..............................................................7
9
9
9
9
10
.........................................................7
Function Buttons ................................................................
.................................................................7
...................................
........................................................
.................................................................
..................................................................
Preparation ..........................................................................8
7
..............................................
...................
..............
.............
Using the Appliance ...........................................................9
Pause Operation ..............................................................
..............................................................
Cleaning ...............................................................................9
......................................................................
............................................................................
Storage ...............................................................................10
Troubleshooting ................................................................10
Disposal .............................................................................10
..................................
General Notes
•
commercial use.
•
•
• Do not
•
appliance must not be used.
•
•
WARNING:
There is a danger of suffocation!
5
Special Safety Precautions for this Appliance
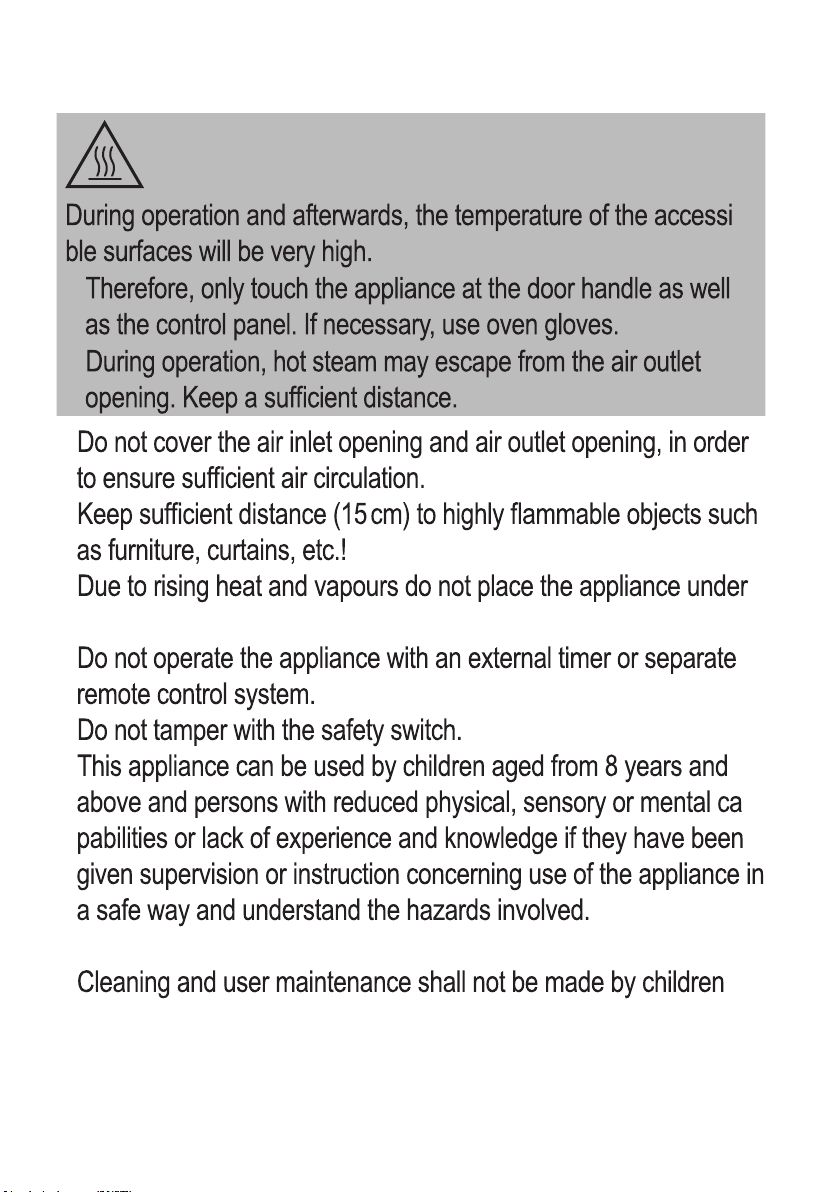
WARNING: Hot surface!
Danger of burns!
-
•
•
•
•
•
wall cupboards.
•
•
•
-
•
•
Children should not play with the appliance.
unless they are 8 years or older and supervised.
6
•
• -
-
CAUTION:
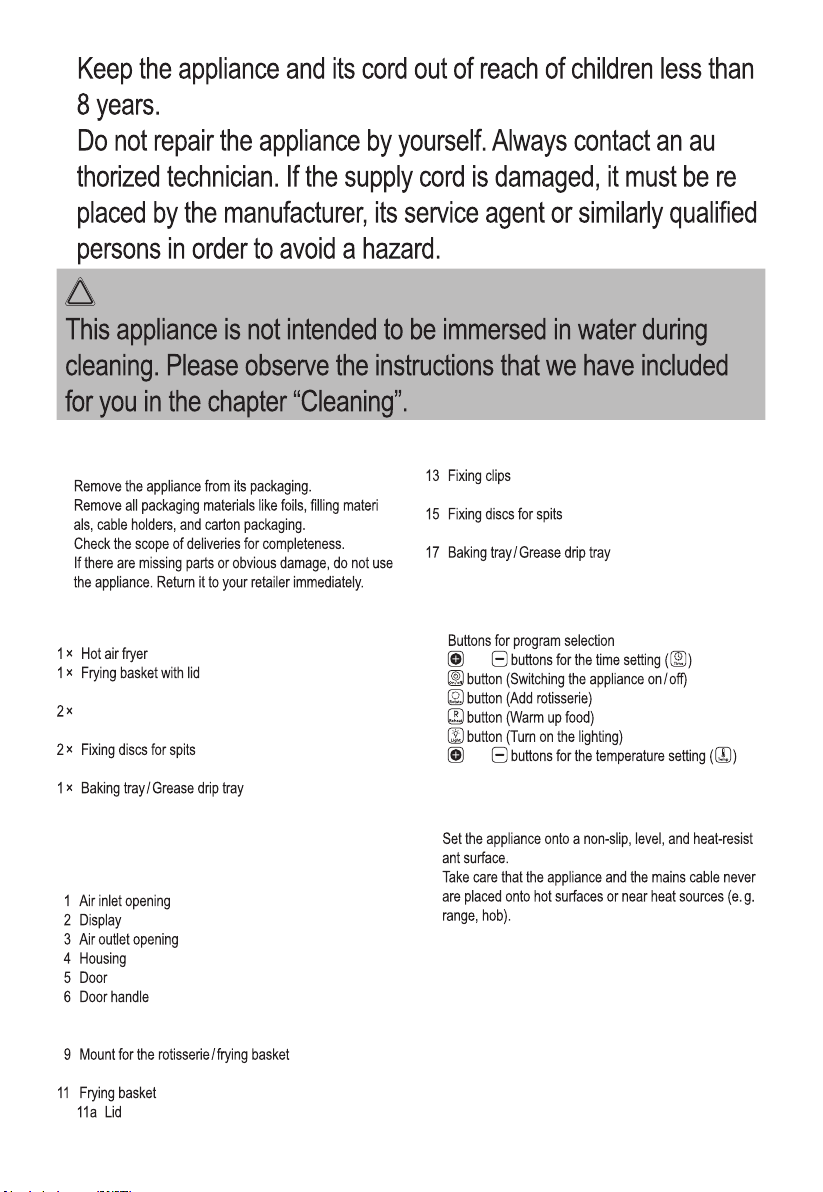
Unpacking the Appliance
1.
2. -
3.
4.
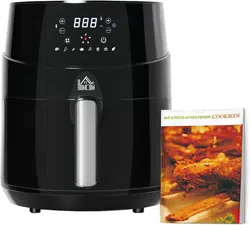
Scope of Delivery
1 × Removal tool
1 × Rotisserie
Fixing clips
8 × Spits
2 × Slide-in grid
Overview of the Components
Picture A, Page 3
7 Release
8 Guide rail
10 Control panel
12 Removal tool
14 Rotisserie
16 Spits
18 Slide-in grid
19 Cage stand
Picture B, Page 4: Symbols on the Control Panel
21
20
and
22
23
24
25
26
and
Notes for Use
Location
•
-
•
7
CAUTION: Overload!
•
Elec
tric Connection
1.
nameplate.
2.
Standby (Standby Mode)
NOTE:
•
•
•
•
3 seconds.
Switching the Appliance On / Off
button.
NOTE:
Before Initial Use
•
•
WARNING:
-
- -
Useful Hints for Use
•
goes out.
•
•
•
•
•
prepared in appropriate containers.
•
•
• -
•
•
doneness.
Function Buttons
NOTE:
•
a beep sound.
•
or
will start.
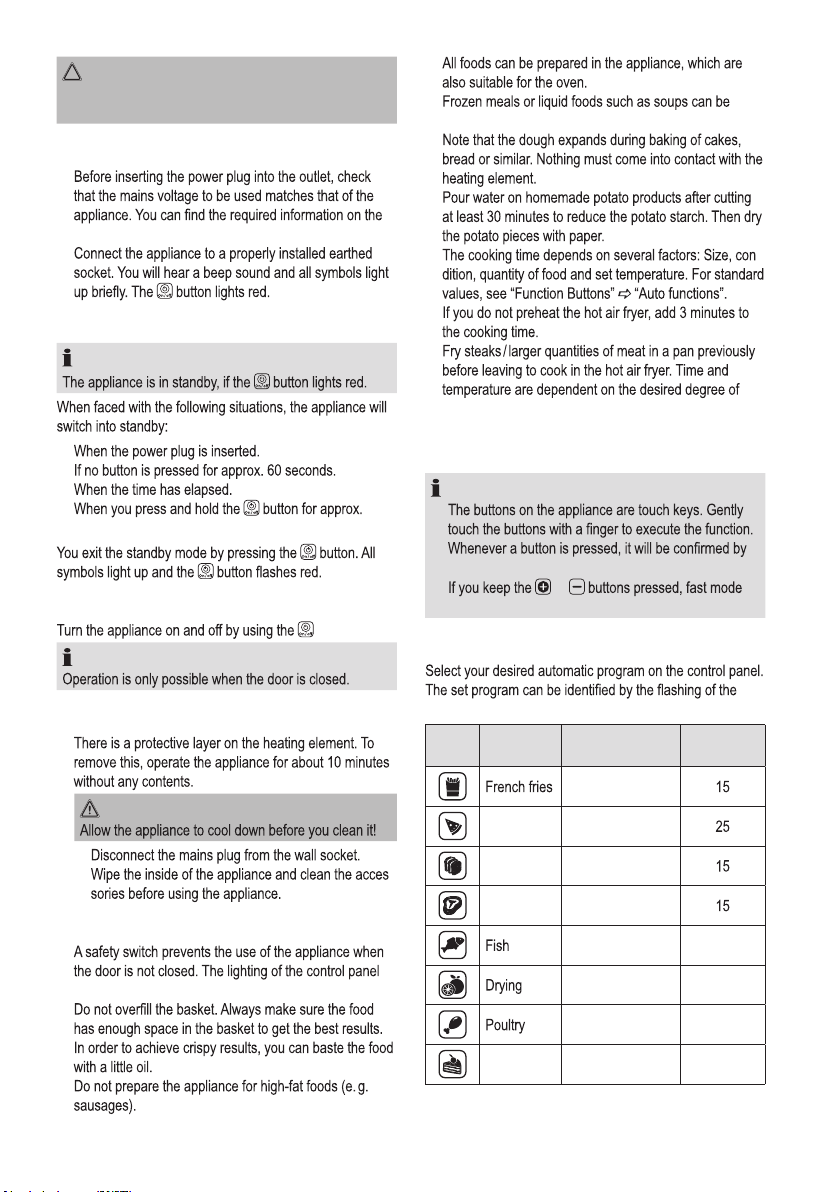
Auto Functions
respective button.
Button Mode
Pre-set
temperature in °F
Pre-set time
in min.
400
350
330
Pizza
Bread
Meat 360
30
100
350
120
380 30
Cakes 320 30
Do not use this appliance with socket splitters, as this
appliance uses a lot of power
8
NOTE:
•
•
• -
button.
Change of Temperature and Time
and
appliance.
Drying - 160°F to 400°F, Drying: 80°F to 160°F
•
or
Temp
• or
Time
NOTE:
Turn
On the Lighting
Warm Up Food
Add Rotisserie
Preparation
Use with the Frying Basket
1.
2.
3.
4.
-
.
6.
place.
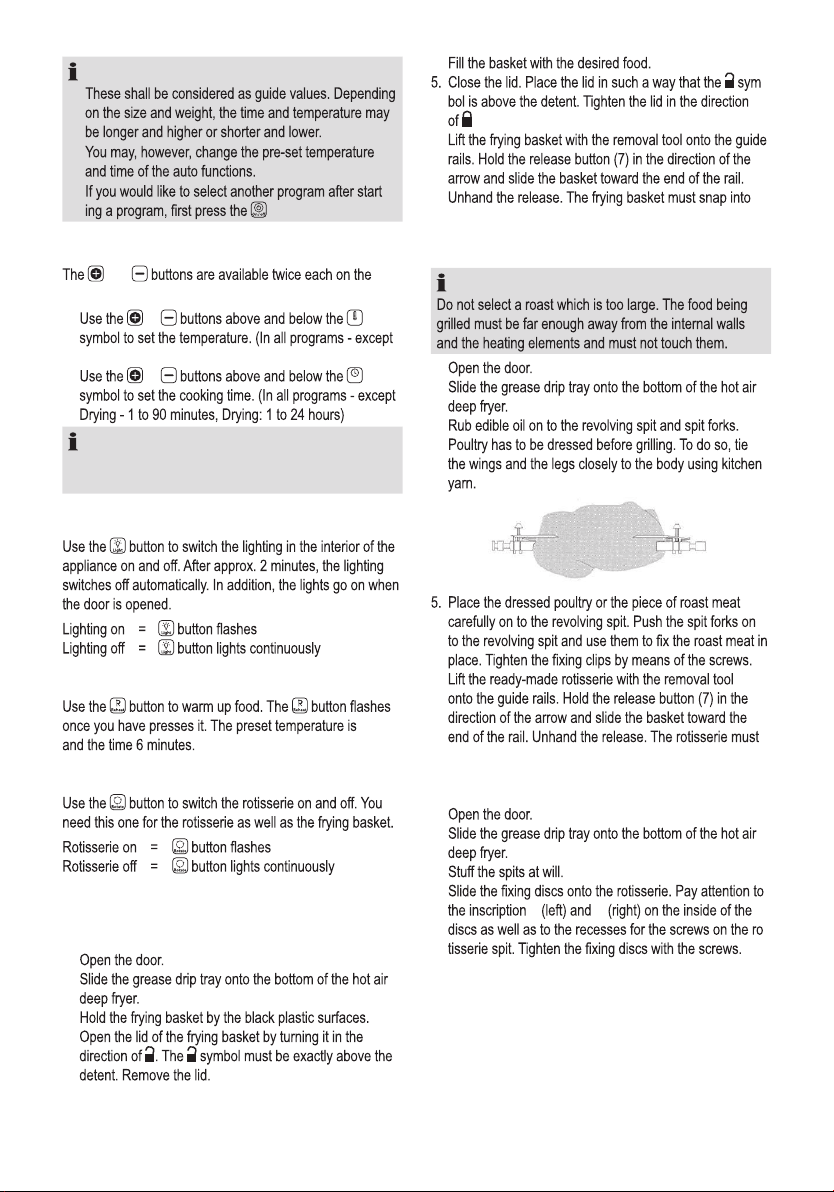
Use with the Rotisserie and the Fixing Clips
NOTE:
1.
2.
3.
4.
6.
snap into place.
Use with the Rotisserie, Fixing Discs and Spits
1.
2.
3.
4.
L R
-
230 °F
The display alternates between the remaining running
time and the set temperature
9
-
6.
Use with the Baking Tray and the Slide-in Grids
1.
2.
slide rails.
Using the Appliance
1.
2.
3.
or
buttons.
4.
Pause Operation
•
but-
•
NOTE:
paused.
End of Operation
NOTE:
WARNING: Danger of burns!
•
•
1.
2. If you have used the frying basket or the rotisserie
spit,
If you have used the baking sheet or the slide-in
grids,
3.
4.
Cleaning
WARNING:
•
•
CAUTION:
•
•
Accessories
Housing
400°F
Always turn the appliance off and unplug it before cleaning it.
Wait until the appliance has cooled down.
10
Storage
•
•
period.
•
Troubleshooting
Problem Possible Cause Remedy
working.
Contact our service or a repair centre.
appliance.
Disposal
Meaning of the “Dustbin” Symbol
-
-
If a problem occurs, it is often an easy fix. Before you contact customer service, please note the following information: