Loading ...
Loading ...
Loading ...
11
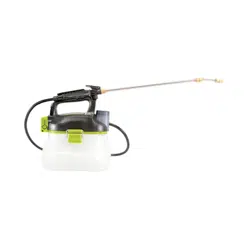
3. Fill the tank with the desired amount of water
(up to 1 gallon).
NOTE: DO NOT overll the tank.
4. Measure the recommended amount of solution with the
measuring cup. The cup may be used for measuring up to
4 oz (Fig. 7).
5. Carefully pour the measured solution into the tank.
6. Rinse the measuring cup with clean water. Screw it back
onto the tank, making sure it is tightened securely.
7. Reinstall the battery pack.
NOTE: It is important to thoroughly clean the unit after each
use. Allowing liquid to remain in an idle tool for an extended
period may cause its moving pieces and connectors to
seize up.
Starting + Stopping
mWARNING! Always remove battery pack from your tool
when you are assembling parts, making adjustments, cleaning,
or when not in use. Removing battery pack will prevent
accidental starting that could cause serious personal injury.
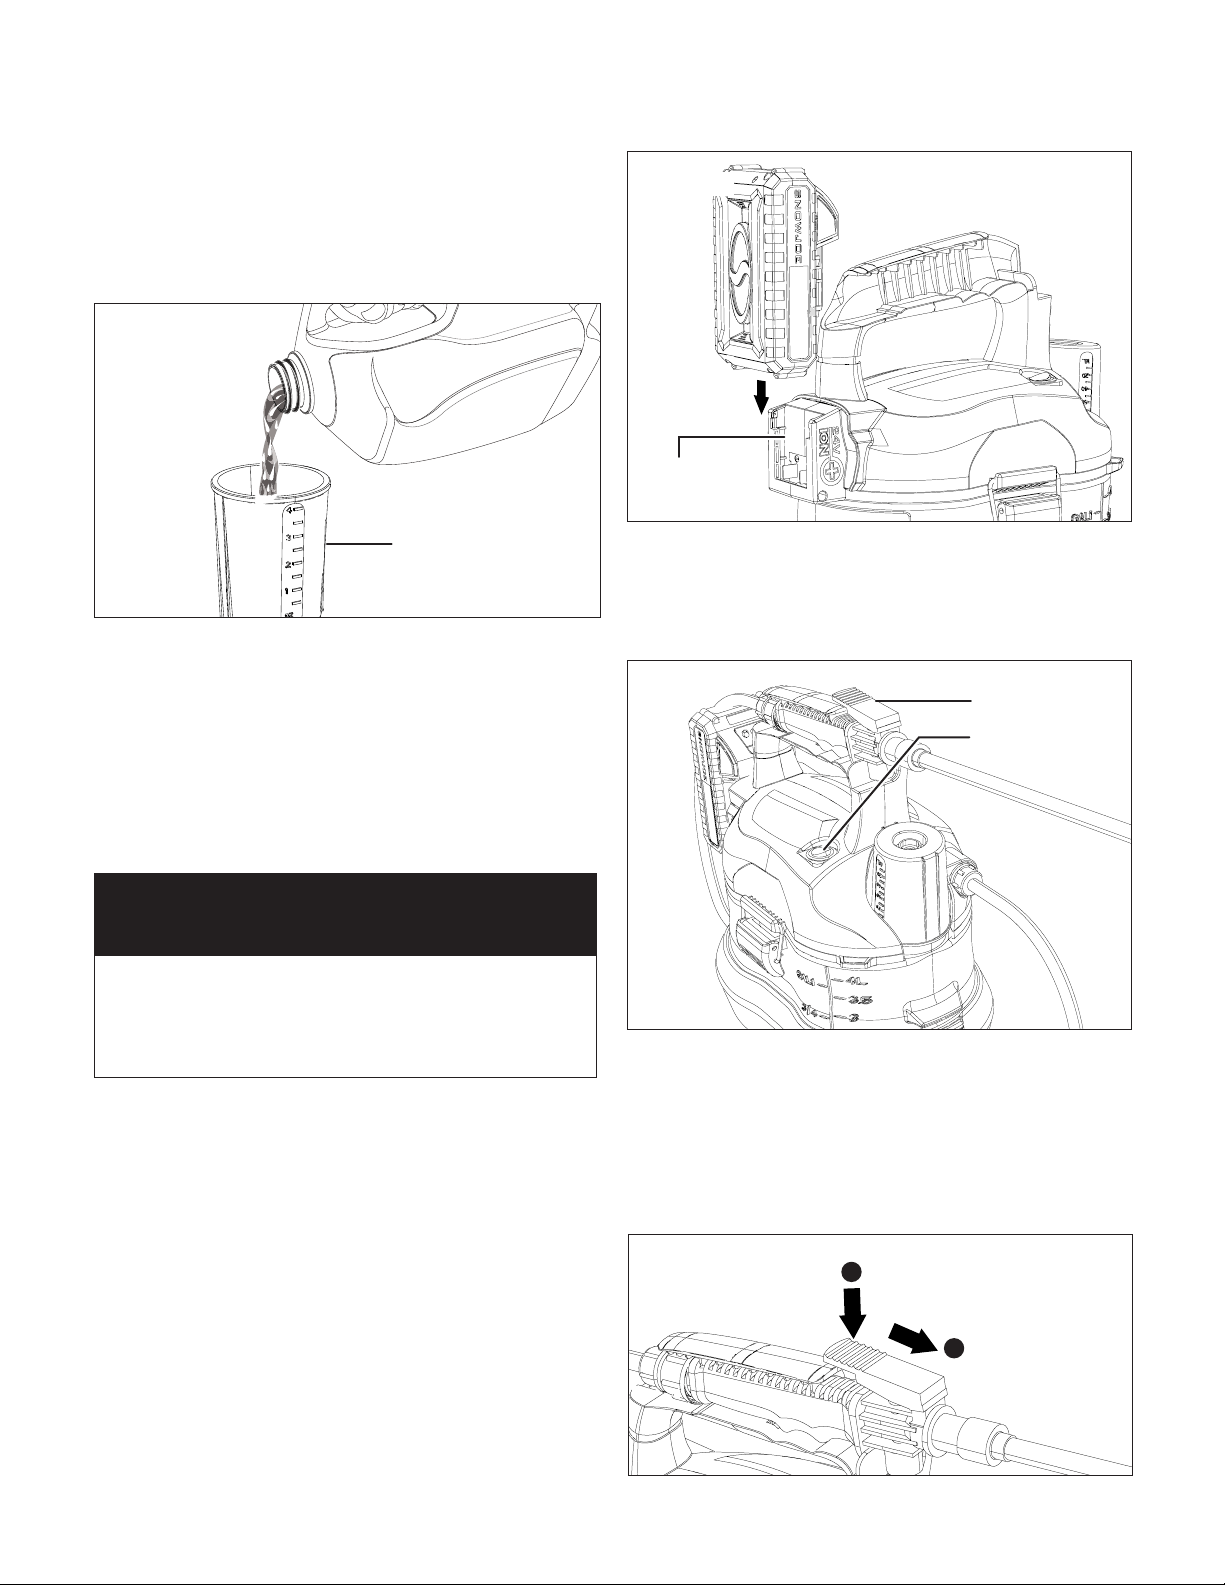
1. Insert the battery into the battery compartment on the rear
of the sprayer housing until the battery clicks in position
(Fig. 8).
2. Press the On/O switch on the ON(I) side, the switch will
light up to indicate that the sprayer is in standby mode.
Press the trigger on the trigger gun to start the sprayer
(Fig. 9).
3. Release the trigger to stop the sprayer. Press the On/O
switch on the OFF(O) side (Fig. 9).
The trigger is equipped with lock-on feature, which is
convenient when spraying for an extended period of time or
when covering a large area.
4. To start spray with lock-on function, depress the trigger
and slide it forward (Fig. 10).
Fig. 7
Measuring
cup
In order to operate this cordless chemical garden sprayer
you will need an 24V iON+ System battery and charger. See
page 16 for battery and charger options and specications,
or for more information visit sunjoe.com.
TOOL ONLY
BATTERY + CHARGER SOLD SEPARATELY
Fig. 8
Battery
compartment
Fig. 9
Trigger
On/O switch
Fig. 10
1
Depress
2
Push forward
Loading ...
Loading ...
Loading ...