
Loading ...
Loading ...
Loading ...
14 English
Check the mains connection of the device
for damage every time before operation.
Do not operate the device using a damaged
cable. Have any damaged cables replaced
by a qualified electrician.
Symbols on the device
Marking the maximum permissible fluid
level
See chapter Checking the filling level dis-
play.
ATTENTION
Risk of damage to the device
Leaking water due to the maximum fluid
level being exceeded.
Drain the device before the maximum fluid
level is reached.
Device description
See graphics page for illustrations
Illustration A
1 Steering rollers with parking brake
2 Maximum filling level mark
3 Drain hose
4 Liquid container
5 Push handle
6 Deflector plate
7 Small deflector plate
8 Filter
9 Suction head
10 Suction hose connection
11 Power switch
12 Suction head lock
13 Mains cable
14 Liquid container crane grommet
15 Tilting chassis
16 Accessory holder
17 Unlocking lever
Start-up
See graphics page for illustrations
1. Bring the device into the working posi-
tion.
2. If necessary, secure the device using the
parking brake.
3. Ensure that the suction head is fitted
correctly.
4. Insert the suction hose into the suction
hose connection.
Illustration B
5. Plug the desired accessory onto the suc-
tion hose.
Operation
See graphics page for illustrations
1. Plug the mains plug into the socket.
2. Switch on the device using the power
switch.
Illustration C
Device with a motor (IVR-L...-1)
Illustration D
Device with two motors (IVR-L...-2)
ATTENTION
Operation with a motor
Risk of damage to the drive motor
Switch between the level settings quickly.
The switch has multiple level settings:
0The device is off.
1Motor 1 is switched on.
2Motors 1 and 2 are switched on.
3. Start vacuuming.
Suction process
Note
Only immerse the accessory halfway when
vacuuming liquids to encourage sufficient
air.
Checking the filling level display
See graphics pages for illustration
Illustration E
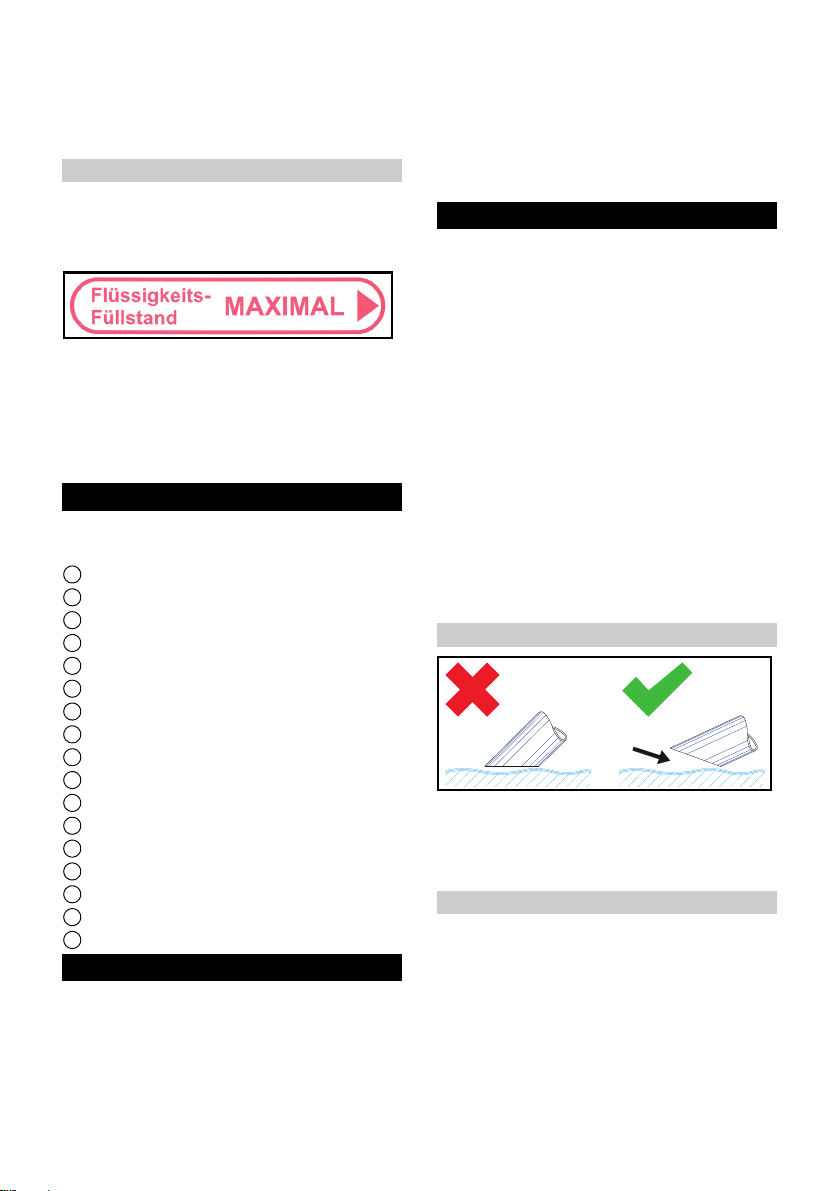
Note
The red marking on the drain hose shows
the maximum permissible filling level.
ATTENTION
Risk of damage to the device
The liquid container will overflow within a
few seconds of filling.
Loading ...
Loading ...
Loading ...