Loading ...
Loading ...
Loading ...
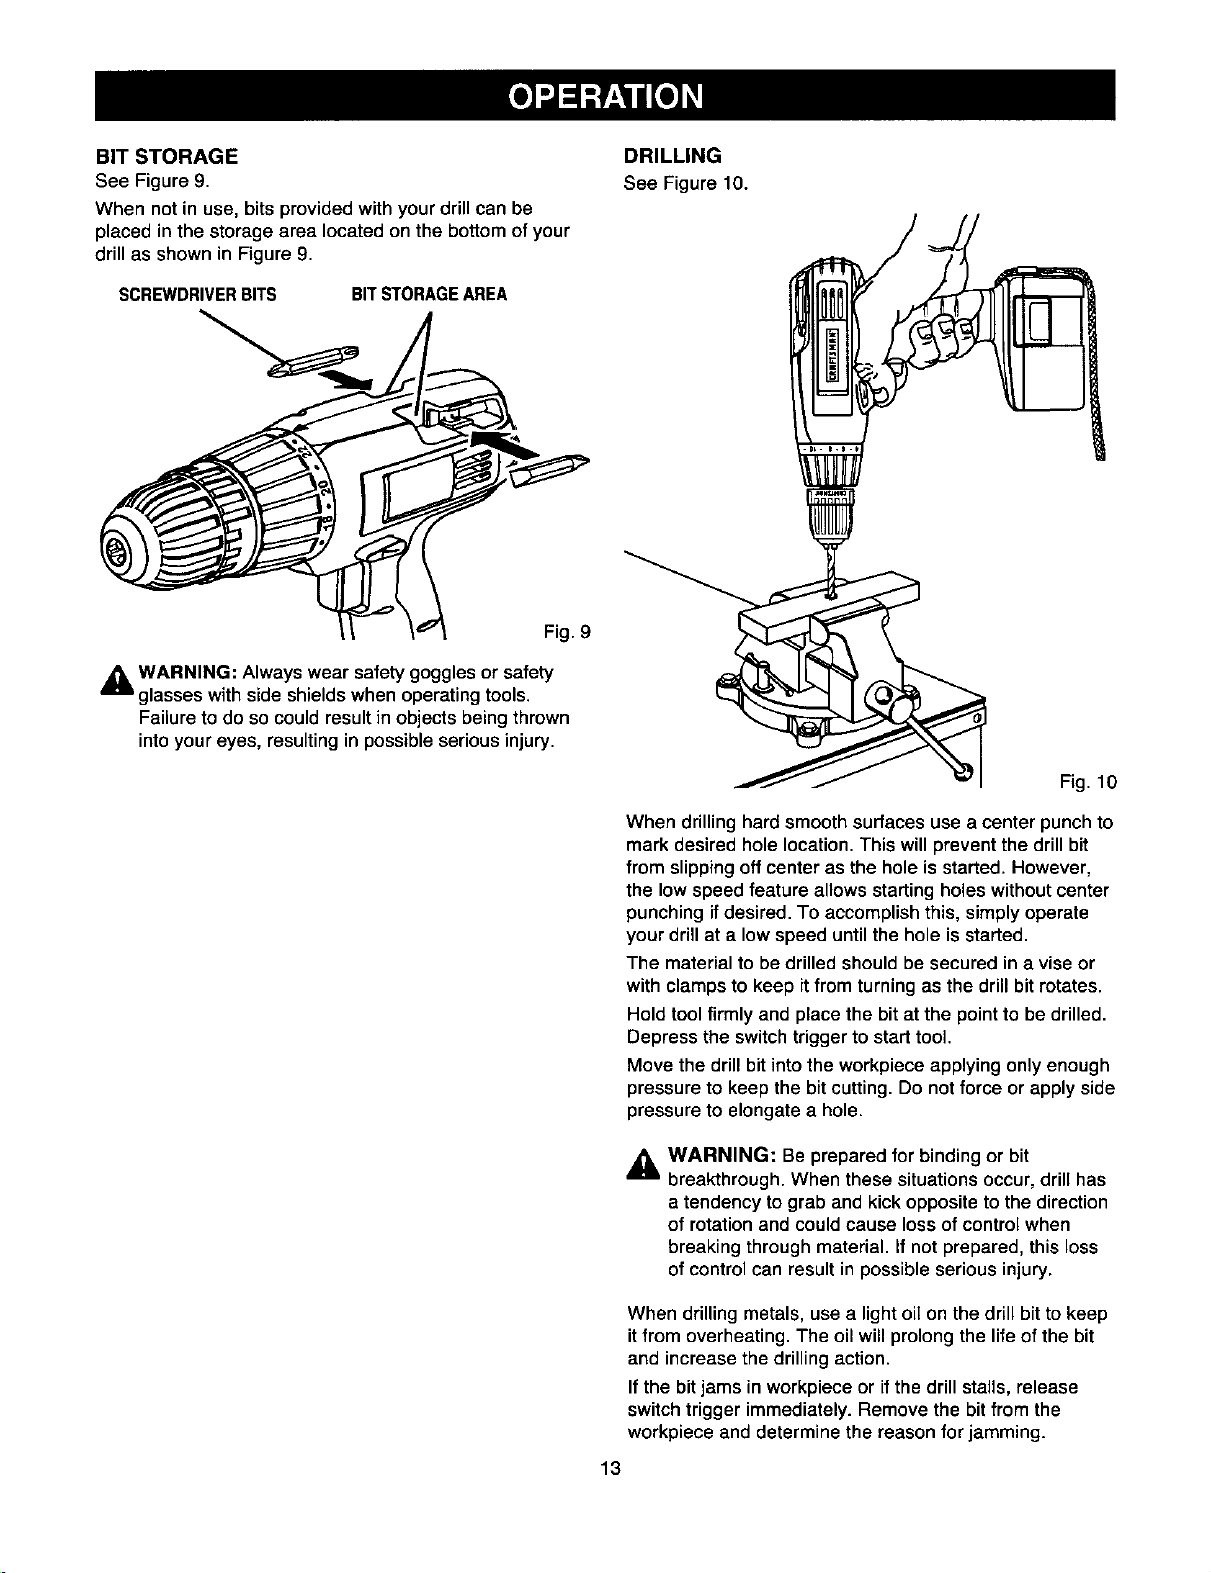
BIT STORAGE
See Figure 9.
When not in use, bits providedwith yourdrillcan be
placed in the storage area locatedon the bottomof your
drillas shownin Figure 9.
SCREWDRIVERBITS BITSTORAGEAREA
Fig. 9
_. WARNING: Always wear safety goggles or safety
glasses with side shields when operating tools.
Failureto do so couldresultin objectsbeingthrown
intoyoureyes, resulting in possibleseriousinjury.
DRILLING
See Figure 10.
Fig. 10
When drilling hard smoothsurfaces use a center punch to
mark desired hole location. This will prevent the drill bit
from slipping off center as the hole is started. However,
the low speed feature allows starting holes without center
punchingif desired. To accomplish this, simply operate
your drill at a low speed until the hole is started.
The material to be drilled should be secured in a viseor
with clamps to keep it from turning as the drill bit rotates.
Hold tool firmly and place the bit at the point to be drilled.
Depress the switch trigger to start tool.
Move the drill bit into the workpiece applying only enough
pressure to keep the bit cutting. Do not force or apply side
pressure to elongate a hole.
_k WARNING: Be prepared for binding or bit
breakthrough. When these situations occur,drill has
a tendency tograb and kick oppositeto the direction
of rotationand couldcause lossofcontrolwhen
breaking through material. If not prepared, this loss
ofcontrolcan result in possibleserious injury.
When drilling metals, use a light oil on the drill bit to keep
it from overheating. The oil will prolong the life of the bit
and increase the drilling action.
If the bit jams in workpiece or if the drill stalls, release
switch trigger immediately. Remove the bit from the
workpiece and determine the reason for jamming.
13
Loading ...
Loading ...
Loading ...