Loading ...
Loading ...
Loading ...
– 8
Note: The functioning of the vacuum cleaner is based
on the whirling of the suction air in the water filter. In the
process, sucked-in materials and deposits of cleaning
agents from floors get collected in the water bath. This
can sometimes lead to the formation of foam. It is nec-
essary to add a capful of the defoamer liquid to the wa-
ter bath to avoid this situation. Slight foam formation is
normal and does not hamper the functioning of the ma-
chine.
Always place the machine in a horizontal position during
operation.
몇 CAUTION
Risk of injury due to accidental discharge of steam.
Ensure that the release button is always activated
by the stop position during interruptions of work or
when the appliance is not supervised.
Note
In order to continue the steam release, deactivate the
stop position by pushing the button again.
Illustration
Open the flap of the appliance connector.
Tightly insert the steam plug into the appliance con-
nector. The plug must click into place audibly.
Illustration
Insert the mains plug into the socket.
Illustration
All accessories can directly be attached to the han-
dle or to the steam suction pipes.
Illustration
In order to connect the two extension tubes with
each other, the direction of the arrow must be ob-
served.
Illustration
Connect the handle or the extension tube to the de-
sired accessory.
Illustration
몇 CAUTION
Risk of injury on account of steam!
During the operation of the device, the locking le-
vers must remain in the closed position!
The locking lever is in the middle, (position open).
To secure the accessories: Turn the locking lever
to the right and slide it down (position closed).
Check accessory for safe connection prior to use.
To disconnect the accessories: Slide up the locking
lever and turn it to the left.
The locking lever is now in the middle again, the ac-
cessories can be pulled apart.
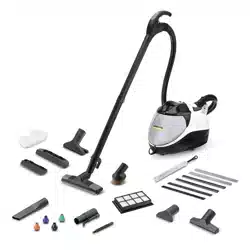
You can use this appliance to vacuum dust as well as
spilled liquids.
몇 CAUTION
Risk of injury due to accidental discharge of steam.
Activate release button.
Illustration
Push the main switch.
The first level of the indicator lamps for the suction
performance starts to flash.
Illustration
Briefly push the suction button on the handle.
The suction operation starts with the minimum per-
formance. The first level of the indicator lamps for
the suction performance is continuously on.
End suction operation: Press suction button again
briefly.
Note
When you restart the suction function, the machine
starts at with the previously selected suction perfor-
mance.
The setting of the suction performance depends on the
surface to be cleaned.
Illustration
Push the suction button and hold it down.
The suction performance initially increases contin-
uously and then decreases continuously after
reaching the maximum power.
This is indicated by the indicator lamps for the suc-
tion performance.
Note
The numbers indicating the levels correspond to the in-
dication of the indicator lamps for the suction perfor-
mance.
If the waste water level in the water filter container has
reached the maximum level, the vacuum cleaning func-
tion is automatically blocked. A higher speed of the mo-
tor is then audible. After 10 seconds, the appliances au-
tomatically switches to pause.
Illustration
Turn on the machine.
Illustration
Drain the waste water from the water filter container.
Illustration
After that, water must be refilled until the required
water level is reached.
Operation
Connecting the accessories
Accessories for steaming and vacuuming
Vacuum cleaning operation
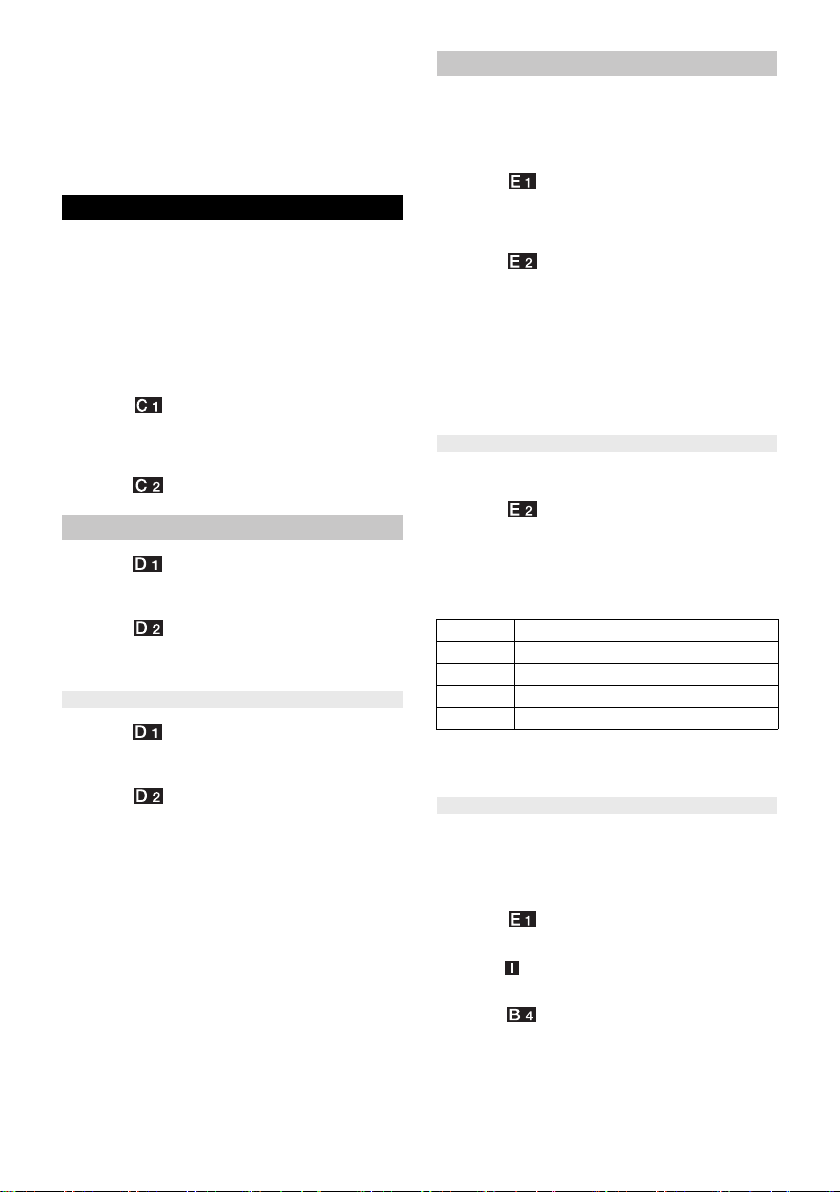
Setting the vacuum cleaning performance
Level Material / surface
1 Curtains
2 Sofas and upholstery
3 Carpets / carpeted floors
4 Vacuuming floors or absorbing fluids
Water filter
16 EN
Loading ...
Loading ...
Loading ...