Loading ...
Loading ...
Loading ...

– 8 –
EN
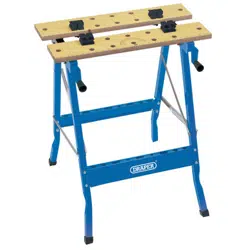
1 Fig.
Important: Read and understand all the safety
instructions listed in this manual before attempting
to assemble this product.
Important: Ensure all bolts are only FINGER TIGHT until
assembly is complete. Then tighten all xtures securely.
7.1 Assemble the Legs
The legs are assembled prior to shipment.
Important: When the workbench is fully assembled,
the folding braces should be on the outside of the frame,
with the diagonal braces on the inside.
Attach a foot (H) to the base of each leg so that the
longest edges are on the outside corners.
7.2 Attach the Top Frames
2. Pass two 13mm x 44mm half-thread hex bolts (I) each
through a 15mm washer (L) and top frame bracket
around the leg and secure each in place with another
15mm washer and a 13mm nylon-insert lock nut (N).
3. Repeat these steps for the other leg assembly,
ensuring that the crank handle is positioned over
the front leg.
1. Insert the upper ends of one of the leg assemblies
between the brackets of a top frame (F) so that the
holes align and the crank handle (2) is positioned
above the front leg (3).
7. Assembly Instructions
(H)
(F)
(I,L)
(L, N)
2 Fig.
7.3 Attach the Crossbars
1. Insert the cross members (C) between the two legs
assemblies and align the holes.
Important: The crossbar brackets can be shaped
to t comfortably around the leg as required.
2. Pass two 10mm x 35mm half-thread screws (J)
through each of the crossbar brackets around the
legs and secure each in place with an 11mm
washer (M) and a 10mm nylon-insert lock nut (O).
(C)
(A)
3 Fig.
Important: Once assembled, the legs should bend
outwards slightly at the bottom to improve the stability of
the workbench.
4 Fig.
Loading ...
Loading ...
Loading ...