Loading ...
Loading ...
Loading ...
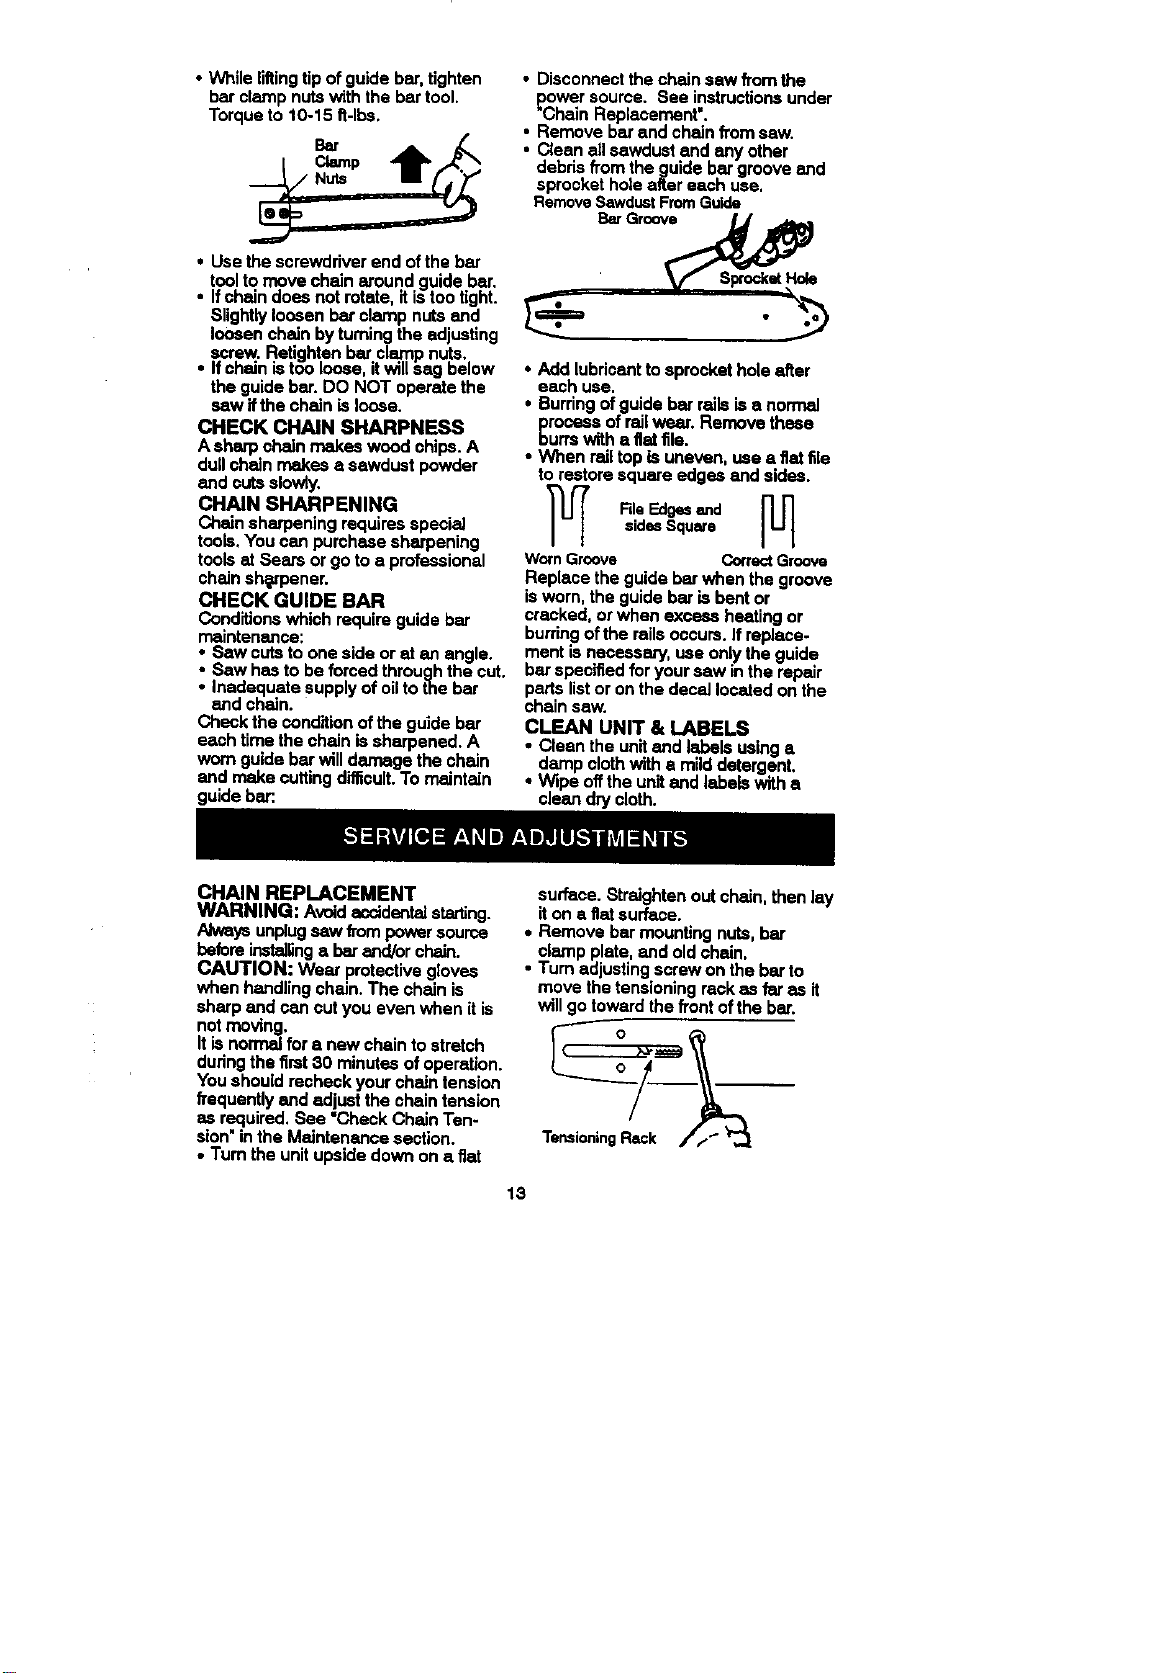
• While liftingtip ofguide bar, tighten • Disconnect the chain sew from the
bar clamp nuts with the bar tool. power source. See instructionsunder
Torque to 10-15 fi-lbs. "Chain Replacement'.
• Remove bar and chain from saw.
/
[ _C_mp _ .,_.. • Clean allsawdust and any other
debris from the guide bar groove and
Nuts sprocket hoZeafter each use,
BarGroovc__
__ ' _ SlxocketHole
RemoveSawdustFromGuide
• Use the screwdriver end of the bar
toolto move chain around guide bar.
• If chain does not rotate, it istoo tight. _ _._
SUghtlyloosen bar clamp nuts and _ •
Iousen chain by turning the adjusting
screw. Retighten bar clamp nuts.
• If chain is too loose, itwill sag below
the guide bar. DO NOT operate the
saw ifthe chain is loose.
CHECK CHAIN SHARPNESS
Asharp chain makes wood chips. A
dullchain makes a sawdust powder
and outs slowly.
CHAIN SHARPENING
Chain sharpening requiresspecial
tools. You can purchase sharpening
tools at Sears or go to a professional
chain sh_Fpener.
CHECK GUIDE BAR
Conditionswhich require guide bar
maintenance:
• Saw cuts to one side or at an angle.
• Saw has to be forced through the cut.
• Inadequate supply of oil to the bar
and chain.
Check the conditionof the guide bar
each time the chain is sharpened. A
worn guide bar willdamage the chain
and make cuttingdifficult.To maintain
guide bar:.
• Add lubricantto sprocket hole after
each use.
• Burring ofguide bar railsis a normal
_roceas ofrail wear. Remove these
urrswith a fiat file.
• When railtop is uneven, use a fiatfile
to restore square edges and sides.
RleEdgesand _[_sidesSquare
WornGroove Co.act Groove
Replace the guide bar when the groove
is worn, the guide bar isbent or
cracked, or when excess heating or
burring ofthe rails occurs. Ifreplace-
ment is necassa,-y, use onlythe guide
bar specified for your saw m the repair
pads listor on the decal located on the
chain saw.
CLEAN UNIT & LABELS
• Clean the unit and labels using a
damp cloth with a mild detergent,
• Wipe offthe unitand labels with a
clean dry cloth.
CHAIN REPLACEMENT
WARNING: Avoid sccidantai starting.
/Uways unplugsaw frompower source
beforeinstallinga bar and/or chain.
CAUTION: Wear protective gloves
when handling chain. The chain is
sharp and can cut you even when itis
not moving.
Itis normal fora new chain to stretch
duringthe first 30 minutes of operation.
You should recheck your chain tension
frequanUyand adjust the chain tension
as required, See "Check Chain Ten-
sion"in the Maintenance section.
• Turn the unitupside down on a fiat
13
surface. Straighten out chain, then lay
it on a fiat surface.
• Remove bar mounting nuts, bar
clamp plate, and old chain,
• Turn adjusting screw on the bar to
move the tensioning rack as far as it
will go toward the front ofthe bar.
TensioningRack //_ _'.'.'.'.'.'.'.'.'_
Loading ...
Loading ...
Loading ...