Loading ...
Loading ...
Loading ...
3. Fold the upper handle fully up. (Fig. 29)
4. Tighten the upper knobs fully.
WARNING: Do not operate the product
unless the handle is fully folded up and set
in one of the applicable height positions.
Refer to
To adjust the handle height on page
13
.
To set the cutting height
1. Move the cutting height lever rearward to increase
the cutting height.
2. Move the cutting height lever forward to decrease
the cutting height. (Fig. 30)
CAUTION: Do not set the cutting height
too low. The blades can hit the ground if the
surface of the lawn is not level.
Battery
WARNING: Before you use the battery,
you must read and understand the safety
chapter. You must also read and understand
the operator's manual for the battery and the
battery charger.
Keep the battery and the battery charger in correct
ambient temperatures.
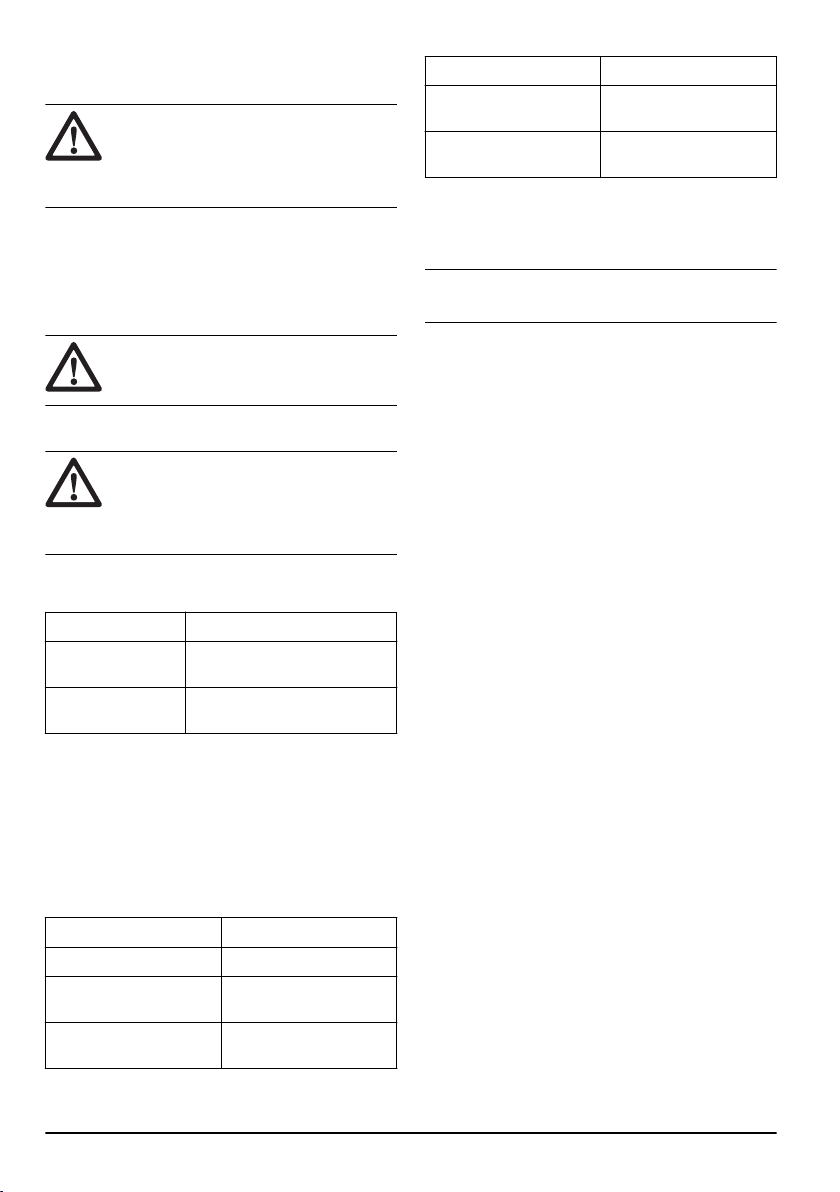
Ambient temperature
Operation of the bat-
tery
5 °C - 40 °C
Charging of the bat-
tery
5 °C - 40 °C
Battery status
The display shows the remaining battery capacity and
if there are problems with the battery. Push the battery
indicator button to get information of the state of charge
of the battery. The warning symbol on the battery is on
when an error has occurred. Refer to
Battery on page
17
.
(Fig. 31)
LED lights
Battery status
All LEDs are lit Fully charged (76-100%)
LED 1, LED 2, LED 3 are
lit
The battery is 51%-75%
charged
LED 1, LED 2 are lit
The battery is 26%-50%
charged
LED lights Battery status
LED 1 is lit
The battery is 6%-25%
charged.
LED 1 flashes
The battery is 0%-5%
charged.
To charge the battery
Charge the battery before the first use. The battery is
only 30% charged when supplied to the customer.
Note: The battery charger must be connected to the
voltage and frequency specified on the rating plate.
The battery does not charge if the battery temperature
is above 50°C. The battery charger decreases the
temperature of the battery before it starts to charge.
1. Connect one end of the power cord for the battery
charger into the socket of the battery charger.
2. Connect the other end of the power cord for the
battery charger in an grounded mains socket. The
LED on the battery charger flashes green one time.
(Fig. 32)
3. Put the battery in the battery charger. The green
light on the charger comes on when the battery is
correctly connected to the battery charger. (Fig. 33)
4. When all LEDs on the battery have come on the
battery is fully charged. Charge the battery for
maximum 24 hours.
5. To disconnect the battery charger from the mains
socket, pull the plug, not the power cord.
6. Remove the battery from the battery charger.
To start the product
1. Open the battery lid.
2. Put a charged battery in the battery holder.
3. Turn the safety key to 1. (Fig. 34)
4. Stay behind the product.
5. Loosen the start inhibitor. (Fig. 18)
6. Push the motor brake handle in the direction of the
handlebar. (Fig. 35)
To use the drive on the wheels (LC
142iS)
• Push the drive bail in the direction of the handlebar.
(Fig. 36)
• Release the drive bail to disengage the drive, for
example when you go near an obstacle.
• Before you pull the product rearward, disengage the
drive and push the product forward approximately 10
cm.
14
1692 - 006 - 22.08.2023
Loading ...
Loading ...
Loading ...