Loading ...
Loading ...
Loading ...
13
Sanding Tips
Aluminum oxide, silicon carbide, or other synthetic abrasives are recommended for power
sanding use. Natural abrasives, such as int or garnet sheets, are too soft for economical use
in power sanding. The uniform spacing between grains minimizes lling or loading. The
high-quality aluminum oxide sheet with heavy backing, sands faster and lasts longer.
Some applications, such as plastics, glass, or stone, require silicon carbide discs, which have
a very sharp cutting edge.
For best results, use sanding accessories that are of superior quality and are carefully select-
ed to produce professional quality results with your sander.
The following are recommended abrasive sheets and applications:
1. Coarse Grit: For rough wood sanding.
2. Medium Grit: For general wood sanding.
3. Fine Grit: For smoothing wood or plaster patches.
4. Extra Fine Grit: For nal sanding bare wood and smoothing old paint.
With the workpiece rmly secured, turn the tool
on as described above. Contact the work with
the tool only after the sander has reached its
full, selected speed, and remove it from the
work before switching the tool off. Operating
your sander in this manner will prolong switch
and motor life and greatly increase the quality
of your work.
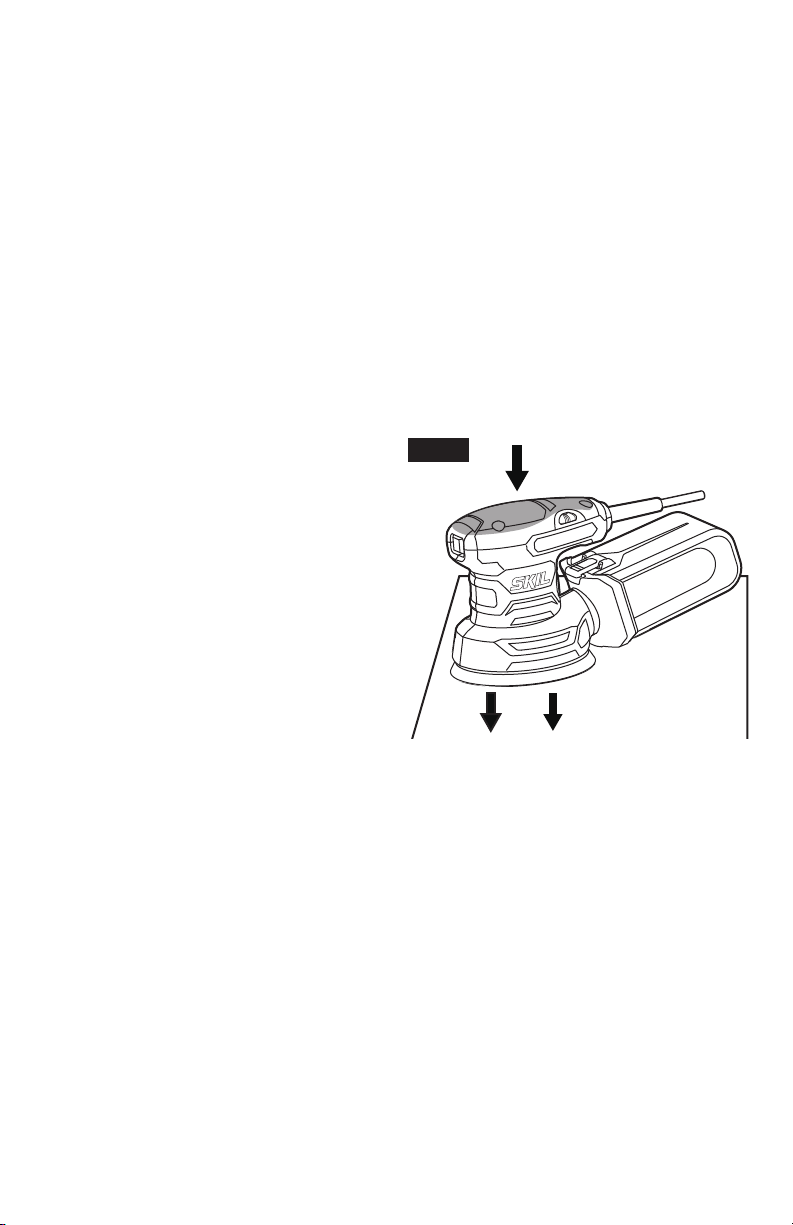
Move the sander in long, steady strokes par-
allel to the grain, using some lateral motion to
overlap the strokes by as much as 75%. DO
NOT apply excessive pressure — let the tool
do the work. Excessive pressure will result in
poor handling, vibration, and unwanted sand-
ing marks (Fig. 7).
If the surface is rough, begin with coarser grits and then complete the surfacing with medium and
ne abrasives. Because the random orbit action is so effective, it is often possible to begin sand-
ing with a medium grit disc and go directly to ne nishing. To avoid uneven results, do not skip
more than one grit size when going from coarser to ner grits, and do not sand in one area for too
long. When the job is completed, release switch, and gently lift the tool from the work surface at
the same time.
Fig. 7
Loading ...
Loading ...
Loading ...