Loading ...
Loading ...
Loading ...
_1_n_rax 9/10/2003 10:38 PAGE 9/41 RightFax
WARNING: Operation of any power tool can result in foreign
objects being thrown into the eyes, which can result in severe
eye damage. Always wear safety goggles complying with
United States ANSi Z87.1 (sl_own on package} before com-
mencing power tool operation. Safety goggles are available at
Sears retail stores or catalog.
CAUTION: Always observe following safety precautions.
SAFETY PRECAUTIONS
• Whenever adjusting or replacing any parts on the tool, turn
switch OFF and remove the plug from power seams
• Recheck table handles. They must be tightened securely.
• Make sure ell guards are properly attached, All guards
should be securely fastened.
• Make sure all moving parts are free and clear of any
interference.
• Make sure all fasteners are tight and have not vibrated
loose.
• With power disconnected, test operation by hand for clear°
ance and adjust If necessary.
° Always wear eye protection or face shield.
° Make sure abrasive belt always tracks properly. Correct
tracking gives optimum performance,
• After turning switch on, always allow belt, disc and spindle
to come up to full speed before sanding or grinding.
• Be sure motor runs clockwise on disc side. Abrasive belt
must travel down.
• Avoid kickback by sanding in accordance with the direction-
sl a rrow_
• Feed workplace against rotation of the sanding drum.
• Keep your hands clear of abrasive belt, disc end spindle.
• Make sure sanding drum Is properly secured on the spindle
before operating.
° Always keep the spindle table Insert In place. Use the
correct size insert for each sanding sleeve.
* Clear debris from belt, disc and spindle tables before
sanding any workplace.
• For optimum performance, do not stall motor or reduce
speed. Do not force the work into the abrasive.
• Support workplace with belt table when sanding with belt,
with disc table when sanding with disc, with spindle table
when sanding with spindle.
. Never push a sharp comer of the work.piece rapidly against
the belt, disc or spindle. Abrasive backing may tear.
• Replace abrasives when they become loaded (glazed) or
frayed
• When grinding metal, move workpisce across abrasive to
prevent heat built up
• Never attempt wet sanding. If the workpieoa becomes too
hot to handle, cool it in water,
OPERATING CONTROLS
ON/OFF SWITCH
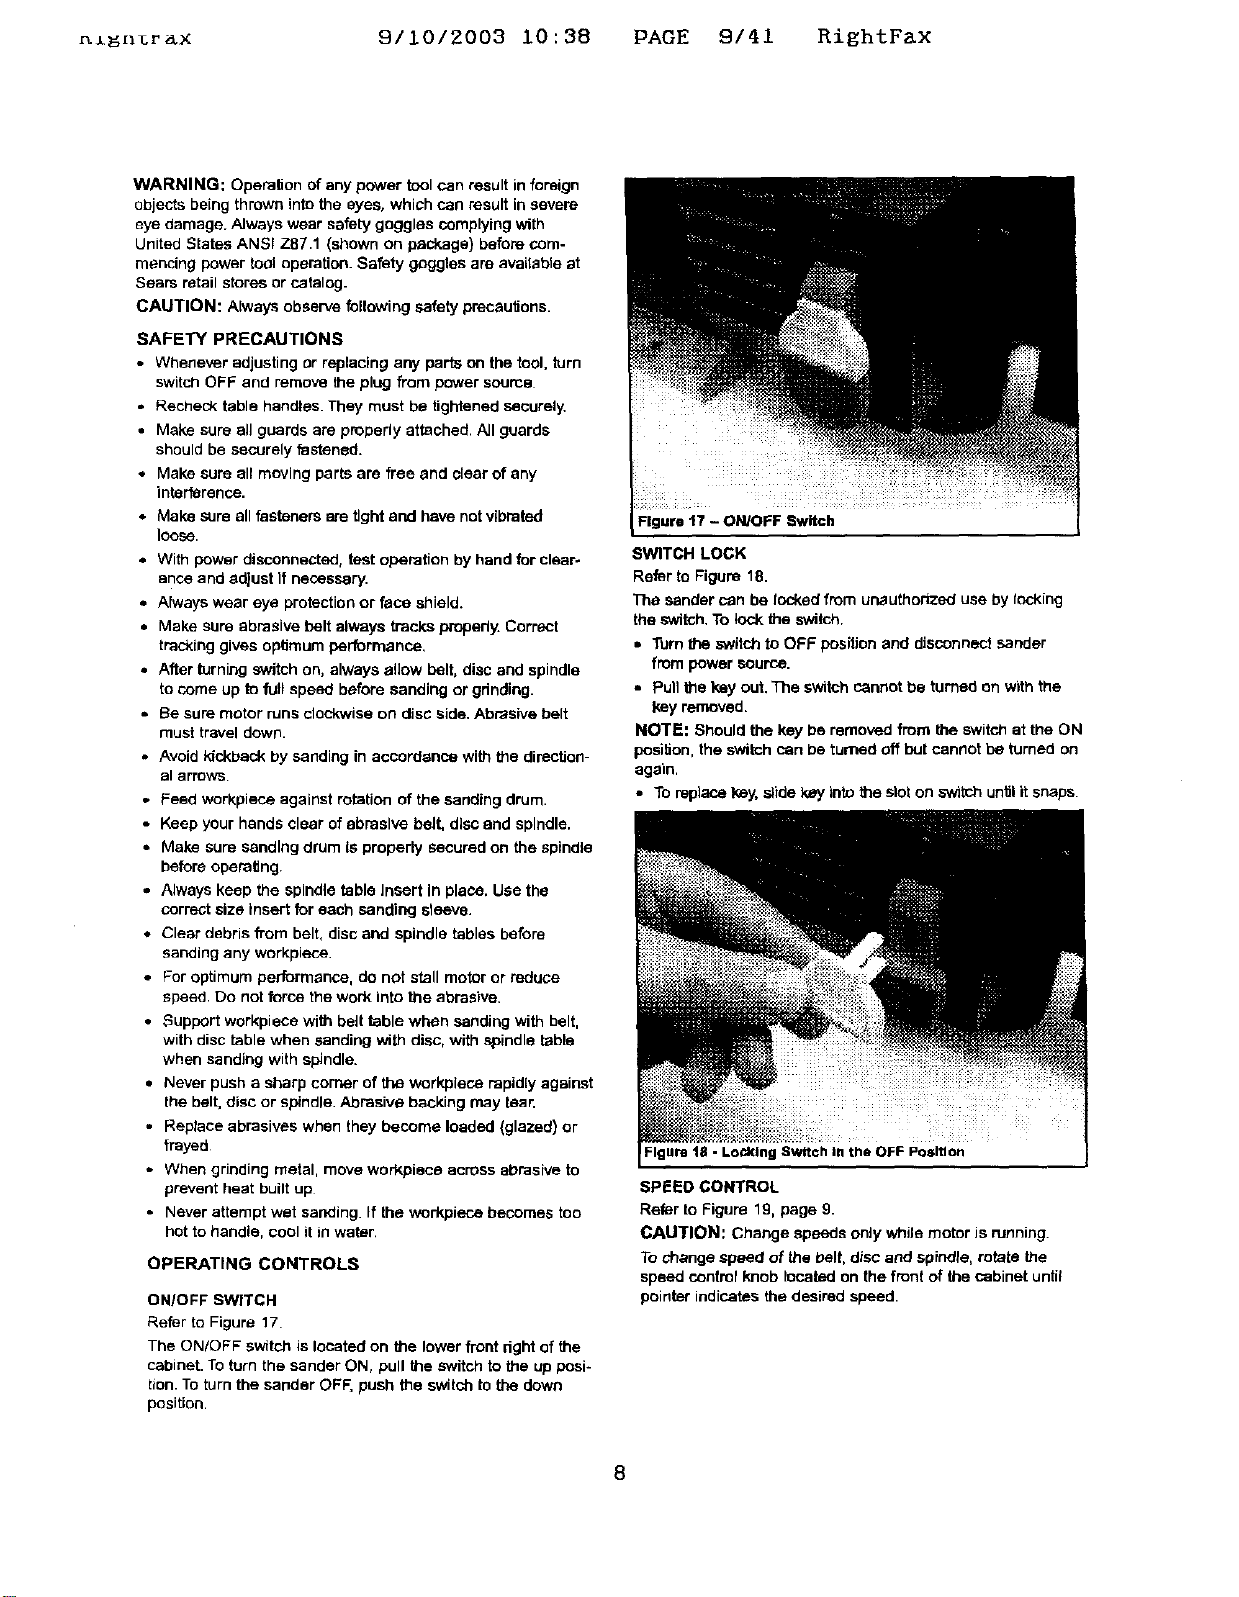
Refer to Figure 17.
The ON/OFF sw_tch is located on the lower front right of the
cabinet. To turn the sander ON, pull the switch to the up posi-
tion. To turn the sander OFF, push the switch to the down
position.
Figure t7 - ON/OFF Switch
SWITCH LOCK
Refer to Figure 18.
The sander can be locked from unauthorized use by tacking
the switch. To lock the switch.
• Turn the switch to OFF position and disconnect sander
from power source.
• Pull the key out. The switch cannot be turned on with the
key removed.
NOTE: Should the key be removed from the switch at the ON
position, the switch can be turned off but cannot be turned on
again.
• To replace key, slide key into the slot on _th.h untilit snaps
Figure 18 - Lo_klng Switch I. the OFF Position
SPEED CONTROL
Refer to Figure 19, page 9.
CAUTION: Change speeds only while motor Jsrunning.
To change speed of the belt, disc and spindle, rotate the
speed control knob located on the front of the cabinet until
pointer indicates the desired speed.
8
Loading ...
Loading ...
Loading ...