Loading ...
Loading ...
Loading ...
= i = =,= = =
OPERATION
= ,=,,,,,,=i =,,::::::::::::::::::::::::::i i i
STOPPING YOUR UNIT ASSIST HANDLE ADJUSTMENT (Fig. 6)
* Release the triggerswitch. • Remove finger fromtriggerswitchto turnofftrimmer.
• Loosen wing nut.
• Rotate theAssistHandle intoan upright position.
• Tighten wing nut.
STARTING YOUR UNIT
• Squeeze the triggerswitch.
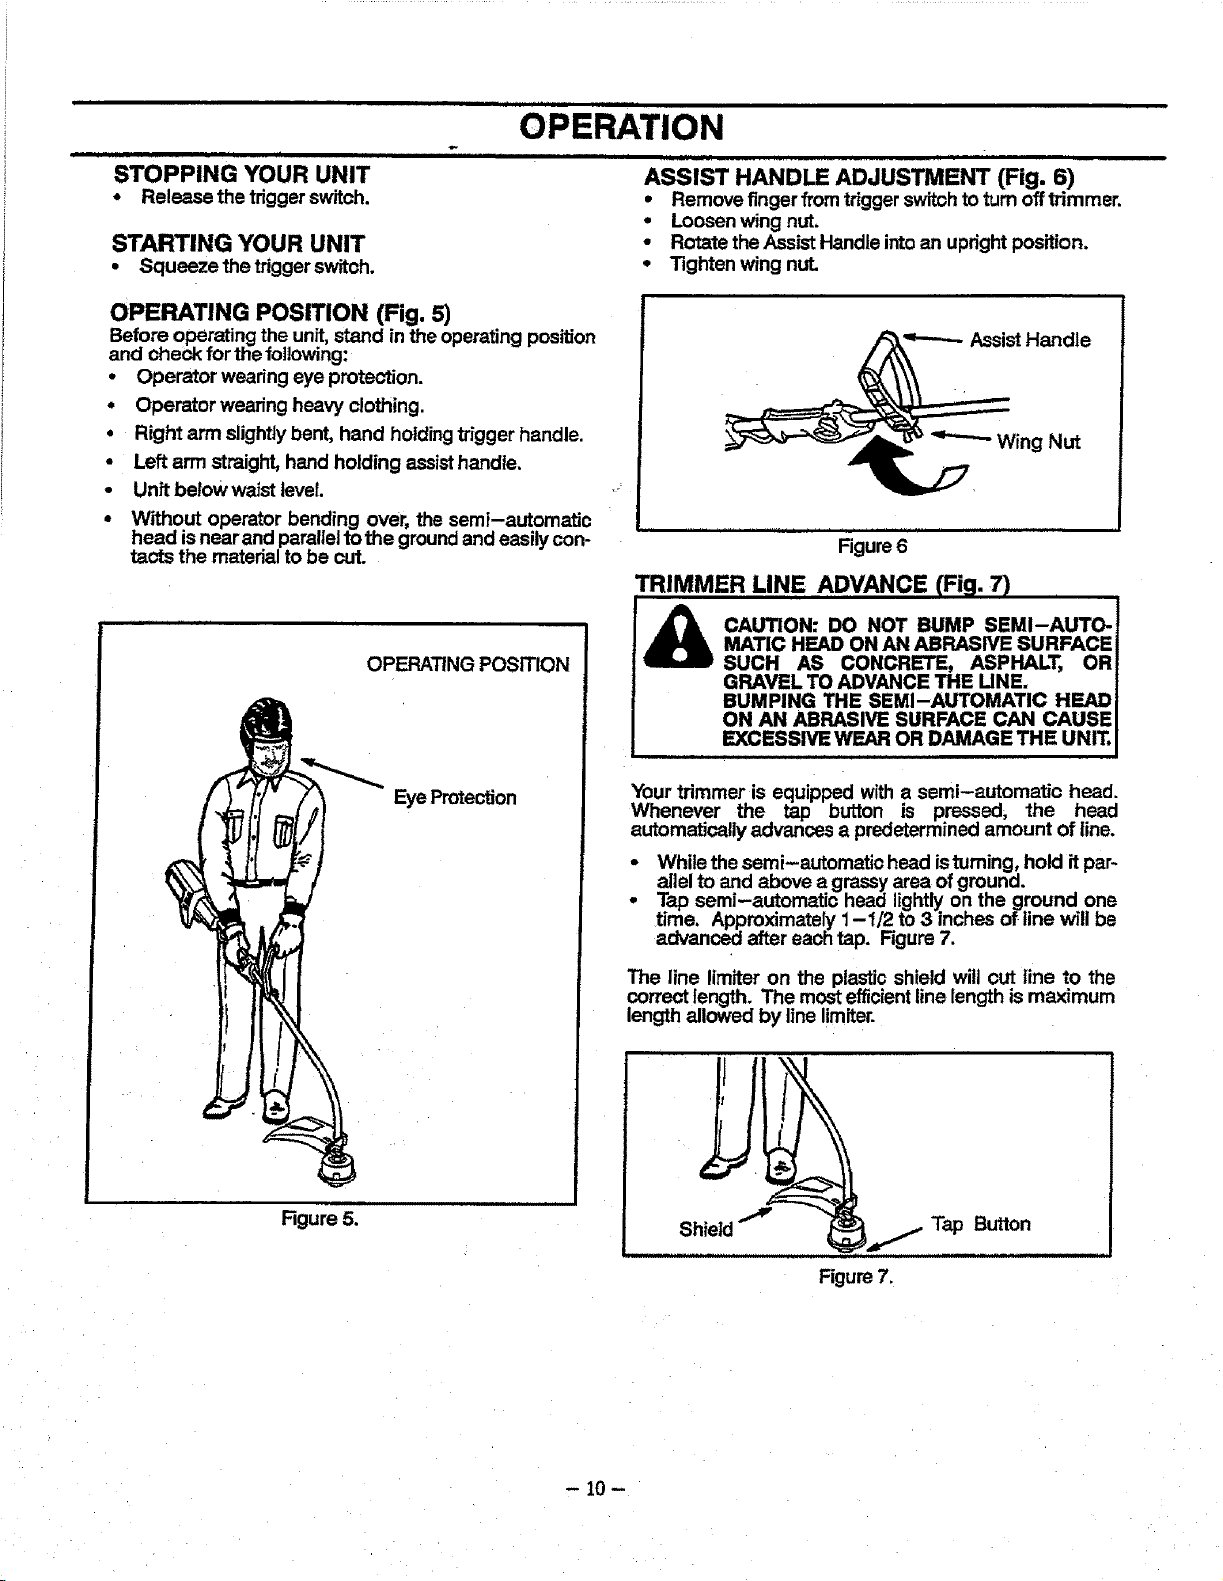
OPERATING POSITION (Fig. 5)
Before operating the unit, stand in the operating position
and check for the following:
• Operator weadng eye protection.
• Operator wearing heavy clothing.
• Right arm slightlybent, hand holdingtrigger handle.
• Left arm straight, hand holding assisthandle.
• Unft belowwaist level.
• Without operator bending over, the semi-automatic
head isnear and parallelto the groundand easily con-
tacts the rnatedal to be cut.
OPERATING POSITION
Eye Protection
Figure 5.
AssistHandle
Wing Nut
Figure6
TRIMMER LINE ADVANCE (Fig. 7)
_ AUTION: DO NOT BUMP SEMI-AUTO-
MATIC HEAD ON AN ABRASIVE SURFACE
SUCH AS CONCRETE, ASPHALT, OR
GRAVEL TO ADVANCE THE UNE.
BUMPING THE SEMI-AUTOMATIC HEAD
ON AN ABRASIVE SURFACE CAN CAUSE
EXCESSIVE WEAR OR DAMAGE THE UNIT.
Your trimmer is equipped with a semi-automatic head.
Whenever the tap button is pressed, the head
automatically advances a predetermined amount of line.
While thesemi-automatic head istuming, hold itpar-
allel to and above a grassy area of ground.
Tap semi-automatic head lightlyon the ground one
time. Approximately 1-1/2 to 3 inchesof line will be
advanced after each tap. Rgure 7.
The line limiter on the plasticshield will cut line to the
correct length. The most efficientline length is maximum
length allowed by linelimiter.
Figure7.
Tap Button
- 10 -
Loading ...
Loading ...
Loading ...